


- Lesson 1: Software Downloading / Installing & Interface
- Lesson 2: Basic Code
- Lesson 3: Sensors: Potentiometers
- Lesson 4: Sensor: Infrared Distance
- Lesson 5: Actuator: Servo Motor
- Lesson 6: Sensor: Force, Bend, Stretch
- Lesson 7: Sensor: Accelerometer, Gyro, IMU
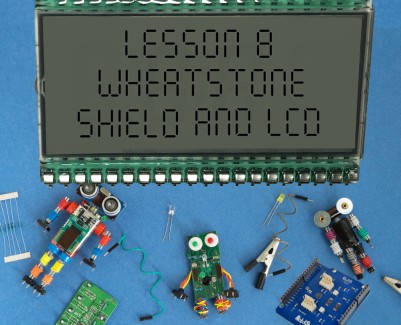
- Lesson 8: Shield: Wheatstone Bridge & LCD
- Lesson 9: Programming Arduino Platforms Using a Different IDE
Since the creation of the post Interfacing a Load Cell With an Arduino Board, we received many requests from customers about displaying the data read from the load cell on an LCD screen. This tutorial will show you a simple method to achieve this goal quickly.
- An Arduino-compatible microcontroller board, such as an Arduino Uno R3. You can browse our category here.
- A strain gauge/load cell/Wheatstone bridge interface, such as the Load Cell / Wheatstone Amplifier Shield (2ch).
- A load cell, such as the 5 Kg Micro Load Cell.
- An LCD screen, preferably with buttons (for ease of interfacing), such as the Cytron LCD Keypad Shield for Arduino.
- Some stackable headers leave space for the load cell connections, like the Arduino R3 Stackable Headers.
- One female/female jumper wire, like the 230mm F / F 10 Pin Jumper Wire.
First, we recommend that you check the post mentioned above. It covers the basics of getting an Arduino, the Wheatstone bridge shield, and the load cell connected together and testing them to ensure they work. Please note our example uses A1 and the Strain 2 connection on the Wheatstone bridge shield and A5 for the buttons on the LCD/Button shield. Once you have the basic setup of the Wheatstone bridge shield and load cell completed and working, we can move to add the LCD screen shield. Place the stackable headers on top of the Wheatstone shield's female headers. Make sure to bend the stackable header's A0 pin towards the outside instead of straight into the female header of the Wheatstone shield (see the image below).

Then, place the LCD shield on top of the stackable headers. Follow this by using a female/female 1-pin jumper cable and connecting the protruding pin from the stackable header to the A5 male pin on top of the LCD shield (see the image below).

Once all the parts are assembled, simply connect your Arduino by USB to your computer and start the Arduino IDE. If you do not have the Arduino already installed or have an older version, you can obtain the most recent version here (for Windows, OSX and Linux). Make sure to select the appropriate board type (processor if needed) and port.
The code for this blog post can be obtained on the RobotShop GitHub under the Wheatstone Bridge Amplifier Shield repository. The code is set as one of the examples and uses the Wheatstone Shield and LiquidCrystal libraries. You can obtain it with the Wheatstone shield library (zip file) or by itself here. Once you have installed the library (how to install a library), simply go through the following menus: File -> Examples -> Wheatstone Bridge Amplifier Shield -> Examples -> strain_gauge_shield_and_lcd_arduino_uno_code. Once the example is open, you can then program the Arduino sketch to your board using the Upload arrow, ![]() .
.

As soon as the code is uploaded to the Arduino, the screen should start displaying text concerning the application. After a few screens, you will be asked to perform the linear calibration. First, you will have to enter the low point for force (defaults to 0). It can be changed using the left/right/up/down buttons. Once you press select, you will be asked to choose the raw ADC value that is equivalent to 0. Then, you will be asked for the high point of the force measurement. This is ideally the largest force you wish to measure but it can be any force that is higher than the low point. Add a weight/tension to your load cell equivalent to the force entered and press select. The screen will then show you the raw ADC value for the high point with the weight/tension. Press select to calibrate the system. You can now attach weights to/put to tension your load cell and get an estimate of the force produced based on your calibration. Have fun with this little project and don't be shy to comment about your attempts here, on Let's Make Robots (via a project page), or through GitHub, if you have code fixes, updates, ideas, or even new examples to offer!

If you followed this tutorial but are curious about the electrical inner workings of this project and its parts, such as the load cell and the Wheatstone bridge amplifier shield, you can obtain more information here: