


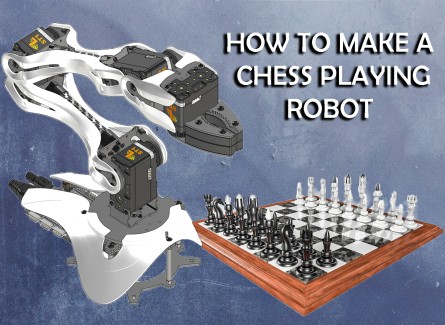
Have you ever wanted to play chess but don't know anyone who knows how to play? Or perhaps your opponent is not at your level and you want a bigger challenge? Or maybe you just want to impress your friends with a very smart robot (maybe even smarter than them). Then this project is perfect for you!
A robotic arm that plays chess! This project integrates aspects of robotics, computer vision, and of course chess. And don’t worry! It's very easy to set up, the code is written in Python, and every step of the project is explained in this tutorial series, so it's perfect for those who don't have much experience in the field.
It uses a camera and a visual recognition system running on a Raspberry Pi to detect the movements of chess pieces in the game. It uses Stockfish as chess engine to validate the human player's moves and decide which move the robot will make, then it uses all this information to transcribe the game in a graphical user interface that shows the game state and allows you to configure all the aspects of it, for example, at the start of the game it allows you to calibrate the camera and choose which color you would like to play with. It does not require any special chess board or pieces; in fact, the GUI allows you to enter the dimensions of your board so you can play without making any changes to the code or having to make a custom board.
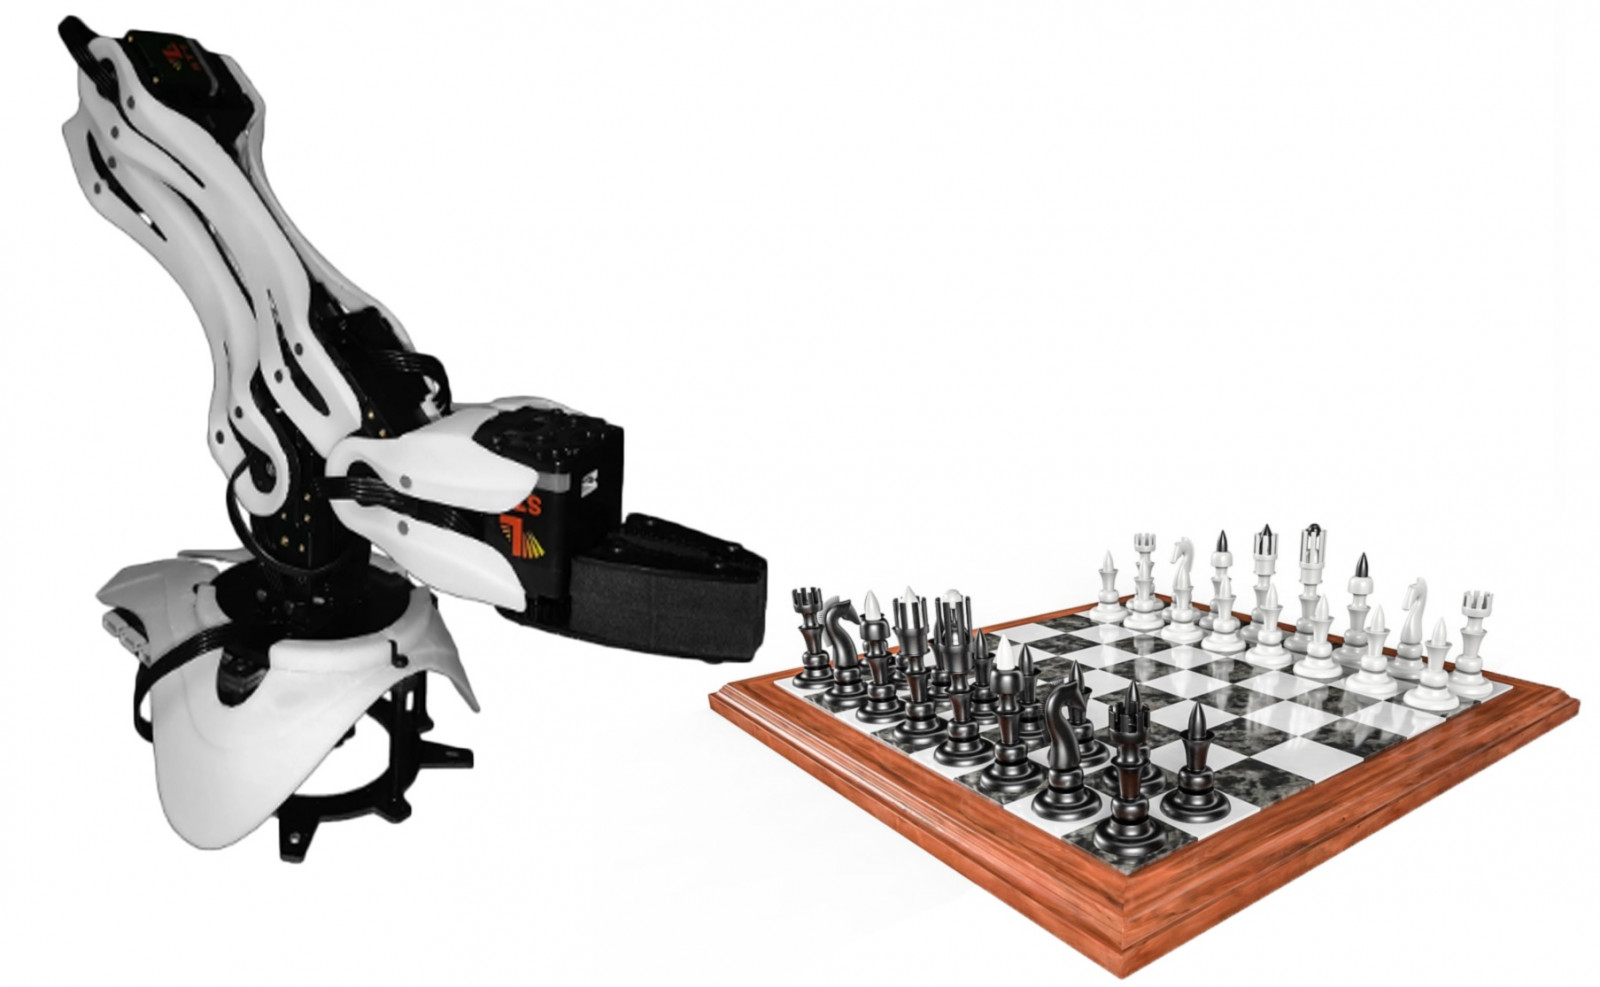
- LSS 4 DoF Robotic Arm
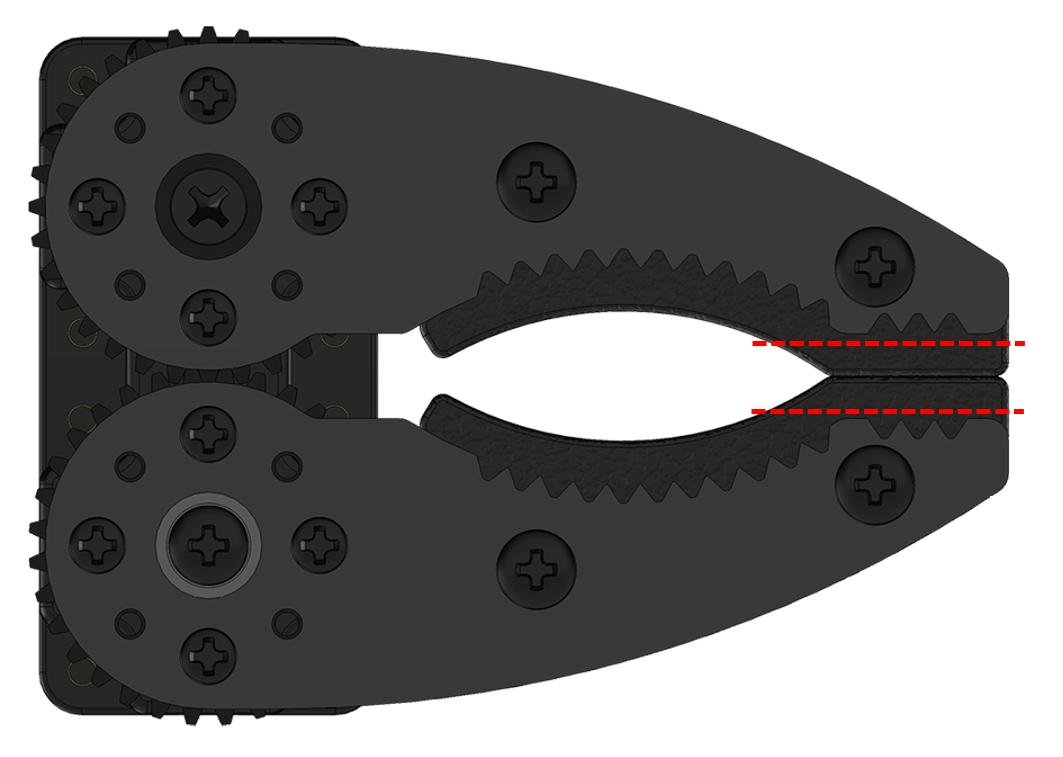
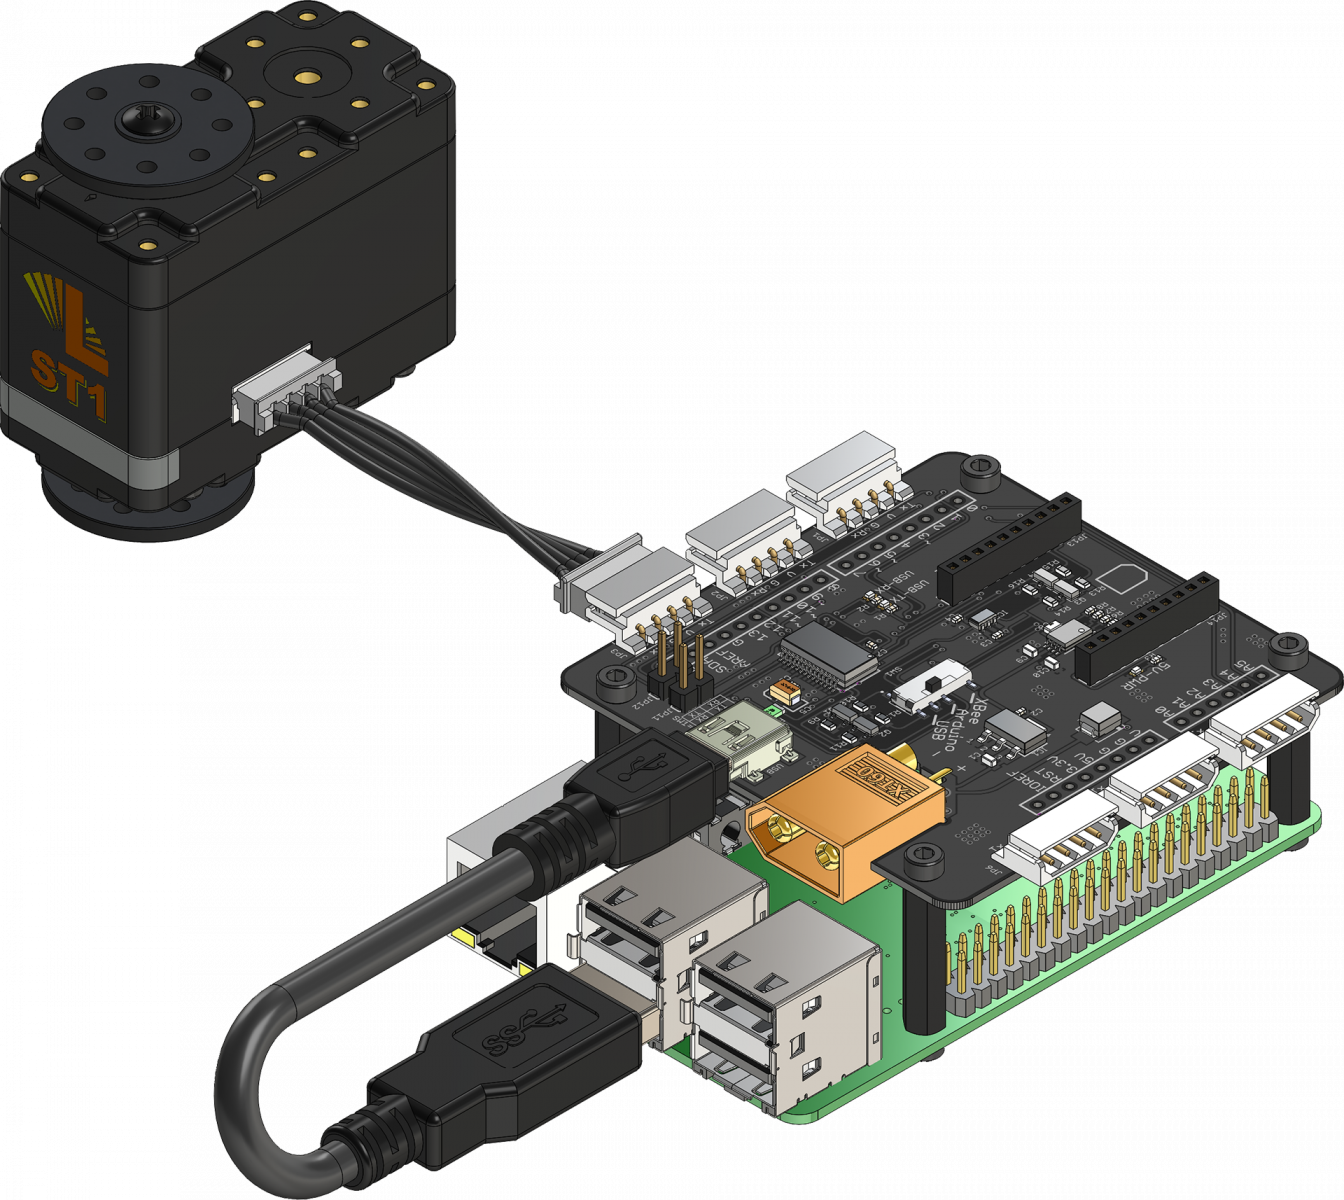
This project was built around the new LSS 4 DoF Robotic Arm, which is a Lynxmotion’s articulated arm designed around the fully configurable Lynxmotion Smart Servos and the modular construction system Servo Erector Set V2, which facilitates customization and expansion, so adding additional degrees of freedom or changing the gripper is very easy. However, in this tutorial we will be using the original arm with no modifications, only the foam on the inside of the gripper was trimmed a little so that it wasn’t necessary to open it so much to grab the pieces as this could cause adjacent pieces to move by accident.
The arm uses the LSS Adapter Board to communicate with and power the Lynxmotion Smart Servos which are the stars of the show. "Smart" means that the servo parameters are user modifiable and configurable, so you can easily change the properties of each servo; anything from setting the maximum speed to the holding stiffness and more, you can even query a wide variety of real-time values, including position, current, voltage and temperature. These servos can be controlled using standard RC PWM or the human-readable LSS serial protocol which makes configuring the servos extremely easy and intuitive.
- Raspberry Pi
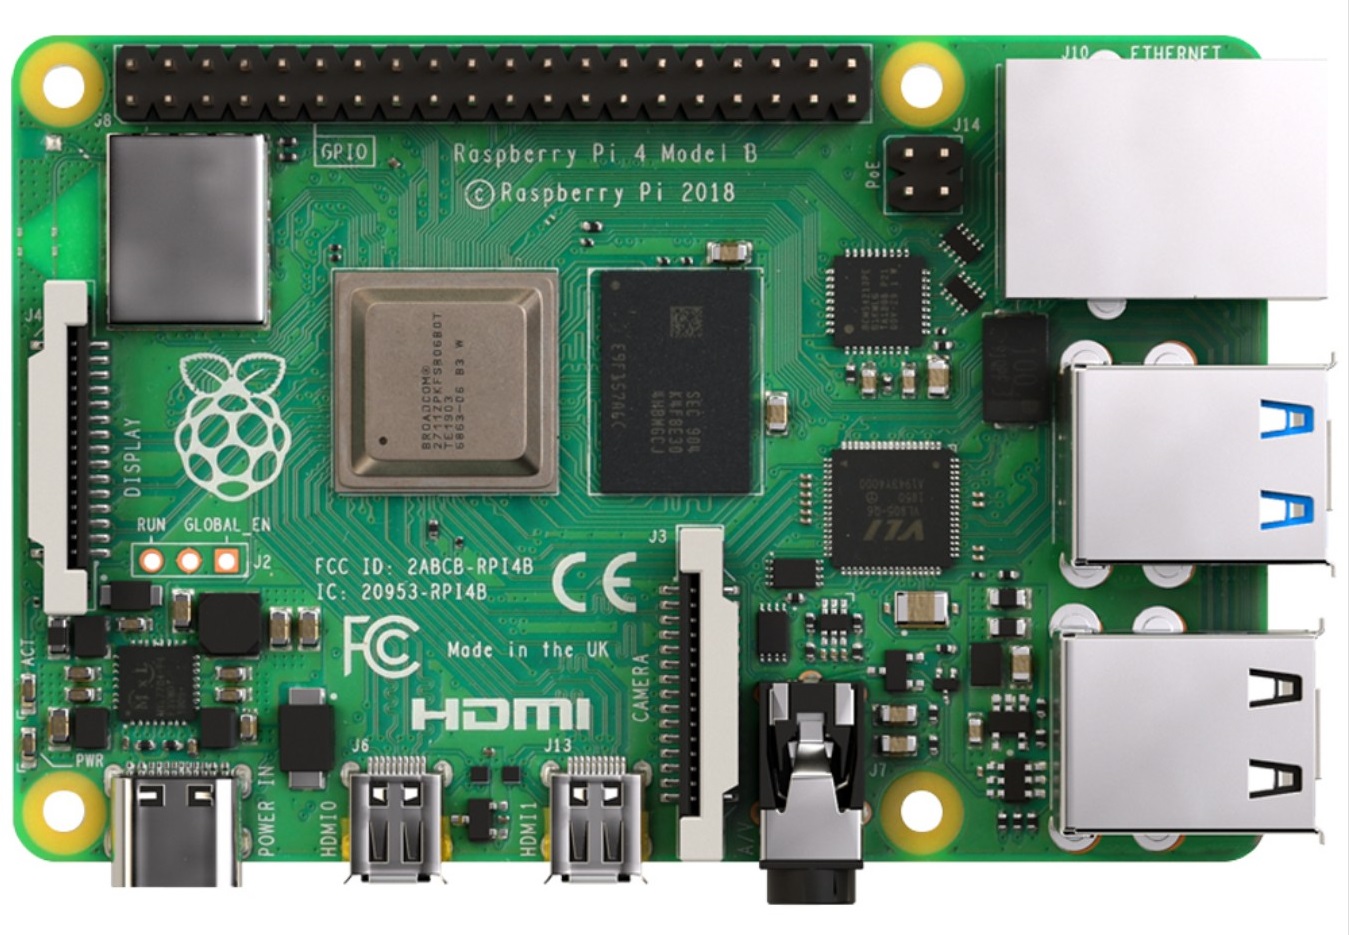
In case you are not familiar with it, the Raspberry Pi is a low cost, credit-card sized computer that plugs into a computer monitor or TV, and uses a standard keyboard and mouse. The Raspberry Pi runs Linux, but it also provides a set of GPIO (general purpose input/output) pins that allow you to control electronic components for physical computing. It is a capable little device that enables people of all ages to explore computing, and to learn how to program in languages like Python and Scratch.
In this project, we will be using the Raspberry Pi 4 as the robot's brain. Besides the RPi itself we will also need a power supply, a microSD card loaded with NOOBS (the software that installs the operating system), a keyboard, a mouse and also a USB cable to connect the Raspberry Pi to the LSS Adapter board (the LSS arm already comes with this cable).
- Display / Monitor
You can use any display/monitor/screen as long as you are able to connect it to your Raspberry Pi. In this tutorial we used an old computer monitor connected using a VGA to HDMI adapter plus a micro-HDMI to HDMI adapter.
- Camera
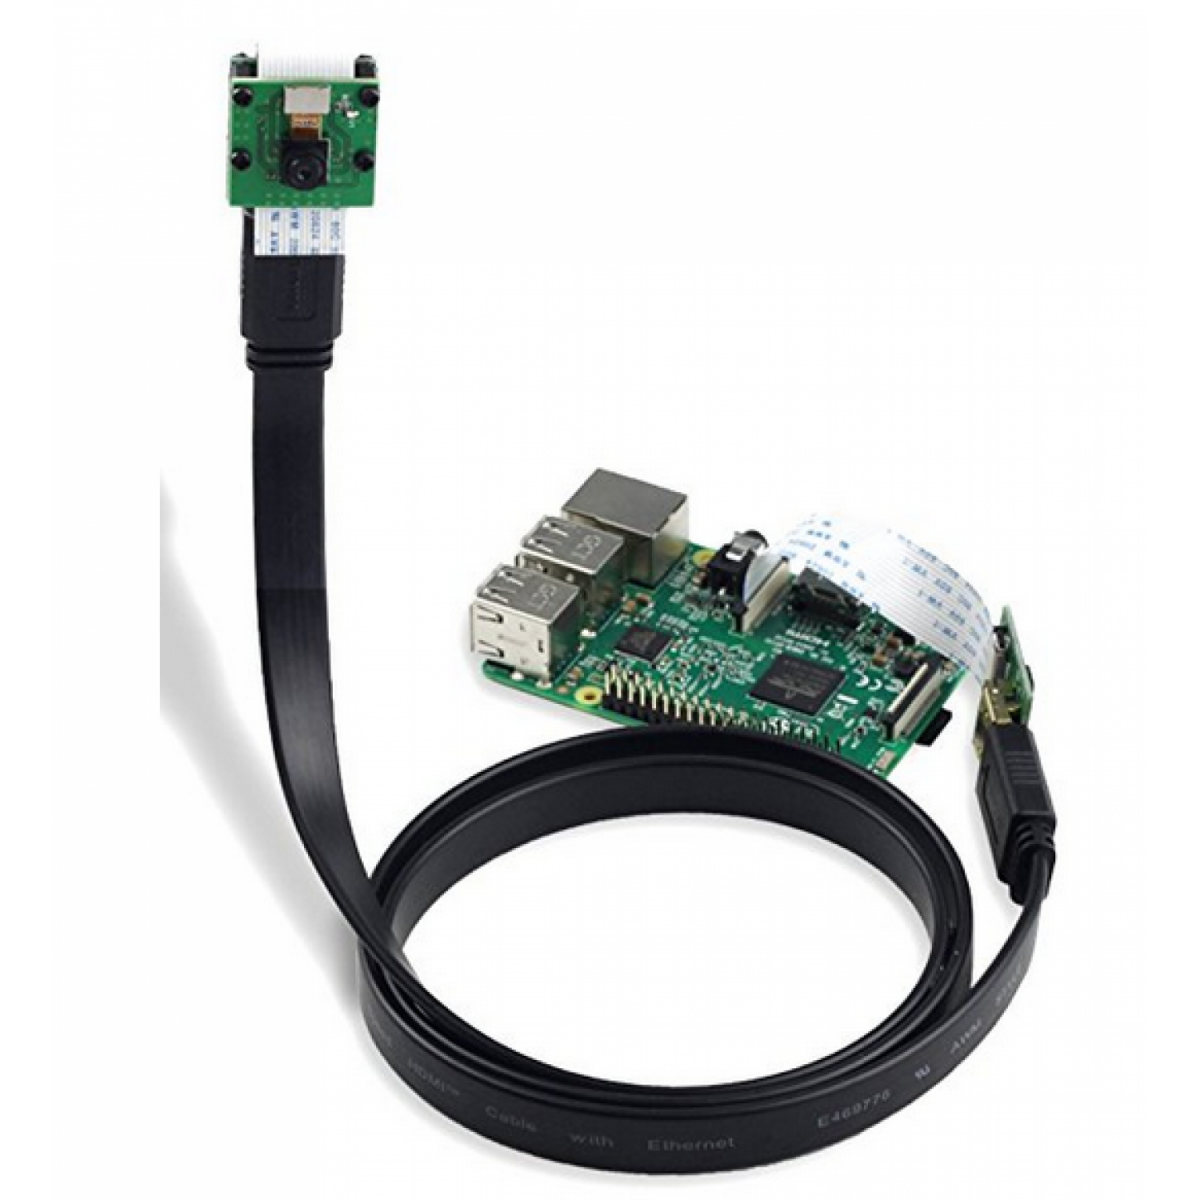
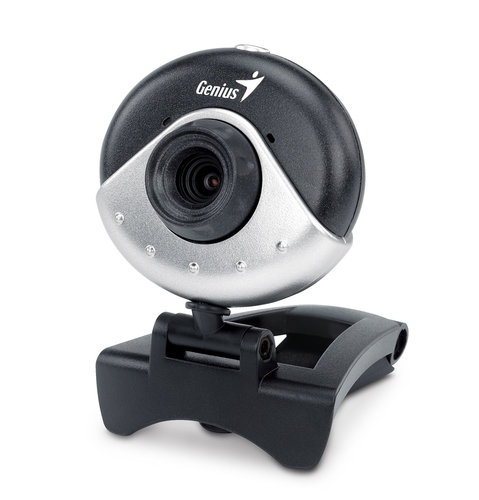
In this tutorial we will be using the Raspberry Pi Camera Module V2, which is a 8MP Camera that connects to the Raspberry Pi board via the CSI connector. However as we need to place the camera fairly high above the board we use a CSI to HDMI Cable Module to extend the camera over longer cables while keeping the high-speed CSI signals away from noise and interference. But if you do not have these modules you can simply use a USB camera with an acceptable resolution. We actually tested it with an old USB camera (Genius eFace 1300) and it worked perfectly.
- Lighting
The setup also requires a source of light, this will be placed over the board to light the chessboard evenly using a high temperature setting to ensure the colors remain accurate. In this tutorial we used this ring light but you can use any light source as long as it ensures stable lighting throughout the game.
- Chessboard and pieces
And last but not least we will need the chessboard and pieces. The only things to keep in mind are that the chess board squares should be big enough so the gripper is able to grab the pieces without tripping over adjacent pieces but small enough so the board doesn’t exceed the maximum horizontal reach of the arm (around 8 inches), unless you are planning on extending its reach. It is also advisable to use a chessboard and pieces with contrasting colors, as this will allow getting more accurate results when using the computer vision algorithm. It is also recommended to get a board with a matte finish, because if the surface of the board is reflective, it will cause problems in the recognition process. This is why a calibration checkerboard is a great option for this project, because it can be customized to fit within the dimensions and operational constraints of the arm.
- Speaker or Headphones (Optional)
If the screen you are connecting to your Raspberry Pi does not have built-in speakers, you will also need a speaker or headset. The large Raspberry Pi models have a standard audio port that allows you to connect them so that your Raspberry Pi can play sound but if you have some USB or Bluetooth speakers you could use those as well. However, this is completely optional and you can skip this if you don't mind not being able to hear the robot's comments, you will still be able to read them in the graphical interface.
Now that we have all the hardware figured out let's talk about the…
OpenCV is a library of programming functions mainly aimed at real-time computer vision. In this tutorial we will be using it for the vision part of the code which is essentially used for recognizing the chess board as well as the movement of the pieces.
Stockfish is a free and open-source chess engine, available for various desktop and mobile platforms. It is one of the strongest chess engines in the world, and even stronger than the best human chess players.
The code to drive the chess engine is Python Chess which is a pure chess library with move generation and validation as well as support for common formats.
FreeSimpleGUI was a simple to understand, easy to use, and highly customizable Graphical User Interface for Python. It acts as an abstraction layer on top of Tkinter, wxPython and PyQt, allowing us to easily create our own Chess GUI.
To bring all this together we created a couple of different modules that use the previously mentioned software to perform all the steps required in the project. All the code is written in Python and can be found in the repository available in GitHub. There you will also find a requirements file that lists all the python packages needed for the project as well as the steps you need to follow to build the project.
In the following series we will study each module in depth.