

Litter-Robot II Advanced Troubleshooting Guide

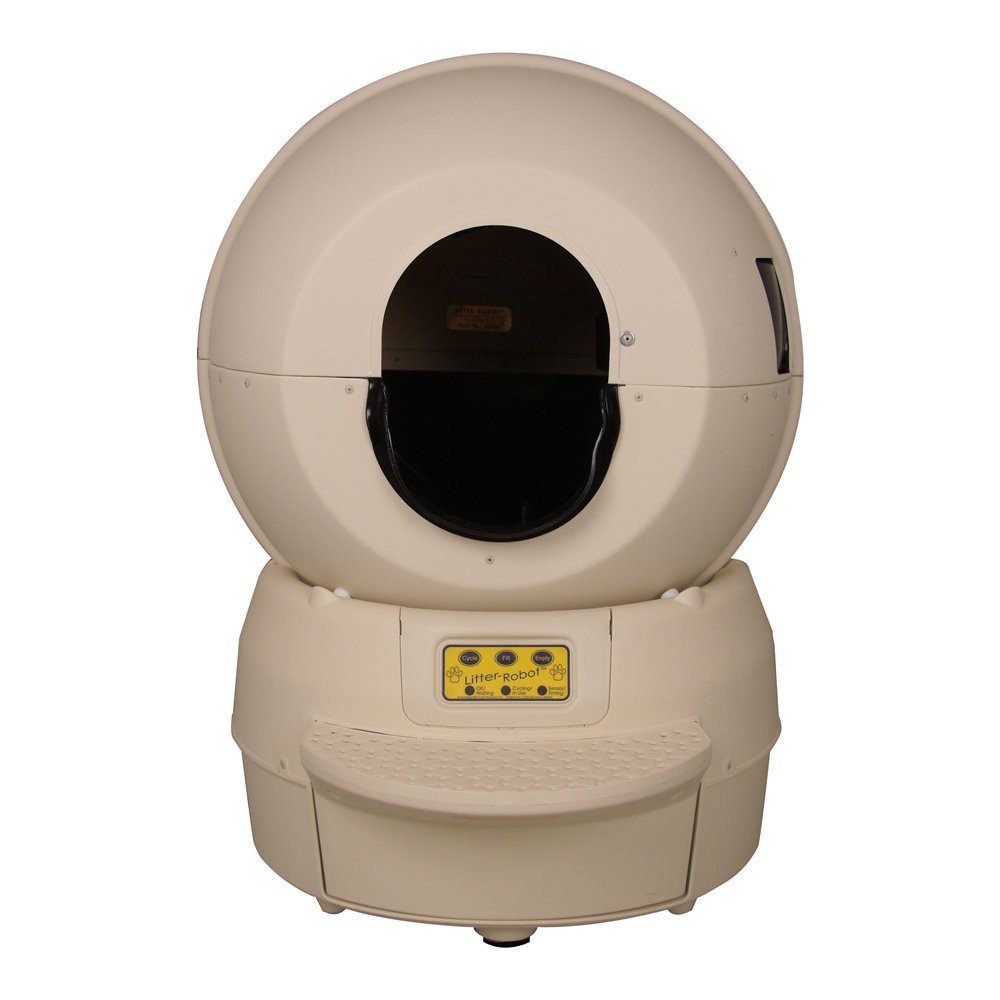
Considering we've received a huge response on our Litter-Robot II Basic Troubleshooting Guide, we've decided to help our customers further by creating this advanced troubleshooting guide.
You can find our Litter-Robot II troubleshooting guides here:
Litter-Robot II Basic Troubleshooting Guide
Litter-Robot II Advanced Troubleshooting Guide
You can find our Litter-Robot II repair guides here:
Litter-Robot II Repair Guide - Chapter 1: Motor
Litter-Robot II Repair Guide - Chapter 2: Circuit Board
Litter-Robot II Repair Guide - Chapter 3: Power Jack
Litter-Robot II Repair Guide - Chapter 4: Cat Sensor Micro Switch
Litter-Robot II Repair Guide - Chapter 5: Sensor Harness
This guide will help you with :
Opening up the Litter-Robot II
Testing the power supply
Verifying the circuit board connections
Verifying the safety line connections
Verifying the motor connections
Verifying the Hall effect sensor
Opening up the Litter-Robot II
To open the Litter-Robot II base, you will need a Torx T20 screwdrive and a 5/16" socket with a ratchet. First, remove the 7 torx screws around the base.
 Remove the Screws
With the ratchet, remove the 5/16" nut which attaches the motor to the base.
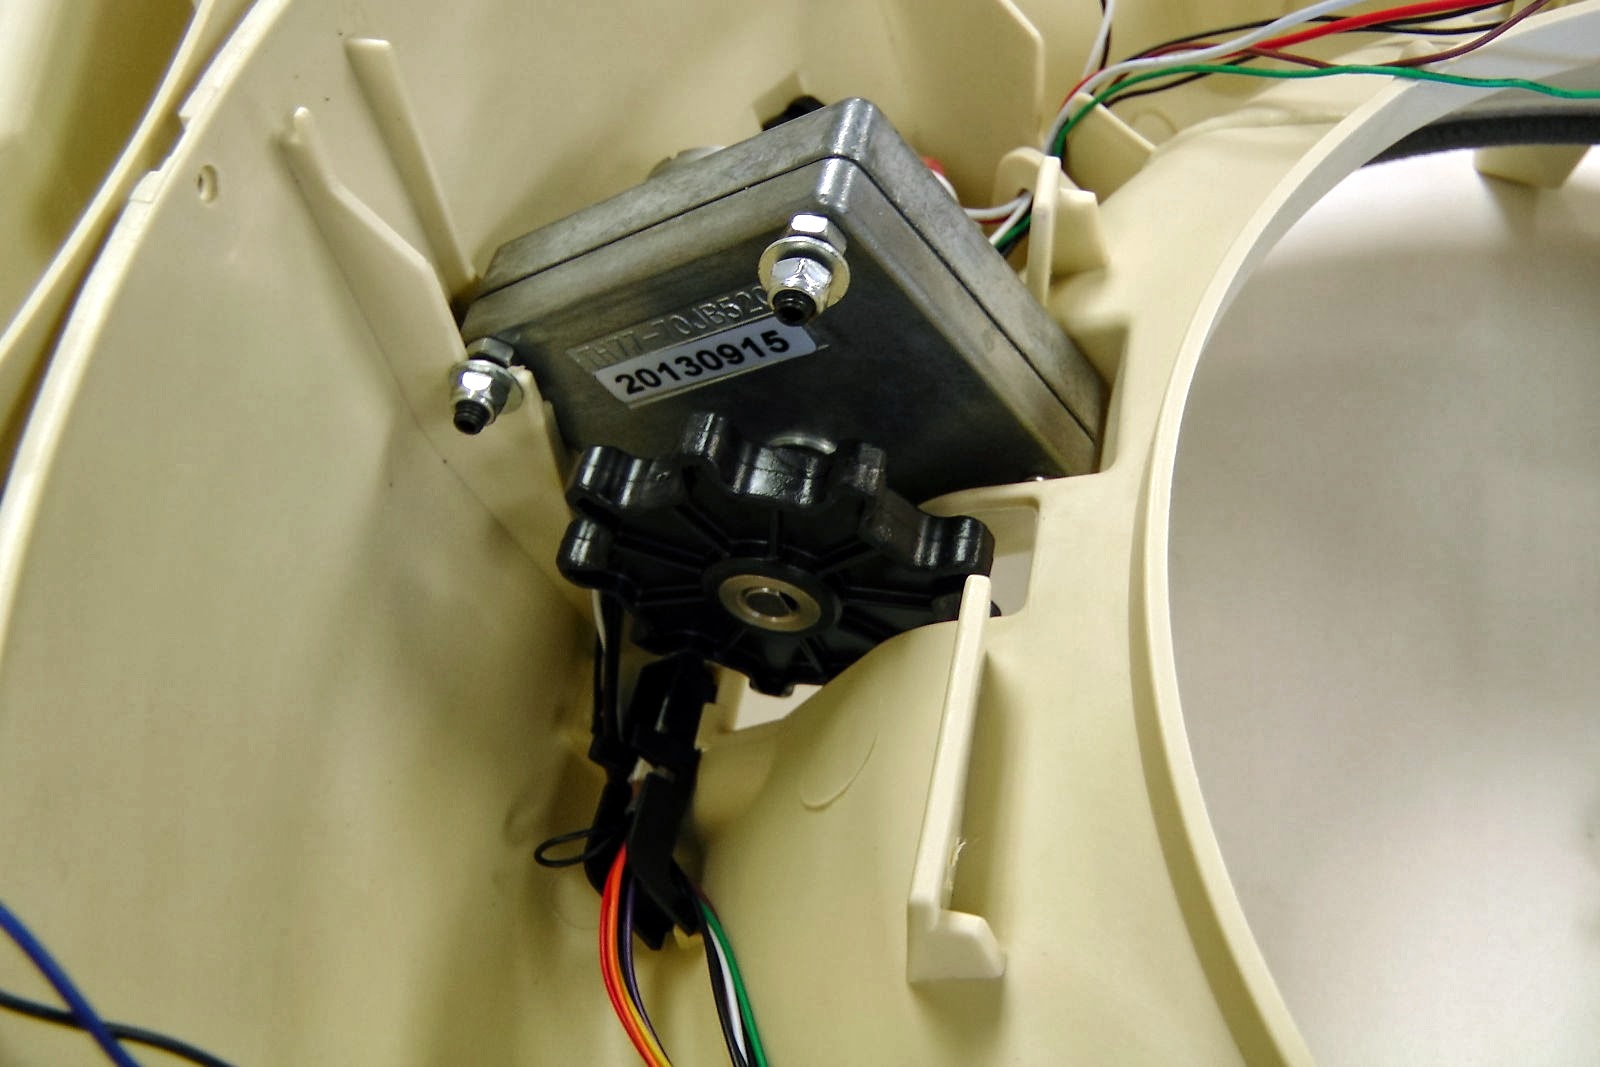
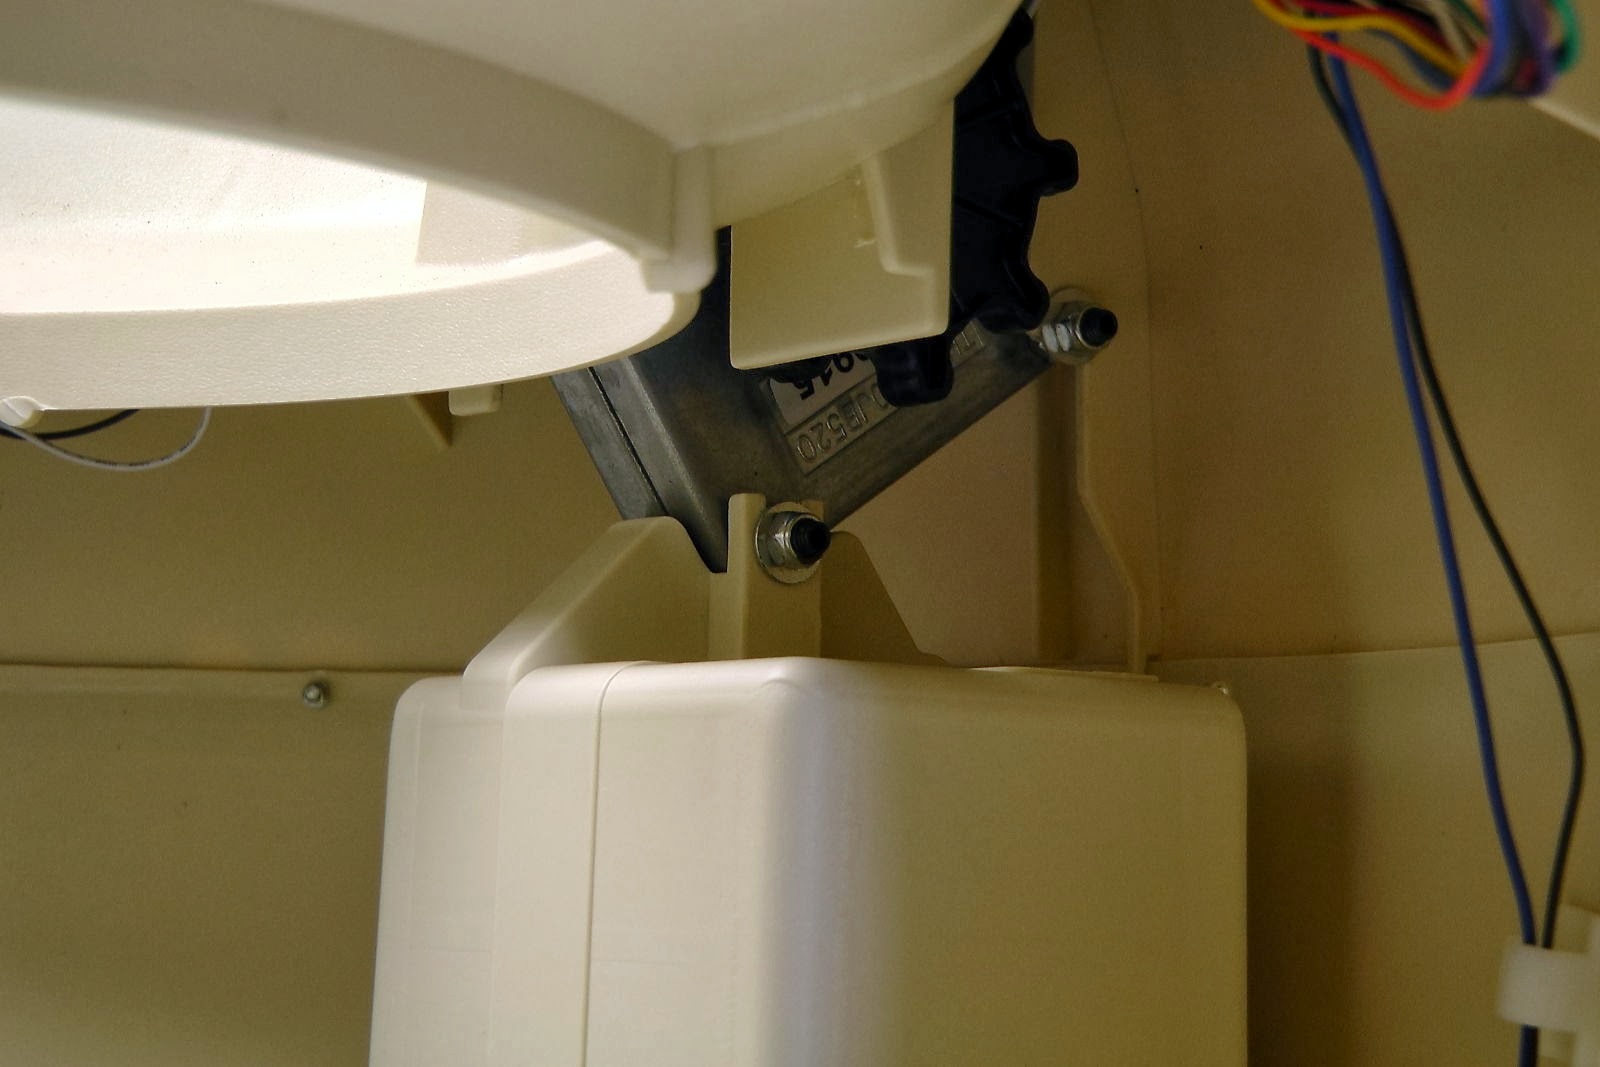 Spot the Motor Inside the Base
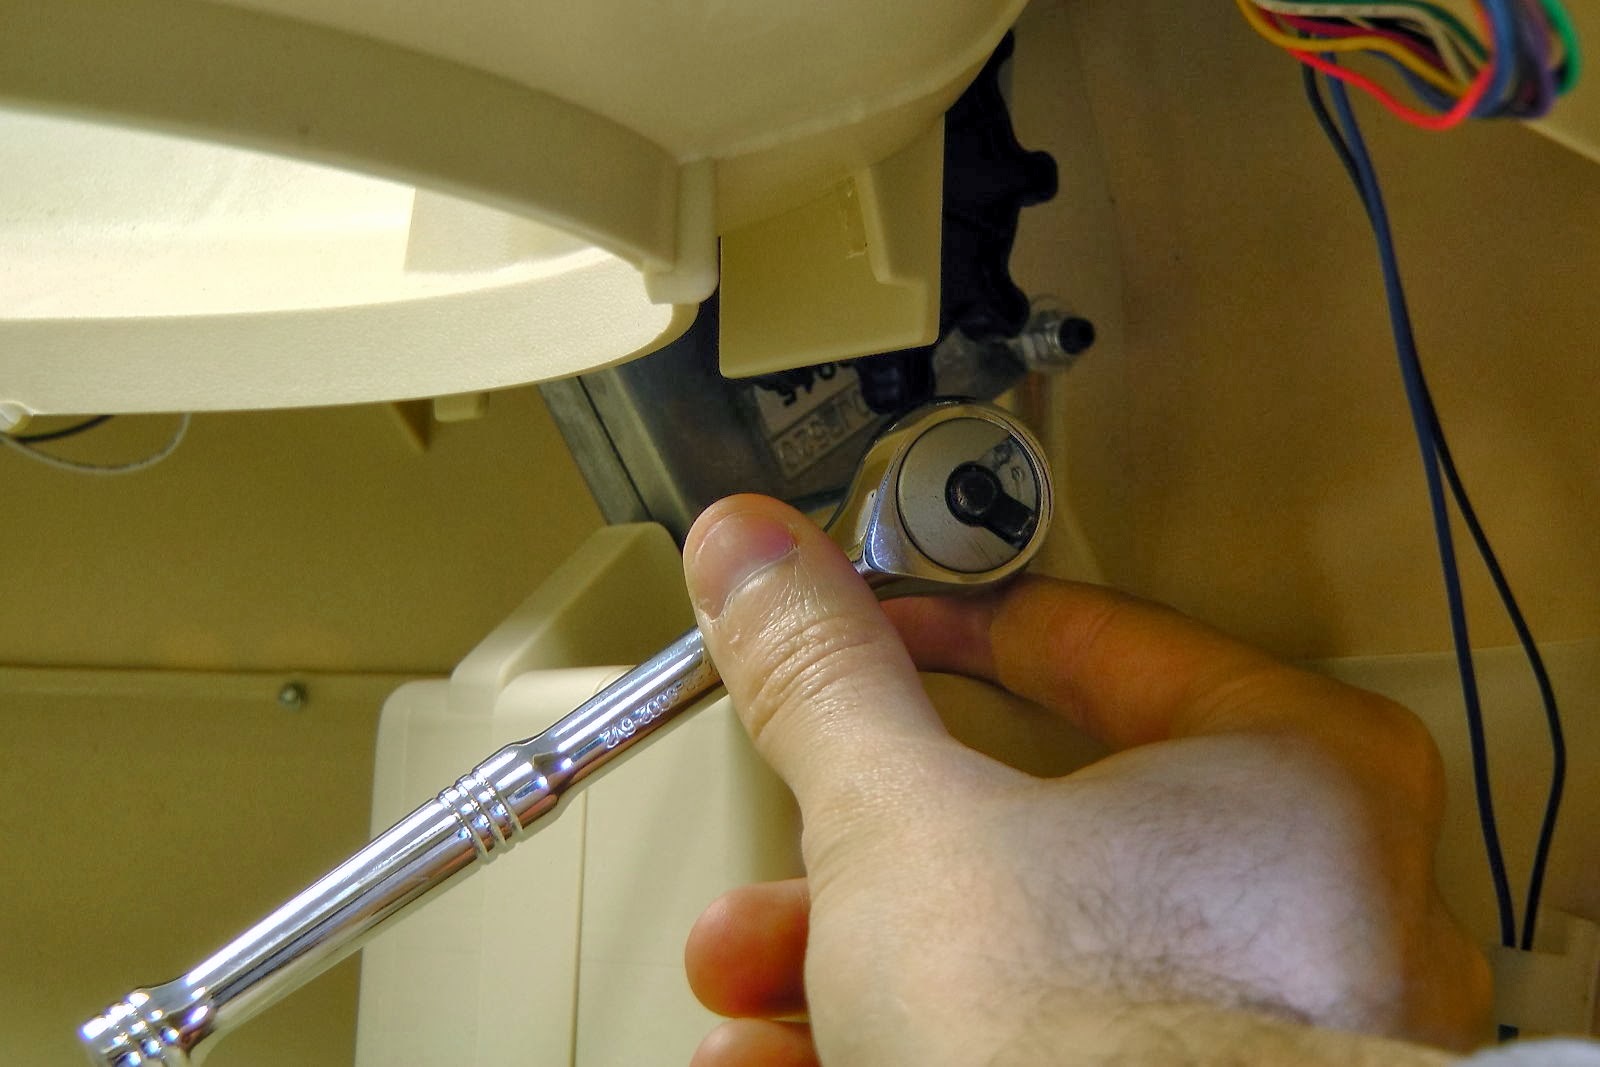 Remove the Motor Nut
You can now split the 2 parts of the base.
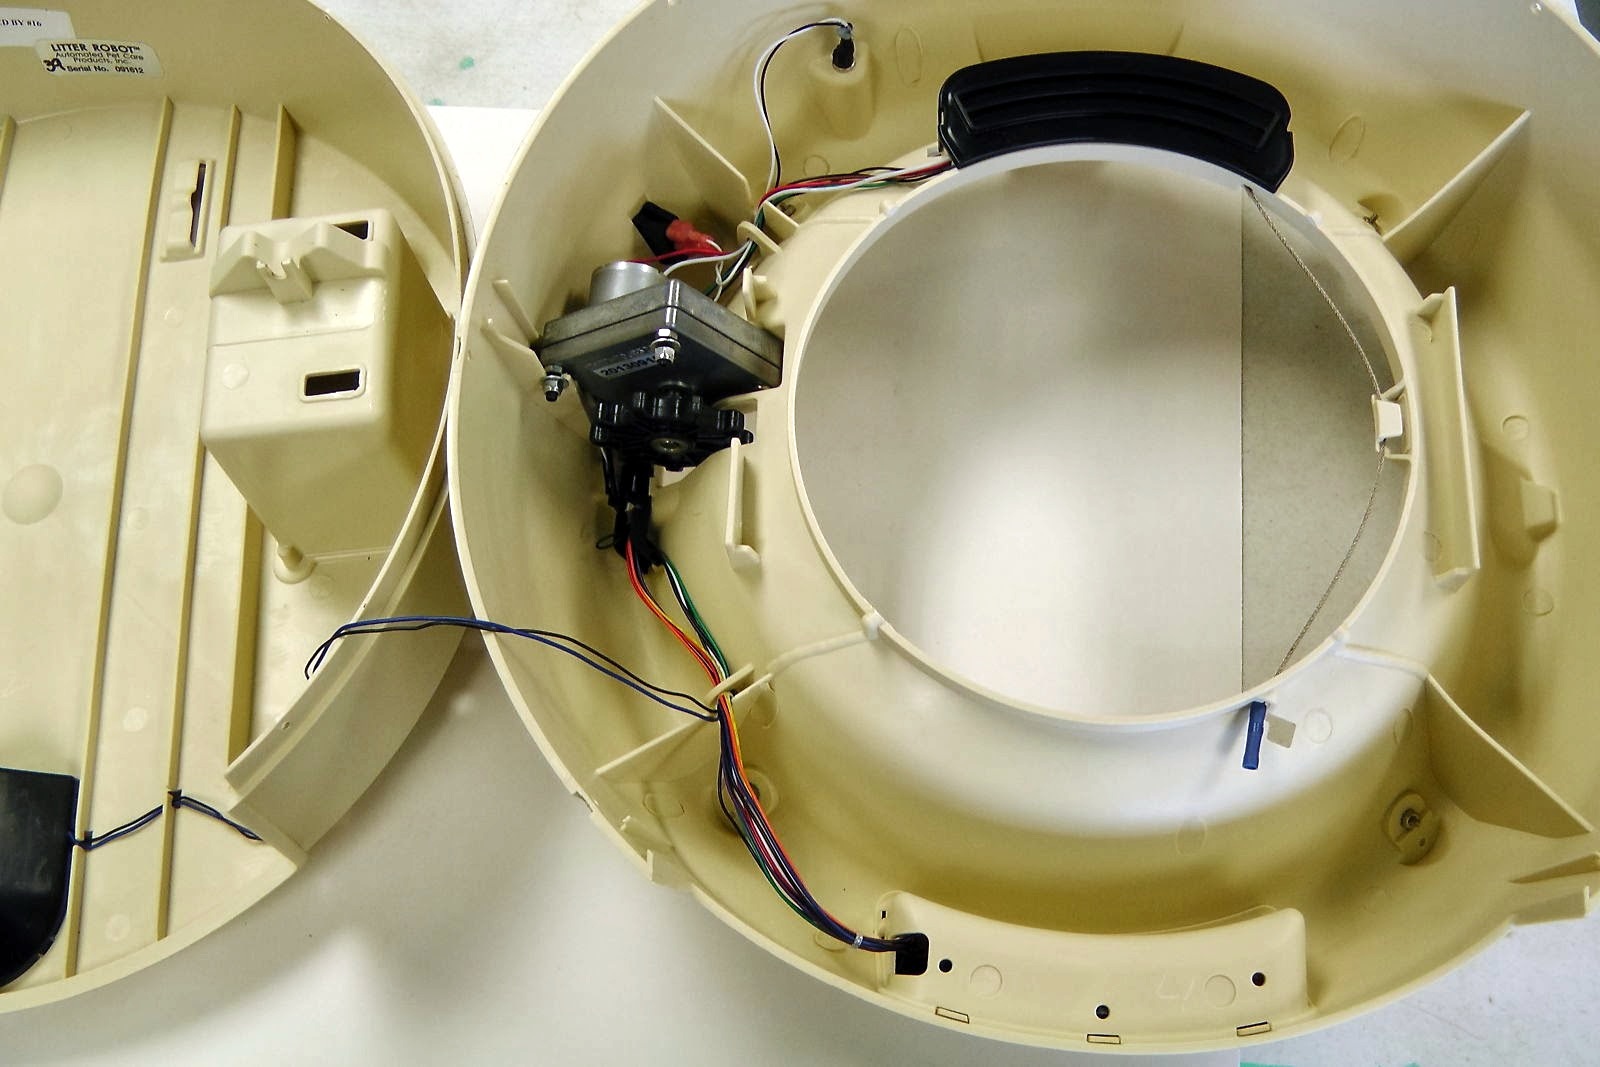 Open the Litter-Robot Base
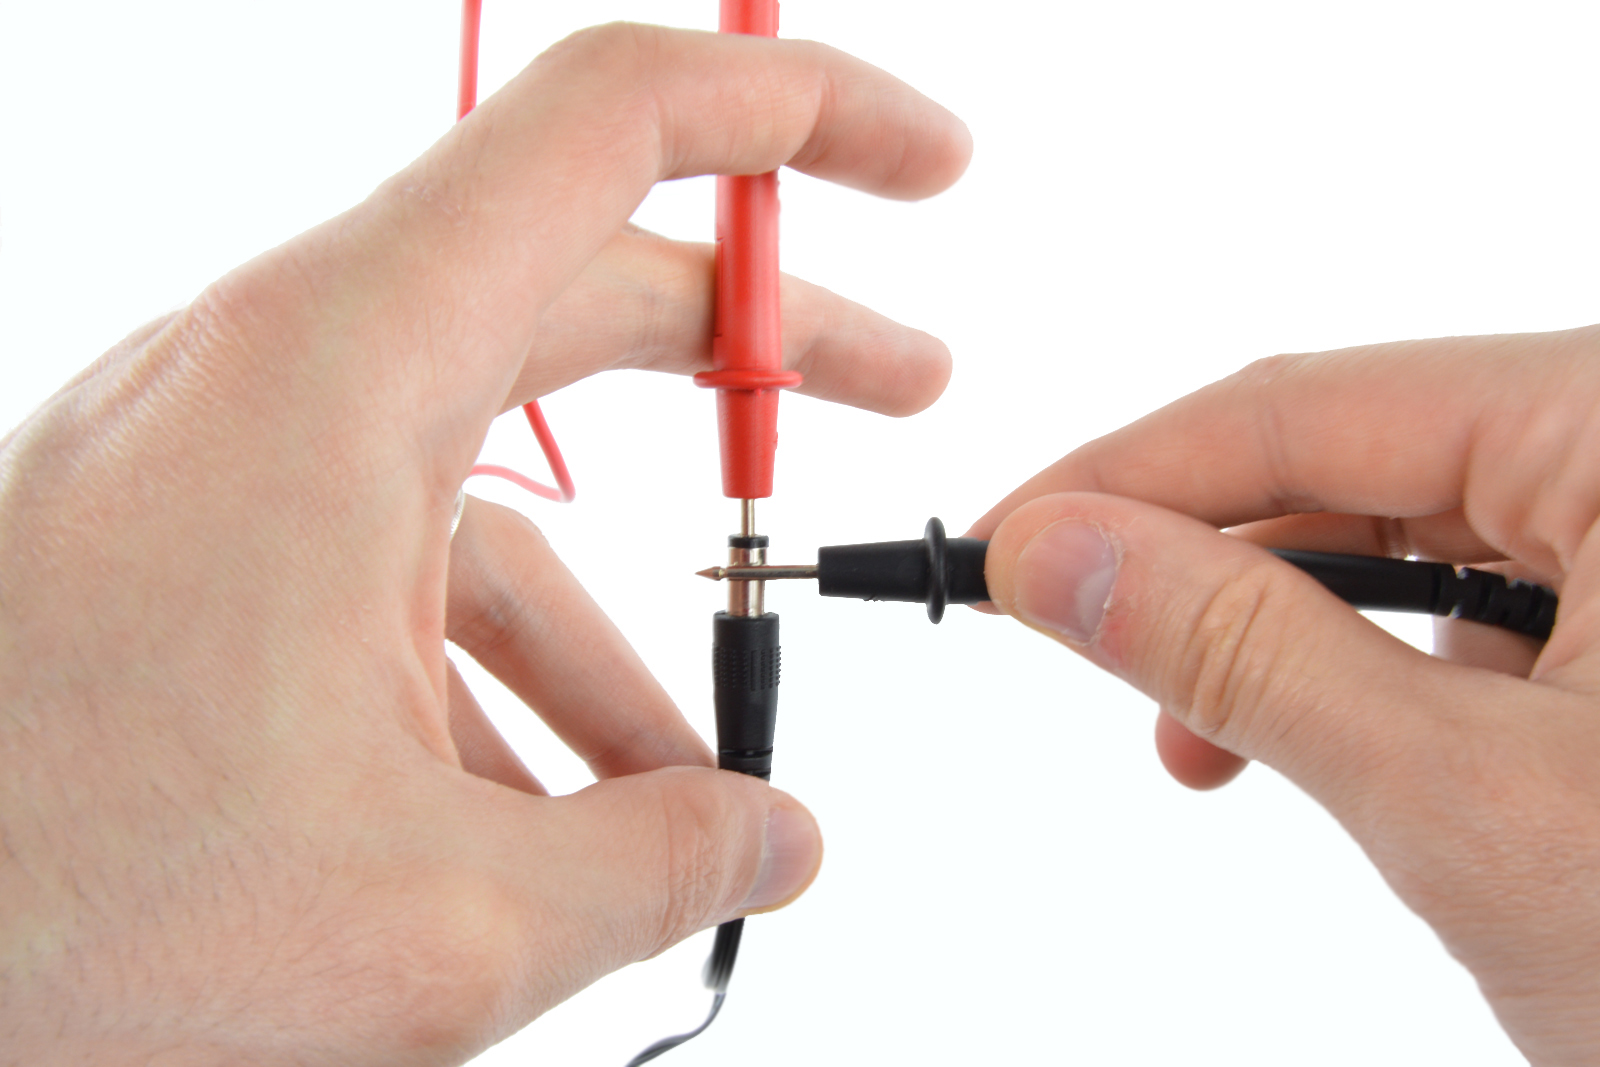
Testing the power supply To test the power supply, you simply need a voltmeter. Connect one probe to the barrel and one probe inside the tip. If you measure ~15V or more, then your power supply is working.
 Testing Power Supply
Verifying the circuit board connections Pull on the front panel to reveal the circuit board.
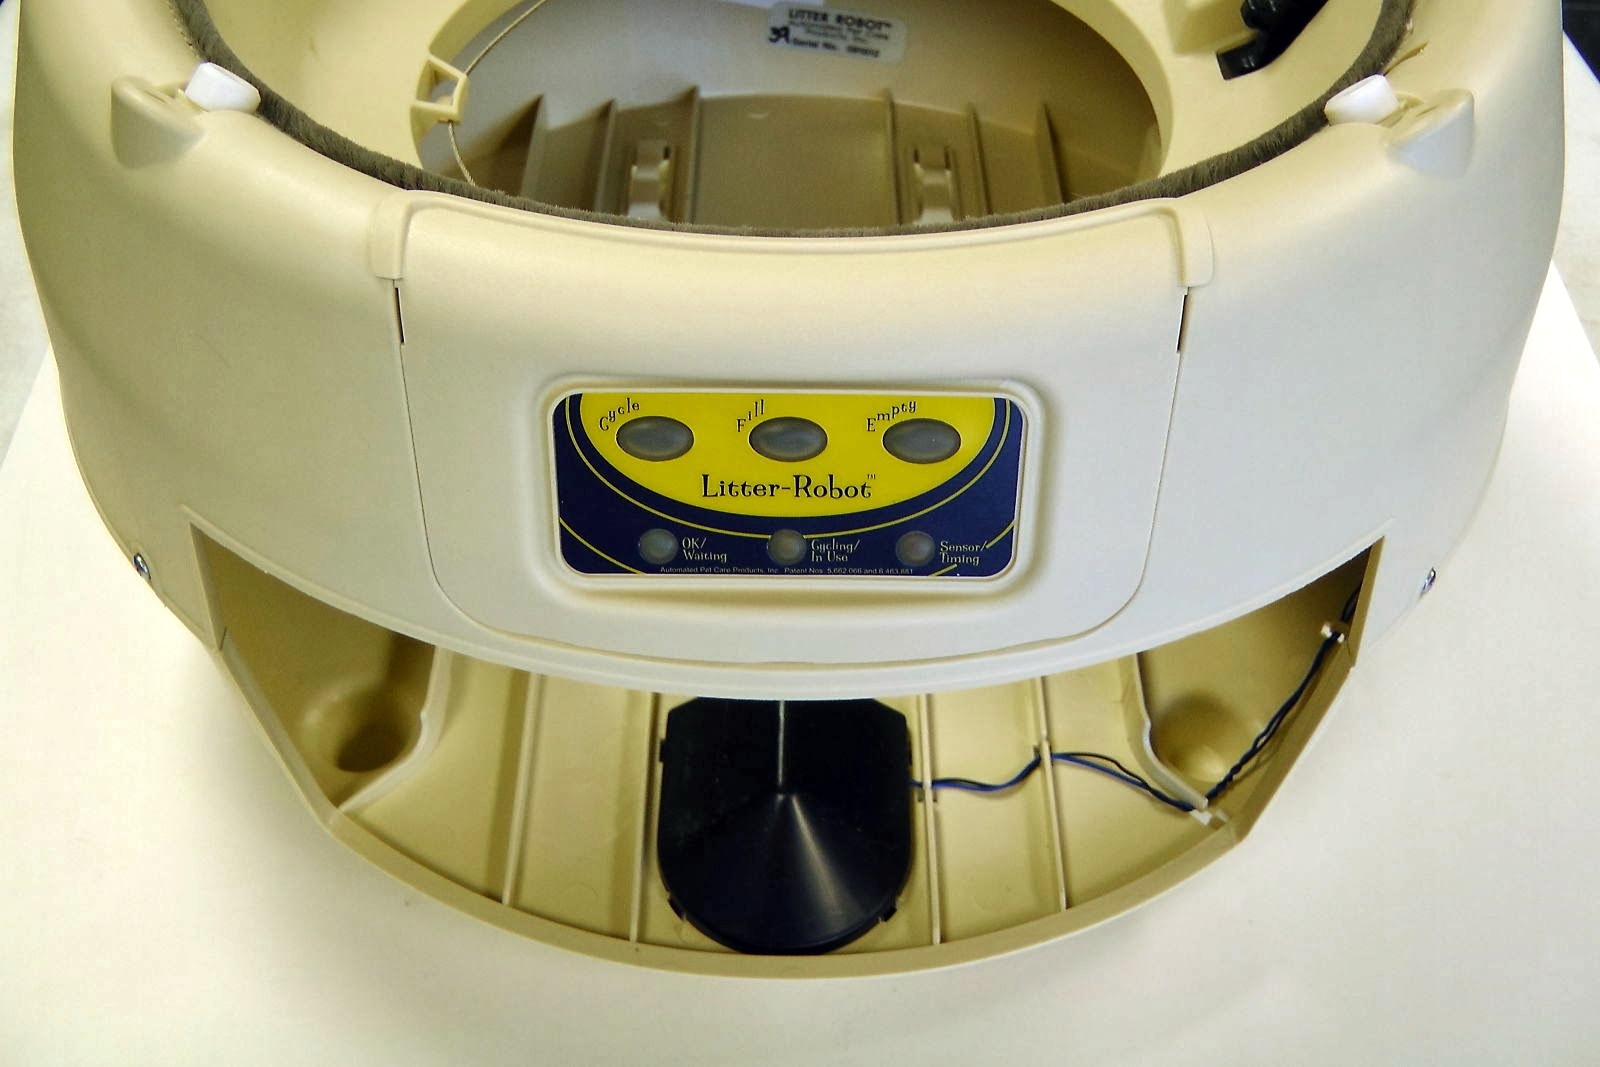 Locate the Front Panel
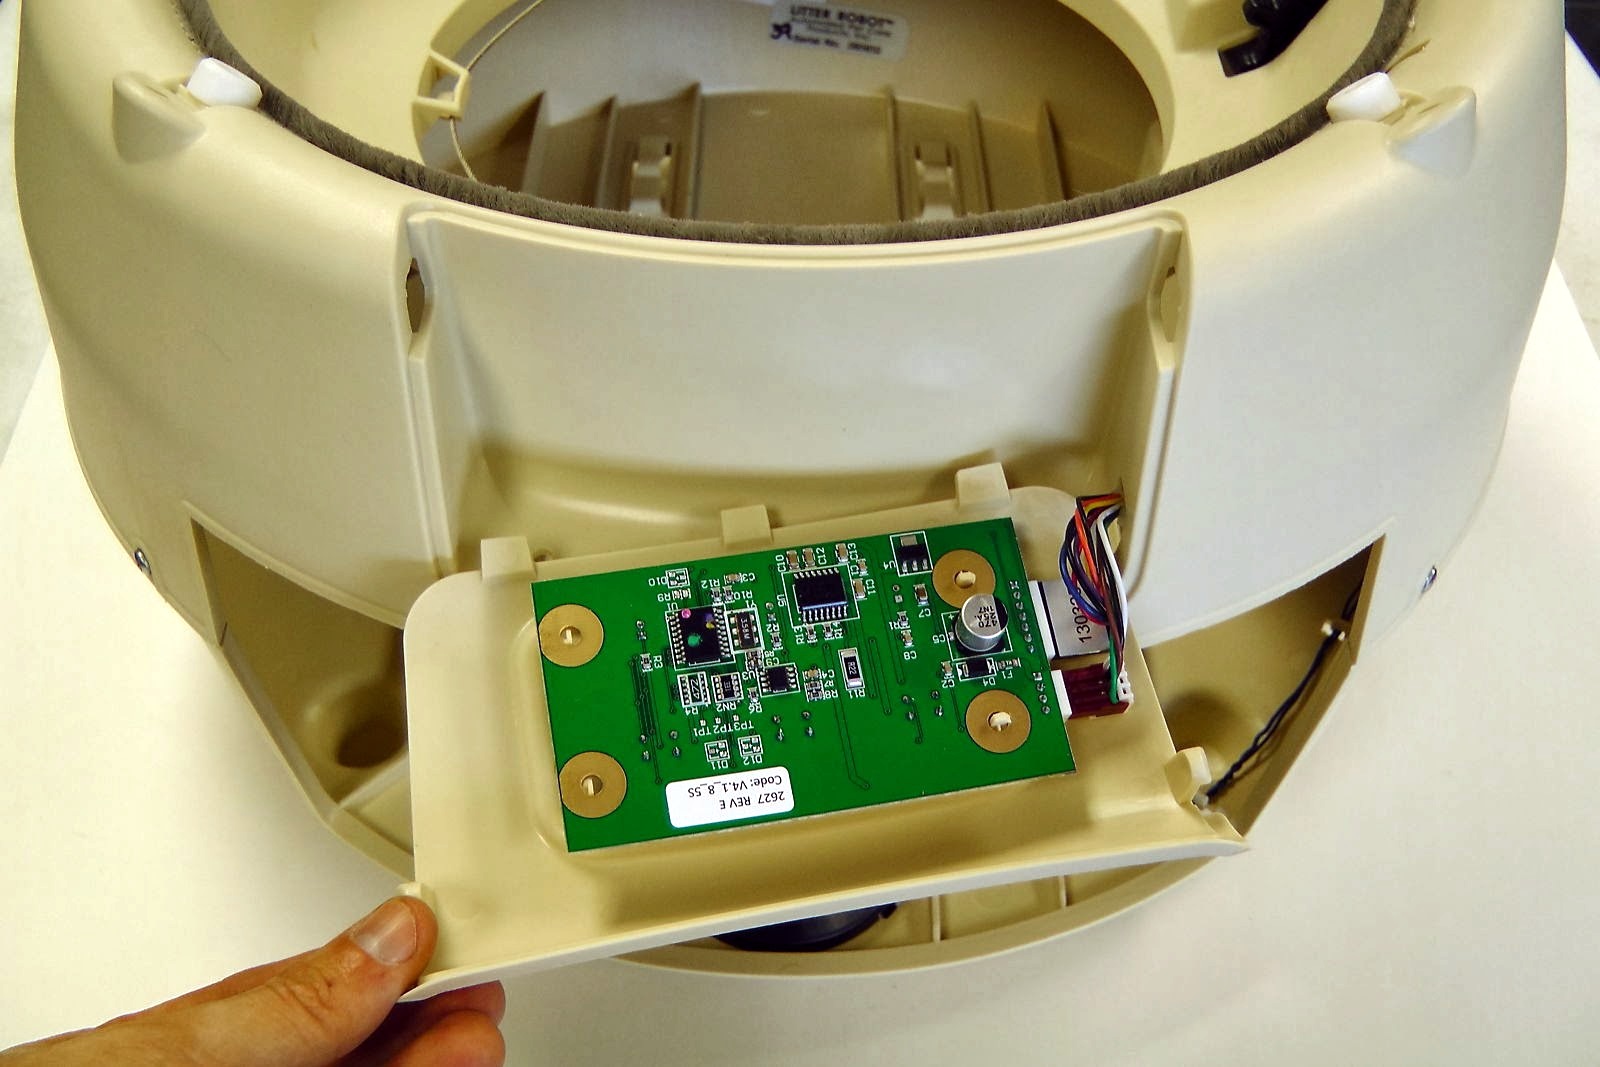 Pull on the Front Panel
You should see numbers on the sensors connector and the white tab on the power connector should be toward the circuit board plastic panel.
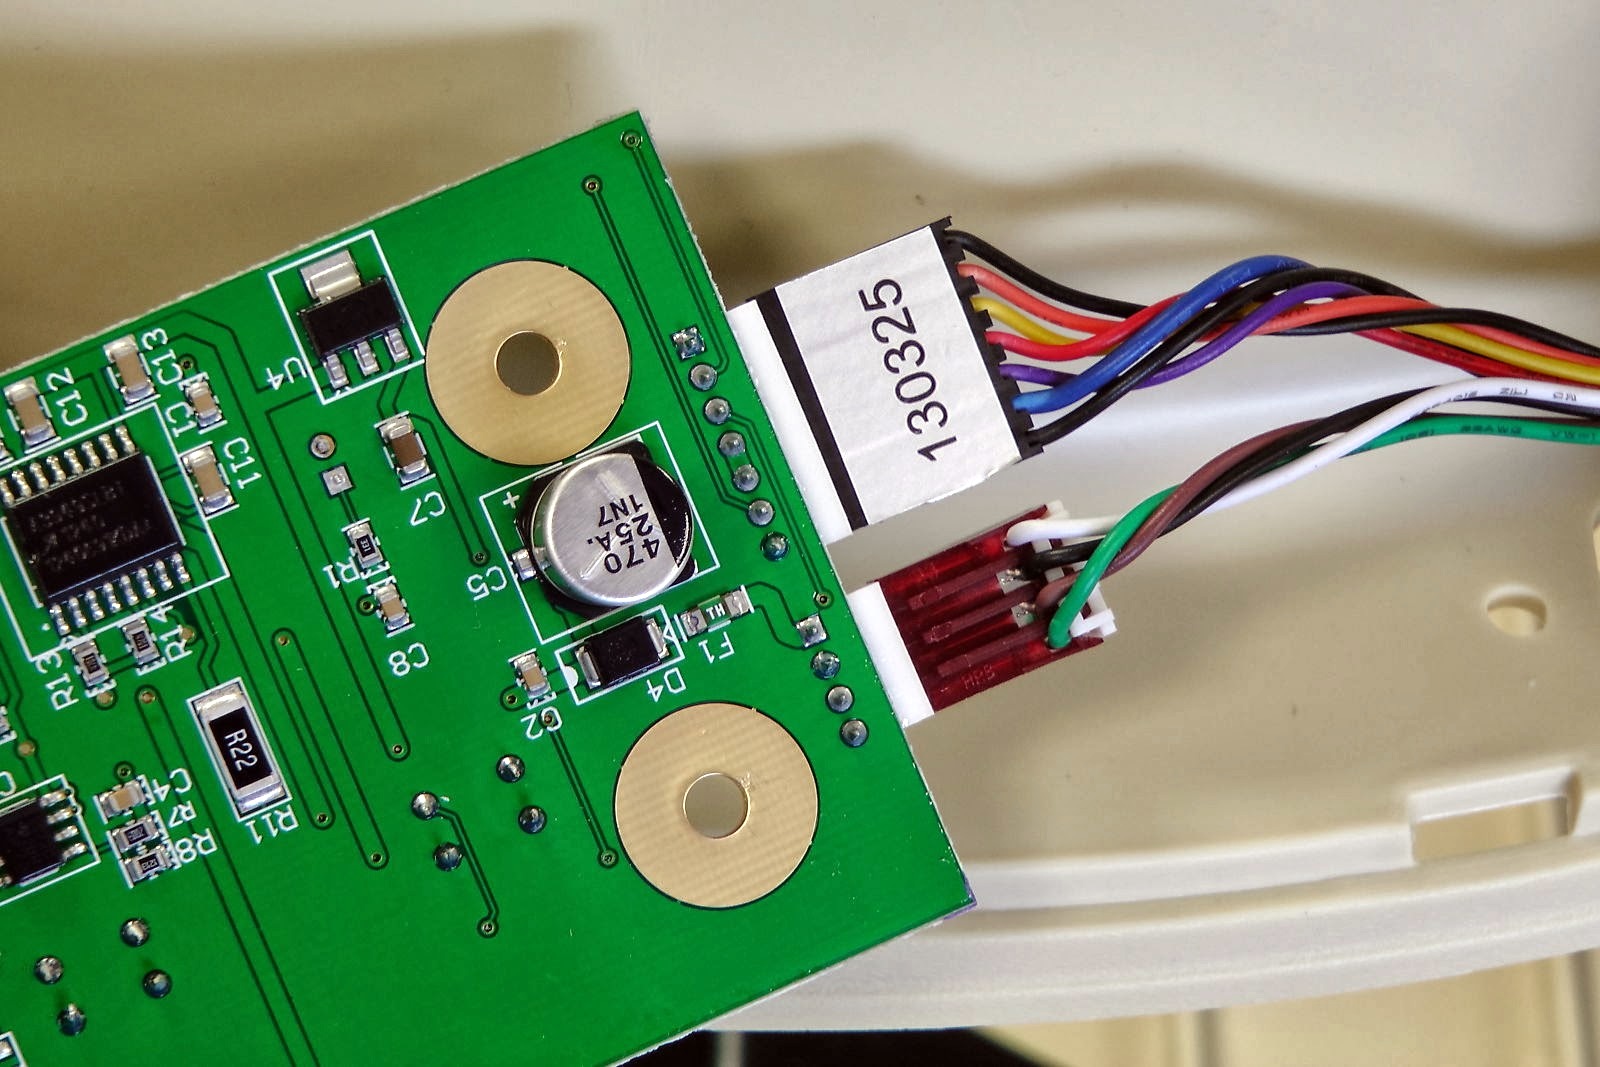 Verify the Circuit Board Connections
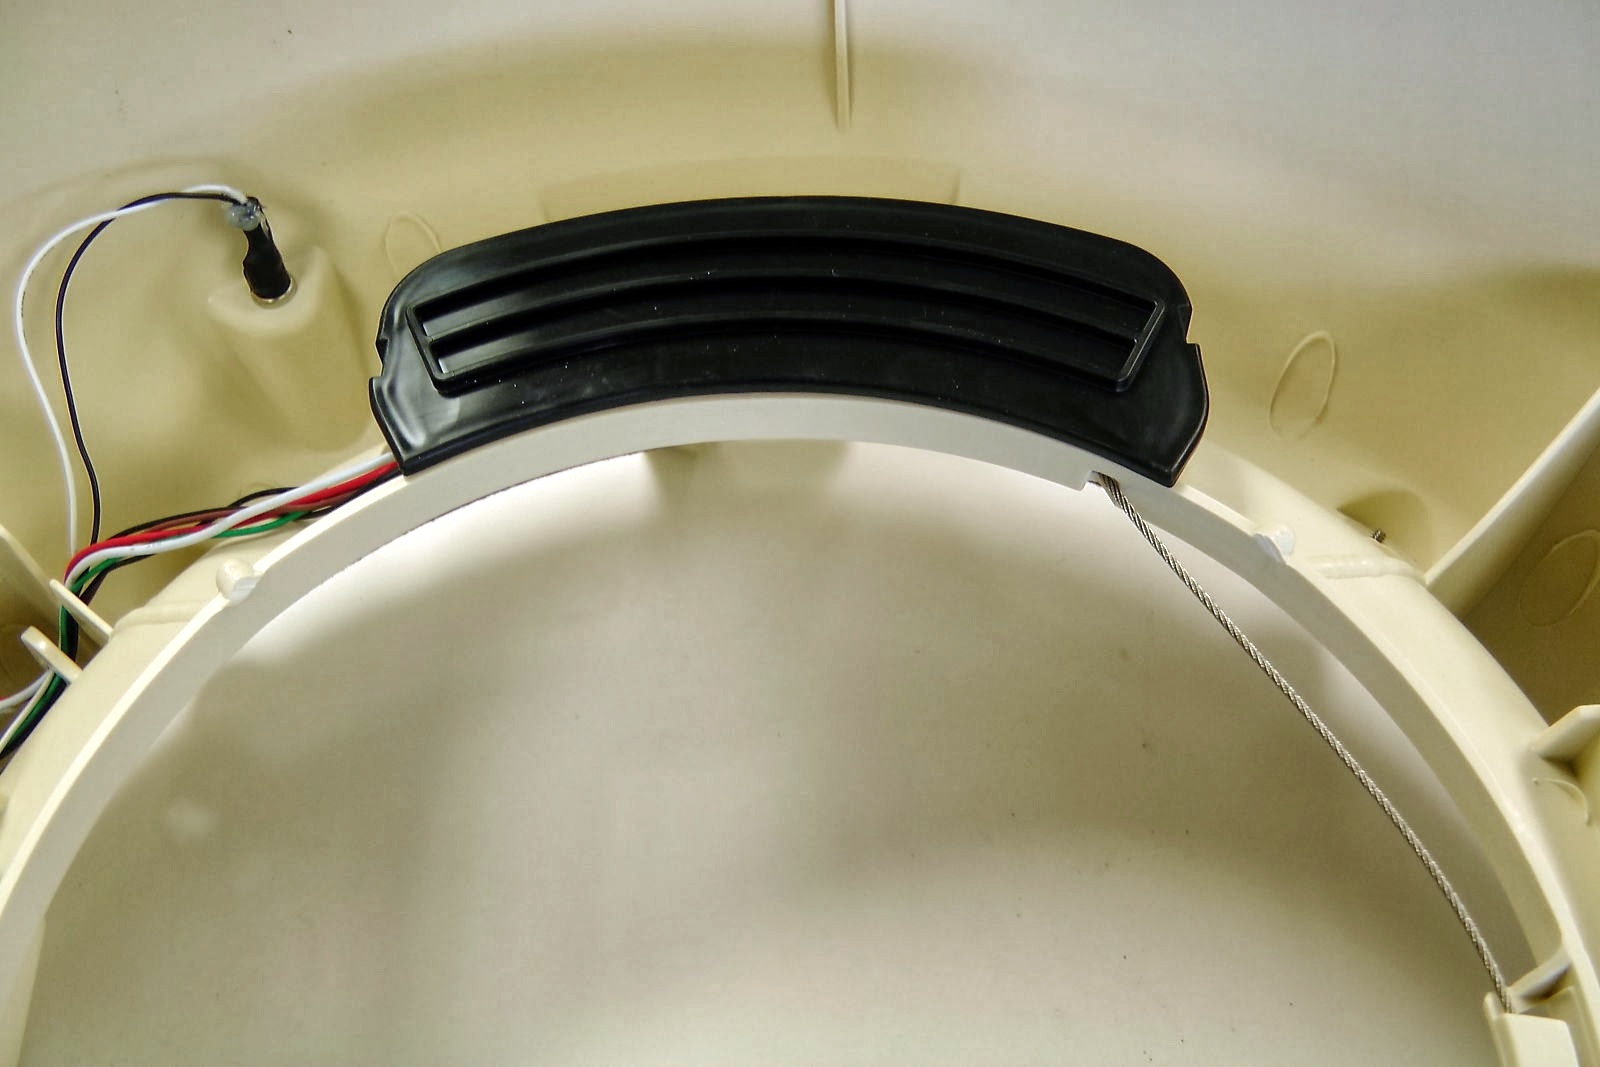
Verifying the safety line connections To reach the safety line connections, first you have to remove the black cover inside the Litter-Robot.
 Remove the Black Cover
You should see two black wires going to a switch or a metal bracket. Verify if they are correctly in place and connected.
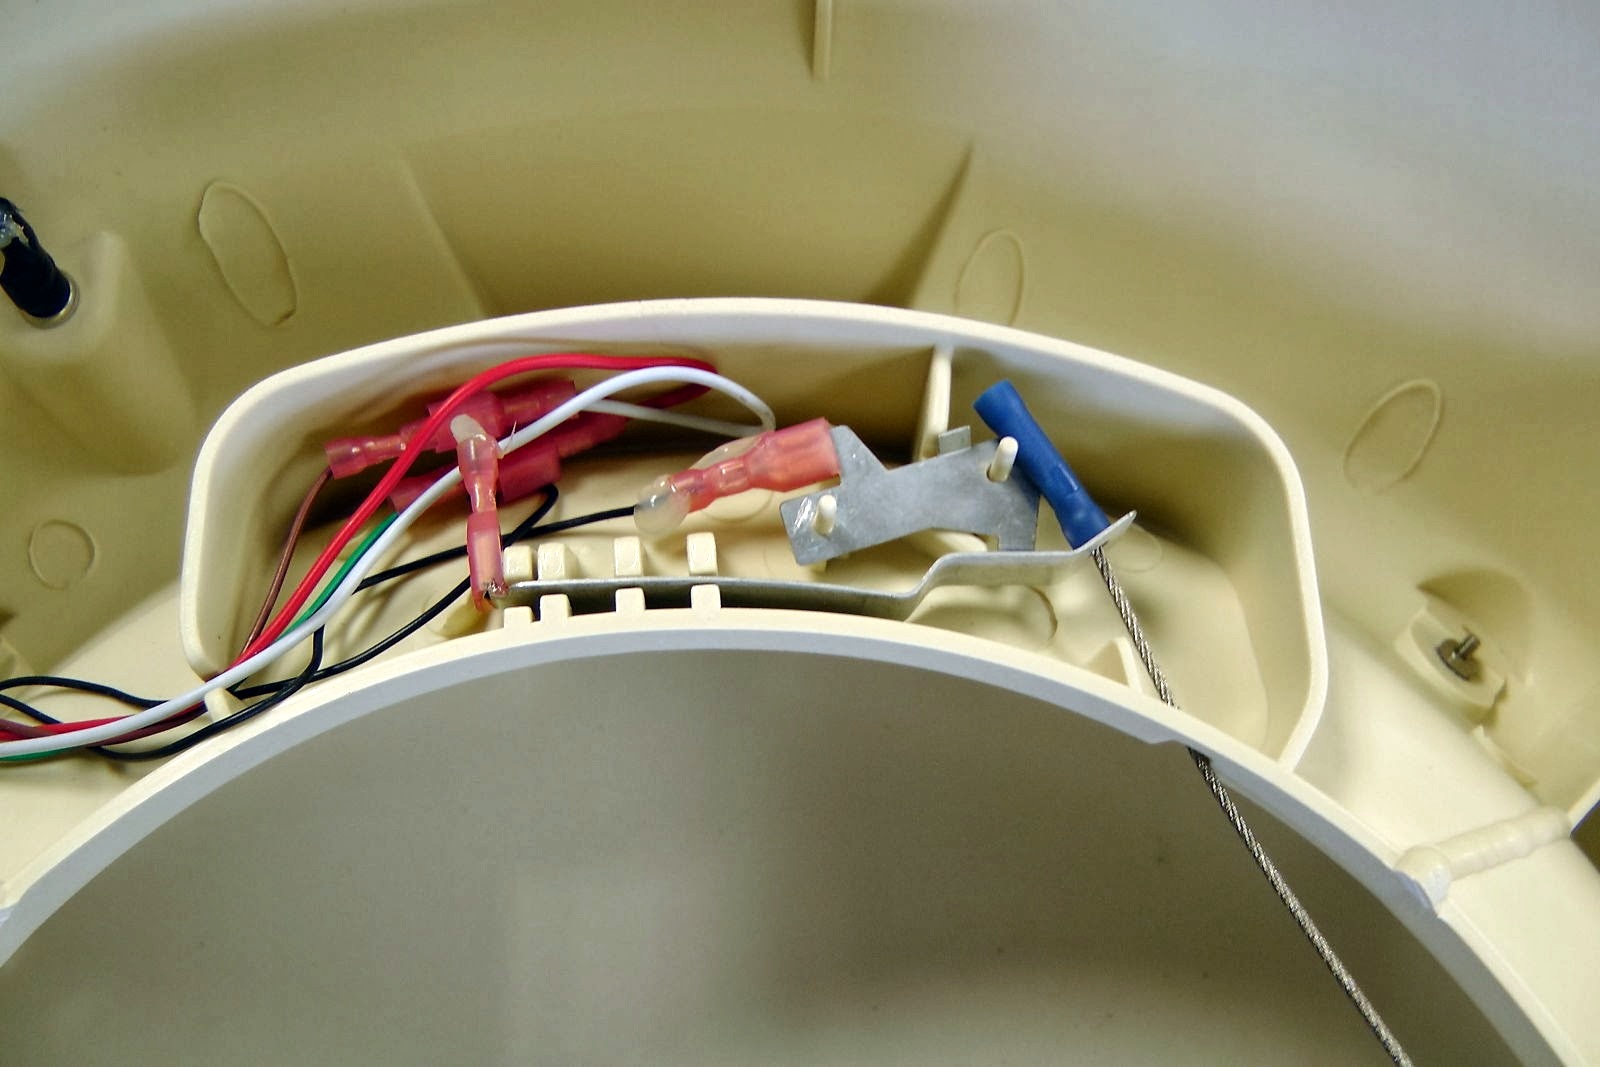 Verify the Safety Line Connections
Verifying the motor connections To reach the motor connections, first you must remove the black cover inside the Litter-Robot.
 Remove the Black Cover
You should see the following connections: - White wire from the motor to brown wire from the Litter-Robot harness - Red wire from the motor to green wire from the Litter-Robot harness
 Spot the Motor Connections
Verify if they are properly connected and if the connectors are attached to their respective wires. The wires may be corroded and you may need either a new harness or Litter-Robot replacement motor.
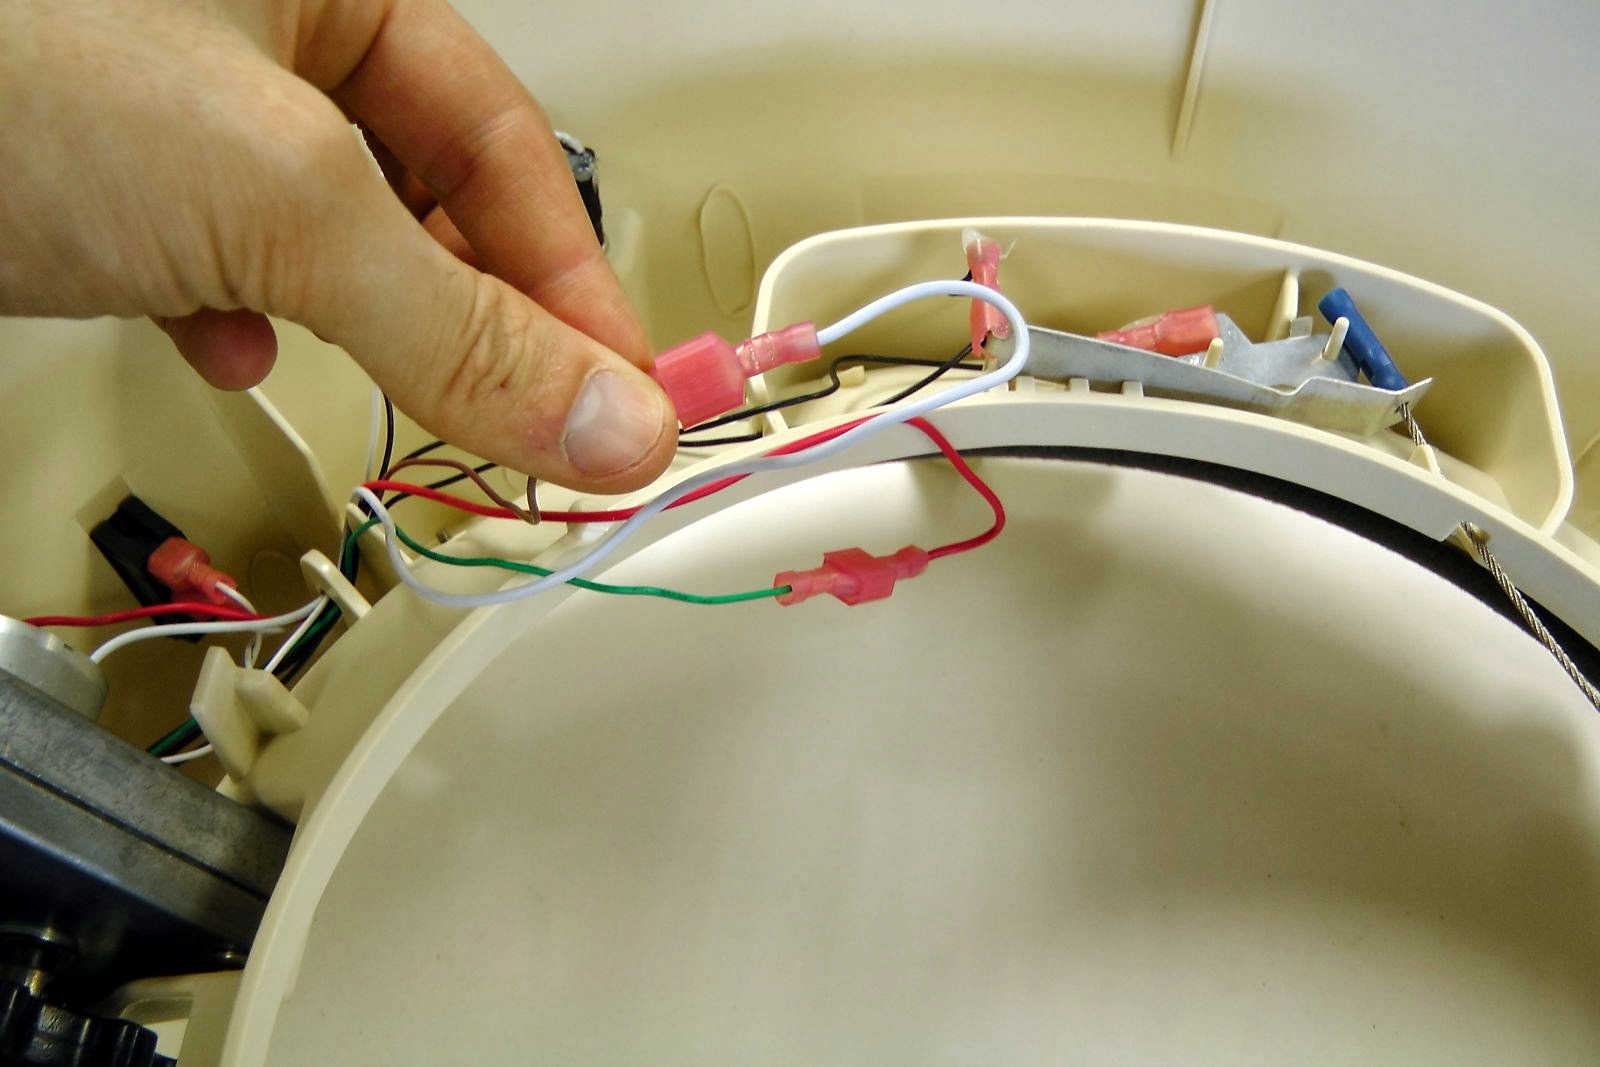 Verify the Motor Connections
Verifying the Hall effect sensor The hall effect sensor is located near the motor.
 Locate the Hall Effect Sensor
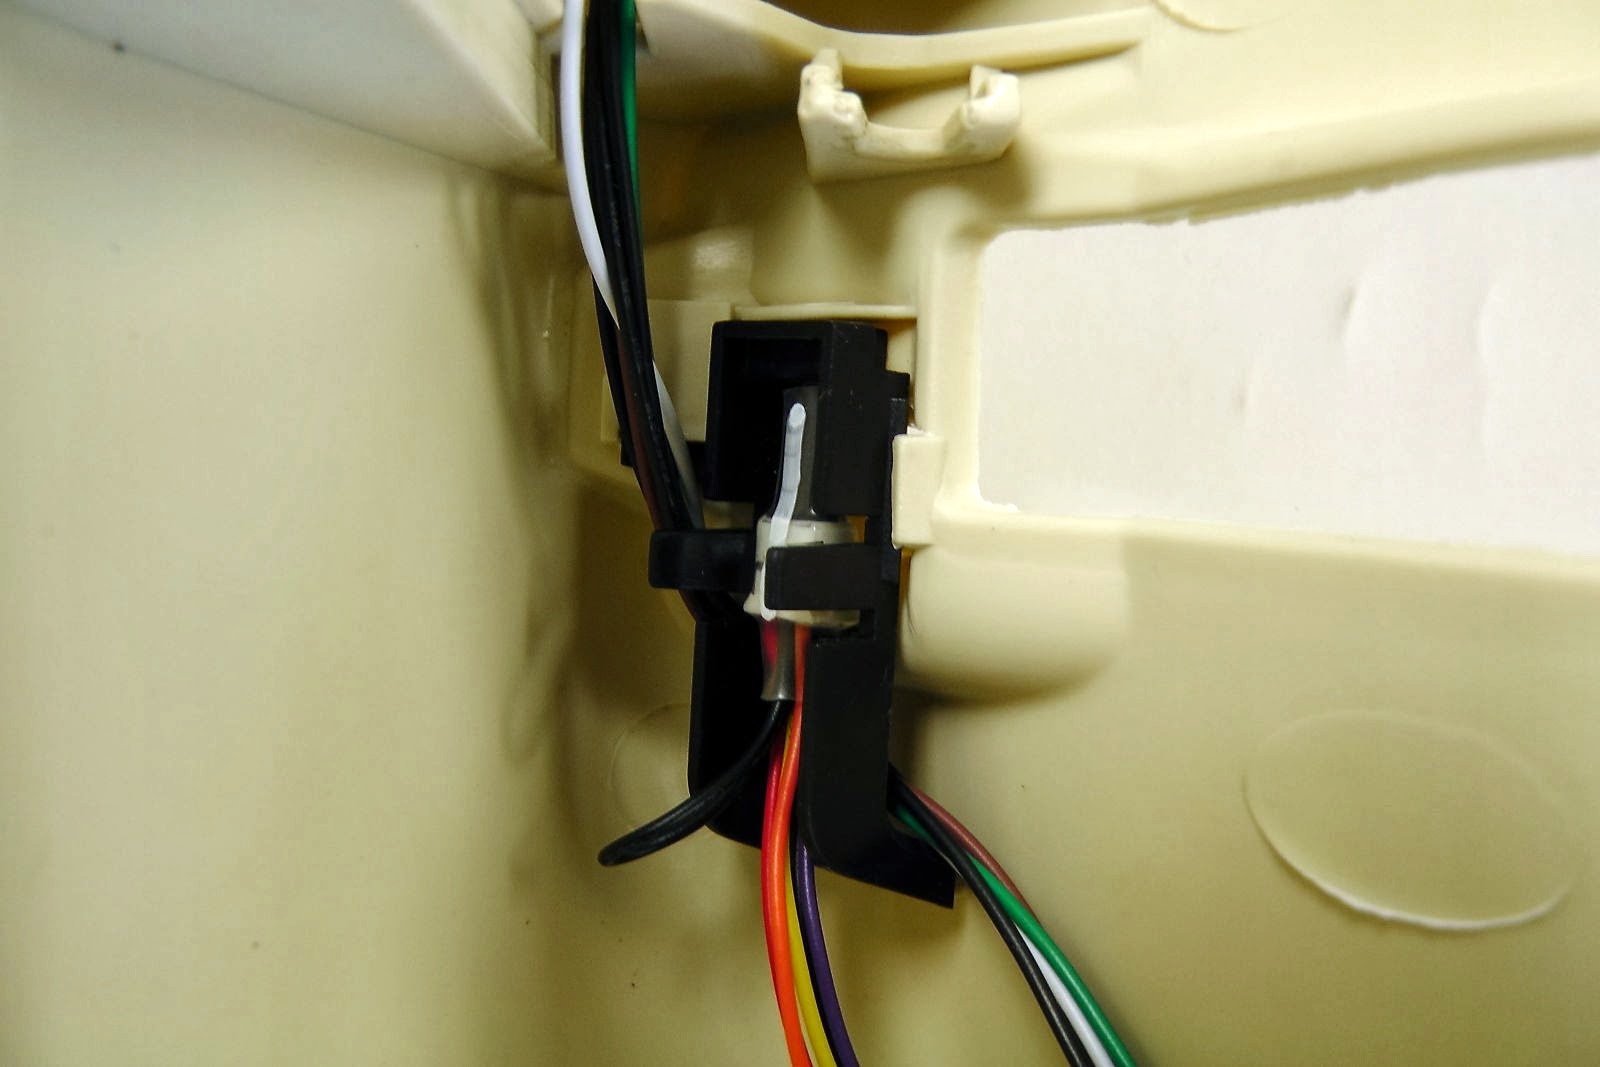 Hall Effect Sensor Close-up
A white stripe is visible if it's installed on the right side. You should verify if it's correctly in place.
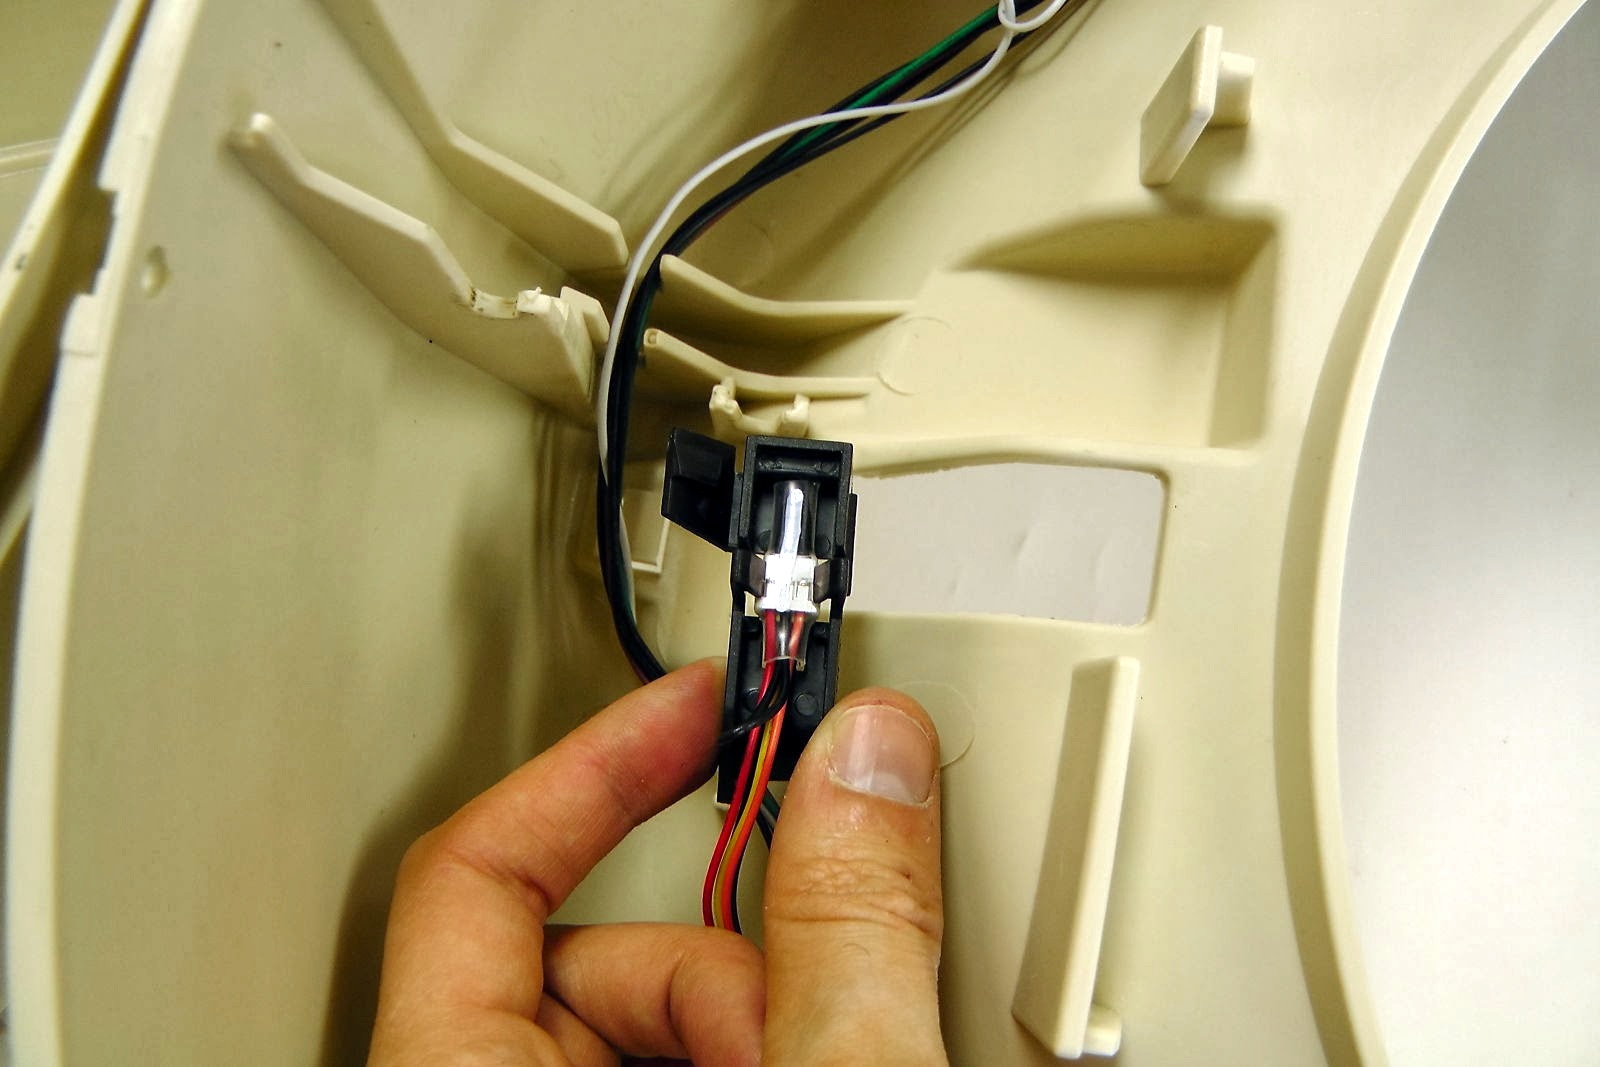 Verify If the Hall Effect is Installed Correctly
Do not hesitate to contact us if your Litter-Robot was purchased with us for repairs under warranty or after our 5 year warranty.
Thanks for helping to keep our community civil!
This post is an advertisement, or vandalism. It is not useful or relevant to the current topic.
You flagged this as spam. Undo flag.Flag Post
Your post is currently under review by our moderation team. The review process usually takes up to 48 business hours.
You can track your post's status in the "My Content" section of your profile. Once approved, it will be published and visible to others.

Thank you for contributing to our community!