Litter-Robot II Repair Guide - Chapter 1: Motor
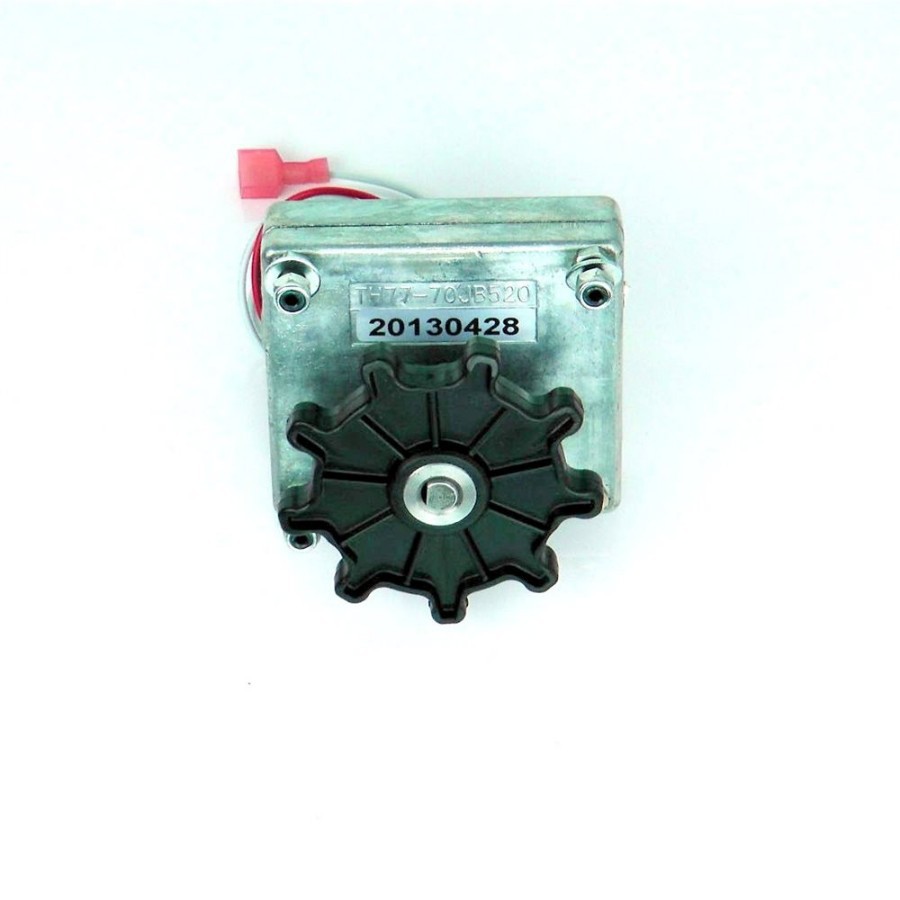
In this chapter of our Litter-Robot II Repair Guide, we will help you replace the motor on your Litter-Robot II.
You can find our Litter-Robot II troubleshooting guides here:
Litter-Robot II Basic Troubleshooting Guide
Litter-Robot II Advanced Troubleshooting Guide
You can find our Litter-Robot II repair guides here:
Litter-Robot II Repair Guide - Chapter 1: Motor
Litter-Robot II Repair Guide - Chapter 2: Circuit Board
Litter-Robot II Repair Guide - Chapter 3: Power Jack
Litter-Robot II Repair Guide - Chapter 4: Cat Sensor Micro Switch
Litter-Robot II Repair Guide - Chapter 5: Sensor Harness
You can refer to our advanced troubleshooting guide to help you open up your Litter-Robot II.
Replacing the Litter-Robot II motor
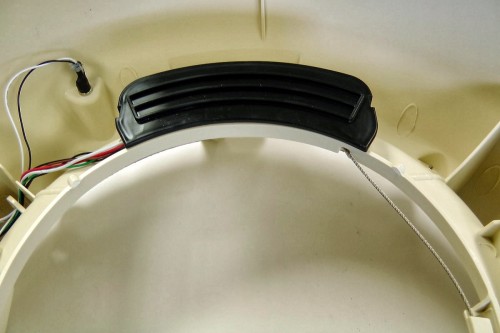
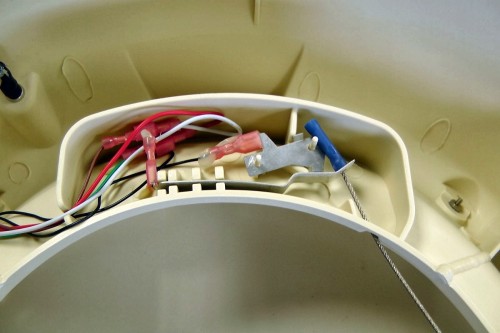
To replace the motor, you will need a 5/16" socket with a ratchet. First, remove the black cover from the top part of your Litter-Robot base to reveal the motor connections.
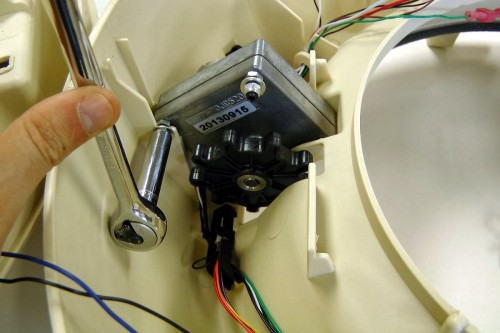
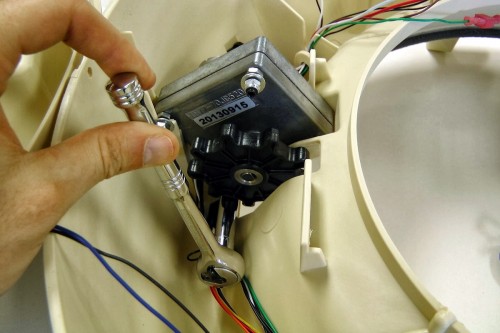
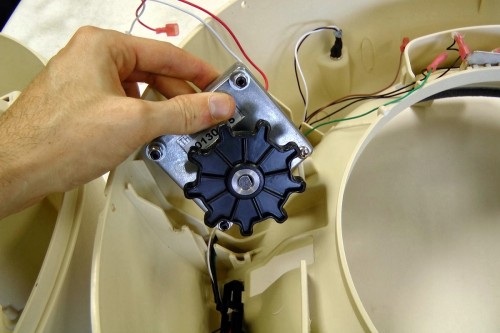
Using the ratchet, loosen the 5/16" motor nuts.
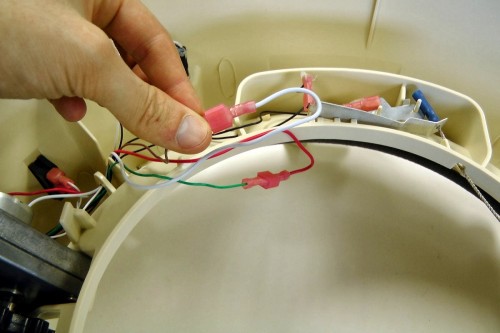
Disconnect the motor from the sensor harness.
You can now remove the motor from the Litter-Robot.
Place the new motor inside your Litter-Robot base.
Connect the motor to the sensor harness, by making sure to plug the white wire with the brown wire and the red wire with the green one.
Using the ratchet, tighten the 5/16" motor nuts.
Properly place the motor connections and install the cover.
Thanks for helping to keep our community civil!
This post is an advertisement, or vandalism. It is not useful or relevant to the current topic.
You flagged this as spam. Undo flag.Flag Post


