

Litter-Robot II Basic Troubleshooting Guide

For those who have been enjoying the Litter Robot automatic self cleaning litter box for a few months or a few years, you know that this is a great product that has very few issues. But, it is a robot with sensors etc. that can fail with usage. We do have tricks and things to verify for basic issues if the robot goes into error and wanted to share them with our readers. In many cases, just a verification and adjustment of sensors can fix the Litter-Robot without having to repair it. You can find our Litter-Robot II troubleshooting guides here: Litter-Robot II Basic Troubleshooting Guide Litter-Robot II Advanced Troubleshooting Guide You can find our Litter-Robot II repair guides here: Litter-Robot II Repair Guide - Chapter 1: Motor Litter-Robot II Repair Guide - Chapter 2: Circuit Board Litter-Robot II Repair Guide - Chapter 3: Power Jack Litter-Robot II Repair Guide - Chapter 4: Cat Sensor Micro Switch Litter-Robot II Repair Guide - Chapter 5: Sensor Harness
 Litter-Robot II
We suggest verifying the following: 1. While the globe is at the dump position please check to see if the waste port guard handle is interfering with the entrance lip of the flexible liner.
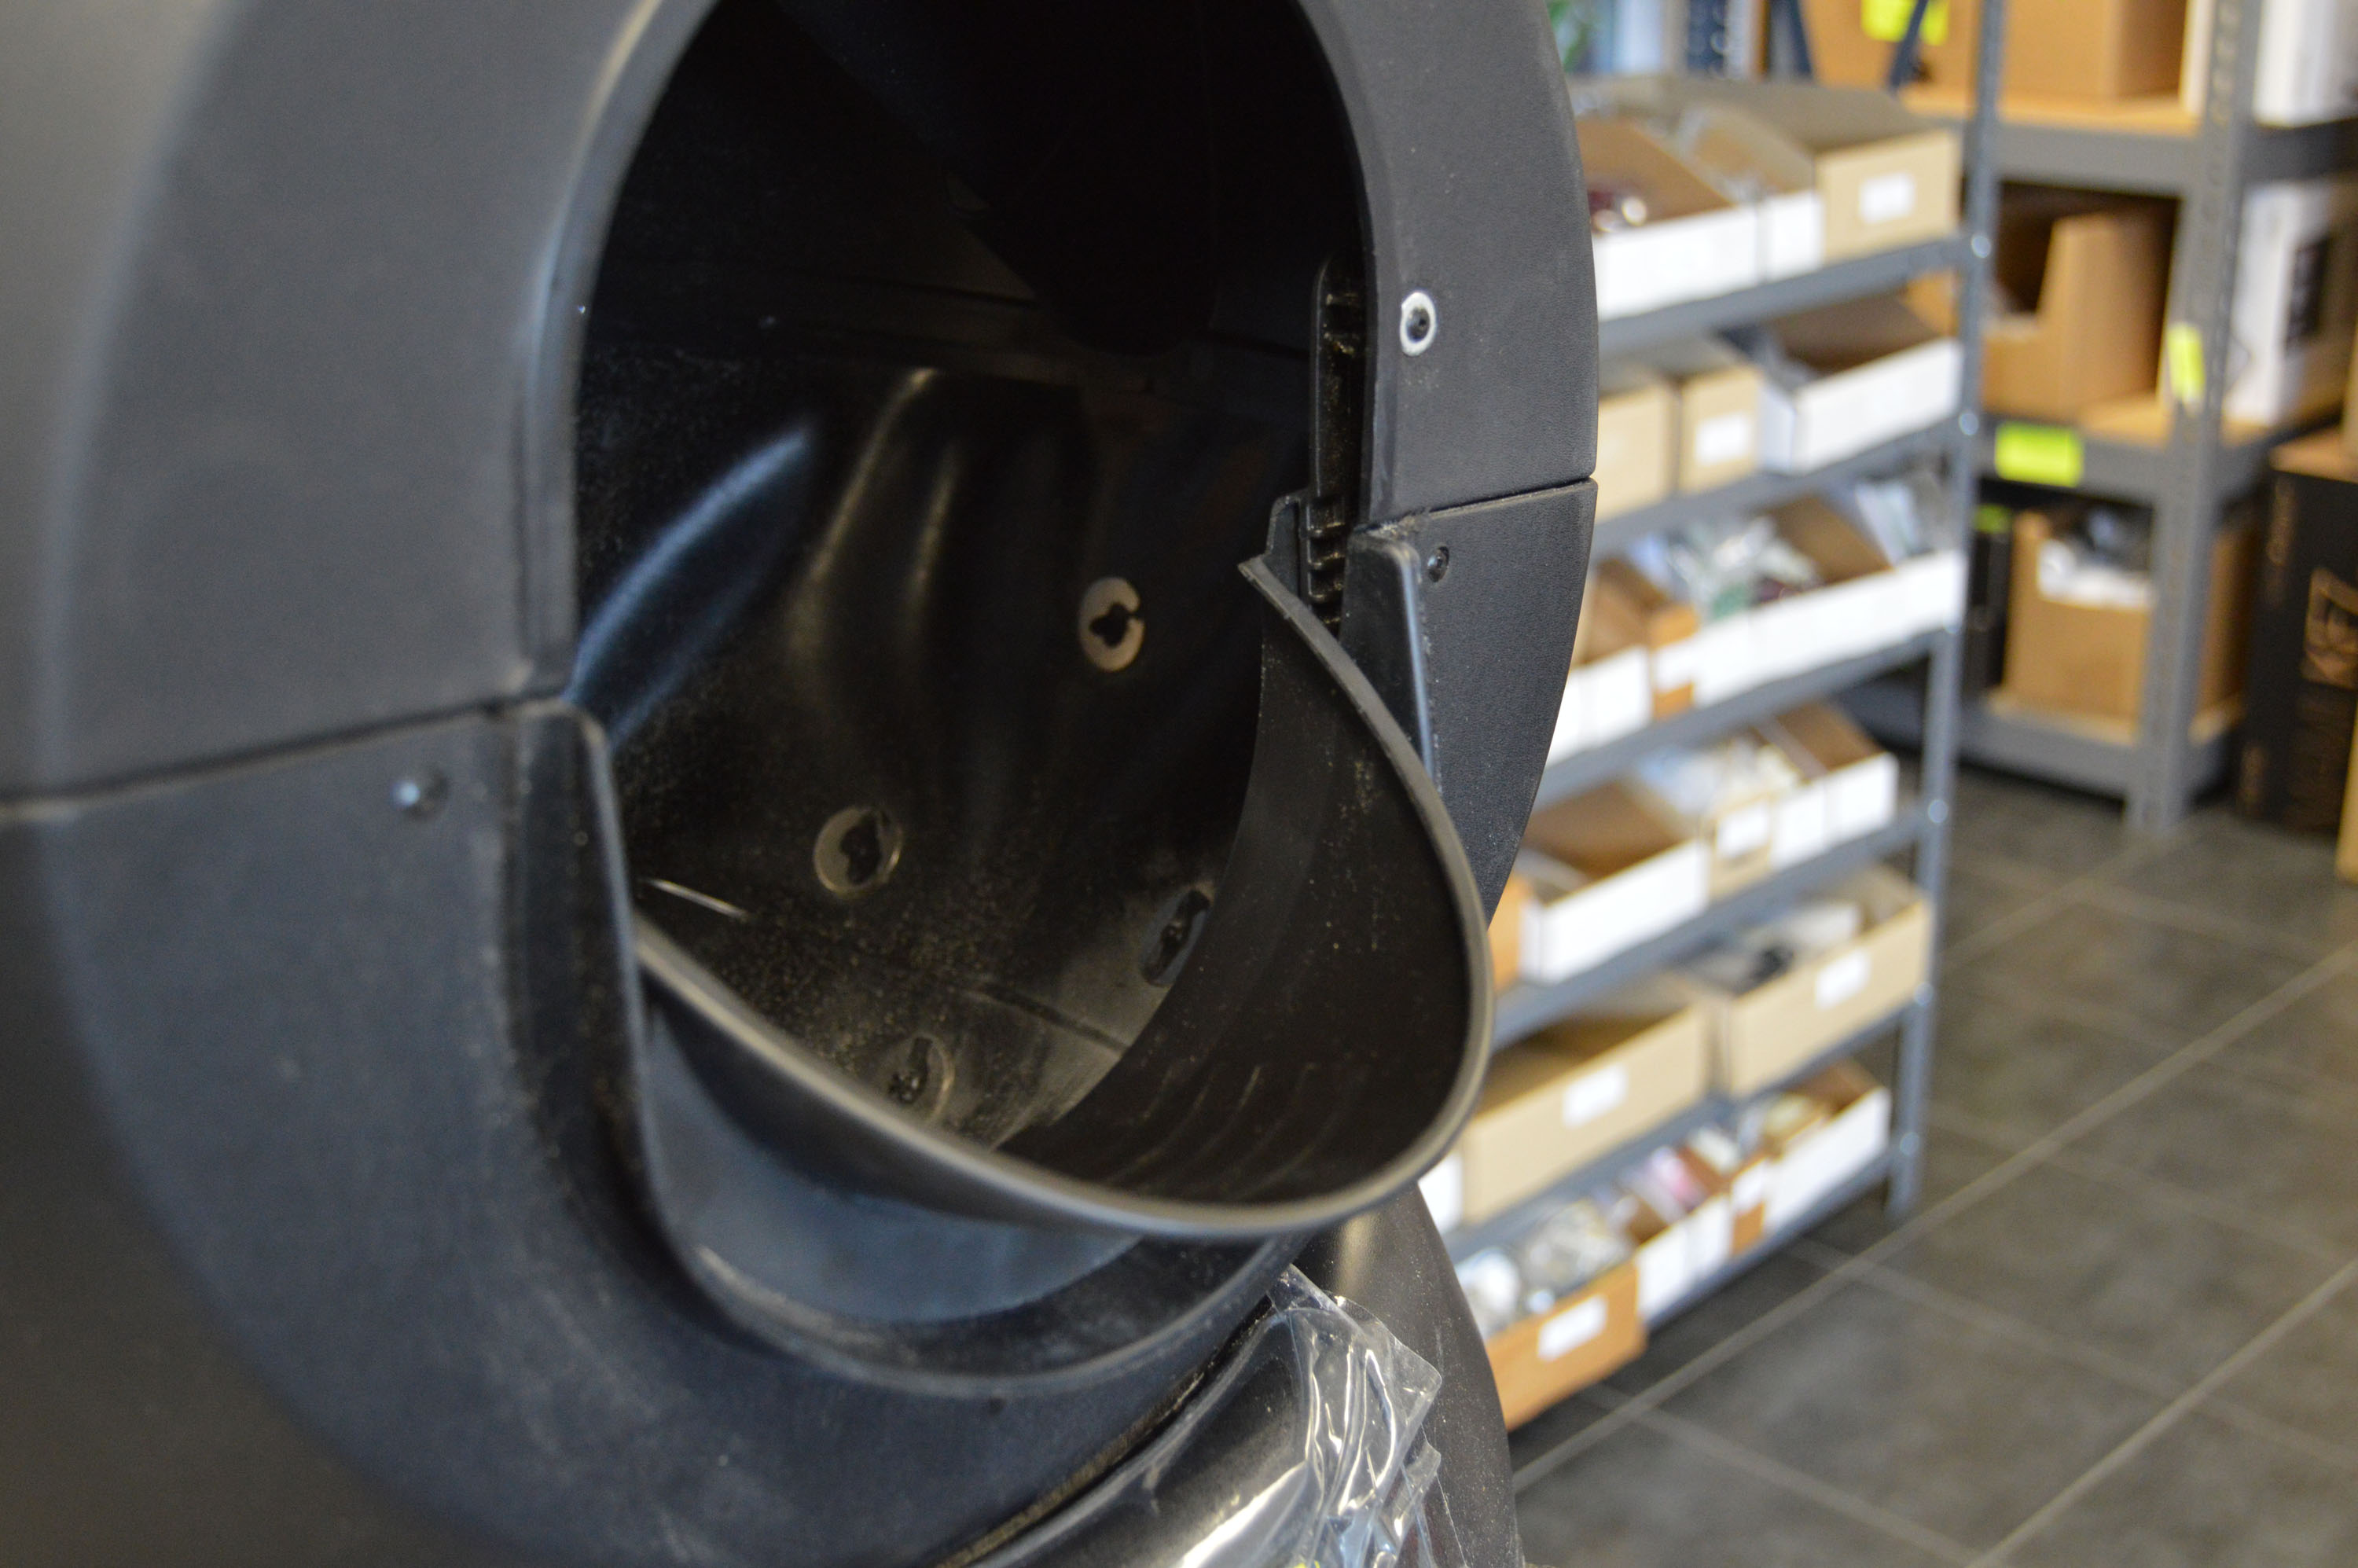 Litter-Robot Lip Extender Not Installed Correctly
If this appears to be the case like in the picture above then please re-position the lip such that the channel at the base of the lip is fitted onto the hard plastic opening. If you have a lip extender, please also make sure it is properly installed under the arm such as the arm moves freely up and down.
 Litter-Robot Lip Extender Installed Correctly
2. Remove the globe and make sure there is nothing stuck on the base where the globe turns. Make sure there is nothing preventing the globe from turning properly. Please also make sure the litter-robot is on a level surface.
 Litter-Robot Base
Especially verify the gear that the base sits on for debris.
 Litter-Robot Motor Gear
3. Please check the control panel for any evidence of urine residue. Also, if you see urine in the bottom of the waste drawer, this would be an indication that your cat is missing the litter and urinating just outside the opening, which may be damaging the circuit board behind the control panel.
 Removing Litter-Robot Control Panel
You may remove the control panel by pulling on one side from the top left or right corner.
 Verify Circuit Board
You will then be able to visually verify the circuit board for evidence of urine. If this is the case, a new circuit board would be recommended. 4. Let's also make certain the cat sensor is at the factory setting. Please remove the globe and waste drawer and make certain the unit is off.
 Litter-Robot Cat Sensor Covered
You will see a black cover just inside the base. Remove it.
 Remove Litter-Robot Cat Sensor Cover
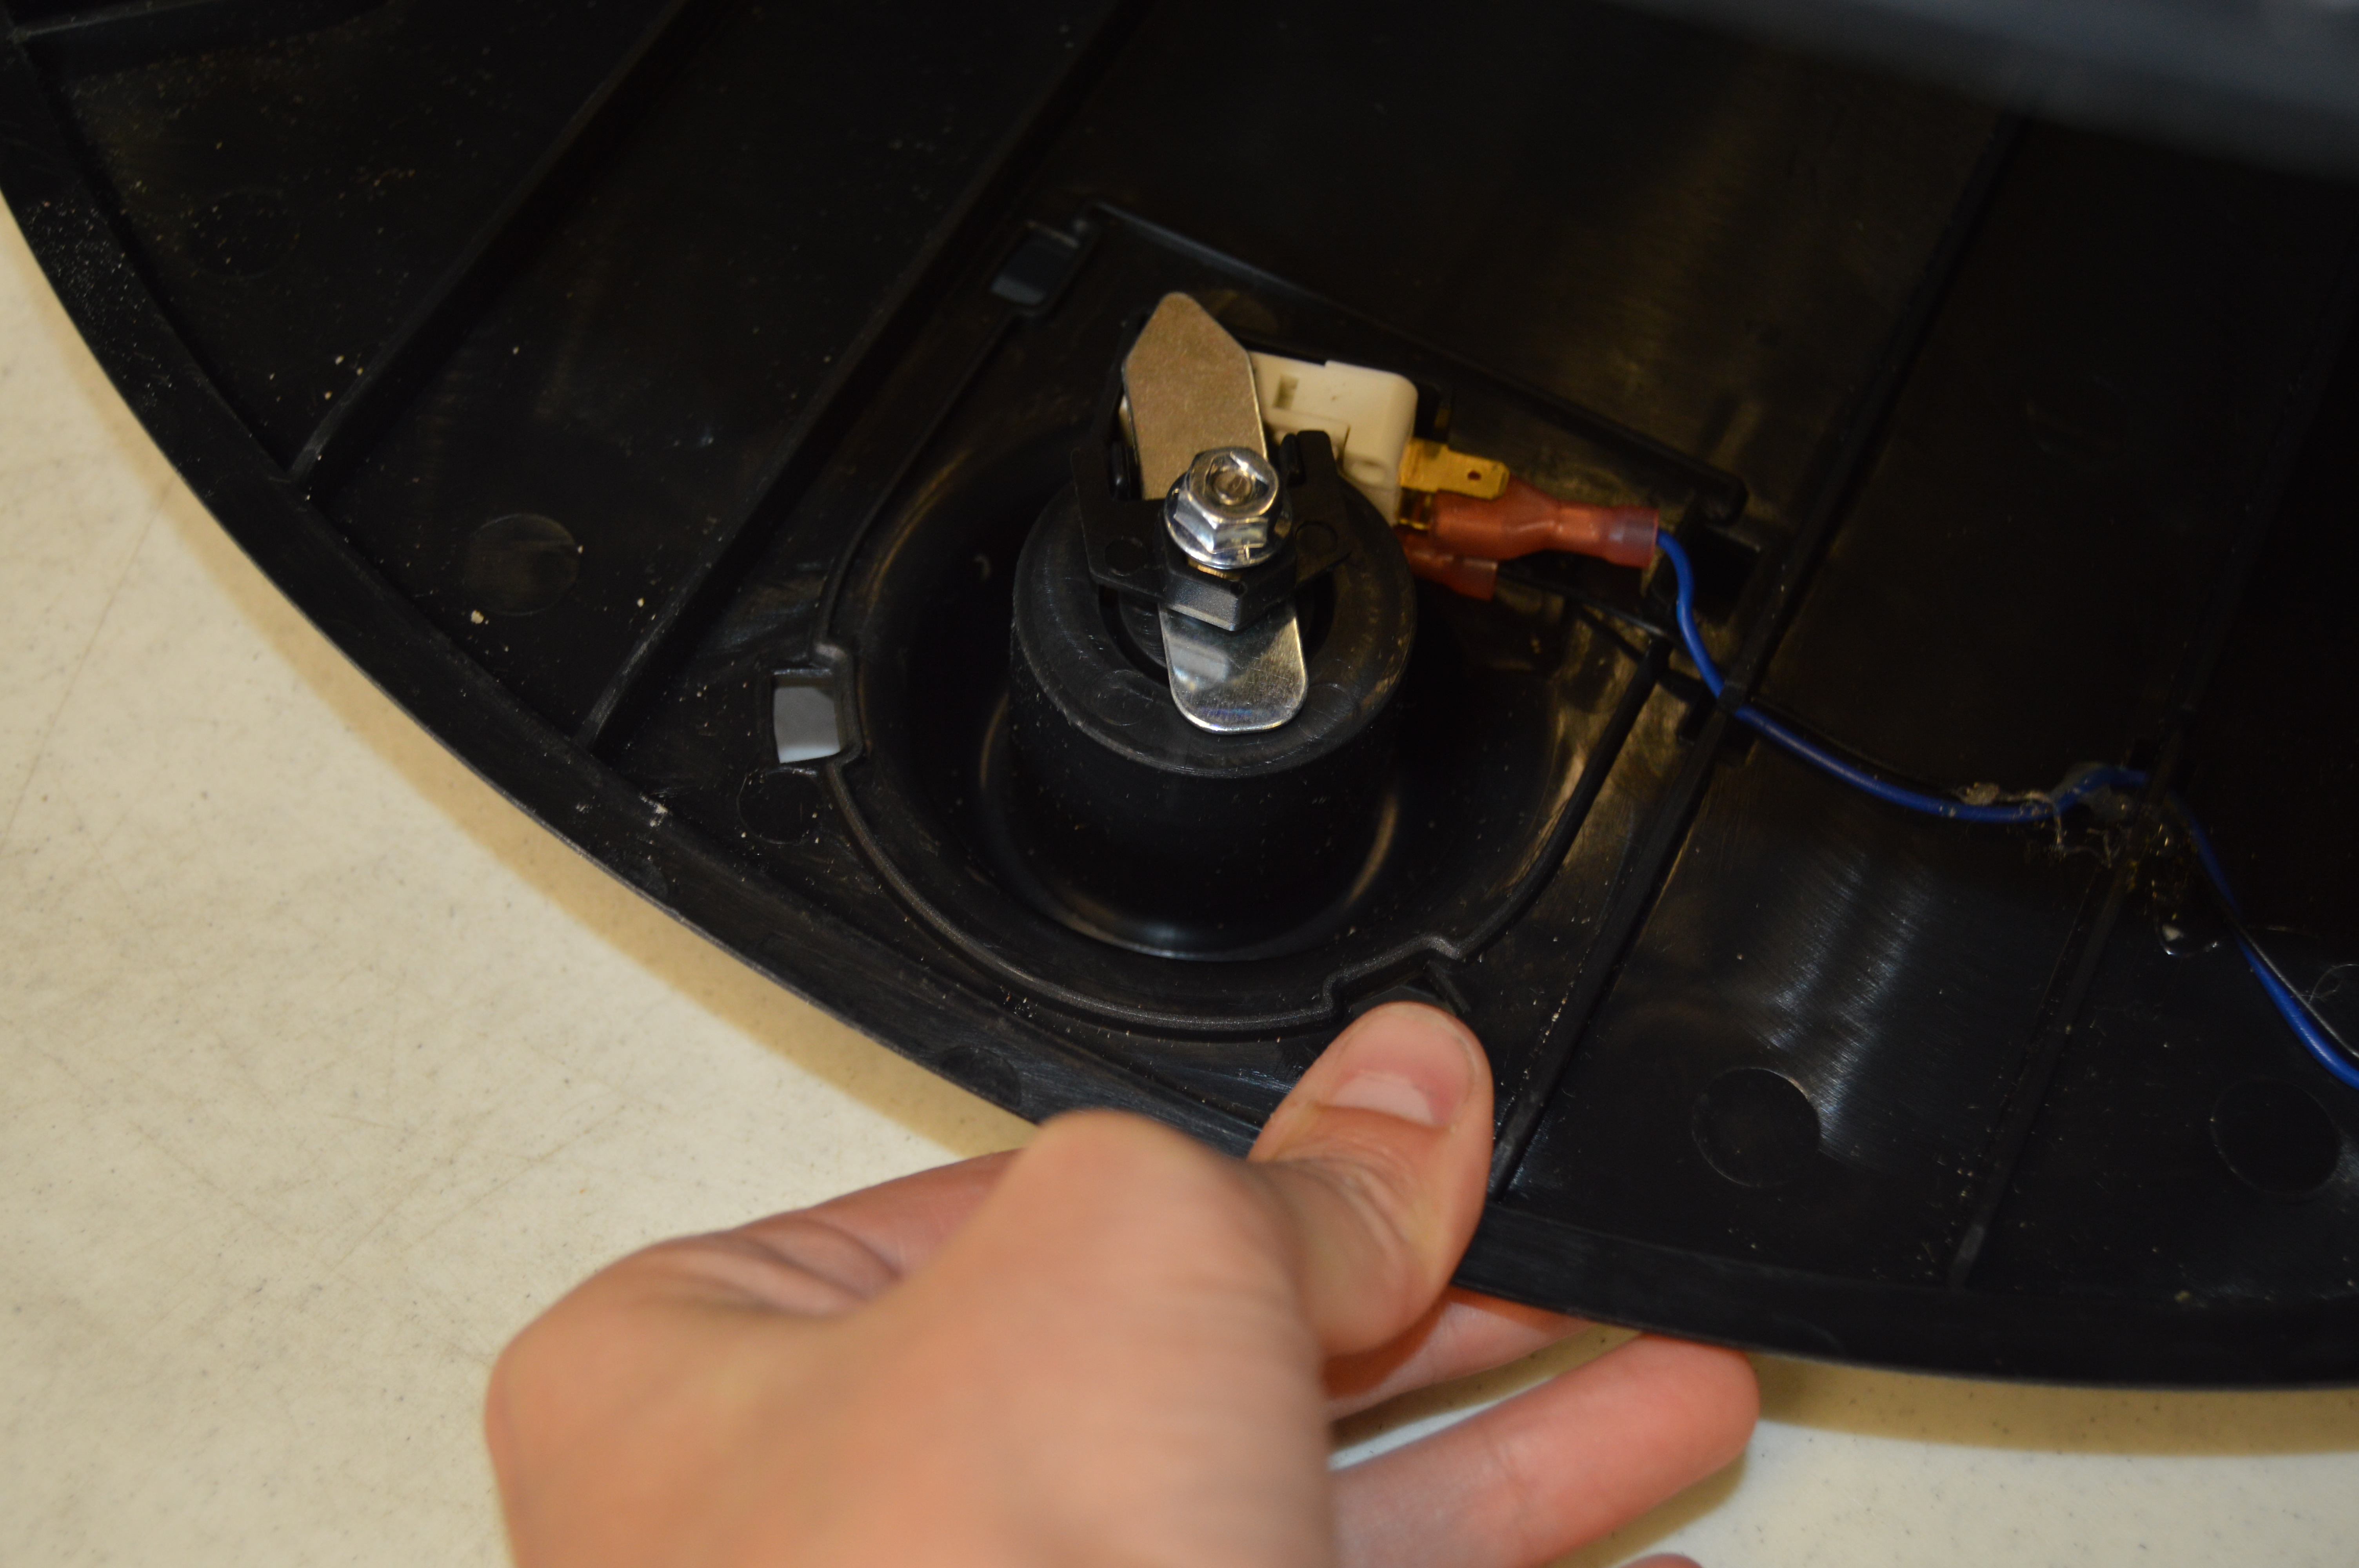
You should see about 2 threads between the nut and black holder.
 Litter-Robot Cat Sensor
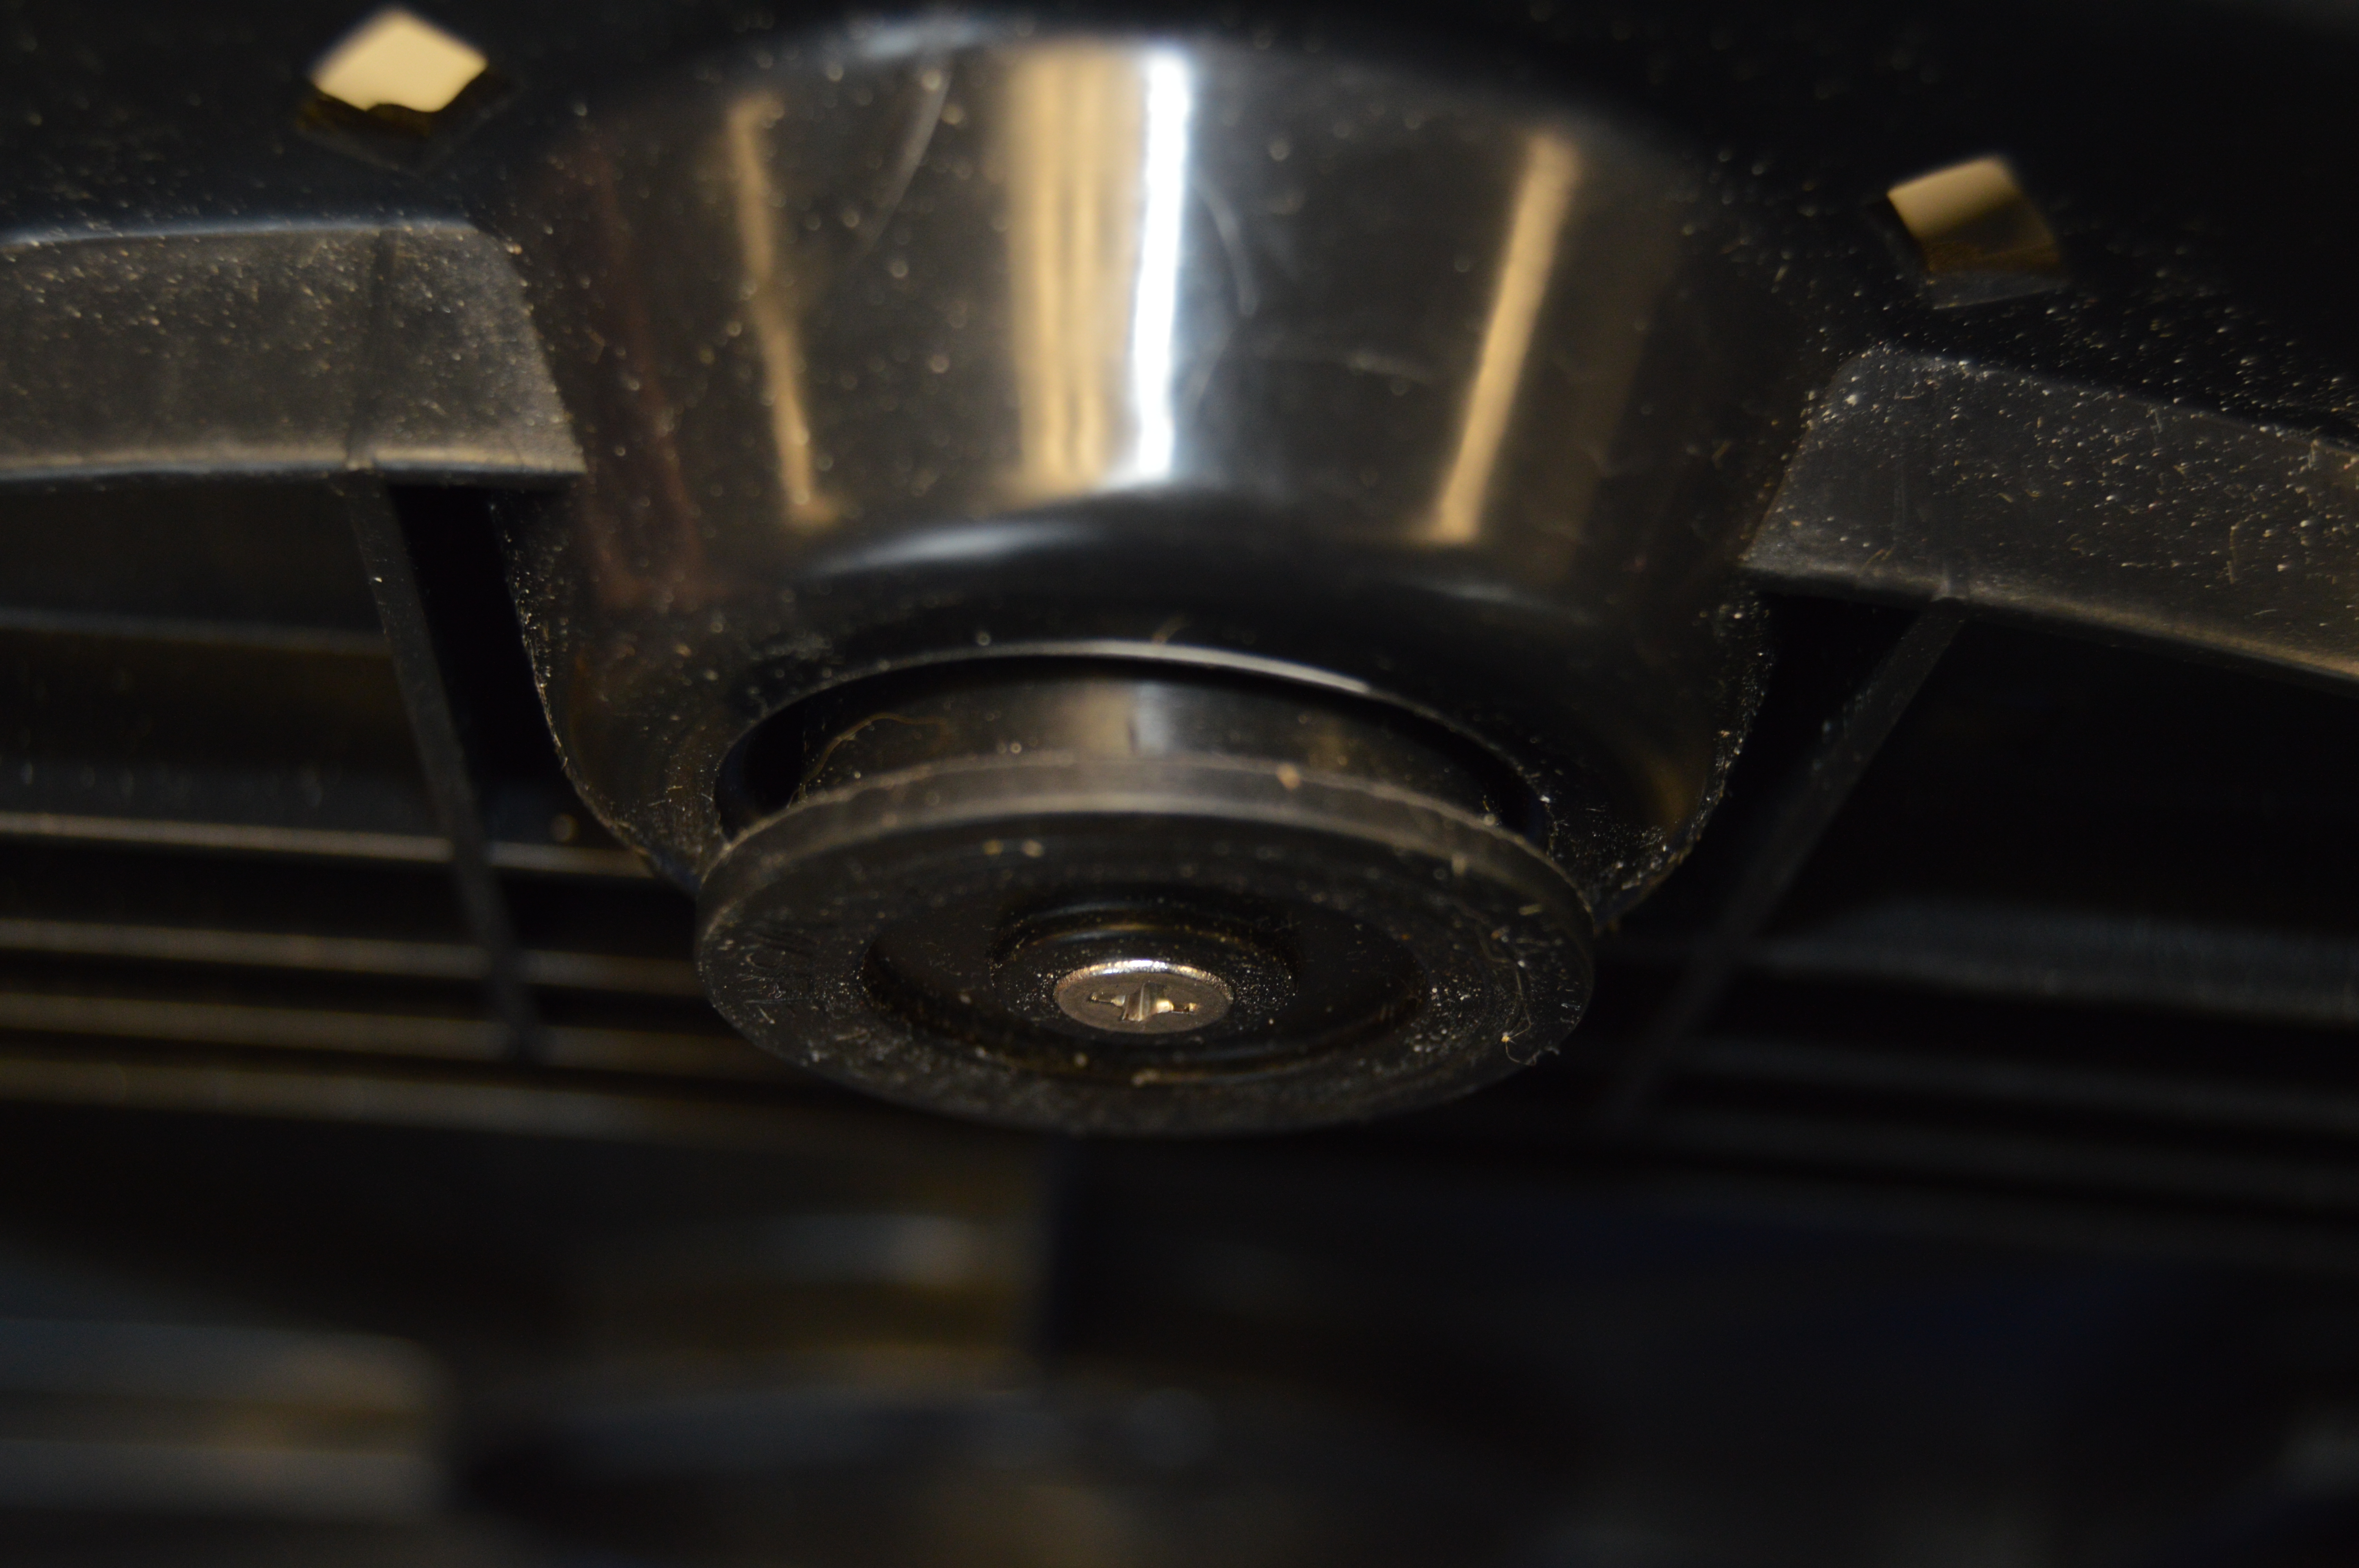
If you do not, then adjust the cat sensor by turning what we call the foot/knob that is directly underneath the base until it is. Depending on the size of your cat, you may need to adjust it slightly.
 Adjusting Litter-Robot Cat Sensor
Make sure the correct amount of litter is inside the globe before adjusting. A maximum of two inches below the cat entrance and not above the fill line inside the globe.
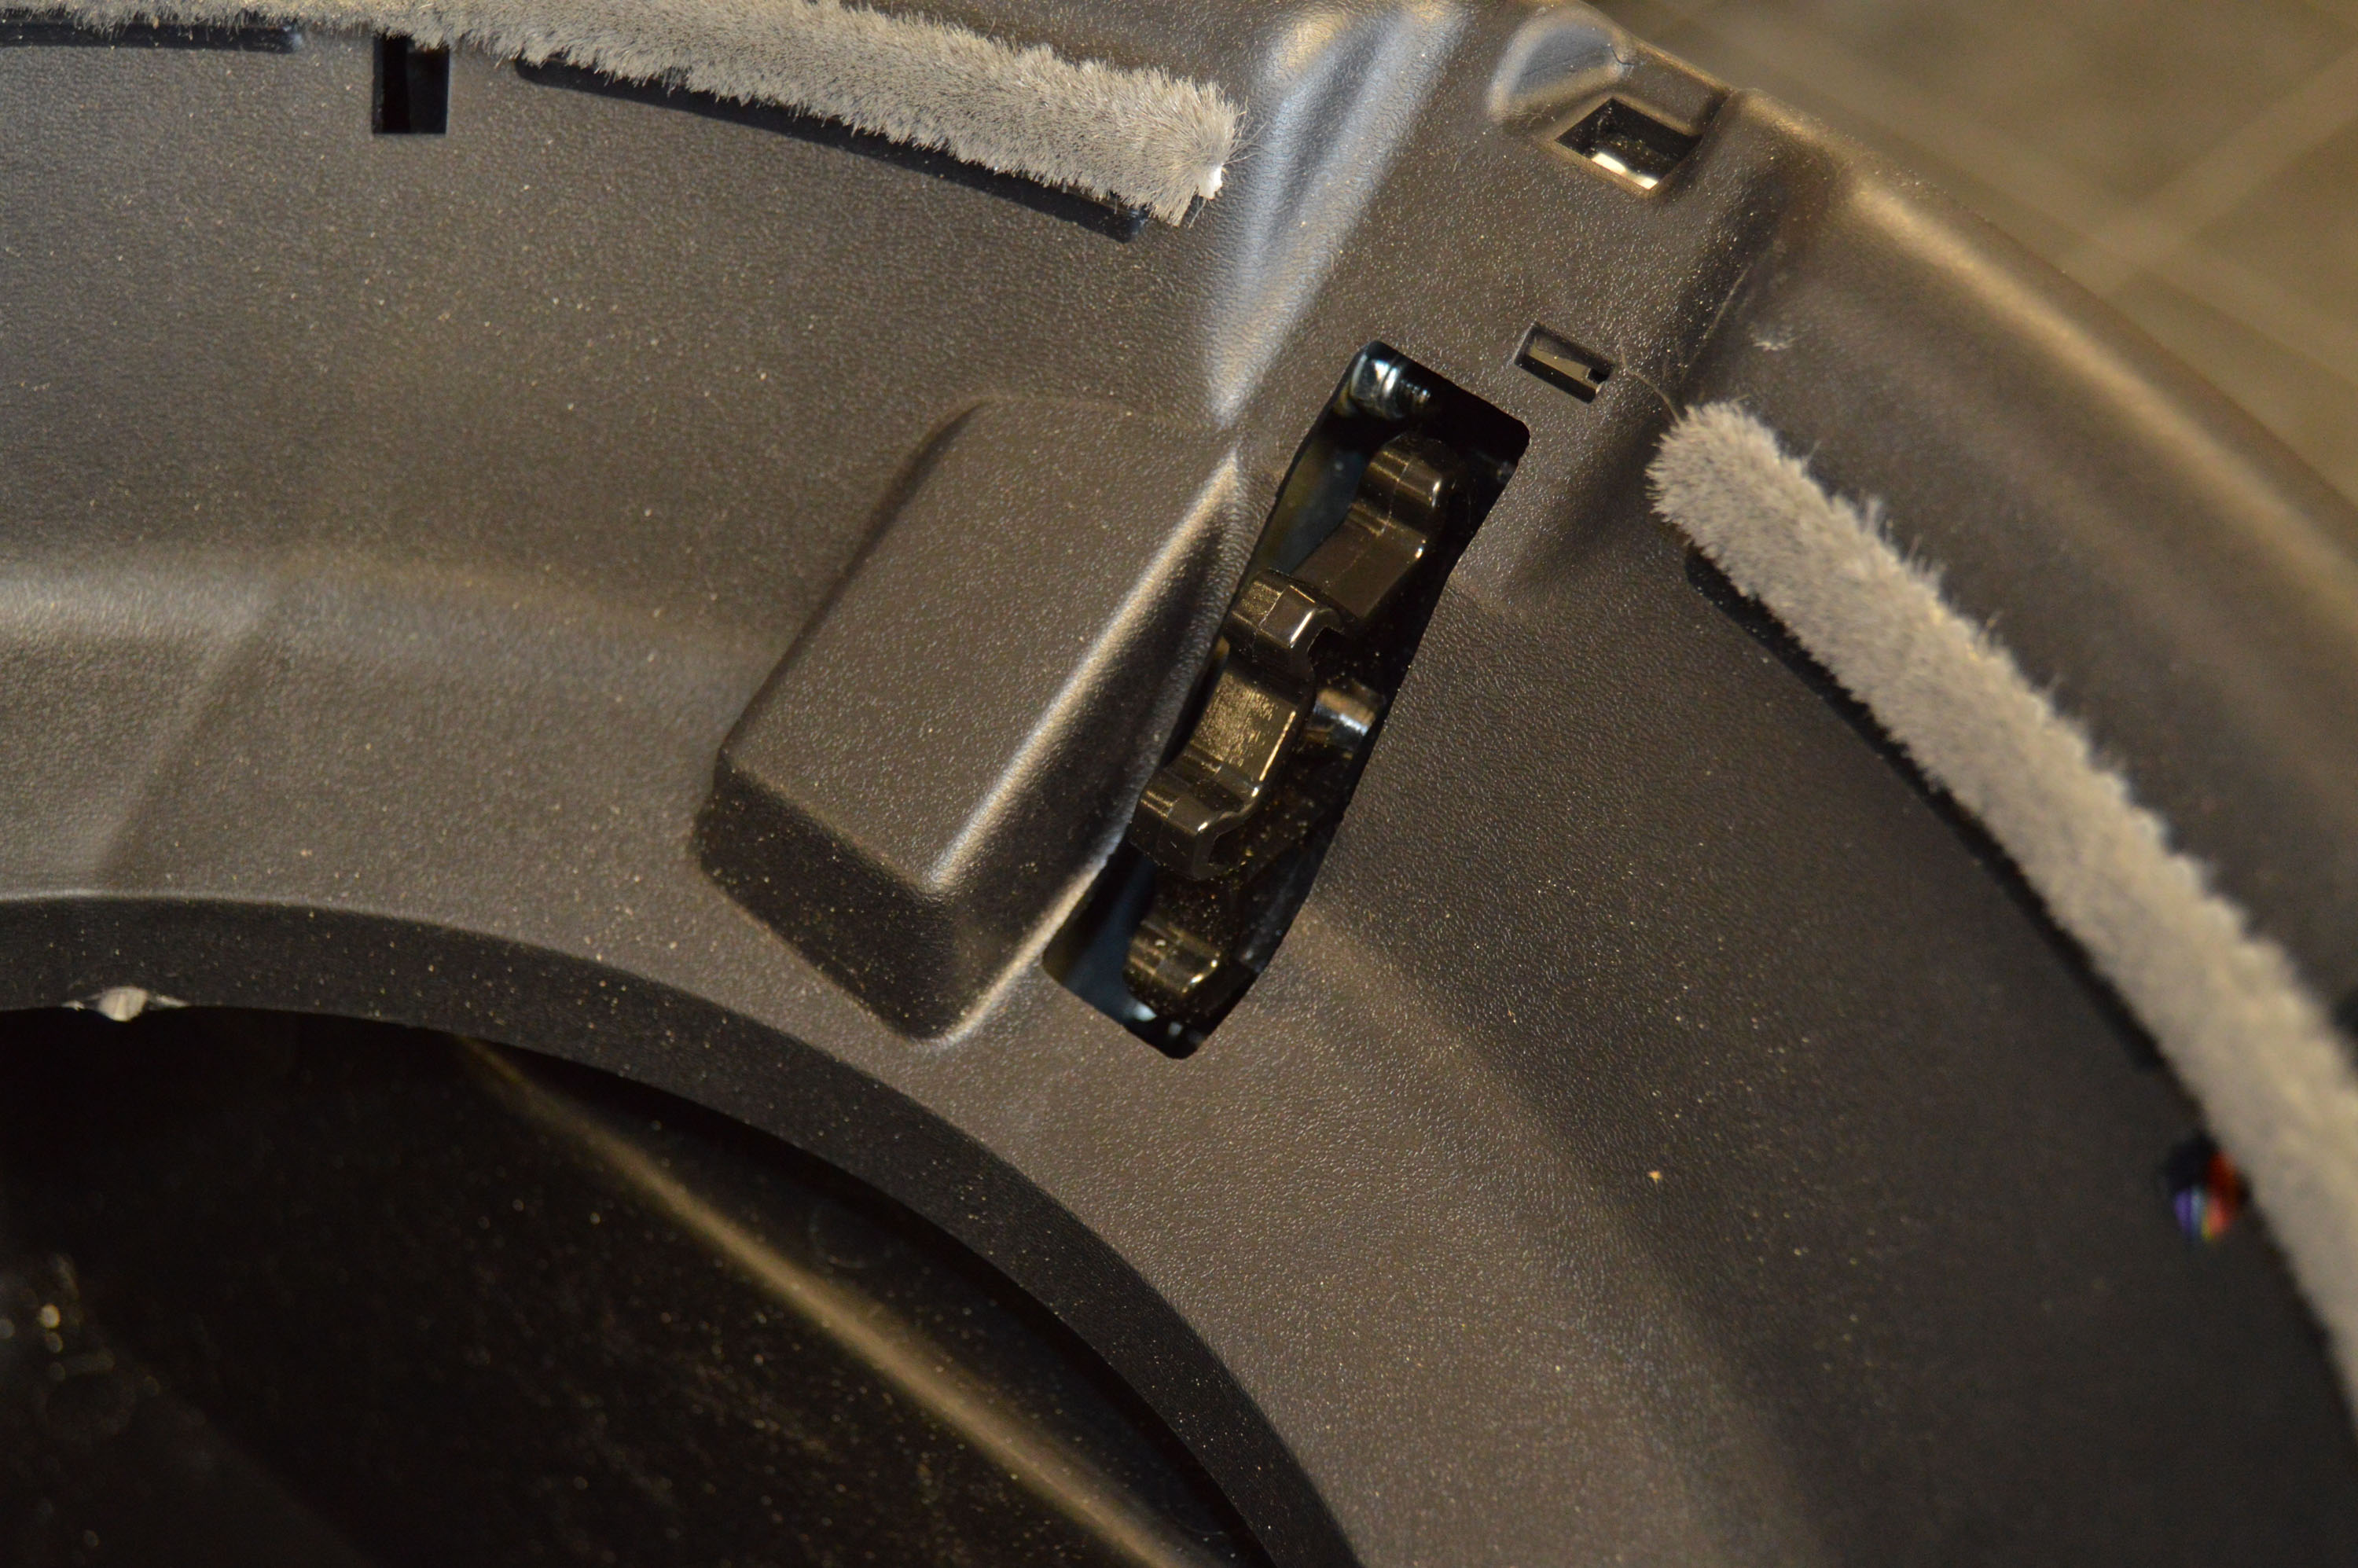
 Verifying Litter-Robot Cat Sensor
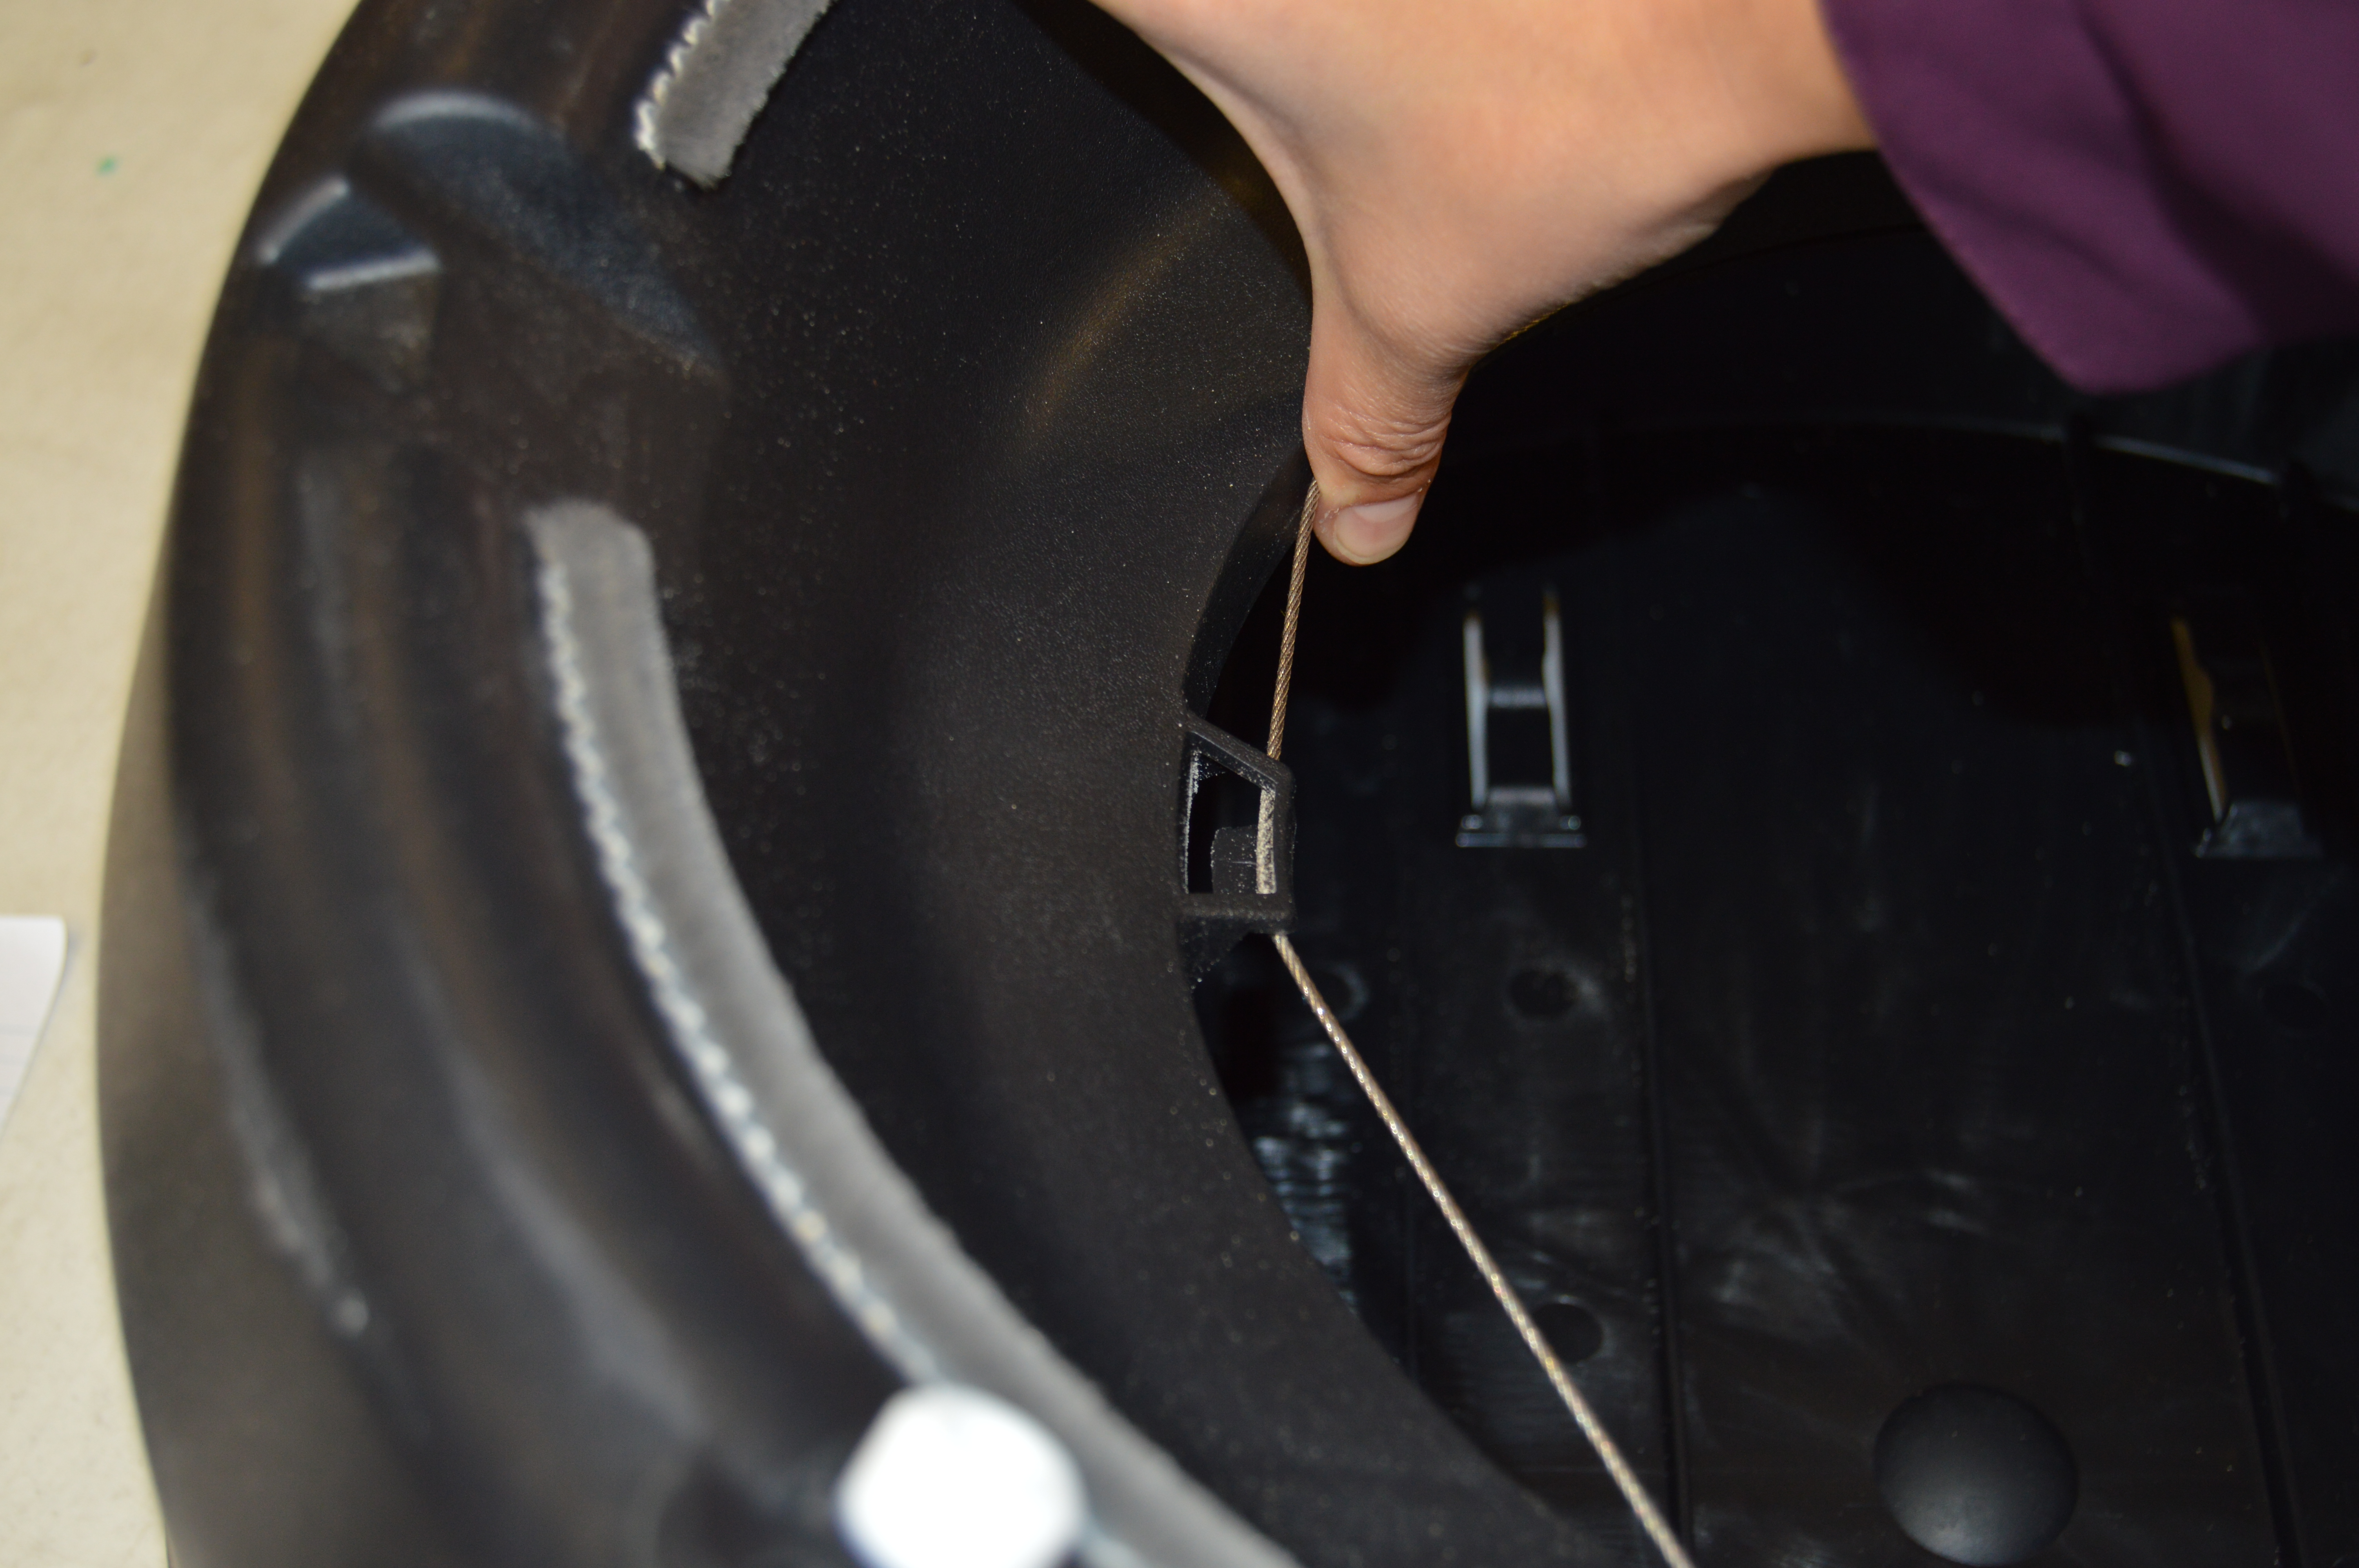
You may press on the bottom of the base to make sure the switch clicks when pressed. 5. Make certain there is no debris on the safety line and then SNAP it a few times to make certain the switch is not stuck.
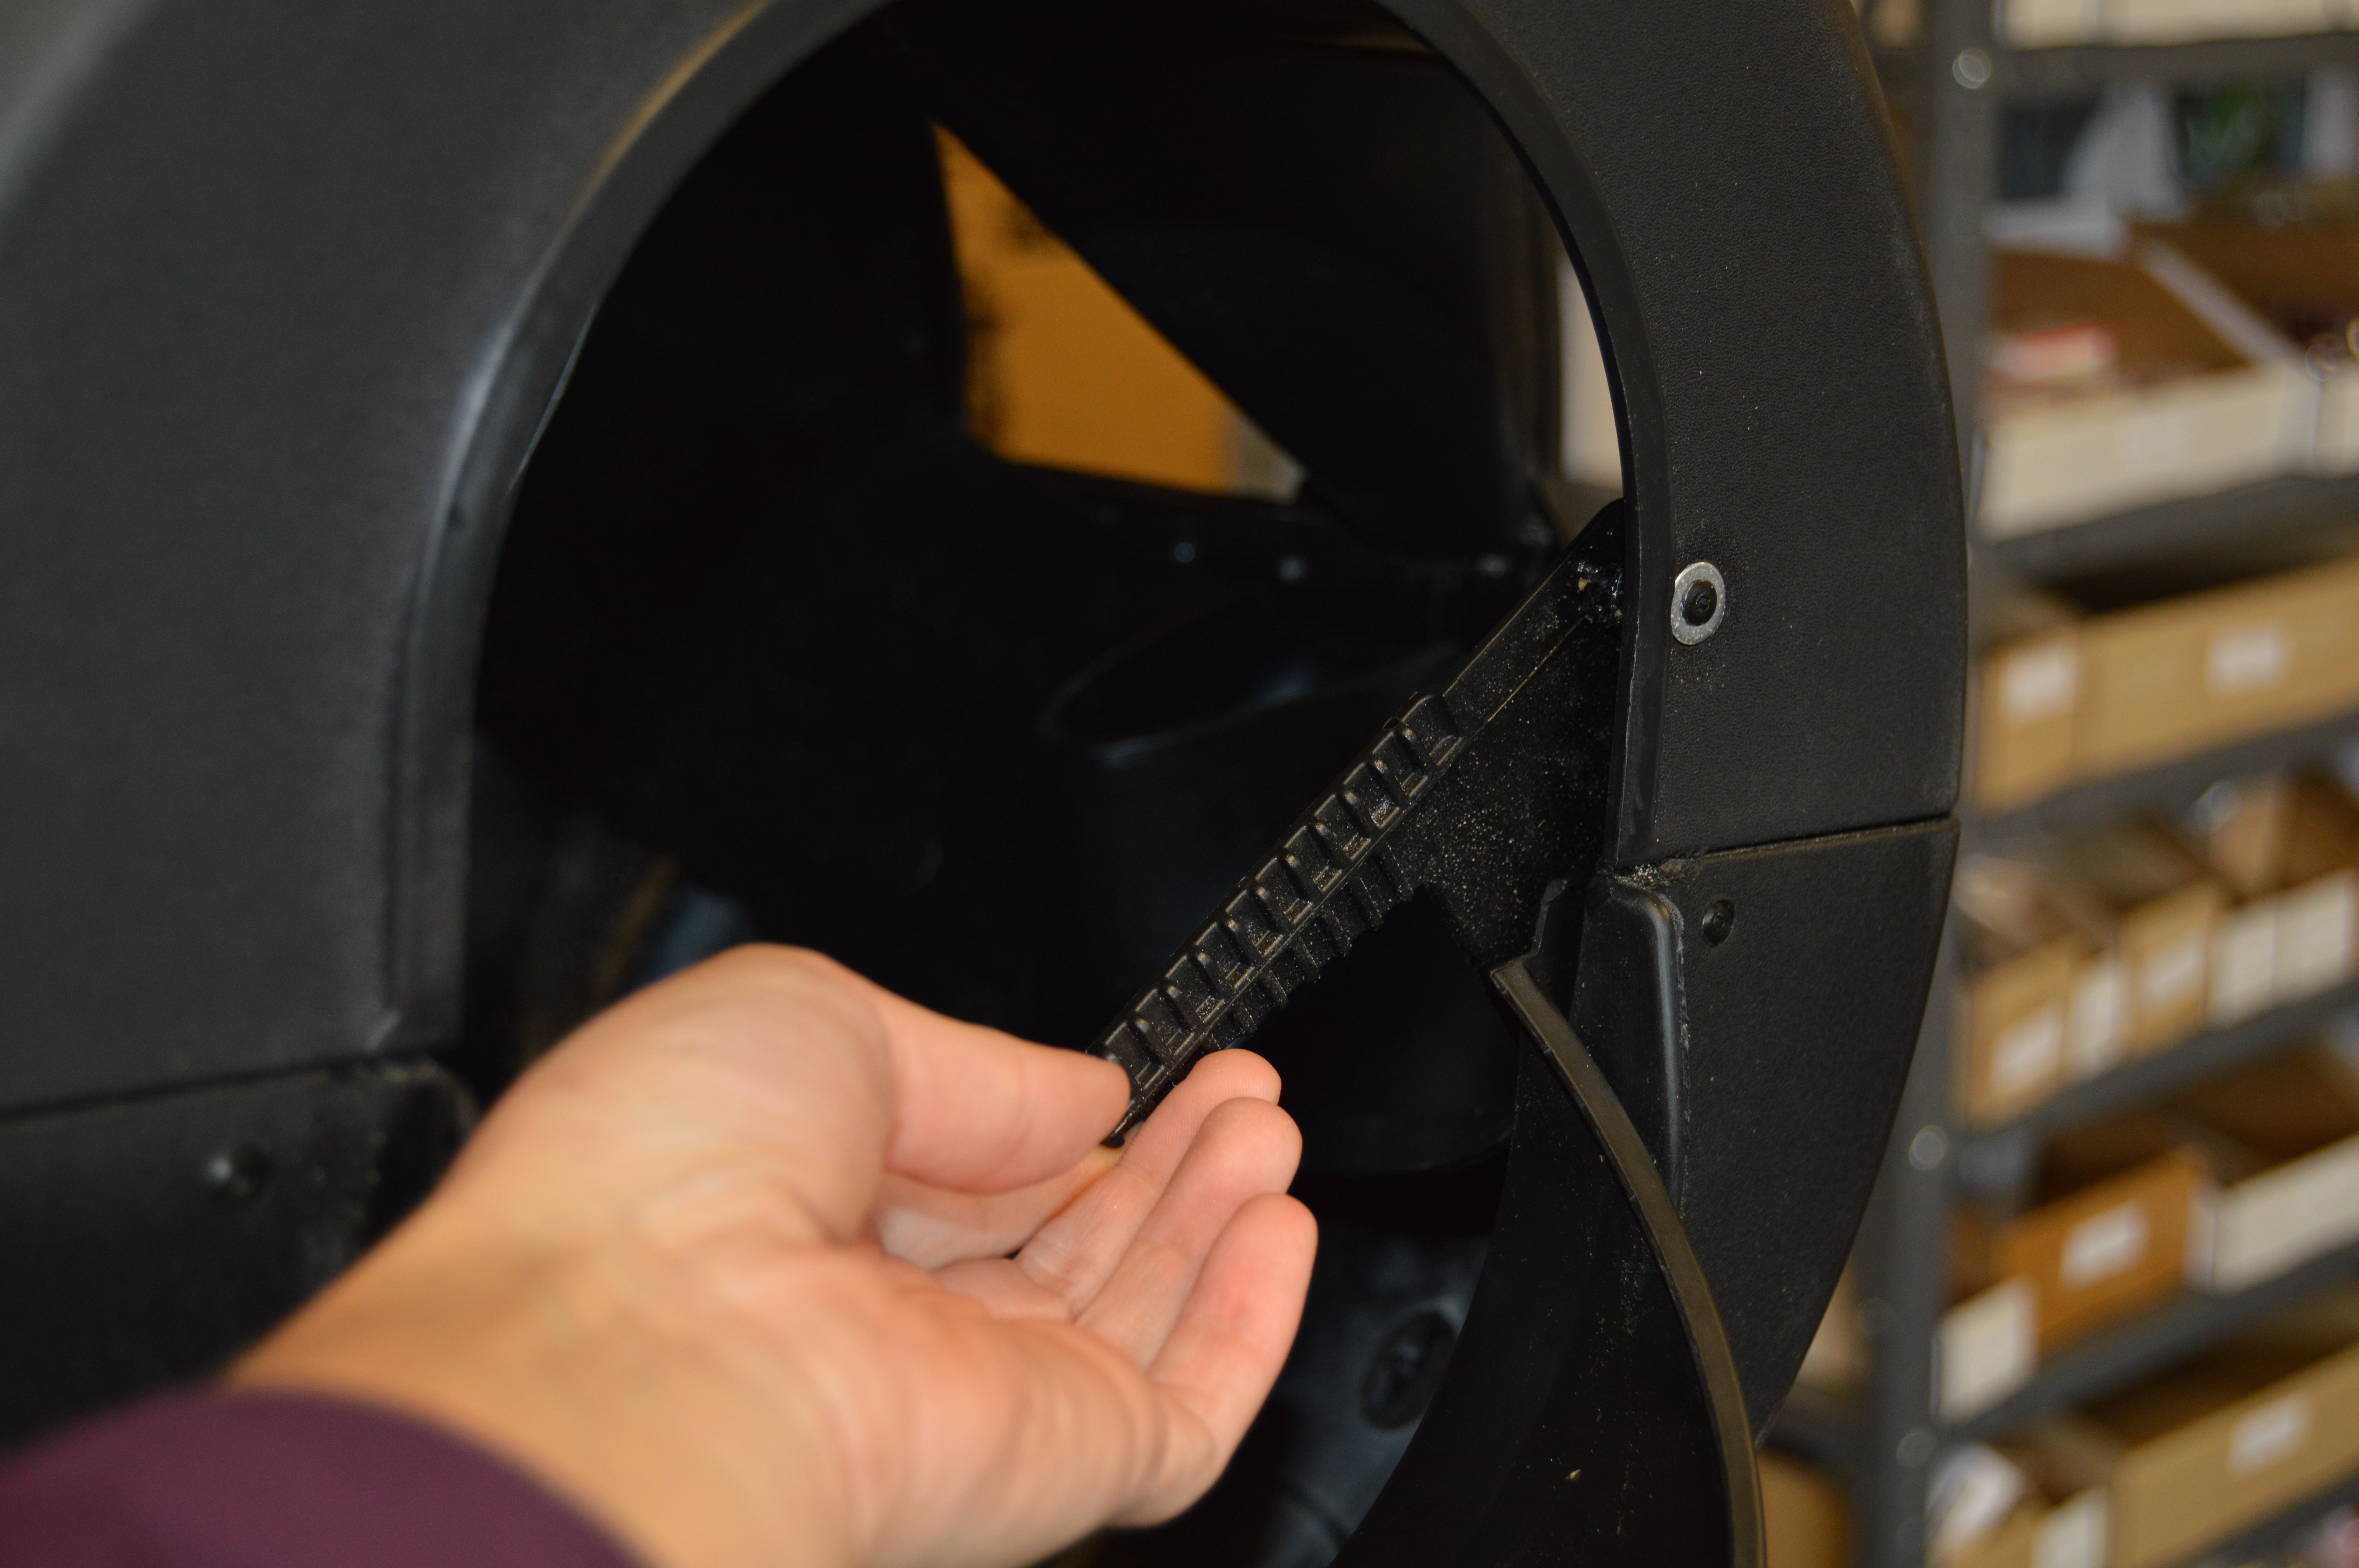
 Pull On Safety Line
You may also press on the safety line and make sure you hear a switch click inside the Litter-Robot.
 Verifying Safety Line Switch
Put everything back together and let the unit cycle. In many cases, most problems should have been fixed by verifying the switches. If the problem persists we do have parts available if your Litter-Robot is no longer under warranty. Still having problems? Please take a look at our Litter-Robot II Advanced Troubleshooting Guide. Do not hesitate to contact us if your Litter-Robot was purchased with us for repairs under warranty or after our 5 year warranty.
Thanks for helping to keep our community civil!
This post is an advertisement, or vandalism. It is not useful or relevant to the current topic.
You flagged this as spam. Undo flag.Flag Post
Your post is currently under review by our moderation team. The review process usually takes up to 48 business hours.
You can track your post's status in the "My Content" section of your profile. Once approved, it will be published and visible to others.

Thank you for contributing to our community!