

Litter-Robot II Repair Guide – Chapter 5: Sensor Harness

In this chapter of our Litter-Robot II Repair Guide, we will help you replace the sensor harness on your Litter-Robot II.
You can find our Litter-Robot II troubleshooting guides here:
Litter-Robot II Basic Troubleshooting Guide
Litter-Robot II Advanced Troubleshooting Guide
You can find our Litter-Robot II repair guides here:
Litter-Robot II Repair Guide - Chapter 1: Motor
Litter-Robot II Repair Guide - Chapter 2: Circuit Board
Litter-Robot II Repair Guide - Chapter 3: Power Jack
Litter-Robot II Repair Guide - Chapter 4: Cat Sensor Micro Switch
Litter-Robot II Repair Guide - Chapter 5: Sensor Harness
You can refer to our advanced troubleshooting guide to help you open up your Litter-Robot II.
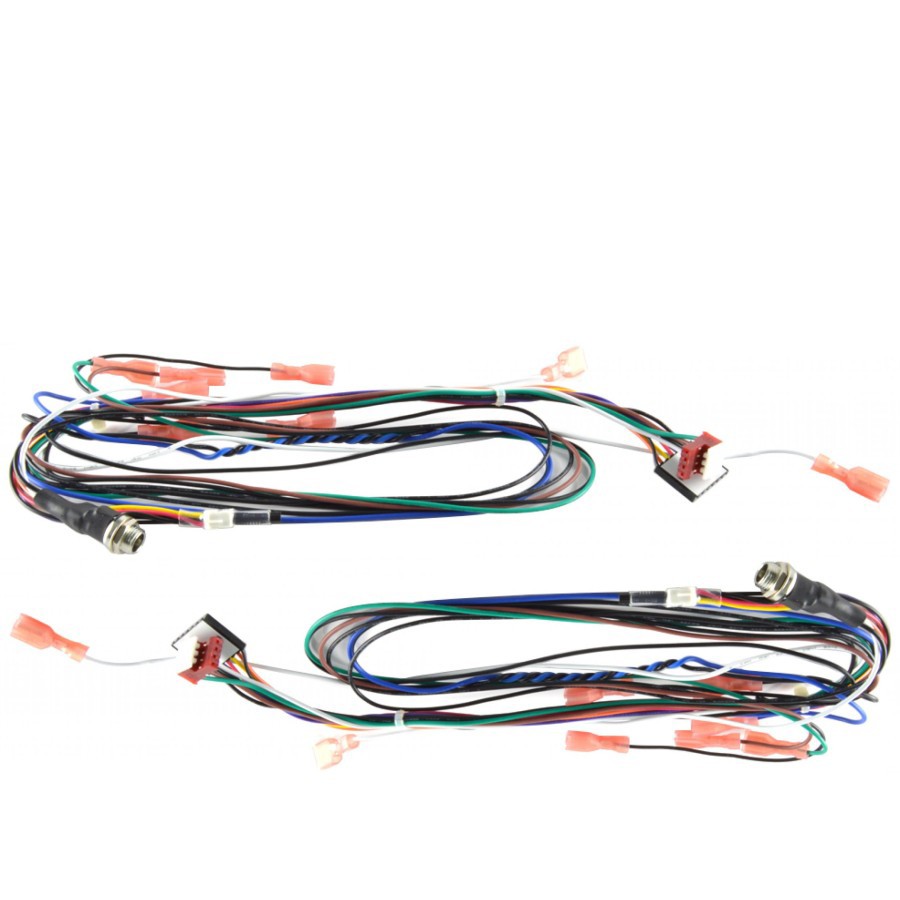
Replace the Litter-Robot II sensor harness To replace the sensor harness, you will need a 5/16" socket, a ratchet and pliers.
Removing the Litter-Robot II sensor harness
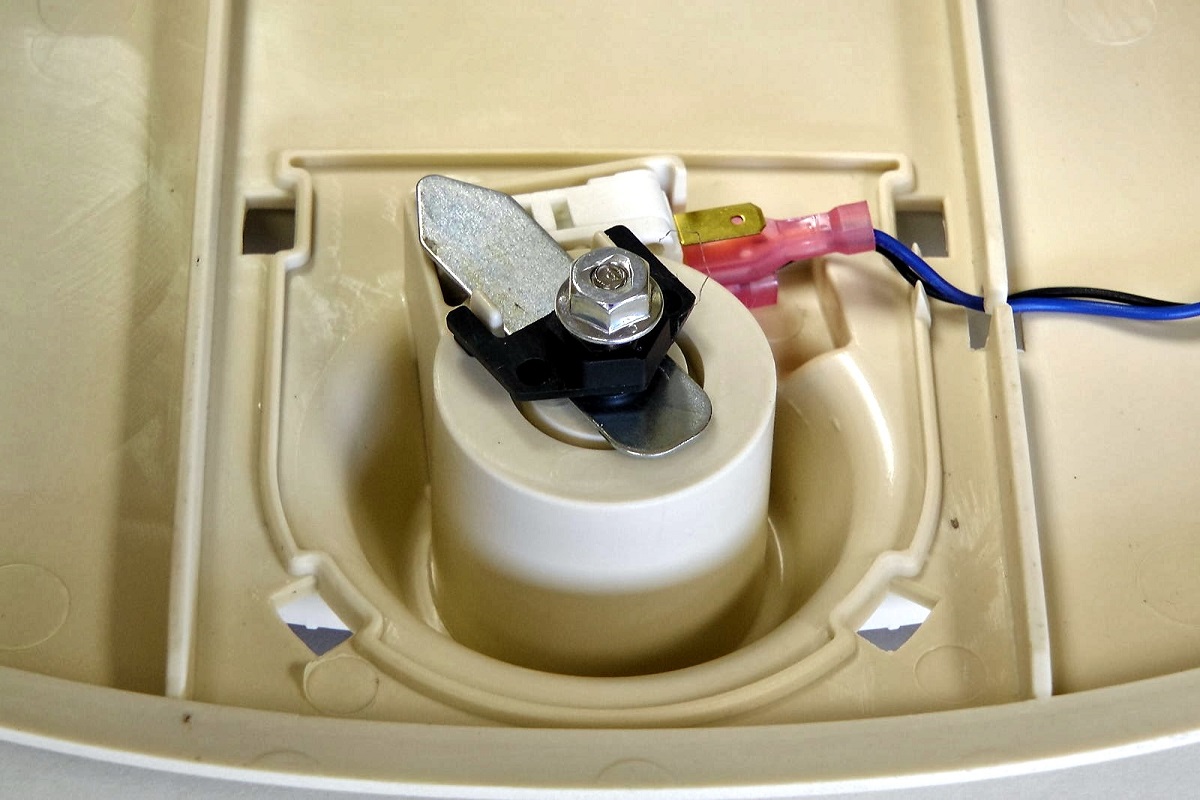 Remove the Black Cover to Reveal the Cat Sensor
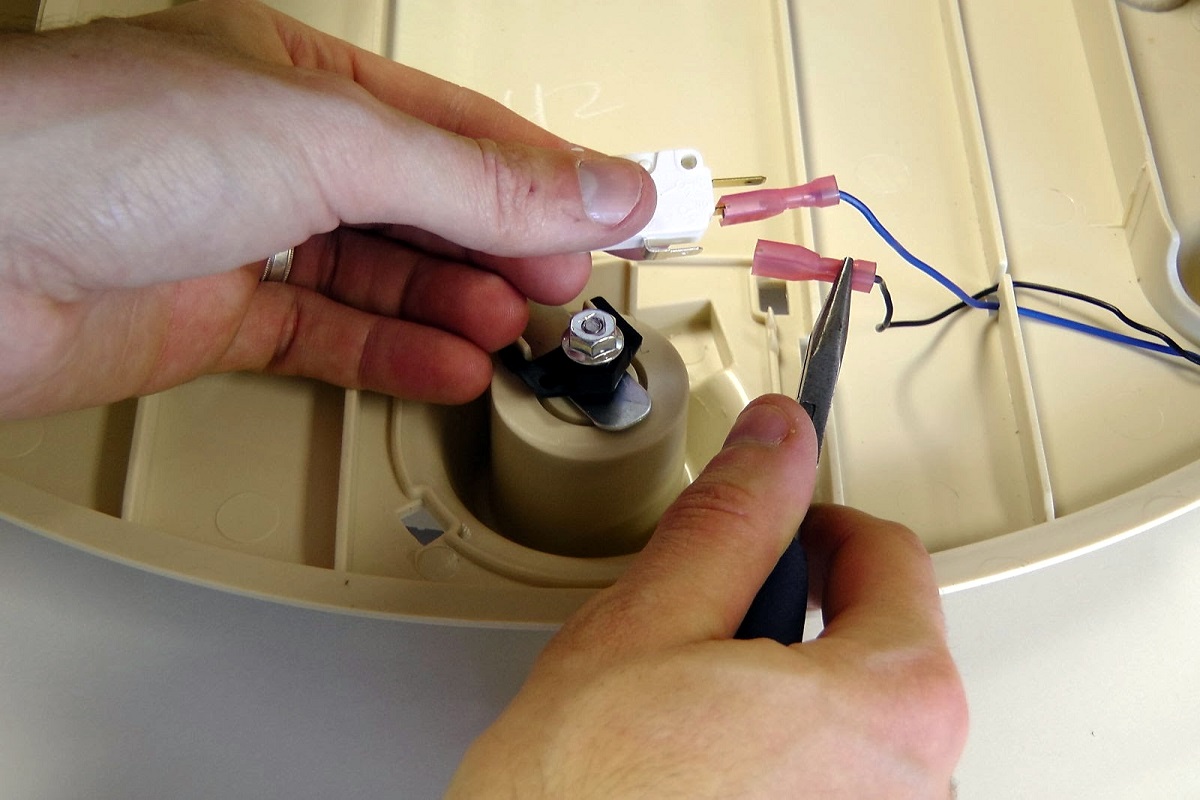 Pull Out the Cat Sensor and the First Wire Connector Using Pliers
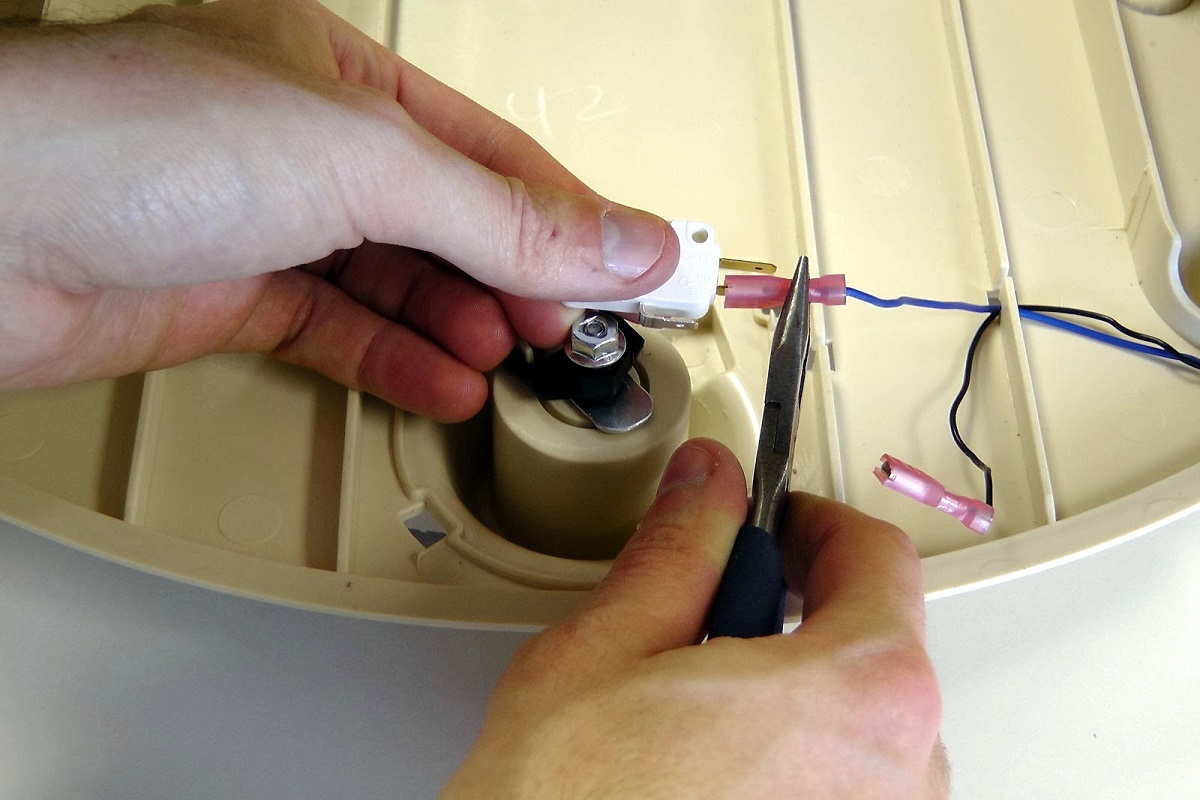 Disconnect the Second Wire Connector Using Pliers
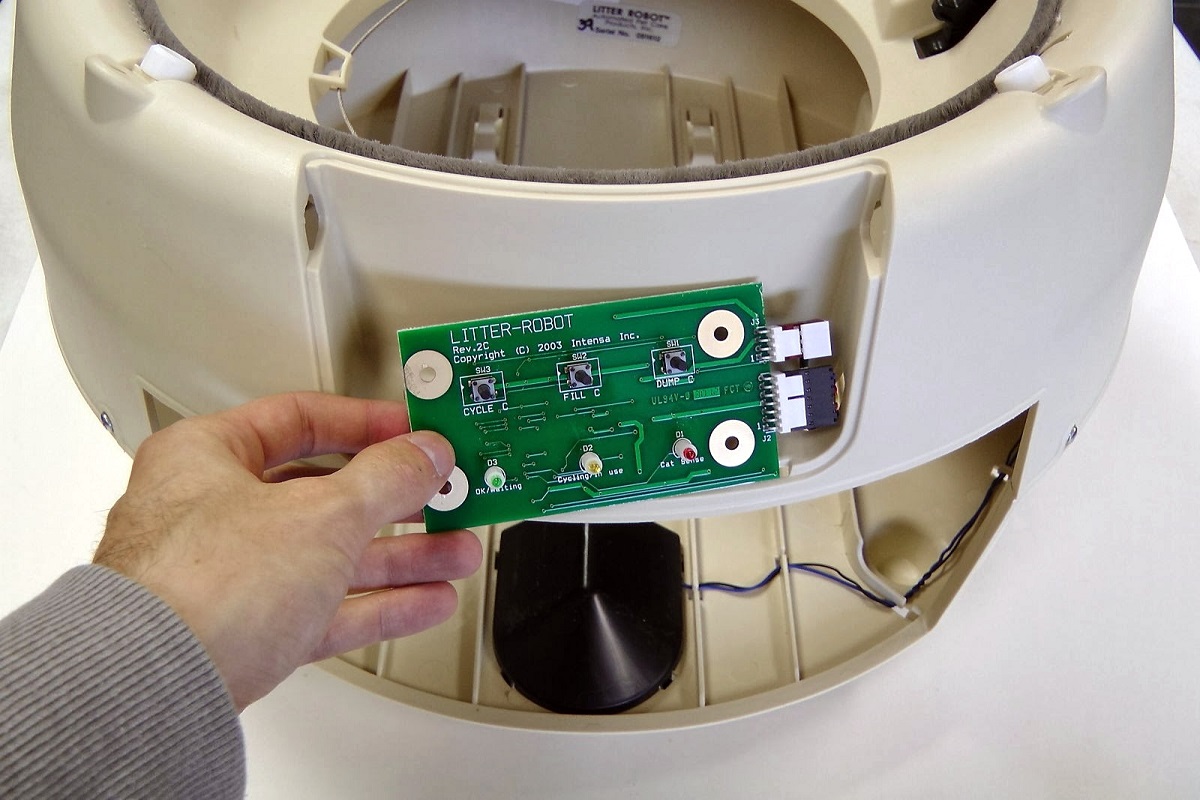 Remove the Circuit Board Panel to Reveal the Circuit Board
 Locate the Sensor Harness Connectors
 Disconnect the Circuit Board
Open your Litter-Robot using our Litter-Robot II Advanced Troubleshooting Guide.
 Open the Litter-Robot II and Pull the Circuit Board Connectors Into the Litter-Robot
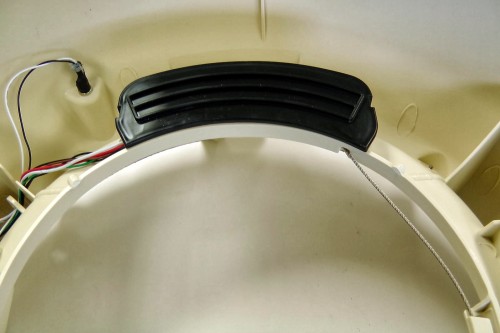 Locate the Black Cover Inside the Base
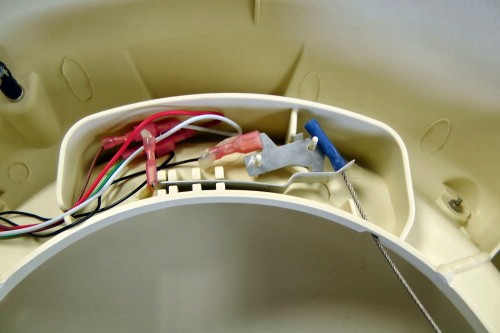 Removing the Black Cover Reveals the Motor and Safety Line Connections
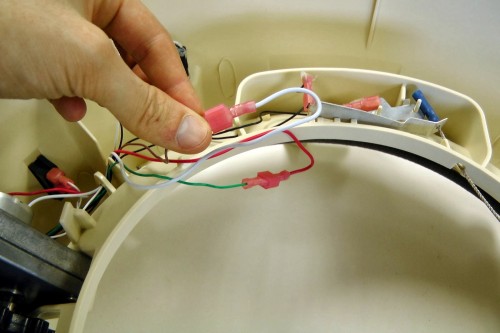 Disconnect the Motor from the Harness
 Use the Ratchet to Remove the Motor from the Base
 Locate the Hall Effect Sensor Inside the Base
 Pull Out the Hall Effect Sensor Holder from the Base
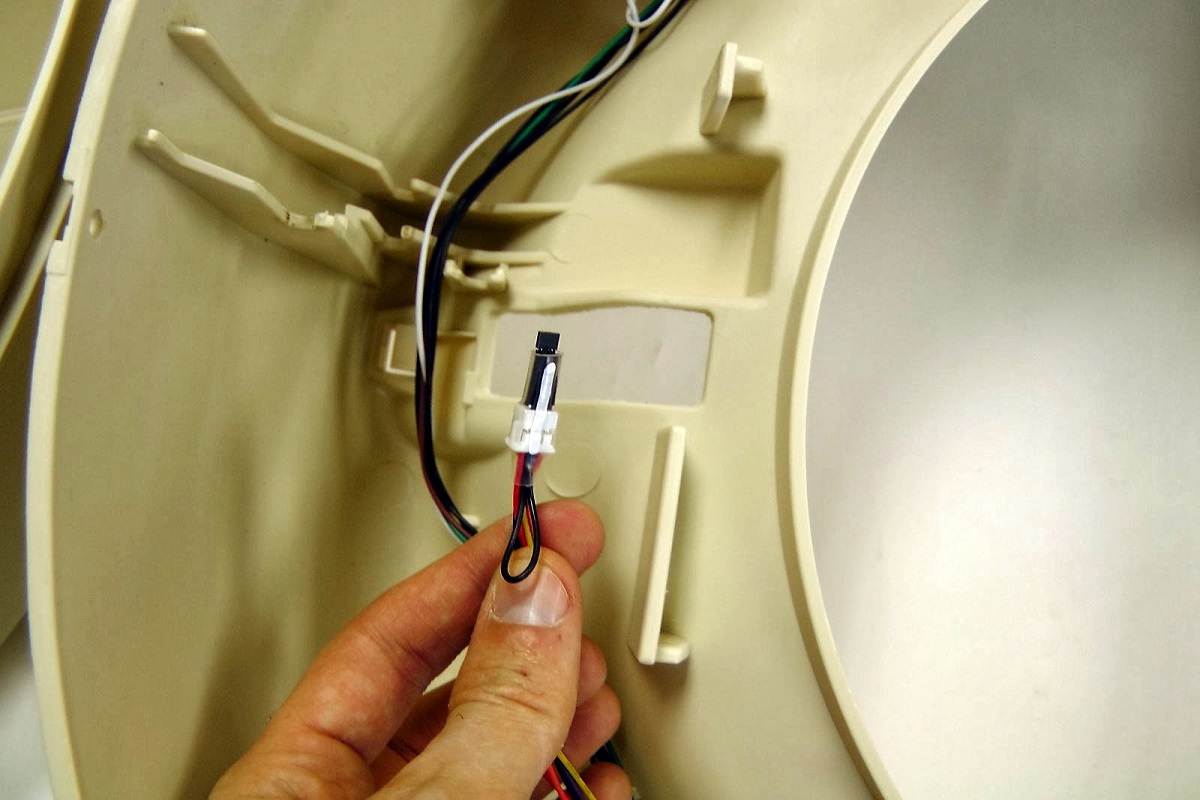 Remove the Hall Effect Sensor from the Holder
 Locate the Power Switch Connections
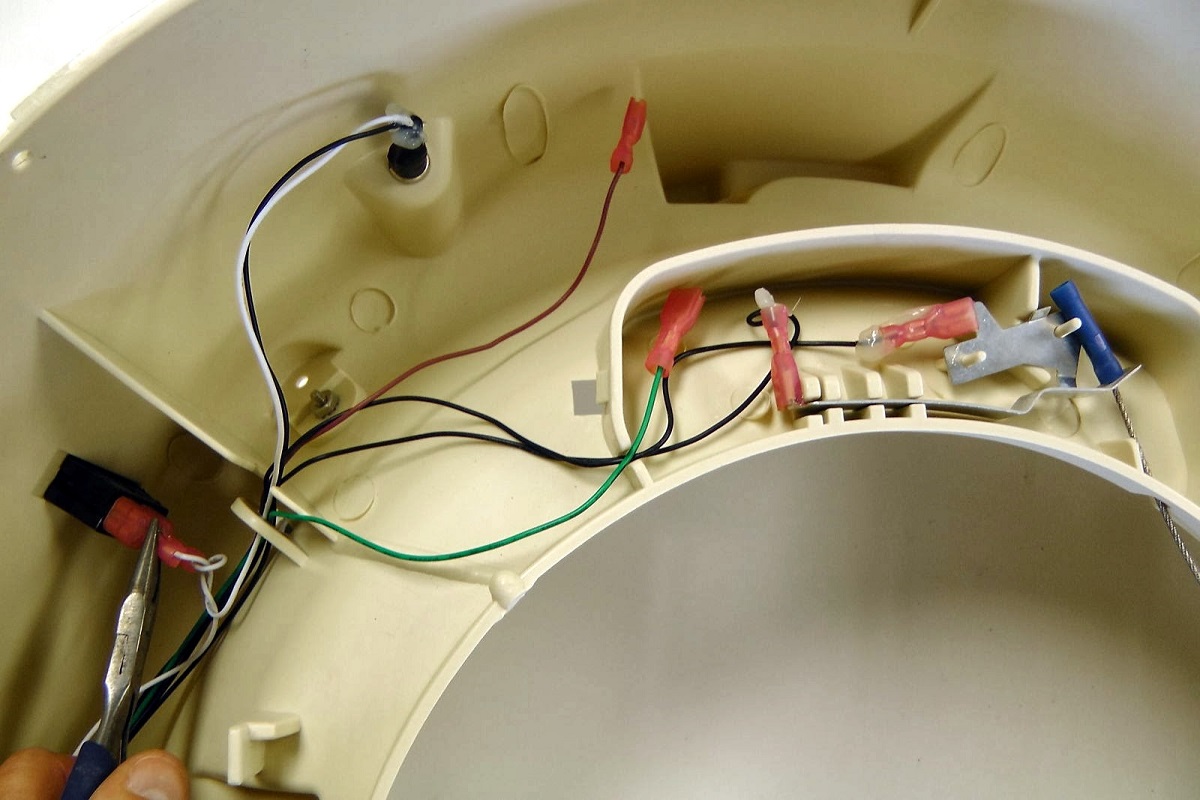 Disconnect the First Wire Connector with the Pliers
 Disconnect the Second Wire Connector with the Pliers
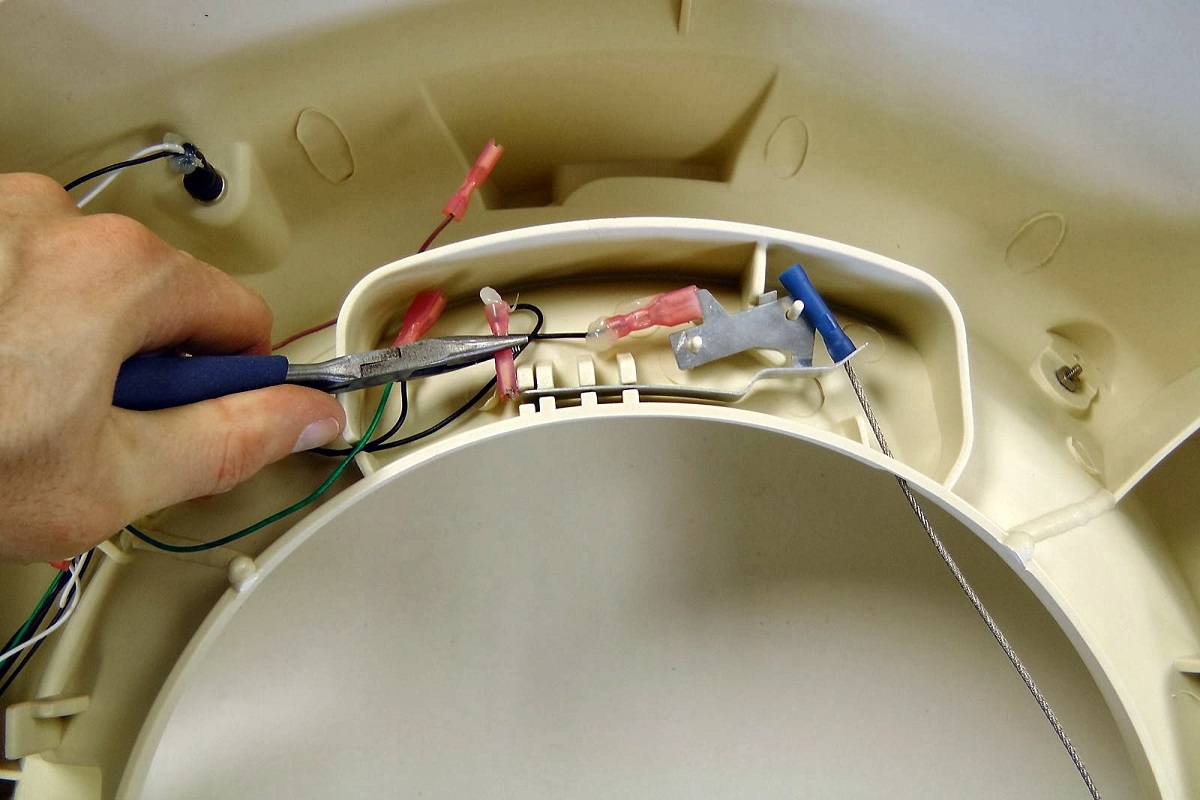 Disconnect the First Wire Connector of the Cat Safety Line Switch
 Disconnect the Second Wire Connector of the Cat Safety Line Switch
 Next is the Power Jack
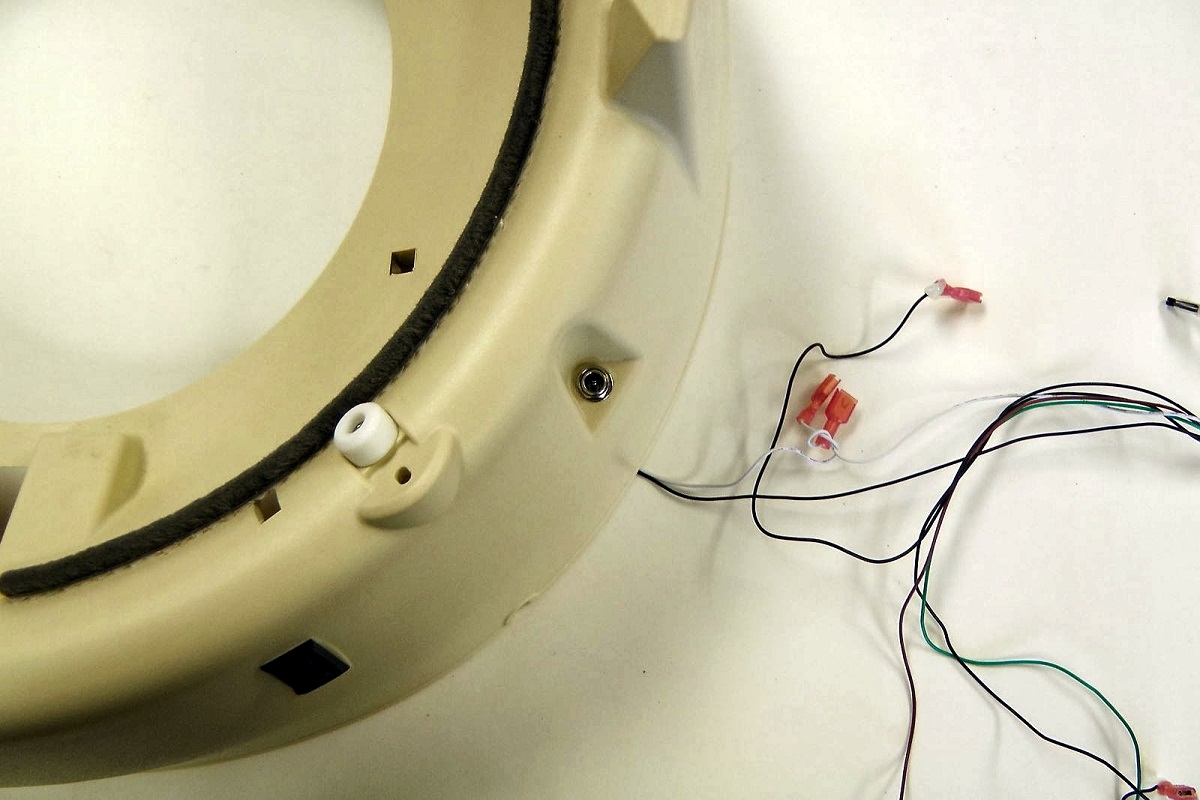 Flip the Base Over and Locate the Power Jack
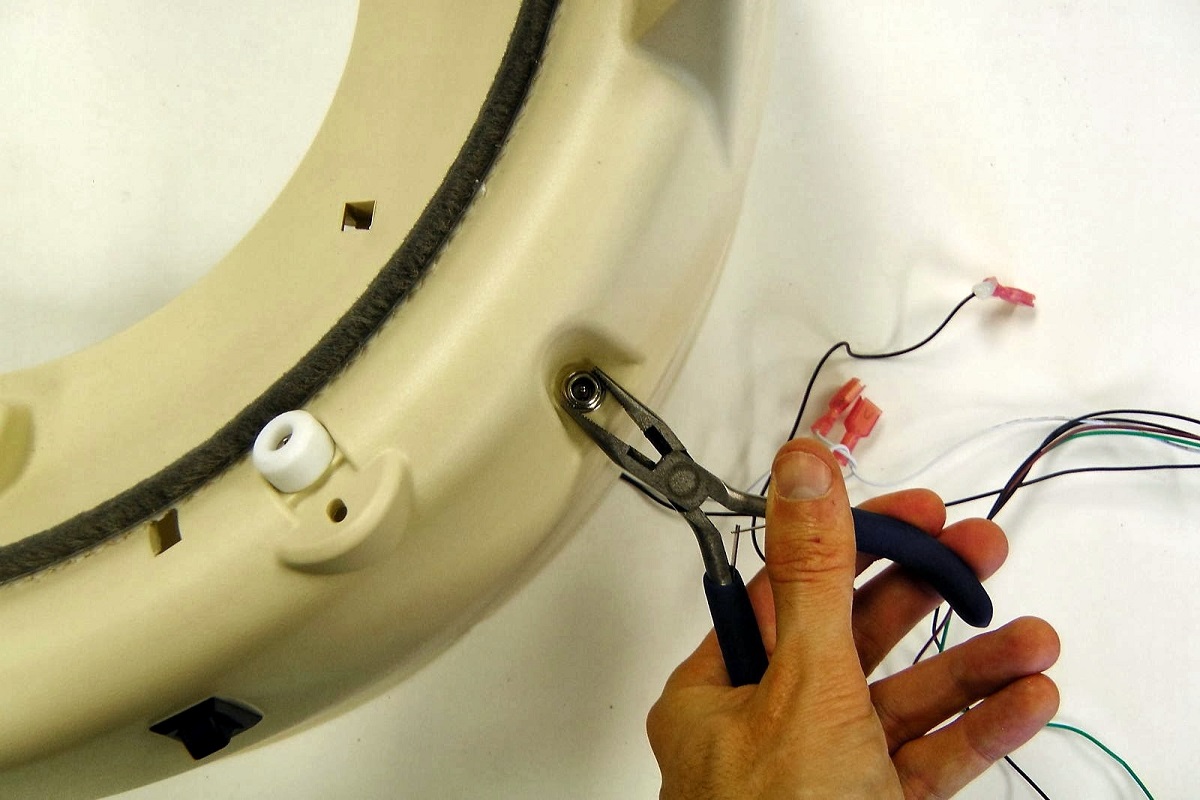 Remove the Nut from the Power Jack with Pliers
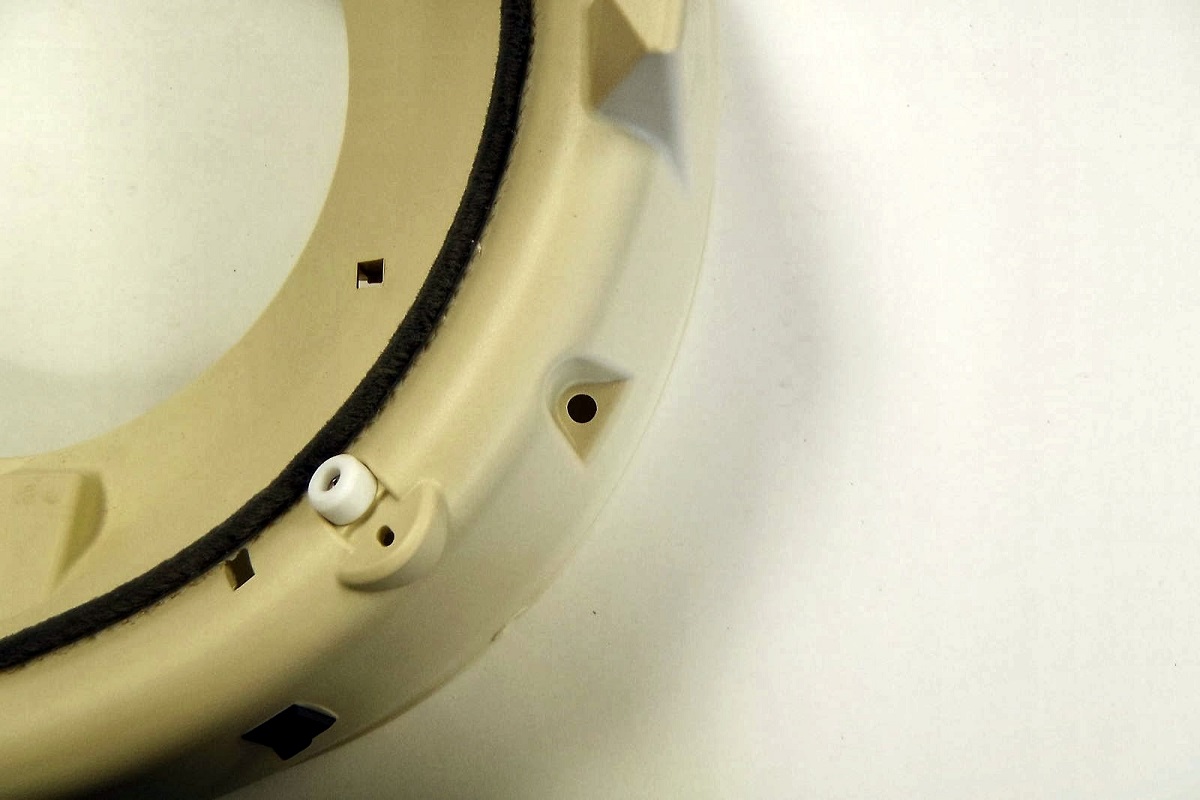 Finally, Remove the Power Jack to Remove the Harness from the Base
Installing the Litter-Robot II sensor harness
 First, Install the Power Jack and Use the Pliers to Tighten the Nut
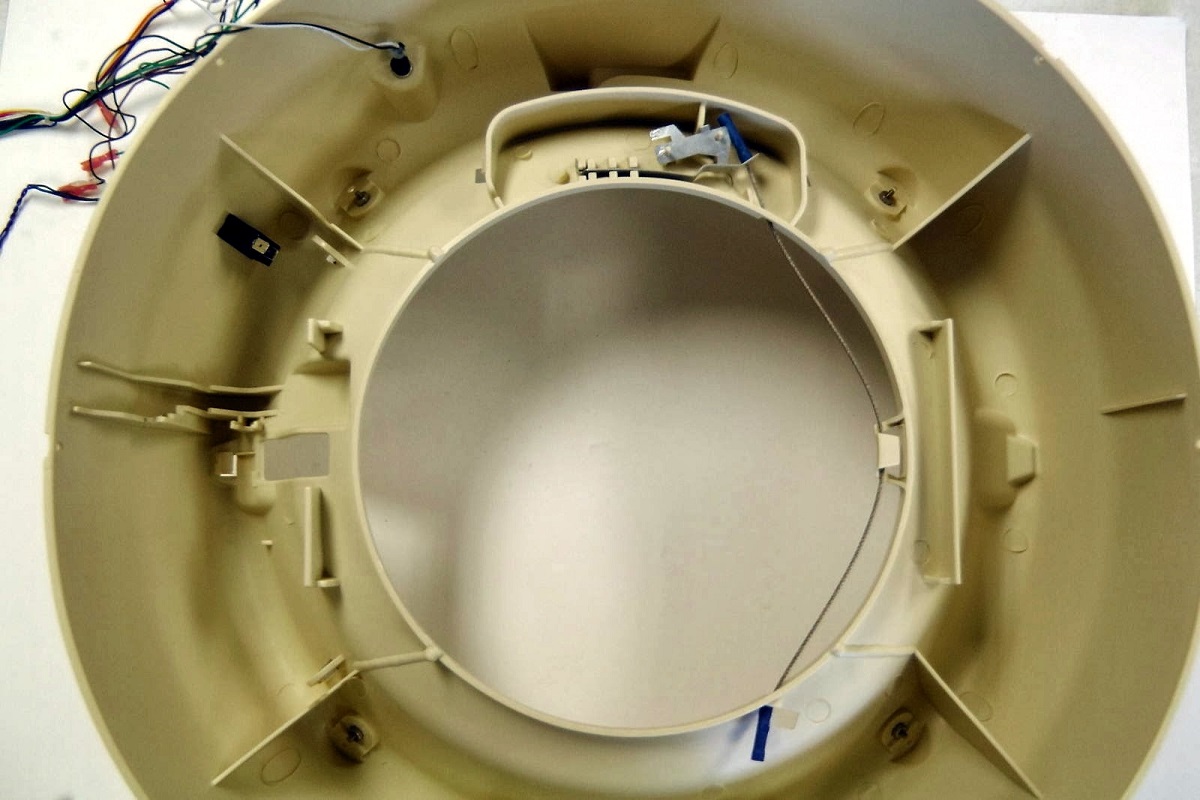 Flip the Base Over
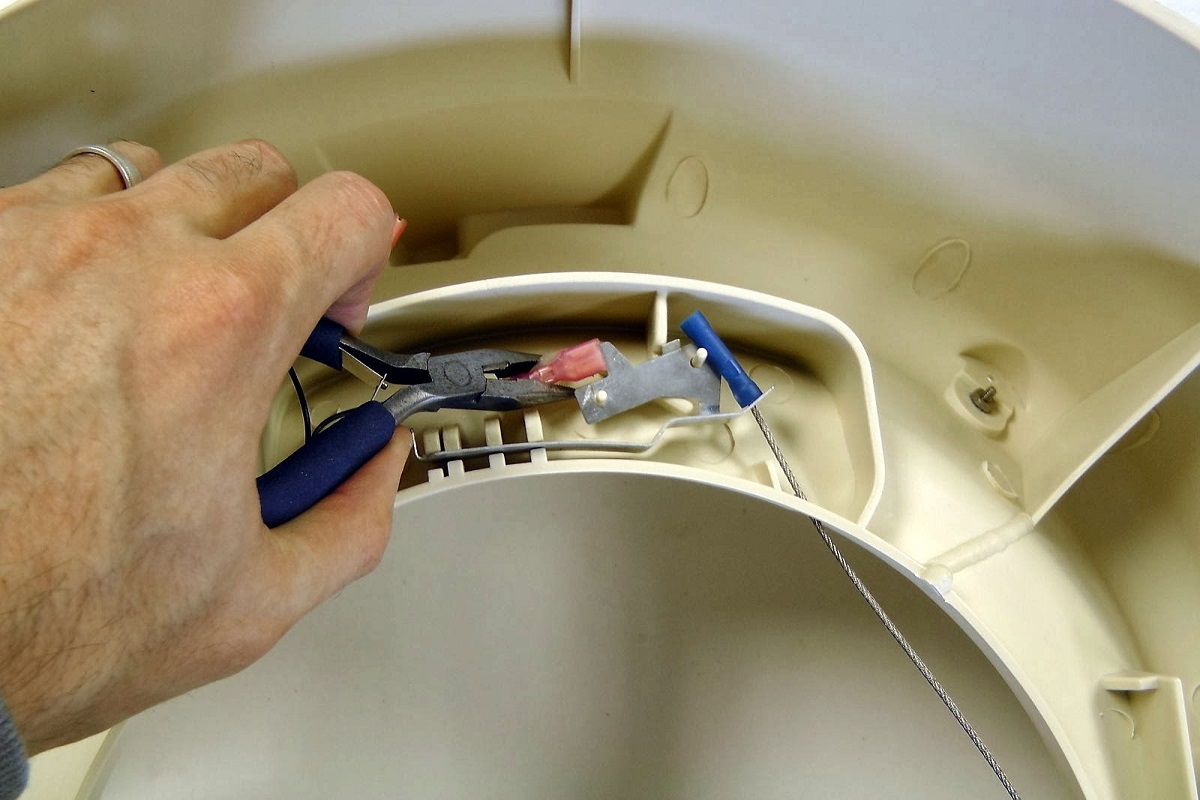 Using Pliers, Connect One of the Black Wires to the Safety Line Switch
 Connect the Other Black Wire to the Safety Line Switch
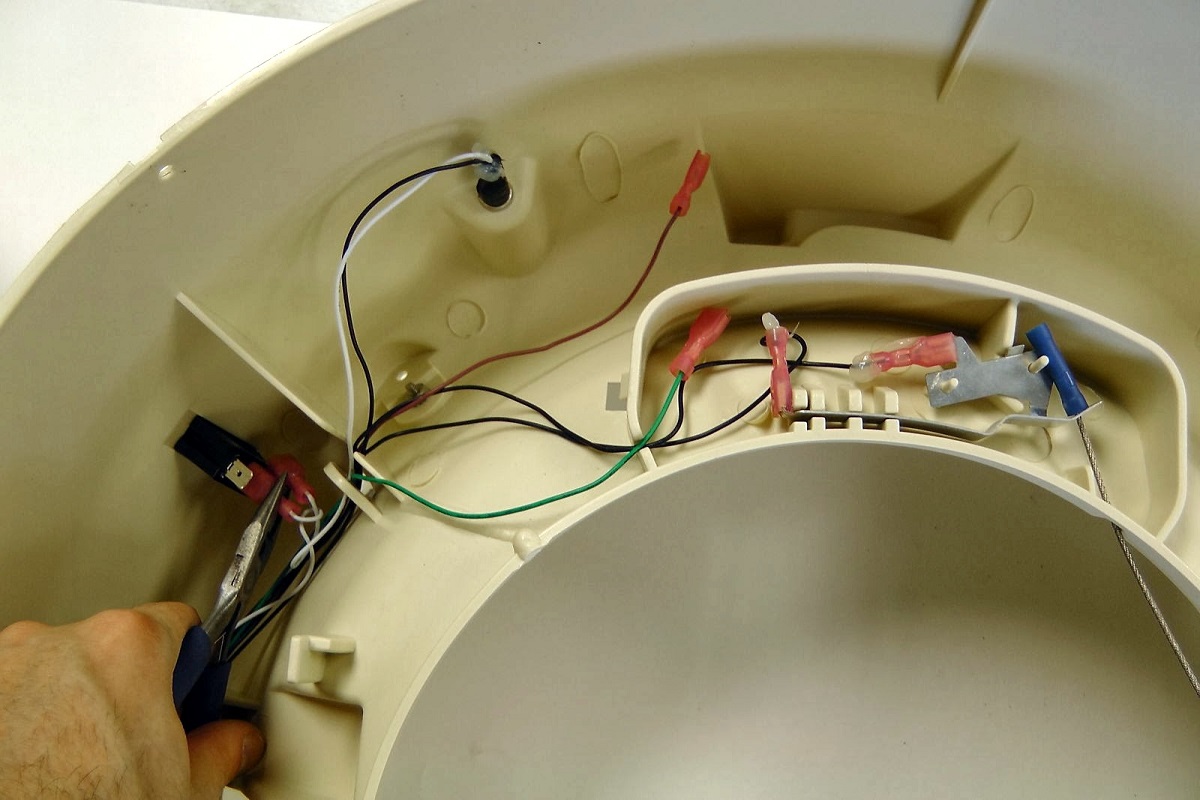 Connect a White Wire to the Power Switch
 Connect the Other White Wire to the Power Switch
 Take the Harness Sensor
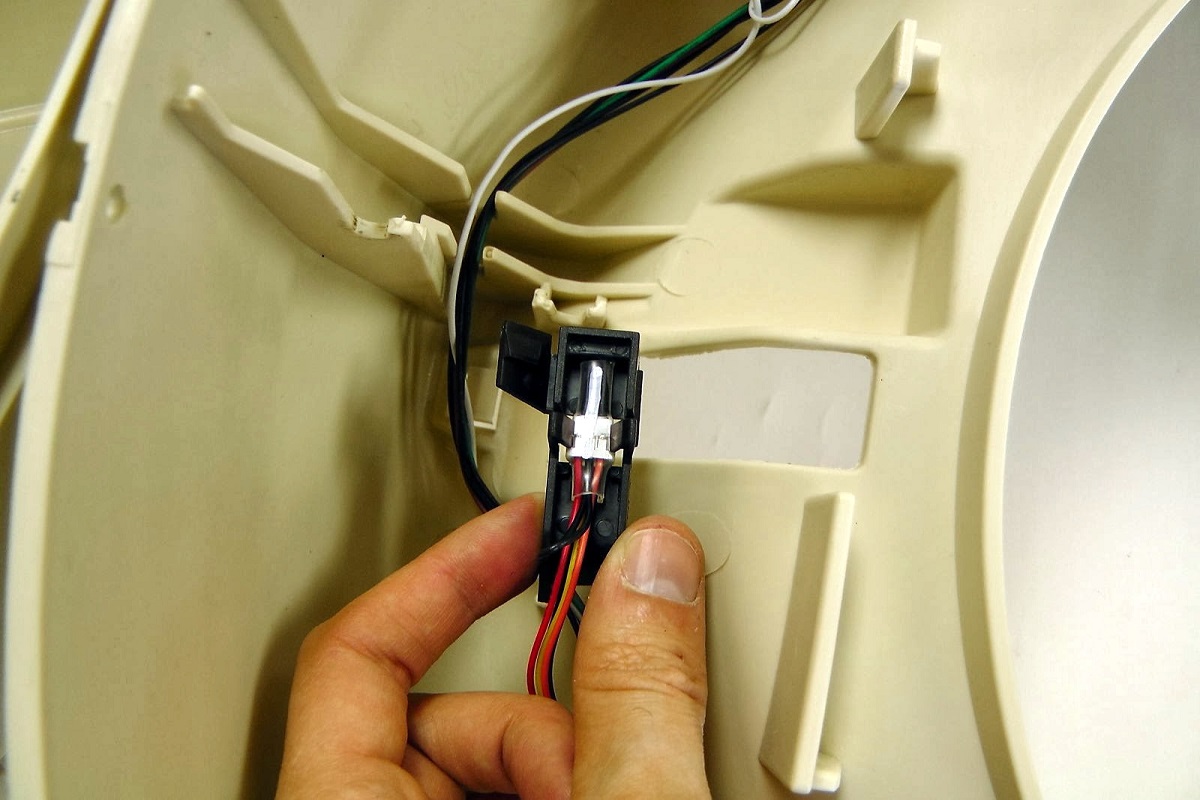 Insert the Hall Effect Sensor into the Holder. The White Stripe Has to be Visible.
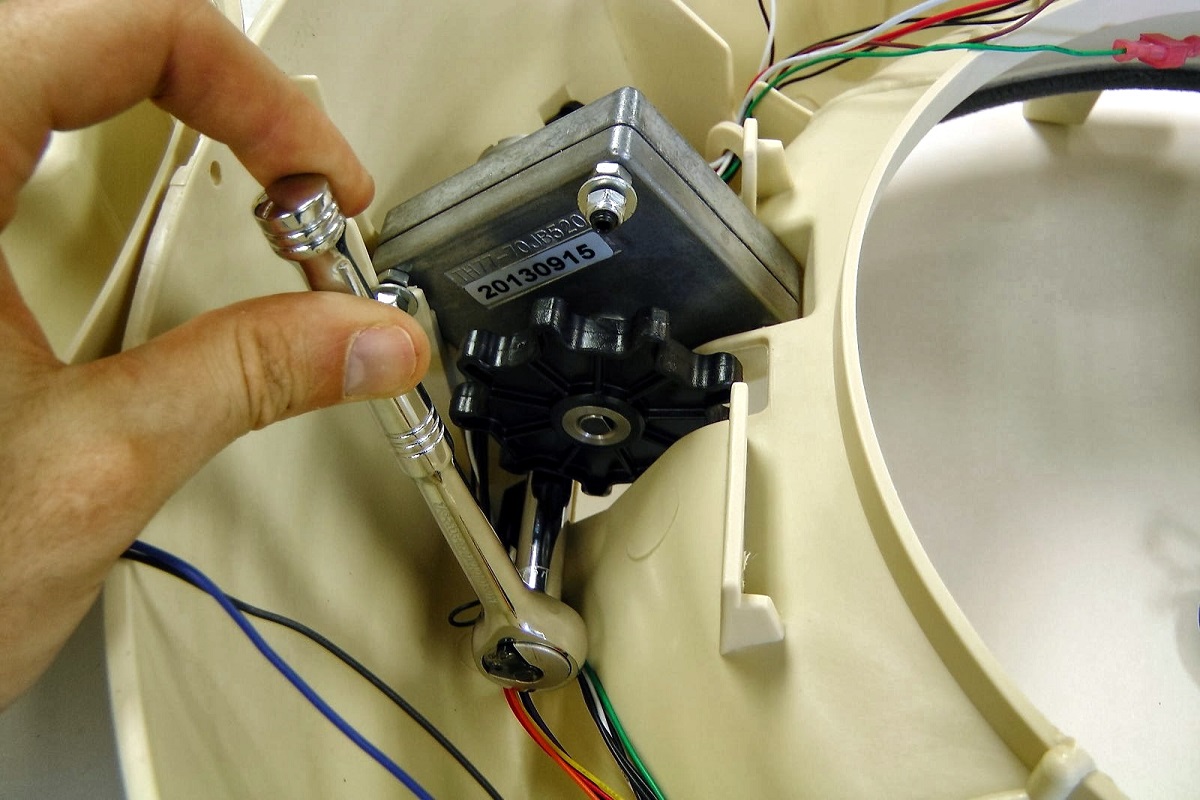 Install the Motor Using the Ratchet
 Connect the Motor to the Harness. Note the Green is Connected with the Red Wire and the Brown is Connected with the White Wire
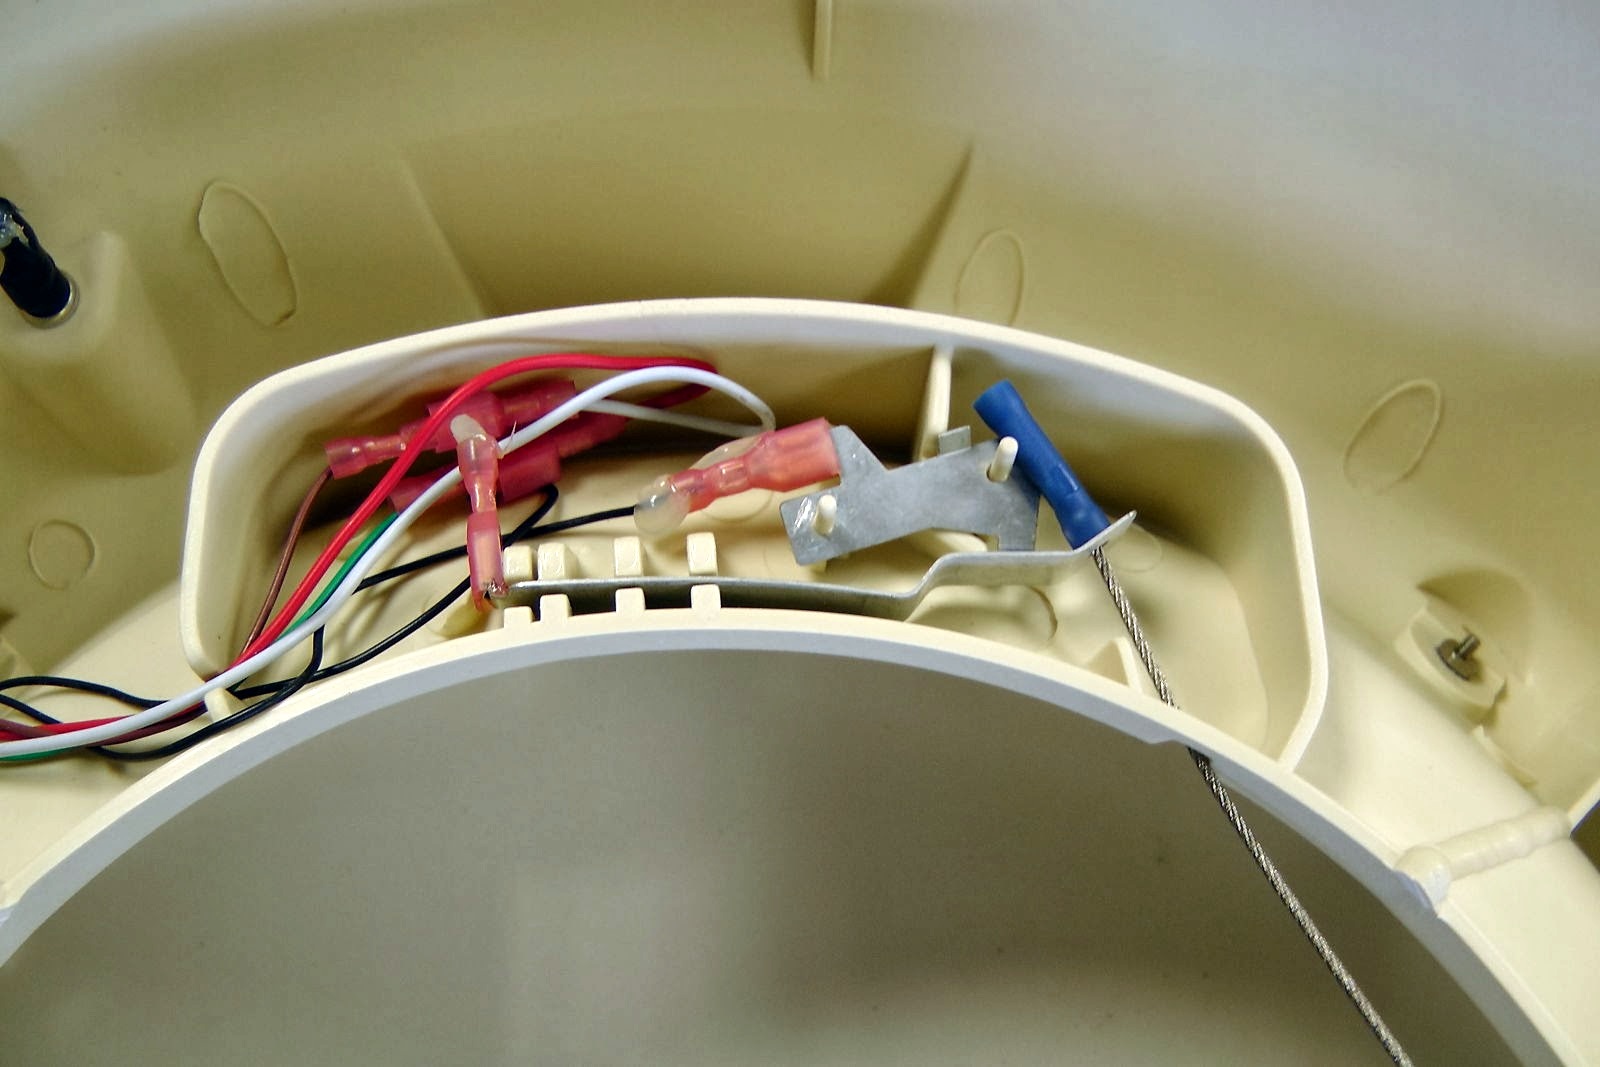 Insert the Motor Connections with the Safety Line Switch
 Install the Black Cover
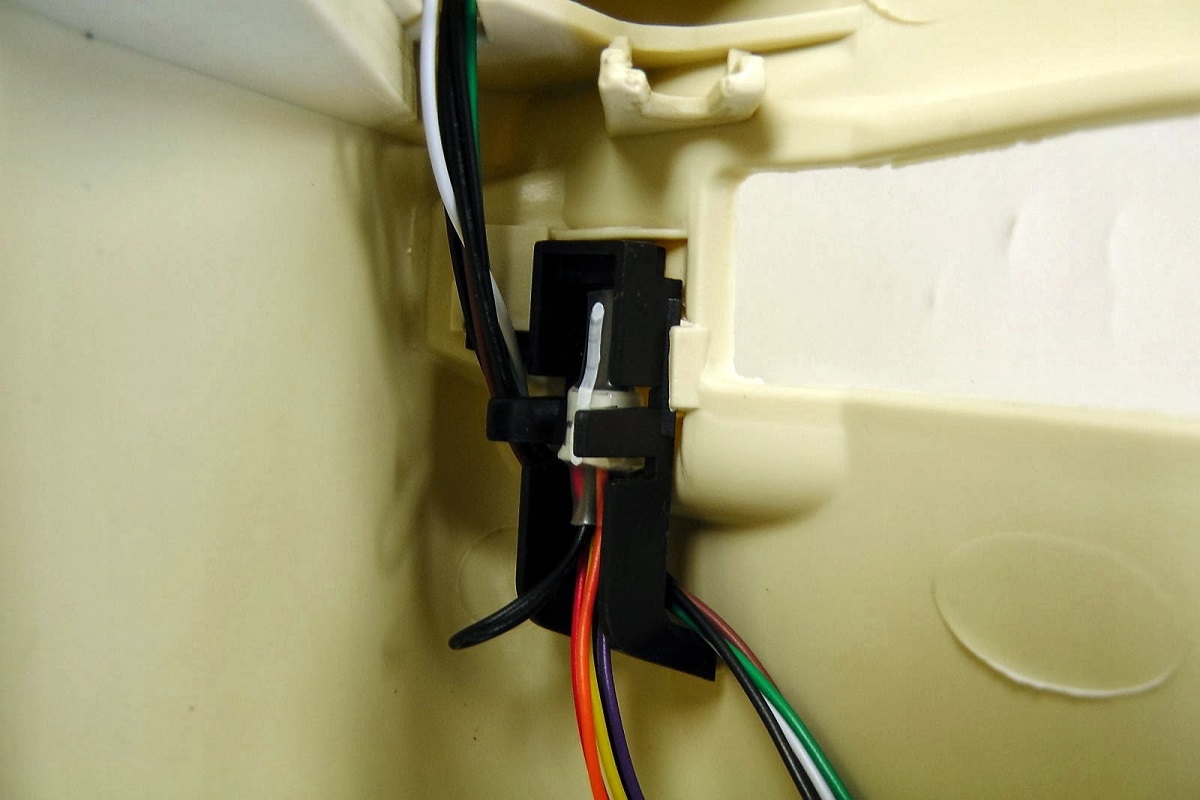 Install the Hall Effect Sensor Holder, Make Sure to Pass the Sensor Harness Between the Holder and the Base
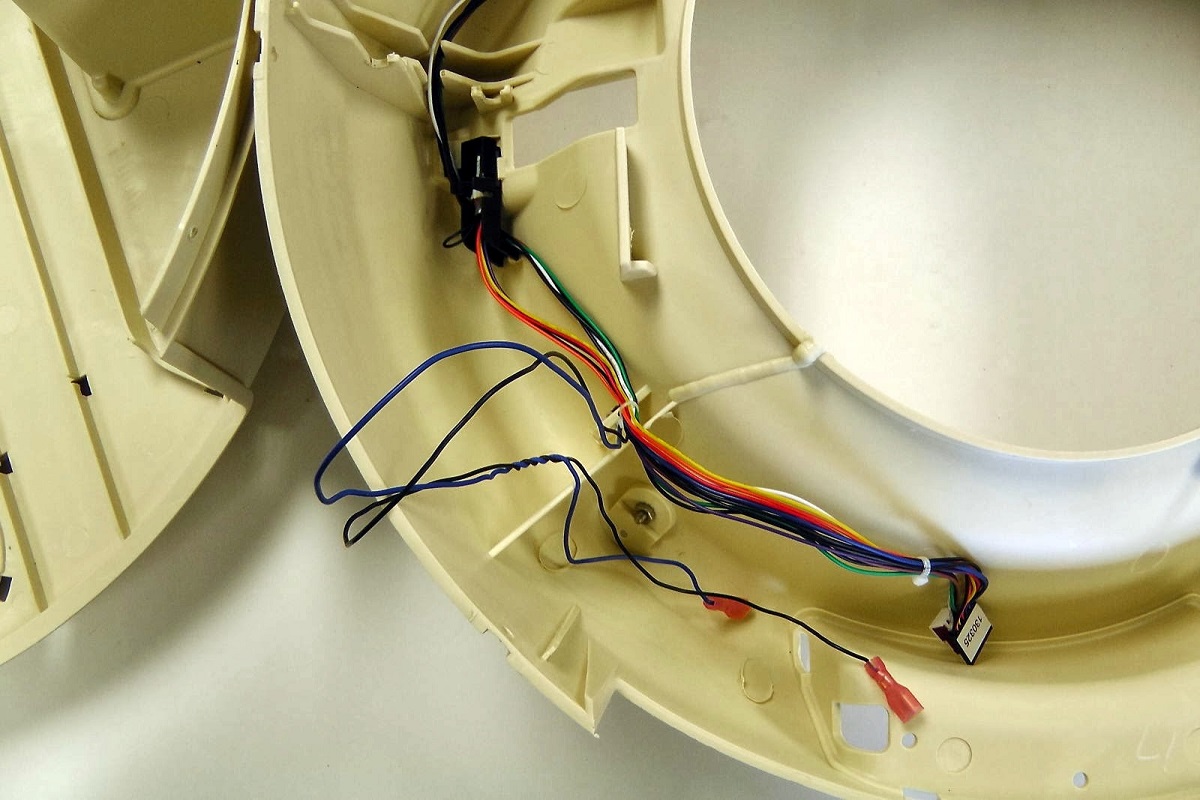 Slide the Circuit Board Connections Under the Plastic TabPass the Circuit Board Connections Through the Base to the FrontConnect the Circuit Board as ShownThe Circuit Board is InstalledFinally, Install the Blue Wire on the Cat Sensor SwitchInstall the Black Wire on the Cat Sensor SwitchSlide the Cat Sensor Switch Under the Metal Trigger Plate
Thanks for helping to keep our community civil!
This post is an advertisement, or vandalism. It is not useful or relevant to the current topic.
You flagged this as spam. Undo flag.Flag Post
Your post is currently under review by our moderation team. The review process usually takes up to 48 business hours.
You can track your post's status in the "My Content" section of your profile. Once approved, it will be published and visible to others.

Thank you for contributing to our community!