Litter-Robot II Repair Guide - Chapter 3: Power Jack
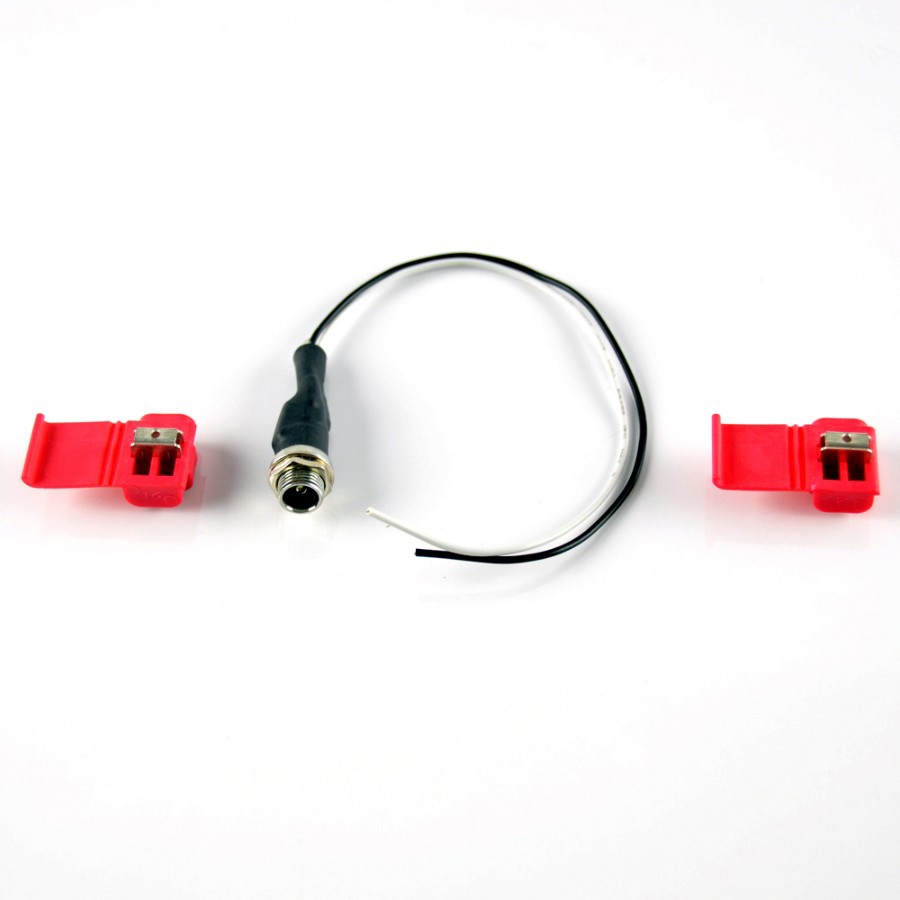
In this chapter of our Litter-Robot II Repair Guide, we will help you replace the power jack on your Litter-Robot II.
You can find our Litter-Robot II troubleshooting guides here:
Litter-Robot II Basic Troubleshooting Guide
Litter-Robot II Advanced Troubleshooting Guide
You can find our Litter-Robot II repair guides here:
Litter-Robot II Repair Guide - Chapter 1: Motor
Litter-Robot II Repair Guide - Chapter 2: Circuit Board
Litter-Robot II Repair Guide - Chapter 3: Power Jack
Litter-Robot II Repair Guide - Chapter 4: Cat Sensor Micro Switch
Litter-Robot II Repair Guide - Chapter 5: Sensor Harness
You can refer to our advanced troubleshooting guide to help you open up your Litter-Robot II.
Replacing the Litter-Robot II power jack
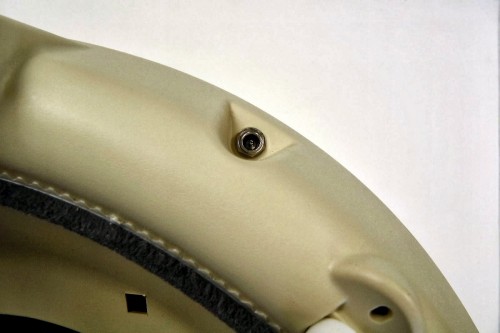
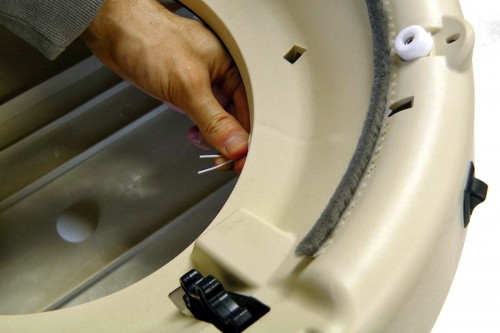
To replace the power jack, you need a cutter and pliers. First, locate the power jack on the Litter-Robot base.
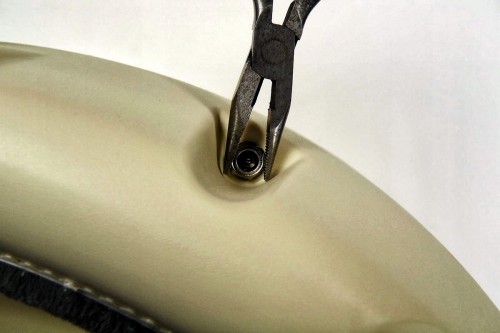
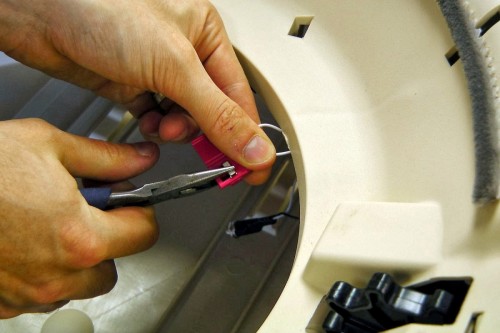
Hold the power jack inside the base while removing the nut with the pliers.
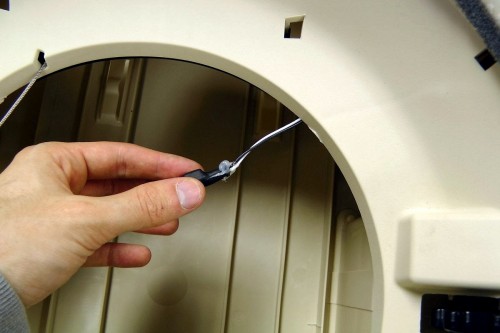
Using the cutter, cut the old power jack from the Litter-Robot harness.
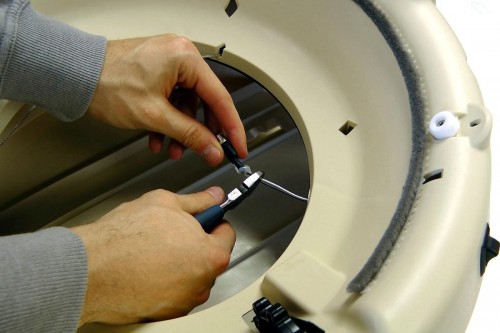
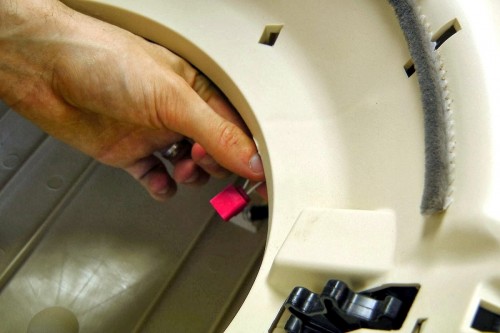
Connect the power jack white wire to the Litter-Robot harness white wire using the wire connectors.
Repeat the same procedure for the black wire.
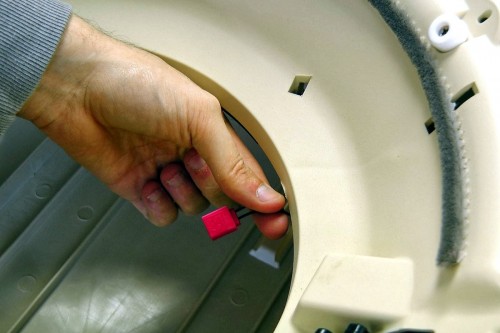
Install the new power jack to the Litter-Robot base.
Thanks for helping to keep our community civil!
This post is an advertisement, or vandalism. It is not useful or relevant to the current topic.
You flagged this as spam. Undo flag.Flag Post


