- Lesson 1 – Getting Started
- Lesson 2 - Choosing a Robotic Platform
- Lesson 3 - Making Sense of Actuators
- Lesson 4 - Understanding Microcontrollers
- Lesson 5 - Choosing a Motor Controller
- Lesson 6 – Controlling your Robot
- Lesson 7 - Using Sensors
- Lesson 8 - Getting the Right Tools
- Lesson 9 - Assembling a Robot
- Lesson 10 - Programming a Robot
At this stage, you should have all the main components for your robot including actuators, motor controllers, a microcontroller, sensors, and communication systems.
You are now approaching the integration stage where you will put all these parts together in what will likely be a custom robotic frame. For this, you will need to get your workshop/laboratory/bat cave ready with the appropriate tools.

We have set up three possible robotic-oriented labs scenarios. Choosing which parts to add to your lab depends on how many robots you plan to make, and how involved in robotics you would like to get. We have outlined three broad categories for labs, but don’t assume the three labs are exclusive; in the real world, you will undoubtedly find robot builders who have tools from more than one section, and can give you a list of other tools which they have found useful. The Essential setup is intended for first-time robot builders who foresee building a few inexpensive robots for fun or have a single project in mind. It is the least expensive setup at less than $100, but don’t be fooled by the price tag. In the right hands, a workshop such as this can be used to create professional robots too. The Intermediate setup is intended for builders who are not quite “professional” but are willing to invest a bit more in tools and equipment in order to ease fabrication, assembly, testing, and troubleshooting. The Ultimate setup is intended for users who plan to make many advanced robots and prototypes, using a variety of parts and materials. This type of builder wants the finished prototype to look as professional as possible and may even want to produce some small production runs of the finished design. This is the type of setup would likely find at a small robotics company. We cannot cover all the tools required at this level but can give some general suggestions. As always, it is very important to have the right tool for the right task and only you know your needs best. Below, you will find the various tools and materials suggestions for your workshop classified by level and type.
Essential
- Small screwdriver set These small screwdrivers are necessary when working with electronics. Don’t force them too much though – their size makes them more fragile.
- Regular screwdriver set All workshops need a multi-tool or tool set which includes flat / Phillips and other screwdriver heads.
- Needle nose pliers A set of needle nose pliers is incredibly useful when working with small components and parts and is a very inexpensive addition to your toolbox. These are different from regular pliers because they come to a point that can get into small areas.
- Wire strippers/cutters If you are planning to cut any wires, a wire stripper will save you considerable time and effort. A wire stripper, when used properly, will only remove cable insulation and will not produce any kinks or damage the conductors. The other alternative to a wire stripper is a pair of scissors, though the end result can be messy.
- Scissors, ruler, pen, marker pencil, exacto knife (or another handheld cutting tool)These are essentials in any office.

Intermediate
- Rotary Tool (Dremel for example) Rotary tools have proven to be incredibly versatile and can replace most of the conventional power tools provided the work that needs to be done is at a small scale. They can cut, drill, sand, engrave, polish, etc.
- Drill A drill is very useful especially when creating larger holes or using stronger / thicker materials. If you are prepared to make the investment, a drill press allows you to reliably create perfectly perpendicular holes.
- Saw A saw of some type is beneficial at this stage to cut thicker materials or make long straight cuts. You can use a hand saw (although you may need to finish the edges), a bandsaw, a table saw, etc.
- Vise As your work becomes more complex, you will need to hold materials and parts firmly in place while you work on them. A vise is essential for this and allows us to go further in terms of precision and quality.
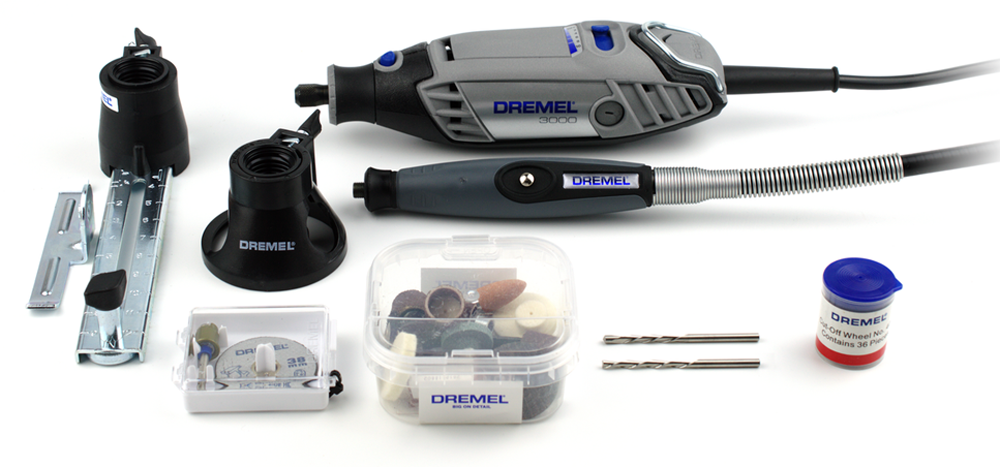
Source: Gareth Halfacree - Wikipedia
Ultimate
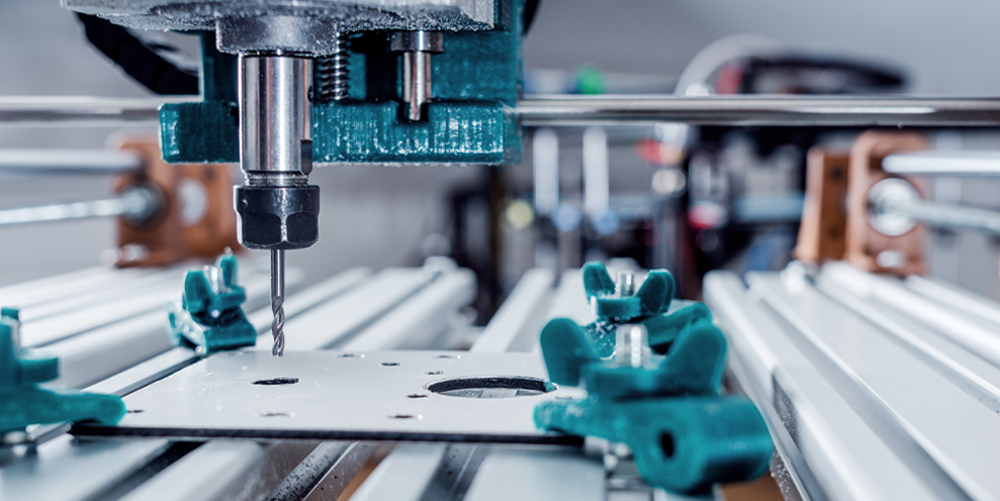
- Tabletop CNC mill A tabletop CNC machine allows you to precisely machine plastics, metals, and other materials and creates three-dimensional, intricate shapes.
- Tabletop lathe A (manual) tabletop lathe allows you to create your own hubs, shafts, spacers, adapters, and wheels out of various materials. A CNC lathe tends to be overkill since most builders only need to change the diameter rather than create complex shapes.
- Vacuum Forming Machine Vacuum forming machines are used to create complex plastic shells that are molded to your exact specifications.
- Metal Benders When making robotic frames or enclosures out of sheet metal or metal extrusions, using a metal bender is essential in order to obtain precise and repeatable bends.
- Other Specialized tools At this stage, you will be very aware of your machining needs and will probably require more specialized tools such as metal nibblers, welding machines, 3D printers, etc.
Essential
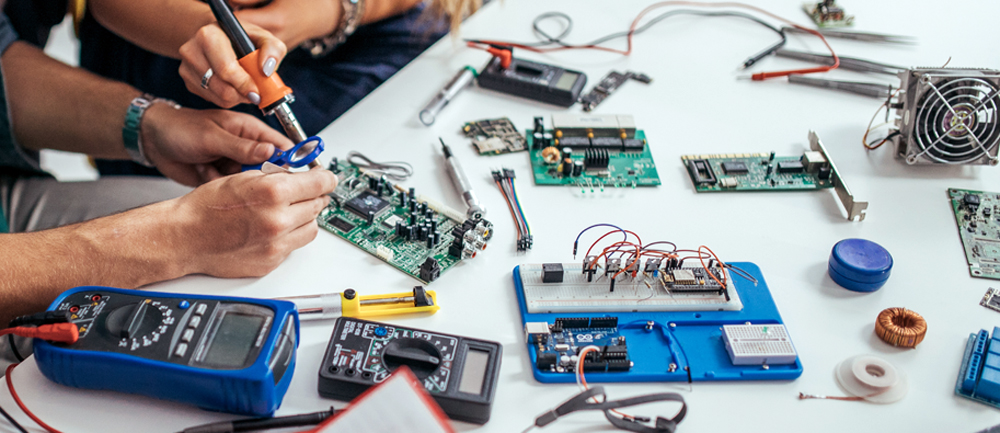
- Breadboard This has nothing to do with slicing bread. These boards are used to easily create prototype circuits without having to solder. This is good in the event that you have not fully developed your soldering skills or want to quickly put together prototypes and test ideas without having to solder a new circuit each time.
- Jumper wires These wires fit perfectly from hole to hole on a solderless breadboard and not only look pretty but also prevent clutter.
- Breadboard power supply When experimenting with electronics it is very important to have a reliable and easy-to-use power source. A breadboard power supply is the least expensive power supply offering these features.
- Soldering tool kit An inexpensive soldering iron kit has all the basic components needed to help you learn how to solder and make simple circuits.
- Multimeter A multimeter is used to measure voltage, resistance, and current, check the continuity of connections, and more. If you know you will be building several robots and working with electronics, it is wise to invest in a higher-quality multimeter.
- Wall adapter Standard voltages used in robotics include 3.3V, 5V, 6V, 9V, 12V, 18V, and 24V. 6V is a good place to start since it is often the minimum voltage for DC gear motors and microcontrollers and is also the maximum voltage for servo motors. A wall adapter can also be a good replacement for batteries since they can be very expensive in the long run. A wall adapter can allow you to use your project without interruption whereas even rechargeable batteries need to be recharged.
Intermediate
The Intermediate electronics lab builds upon the essential lab by adding the following:
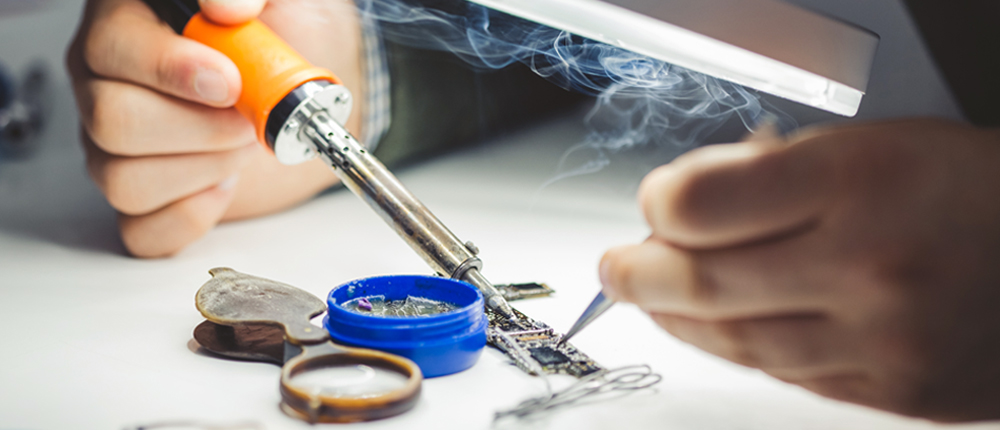
- Adjustable temperature soldering station A basic soldering iron can only take you so far. A variable-temperature soldering iron with interchangeable tips will allow you to be more precise and decrease the risk of burning or melting components.
- Brass sponge for solder In combination with the more traditional wet sponge to wipe away excess solder, a brass sponge can help clean the soldering iron tip without cooling it down, allowing you to spring back into action quicker and solder like a ninja.
- Variable power supply (instead of wall adapter) Having a powerful and reliable power source is very important when developing complex circuits and robots. A variable power supply allows you to test various voltages and currents without the hassle of needing several types of batteries and power adaptors.
Ultimate
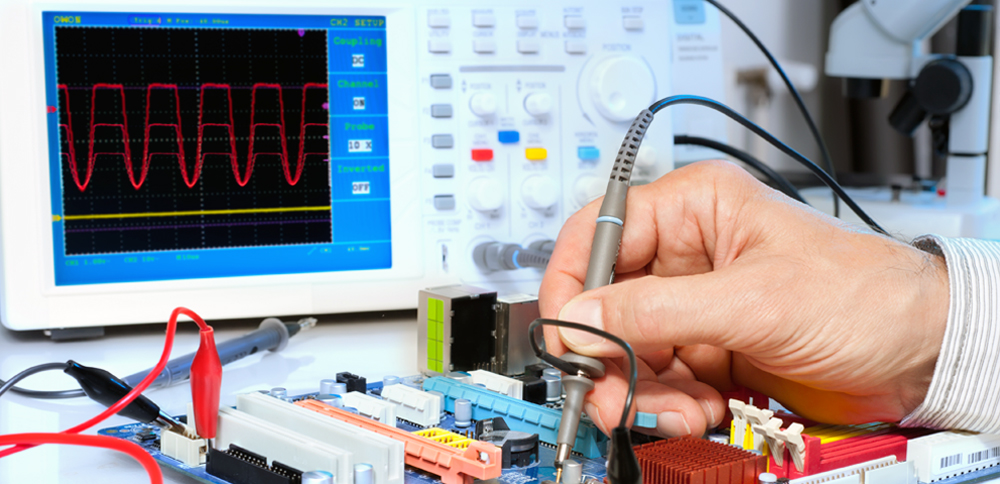
- Oscilloscope An oscilloscope is very useful when dealing with analog circuits or periodic signals.
- Logic Analyser A logic analyzer is like a "digital eye" when working with digital signals. It allows you to see and store the data produced by a microcontroller and makes it simpler to debug digital circuits.
Essential
- 22 gauge hook-up wire The most common wire diameter (gauge) used in robotics is 22 (0.0254 ” or 0.64 mm). Although there are advantages to multi-strand wires, single-strand (solid core) allows you to easily plug them into pin headers and breadboards.
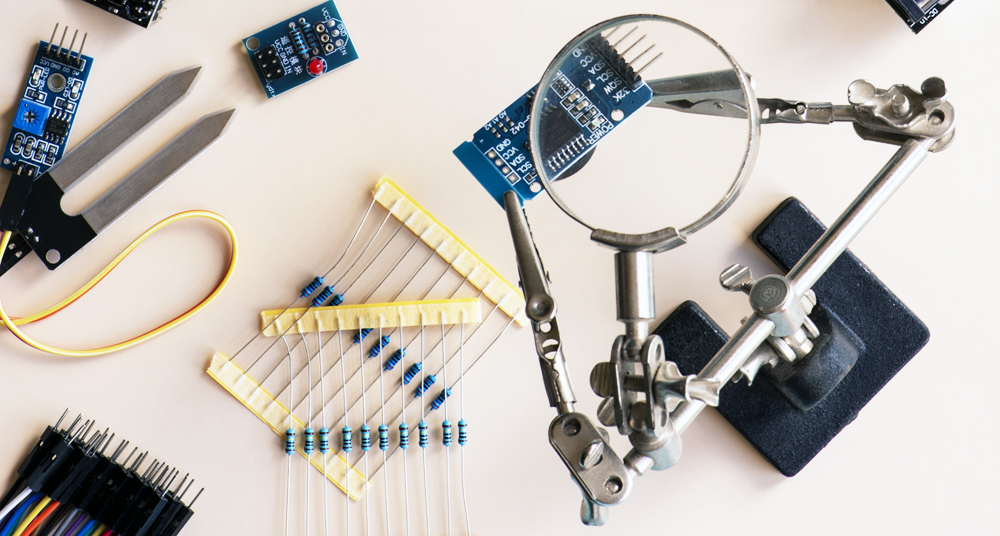
- Third hand When soldering, having a helping hand that is impervious to heat is extremely useful. A third hand is an incredibly helpful tool since it holds the PCB and components in place while you solder.
- Hot glue gun A hot glue gun is incredibly useful no matter what your level of expertise and will only set you back a few dollars. The glue which comes out of a hot glue gun sets rapidly and provides a good bond. Unlike normal glue, this glue is three-dimensional, which means you can use it as a spacer; glue; filler; bridge etc.
- Tape The most popular types of tape used in robotics are duct and electrical. Electrical tape is best suited for electrical components (since it does not conduct) while duct tape is best for structural elements.
Intermediate
- Thicker wire As you build larger robots, DC motors will require higher current and therefore larger diameter wires. The lower the gauge, the thicker the wire and the more current it can handle.
- Vernier caliper In addition to a regular ruler, a vernier allows you to more precisely measure parts as well as diameters (both inside and outside).

Essential

- Google SketchUp is a free program which can be used to create your robot in 3D, to the proper scale, complete with texture. This can help you ensure that parts are not overlapping, check dimensions for holes and change the design before it is built. Autodesk 123D is another free 3D CAD (Computer Aided Design) software aimed at hobbyists. While it shares many of the same features as Google Sketchup, it has some interesting features such as solid-based part design, assemblies, parametrized transforms and other functionalities that are usually seen in higher end CAD programs.
- Programming software Your first programming software should correspond to whichever microcontroller you selected. If you chose an Arduino microcontroller, you should choose the Arduino software; if you chose a Basic Stamp from Parallax, you should choose PBasic and so forth. In order to use a variety of microcontrollers, you may want to learn a more fundamental programming language such as BASIC or C.
- Schematics and PCBs There are many free programs available on the market, and CadSoft's EAGLE is one of the more popular. It includes an extensive library of parts and helps you convert your schematic to a PCB.
Ultimate
- CAD SolidWorks is the CAD program of choice for many when doing the mechanical design but it is certainly not the only one available. When working at this level (i.e. using programs worth several thousand dollars) you should have a good idea of your needs in order to choose the right tool (Unigraphics, Catia, ProE etc.).
- CAM If you are using a CNC machine, you will need a proper 3D CAD program such as ProE, AutoCAD, SolidWorks, or another similar program. In order to convert your CAD model to use code to send to the CNC machine, you need a CAM program. Often you can purchase a CAM program specifically for the CAD software you selected, or find a third-party supplier.

Essential
- Thin sheet metal This material can be cut easily with scissors and can be bent and shaped as needed to form the frame or other components of your robot without necessarily having to do machining.
- Cardboard The right cardboard (thick but can still be cut using hand tools) can easily be used to make a frame or prototype. Even basic glue can be used to hold cardboard together.
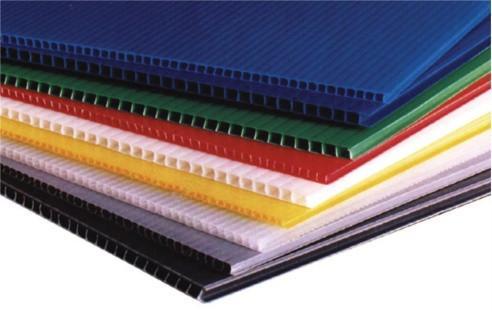
- Thin plastic Polypropylene, PVC about 1/16” thick can be scored or sawed to create a more rigid and longer-lasting frame for your robot.
- Thin wood Wood is a great material to work with if you have the means. It can be screwed, glued, sanded, finished, and more.
Intermediate
- Polymorph allows you to create plastic parts without the hassle of having to create custom molds.
- Sheet metal If you have thicker metal-cutting sheers, sheet metal makes an excellent building material for a robot frame because of its durability, flexibility, and resistance to rust.
- Plastic sheets are fairly rigid and resist deformation. If you are cautious and slow when cutting or drilling most plastics, the results can look professional
Essential
Workshop: Ard-e
Ard-e, the Arduino-based robot , is an example of what you could do achieve with a simple workshop including only essential tools.
Intermediate
Workshop: POLYRO
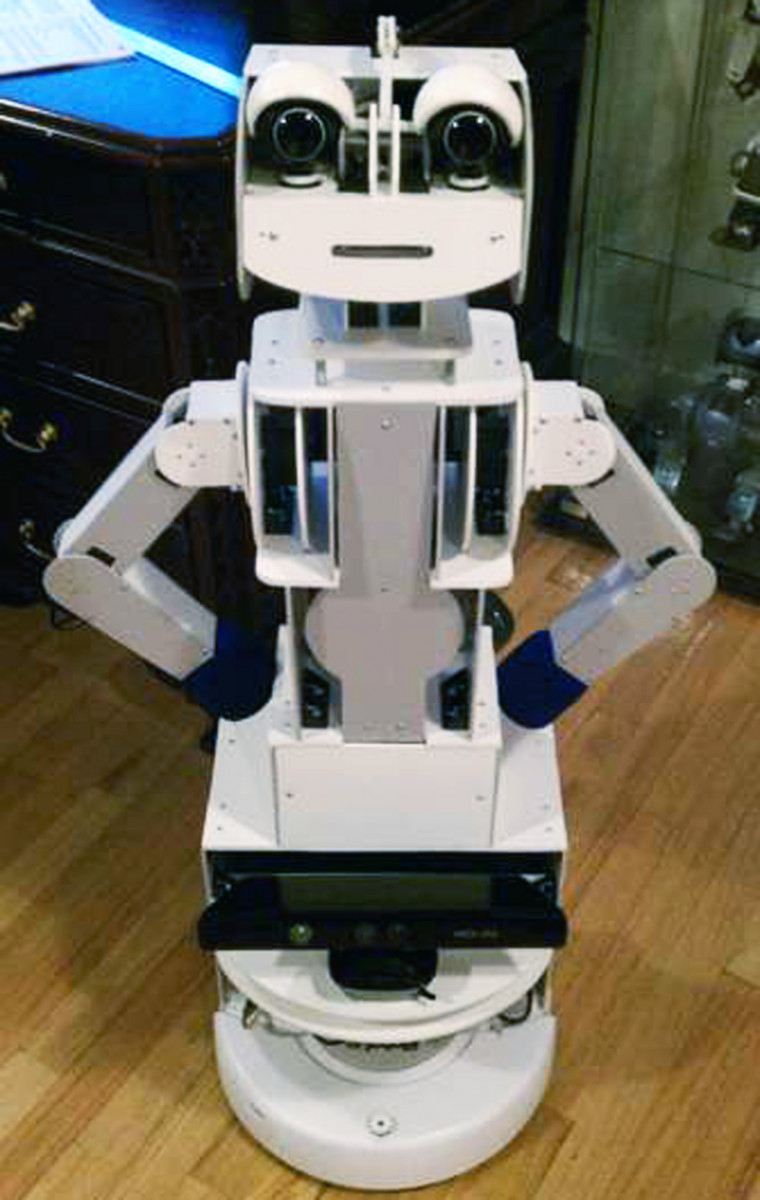
POLYRO is a very advanced robot that can be built with an intermediate workshop. It has most of the features professional robotic platforms used in research laboratories have. Although it has many complex parts, mostly all of them can be put made using simple hand tools. For the standard practical example included at the bottom of every lesson, only an intermediate-level lab would be needed to put the robot together. We will go into more detail in the following lesson.
Ultimate
Workshop: BaR2D2
The BaR2D2 is a good example of what can be achieved with such an advanced robotic workshop. It has many intricate custom-machined parts and requires good tooling abilities
For further information on learning how to make a robot, please visit the RobotShop Learning Center. Visit the RobotShop Community Forum in order to seek assistance in building robots, showcase your projects or simply hang out with other fellow roboticists.


