- Lesson 1 – Getting Started
- Lesson 2 - Choosing a Robotic Platform
- Lesson 3 - Making Sense of Actuators
- Lesson 4 - Understanding Microcontrollers
- Lesson 5 - Choosing a Motor Controller
- Lesson 6 – Controlling your Robot
- Lesson 7 - Using Sensors
- Lesson 8 - Getting the Right Tools
- Lesson 9 - Assembling a Robot
- Lesson 10 - Programming a Robot
Programming is usually the final step involved in building a robot. If you followed the lessons, so far you have chosen the actuators, electronics, sensors, and more, and have assembled the robot so it hopefully looks something like what you had initially set out to build. Without programming though, the robot is a very nice-looking and expensive paperweight. It would take much more than one lesson to teach you how to program a robot, so instead, this lesson will help you with how to get started and where (and what) to learn. The practical example will use "Processing", a popular hobbyist programming language intended to be used with the Arduino microcontroller chosen in previous lessons. We will also assume that you will be programming a microcontroller rather than software for a full-fledged computer.

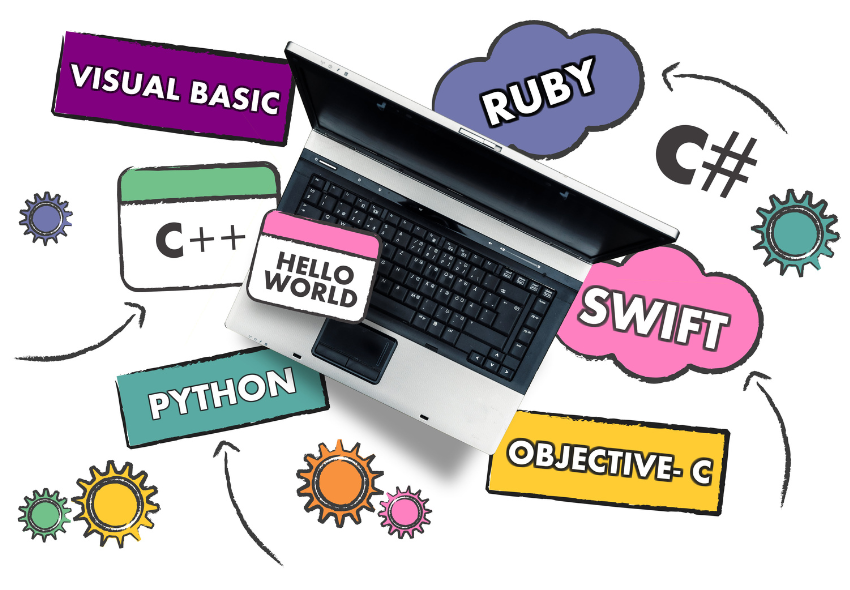
There are many programming languages that can be used to program microcontrollers, the most common of which are:
- Assembly; it's just one step away from machine code and as such it is very tedious to use. Assembly should only be used when you need absolute instruction-level control of your code.
- Basic; one of the first widely used programming languages, it is still used by some microcontrollers (Basic Micro, BasicX, Parallax) for educational robots.
- C/C++; one of the most popular languages, C provides high-level functionality while keeping good low-level control.
- Java is more modern than C and provides lots of safety features to the detriment of low-level control. Some manufacturers like Parallax make microcontrollers specifically for use with Java.
- .NET/C#; Microsoft's proprietary language used to develop applications in Visual Studio. Examples include Netduino, FEZ Rhino, and others).
- Processing (Arduino); a variant of C++ that includes some simplifications in order to make the programming easier.
- Python is one of the most popular scripting languages. It is very simple to learn and can be used to put programs together very fast and efficiently.
In lesson 4, you chose a microcontroller based on the features you needed (number of I/O, user community, special features, etc). Oftentimes, a microcontroller is intended to be programmed in a specific language. For example:
- Arduino microcontrollers use Arduino software and are re-programmed in Processing.
- Basic Stamp microcontrollers use PBasic
- Basic Atom microcontrollers use Basic Micro
- Javelin Stamp from Parallax is programmed in Java
- Raspberry Pi Pico is programmed in MicroPython and C++
If you have chosen a hobbyist microcontroller from a known or popular manufacturer, there is likely a large book available so you can learn to program in their chosen programming language. If you instead chose a microcontroller from a smaller, lesser-known manufacturer (e.g. since it had many features which you thought would be useful for your project), it's important to see what language the controller is intended to be programmed in (C in many cases) and what development tools are there available (usually from the chip manufacturer).
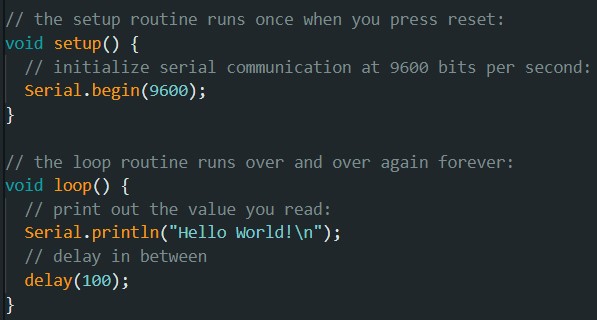
The first program you will likely write is "Hello World" (referred to as such for historic reasons). This is one of the simplest programs that can be made on a computer and is intended to print a line of text (e.g. "Hello World") on the computer monitor or LCD screen. In the case of a microcontroller, another very basic program you can do that has an effect on the outside world (rather than just on-board computations) is toggling an IO pin. Connecting an LED to an I/O pin and then setting the I/O pin to ON and OFF will make the LED blink. Although the simple act of turning on an LED may seem basic, the function can allow for some complex programs (you can use it to light up multi-segment LEDs, display text and numbers, operate relays, servos, and more).
Steps
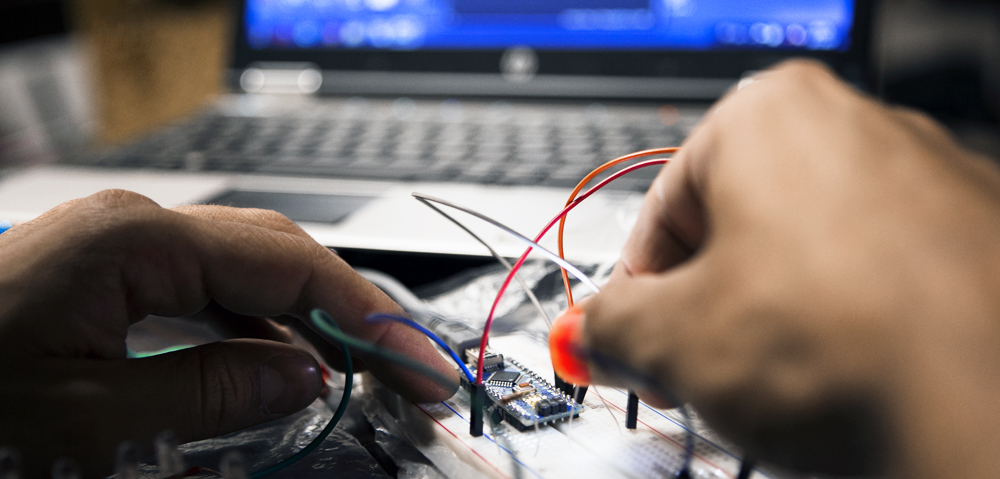
- Ensure you have all components needed to program the microcontroller Not all microcontrollers come with everything you need to program them, and most microcontrollers need to be connected to a computer via a USB plug. If your microcontroller does not have a USB or DB9 connector, then you will need a separate USB to serial adapter, and wire it correctly. Fortunately many hobbyist microcontrollers are programmable either via an RS-232 port or by USB and include the USB connector onboard which is used not only for two-way communication but also to power the microcontroller board.
- Connect the microcontroller to the computer and verify which COM port it is connected to. Not all microcontrollers will be picked up by the computer and you should read the "getting started" guide in the manual to know exactly what to do to have your computer recognize it and be able to communicate with it. You often need to download "drivers" (specific to each operating system) to allow your computer to understand how to communicate with the microcontroller and/or the USB to serial converter chip.
- Check the product's user guide for sample code and communication method/protocol Don’t reinvent the wheel if you don’t have to. Most manufacturers provide some code (or pseudo code) explaining how to get their product working. The sample code may not be in the programming language of your choice, but don’t despair; do a search on the Internet to see if other people have created the necessary code.
- Check product manuals/user guides
- Check the manufacturer’s forum
- Check the internet for the product + code
- Read the manual to understand how to write the code

- Create manageable chunks of functional code: By creating segments of code specific to each product, you gradually build up a library. Develop a file system on your computer to easily look up the necessary code.
- Document everything within the code using comments: Documenting everything is necessary for almost all jobs, especially robotics. As you become more and more advanced, you may add comments to general sections of code, though as you start, you should add a comment to (almost) every line.
- Save different versions of the code - do not always overwrite the same file: if you find one day that your 200+ lines of code do not compile, you won't be stuck going through it line by line; instead, you can revert to a previously saved (and functional) version and add/modify it as needed. Code does not take up much space o a hard drive, so you should not feel pressured to only save a few copies. Pro tip: Use Git / GitHub for version control.
- Raise the robot off the table or floor when debugging (so its wheels/legs/tracks don't accidentally launch it off the edge), and have the power switch close by in case the robot tries to destroy itself. An example of this is if you try to send a servo motor to a 400us signal when it only accepts a 500 (corresponding to 0 degrees) to 2500us (corresponding to 180 degrees) signal. The servo would try to move to a location that it cannot physically go to (-9 degrees) and ultimately burn out.
- If code does something that does not seem to be working correctly after a few seconds, turn off the power - it's highly unlikely the problem will "fix itself" and in the meantime, you may be destroying a part of the mechanics.
- Subroutines may be a bit difficult to understand at first, but they greatly simplify your code. If a segment of code is repeated many times within the code, it is a good candidate to be replaced with a subroutine.

We have chosen an Arduino microcontroller to be the "brain" of our robot. To get started, we can take a look at the Arduino 5 Minute Tutorials. These tutorials will help you use and understand the basic functionality of the Arduino programming language. Once you have finished these tutorials, take a look at the example below. For the robot we have made, we will create code to have it move around (left, right, forward, reverse), move the two servos (pan/tilt) and communicate with the distance sensor. We chose Arduino because of the large user community, abundance of sample code, and ease of integration with other products.
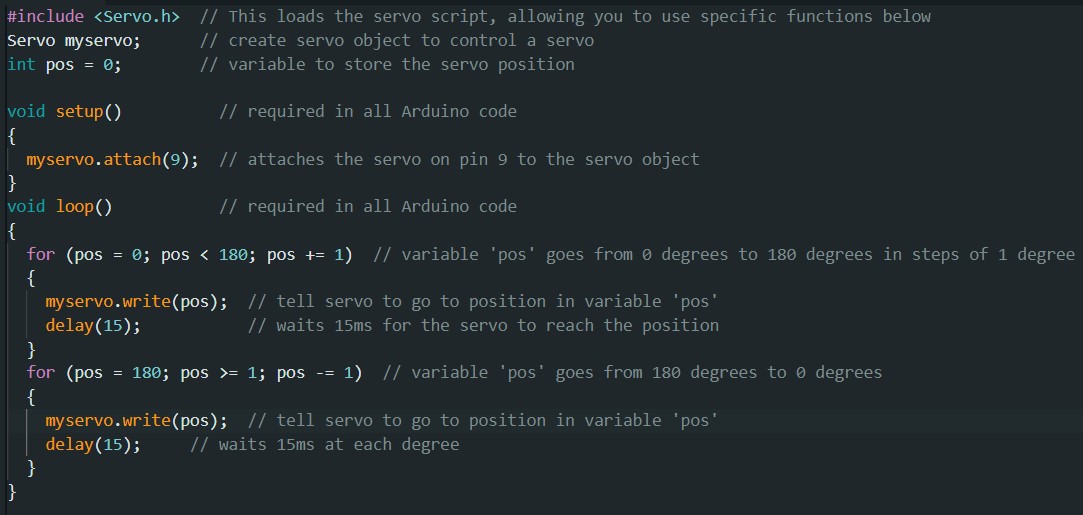
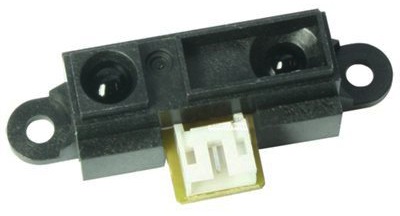 Distance sensor Fortunately in the Arduino code, there is an example of getting values from an analog sensor. For this, we go to File -> Examples -> Analog -> AnalogInOutSerial (so we can see the values) Pan/Tilt Again, we are fortunate to have sample code to operate servos from an Arduino. File -> Examples -> Servo -> Sweep
Note that text after two slashes // are comments and not part of the compiled code
Motor Controller
Here is where it gets a bit harder since no sample code is available specifically for the Arduino. The controller is connected to the Tx (serial) pin of the Arduino and waits for a specific "start byte" before taking any action. The manual does indicate the communication protocol required; a string with a specific structure:
- 0x80 (start byte)
- 0x00 (specific to this motor controller; if it receives anything else it will not take action)
- motor # and direction (motor one or two and direction explained in the manual)
- motor speed (hexadecimal from 0 to 127)
In order to do this, we create a character with each of these as bytes within the character:

Therefore when this is sent via the serial pin, it will be sent in the correct order. Putting all the code together makes the robot move forward and sweep the servo while reading distance values.
For further information on learning how to make a robot, please visit the RobotShop Learning Center. Visit the RobotShop Community Forum in order to seek assistance in building robots, showcase your projects or simply hang out with other fellow roboticists.


