


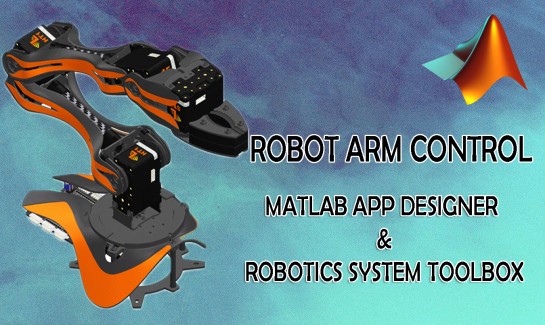
Using MATLAB to Control the LSS 4DoF Robotic Arm
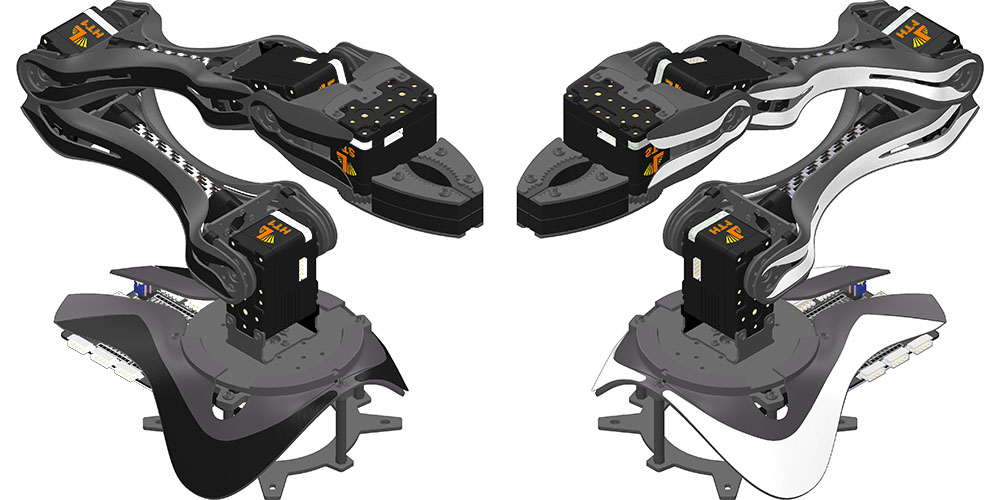
In this project I used MATLAB’s App Designer and Robotics Toolbox to create a graphical user interface that allows controlling the LSS 4 DoF Robotic Arm, which is a Lynxmotion’s robot arm designed around the fully configurable Lynxmotion Smart Servos. The arm uses the LSS Adapter Board to communicate with and power the Lynxmotion Smart Servos which can be configured to query a wide variety of values including position, current, voltage, and temperature, change their maximum speed, and more. These servos can be controlled using standard RC PWM or the human-readable LSS serial protocol which is what I used in this project.
If you are not familiar with MATLAB App Designer it’s a tool that lets you create apps in MATLAB by dragging and dropping visual components to lay out the design of the graphical user interface and use the integrated editor to quickly program its behavior. In this project I used a couple of different building components including sliders to select the position of the end effector, numeric fields to display the positional values of each servo, drop-down menus to change the color of the LEDs, the baud rate, and the COM port, as well as some buttons with different functions.
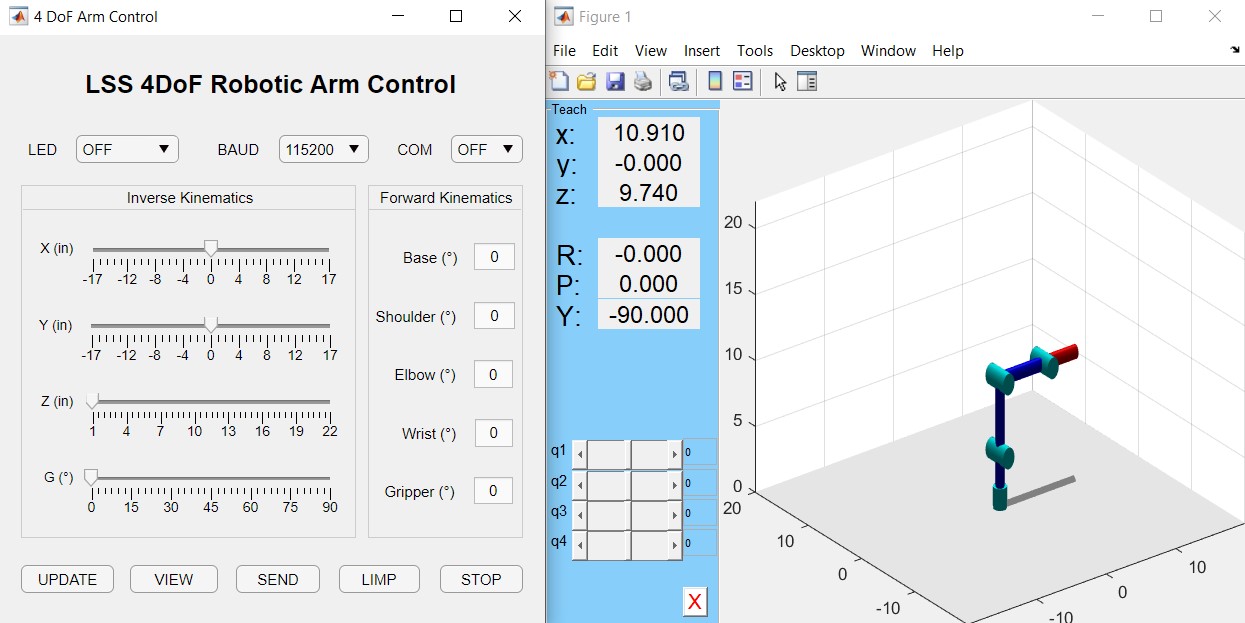
The arm can be controlled by using the teach function in the right side of the interface which allows selecting each servo position in degrees and automatically shows it on the graphical representation of the arm (forward kinematics) or by using the sliders in the Inverse Kinematics panel (left side of the interface) which allows changing the position of the end effector by giving the cartesian coordinates X,Y,Z in inches.
The UPDATE button updates the values shown in the Inverse Kinematics panel, in case what is being used to control the arm is the position in degrees (right side of the GUI). The VIEW button updates the graphical representation of the arm as well as the Forward Kinematics values in case what is being used to control the arm is the end-effector position in inches (left side of the GUI). The SEND button sends the commands needed to move the arm to the current position shown in the app, this means that the only time the arm moves is after the SEND button is pressed, this way the user can “play” with the arm positions in the GUI and check that there are no collisions before moving the actual arm. The LIMP button makes the arm go limp after 2 seconds and the STOP button makes the stop the movement and hold its position.
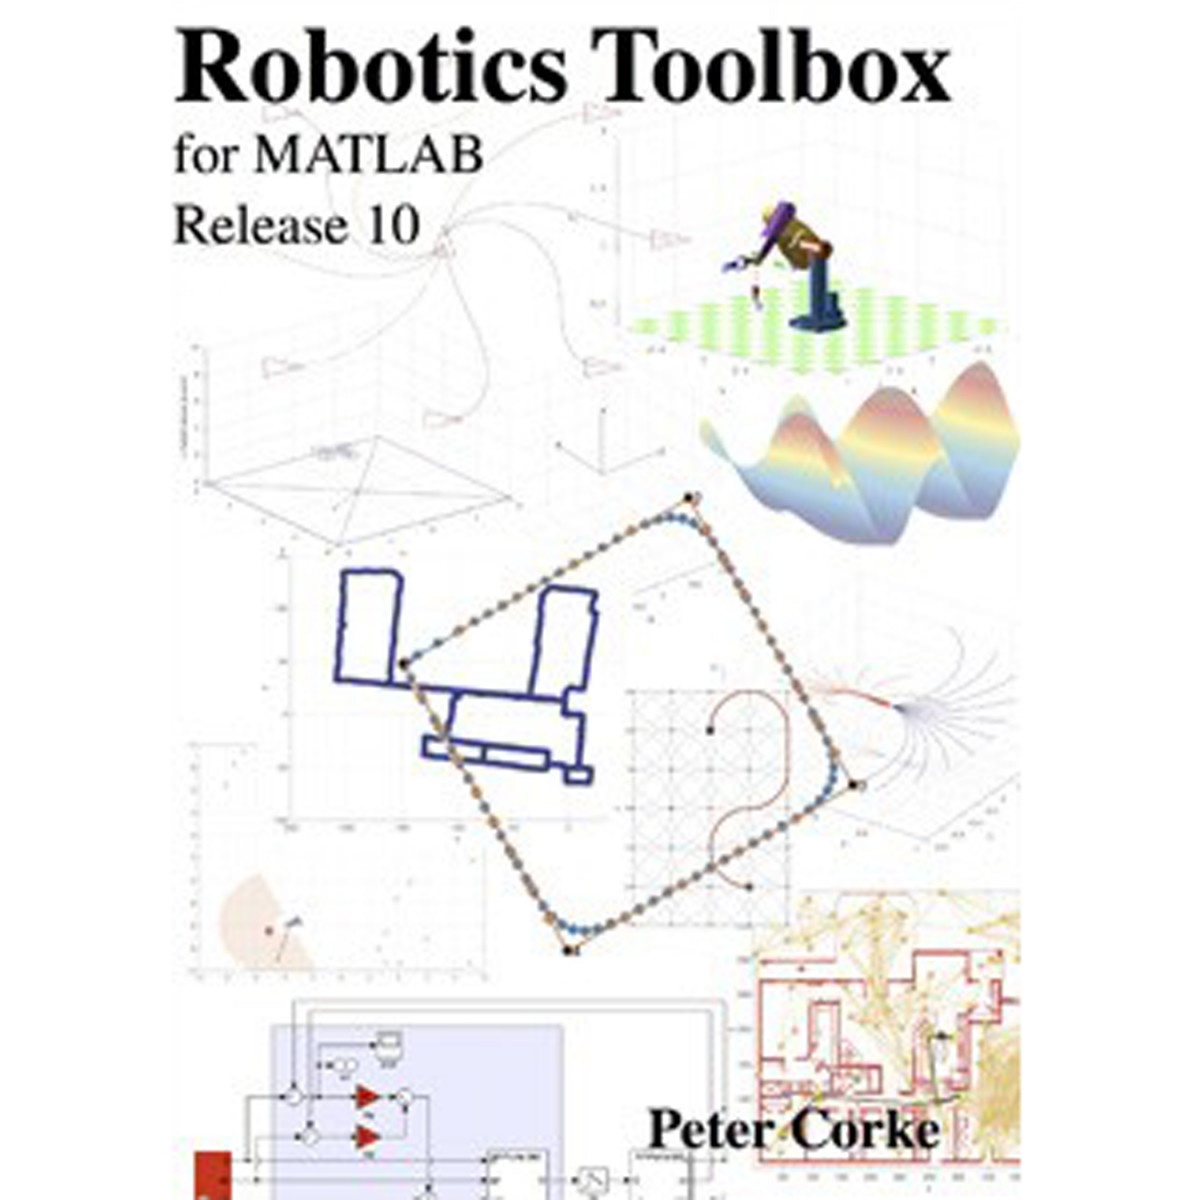
In order to perform the forward and inverse kinematics calculations I used Peter Corke’s Robotics toolbox which provides a library of robotics algorithms and tools to design, simulate, and test robot manipulators and mobile robots. In order to create a “model” of the robot I used the serial link robot class, which allows representing an arm-type robot by using Denavit-Hartenberg parameters. For the LSS 4DoF Robot Arm the DH parameters are:
- L(1) = Link([0 d1 0 pi/2])
- L(2) = Link([0 0 d2 0])
- L(3) = Link([0 0 d3 0])
- L(4) = Link([0 0 d4 0])
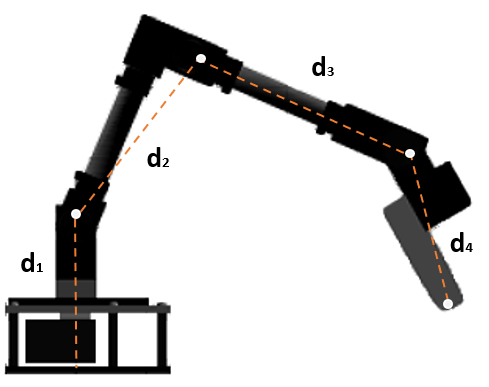
Where the “d” parameters are the length of the joints measured from rotating axis to rotating axis, which are:
- d1 = 4.13
- d2 = 5.61
- d3 = 6.39
- d4 = 4.52
Note: I didn't want this post to be too long so I didn't include this information but if you aren’t familiar with DH parameters and you’re interested in learning how to calculate them let me know in the comments.
With this robot representation, we can now calculate the kinematics parameters, in this case, I used the ikcon function in the toolbox which calculates the inverse kinematics using optimization with joint limits. By using this function, we are able to get the joint coordinates in degrees to place the end effector in the specified position in inches. It is worth mentioning that the joint limits were set as -90 and 90 degrees for most joints except the base, and the initial joint coordinates q0 used for the minimization are the previously obtained joint coordinates, in the case they have been calculated previously, this way the movement is affected by previous positions causing smoother transitions.
The forward kinematics option is much simpler as it requires that the user selects the servos positions in degrees, which are the only parameters needed to move the arm to a specific position, then if the user presses the UPDATE button the function fkine is used to get the X,Y,Z coordinates.
In either case, the most important thing is to obtain the angles in degrees, so after knowing these values the only thing left is triggering the move action which is done by using the SEND button, this sends the serial commands required to place each servo in the positions specified in the Forward Kinematics panel. If you’re interested in knowing how the serial communication protocol used by the LSS servos work I recommend checking the LSS Communication Protocol Wiki. And if you’re only interested in the commands used in this project then I suggest checking the Arm Control module in the Chess Robot tutorial.
For more information, I invite you to check the attached code or the Github repository.