Wall-e - push-toy conversion

The mission

To convert a little pushtoy Wall-e into a fully motorised, arduino powered robot with bluetooth for control. Why? My little boy loves Wall-e, I love coding - so why not make a toy that will entertain the little fella by day, and serve as a test platform for me by night?


The Plan

  • Internals - The main component of this build will be the Arduino Uno, complete with Motor Shield. A Bluetooth module has been added and will be used via a serial connection to the controlling device (mobile phone with RC app, PC/Laptop with a little Python app I am working on).
  • Onboard sounds/lights/effects - In the future I hope to add an SD Card to store Wall-e sound effects and trigger them from the Python app I will eventually write (he says, with mild heart palpatations at the thought), Due to the lack of pins available, however, the original PCB will be refitted for now and troggered from the Analog Pins. The LEDs will be attached to an Analog pin too.
  • Motor installation - Motors are being added for arm and track control, coupled with a worm gear drive system he is devising; the particular toy we are working with has very tough-to-turn tracks, so there has been a lot of work done on getting the gearing to allow a good balance of torque and speed. I am not very hack-savvy AT ALL, so i have emplyed the services of a friend to aid me with the hardware aspects of my project.


The Execution

The Build - updates

  • UPDATE - Wall-e now moves! His tracks and motors have been attached. Next phase is to add motors to the arms, a servo for the neck, and find a small enough 9v-12v rechargable power solution. After that, if time permits, add the control of the LEDs in.his eyes to a pin and add triggering of sounds from the original board to another pin. Somehow!Motors: In place


  • UPDATE 2 - just had an email from Ian E Barnes, the man tasked with assembling Wall-e (he is the Barry to my Paul,if you are Chuckle Brothers fans). Wall-e now has arm motors attached, original PCB reinstalled for sounds, plus the eyes/LEDs are triggerable from the Arduino! It is currently running running on a 9v battery, so on Tuesday I will look to sort a rechargable, onboard solution. If I somehow have 12v of onboard rechargable goodness I will be an even happier man.  ALL HAIL THE BARNES!!


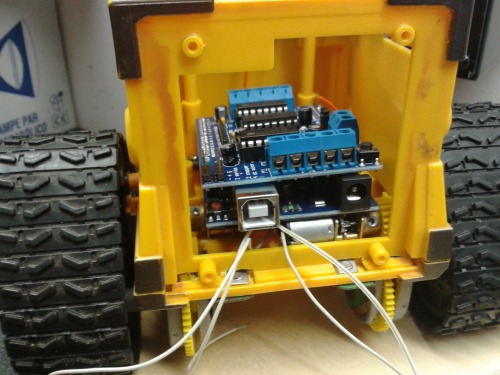
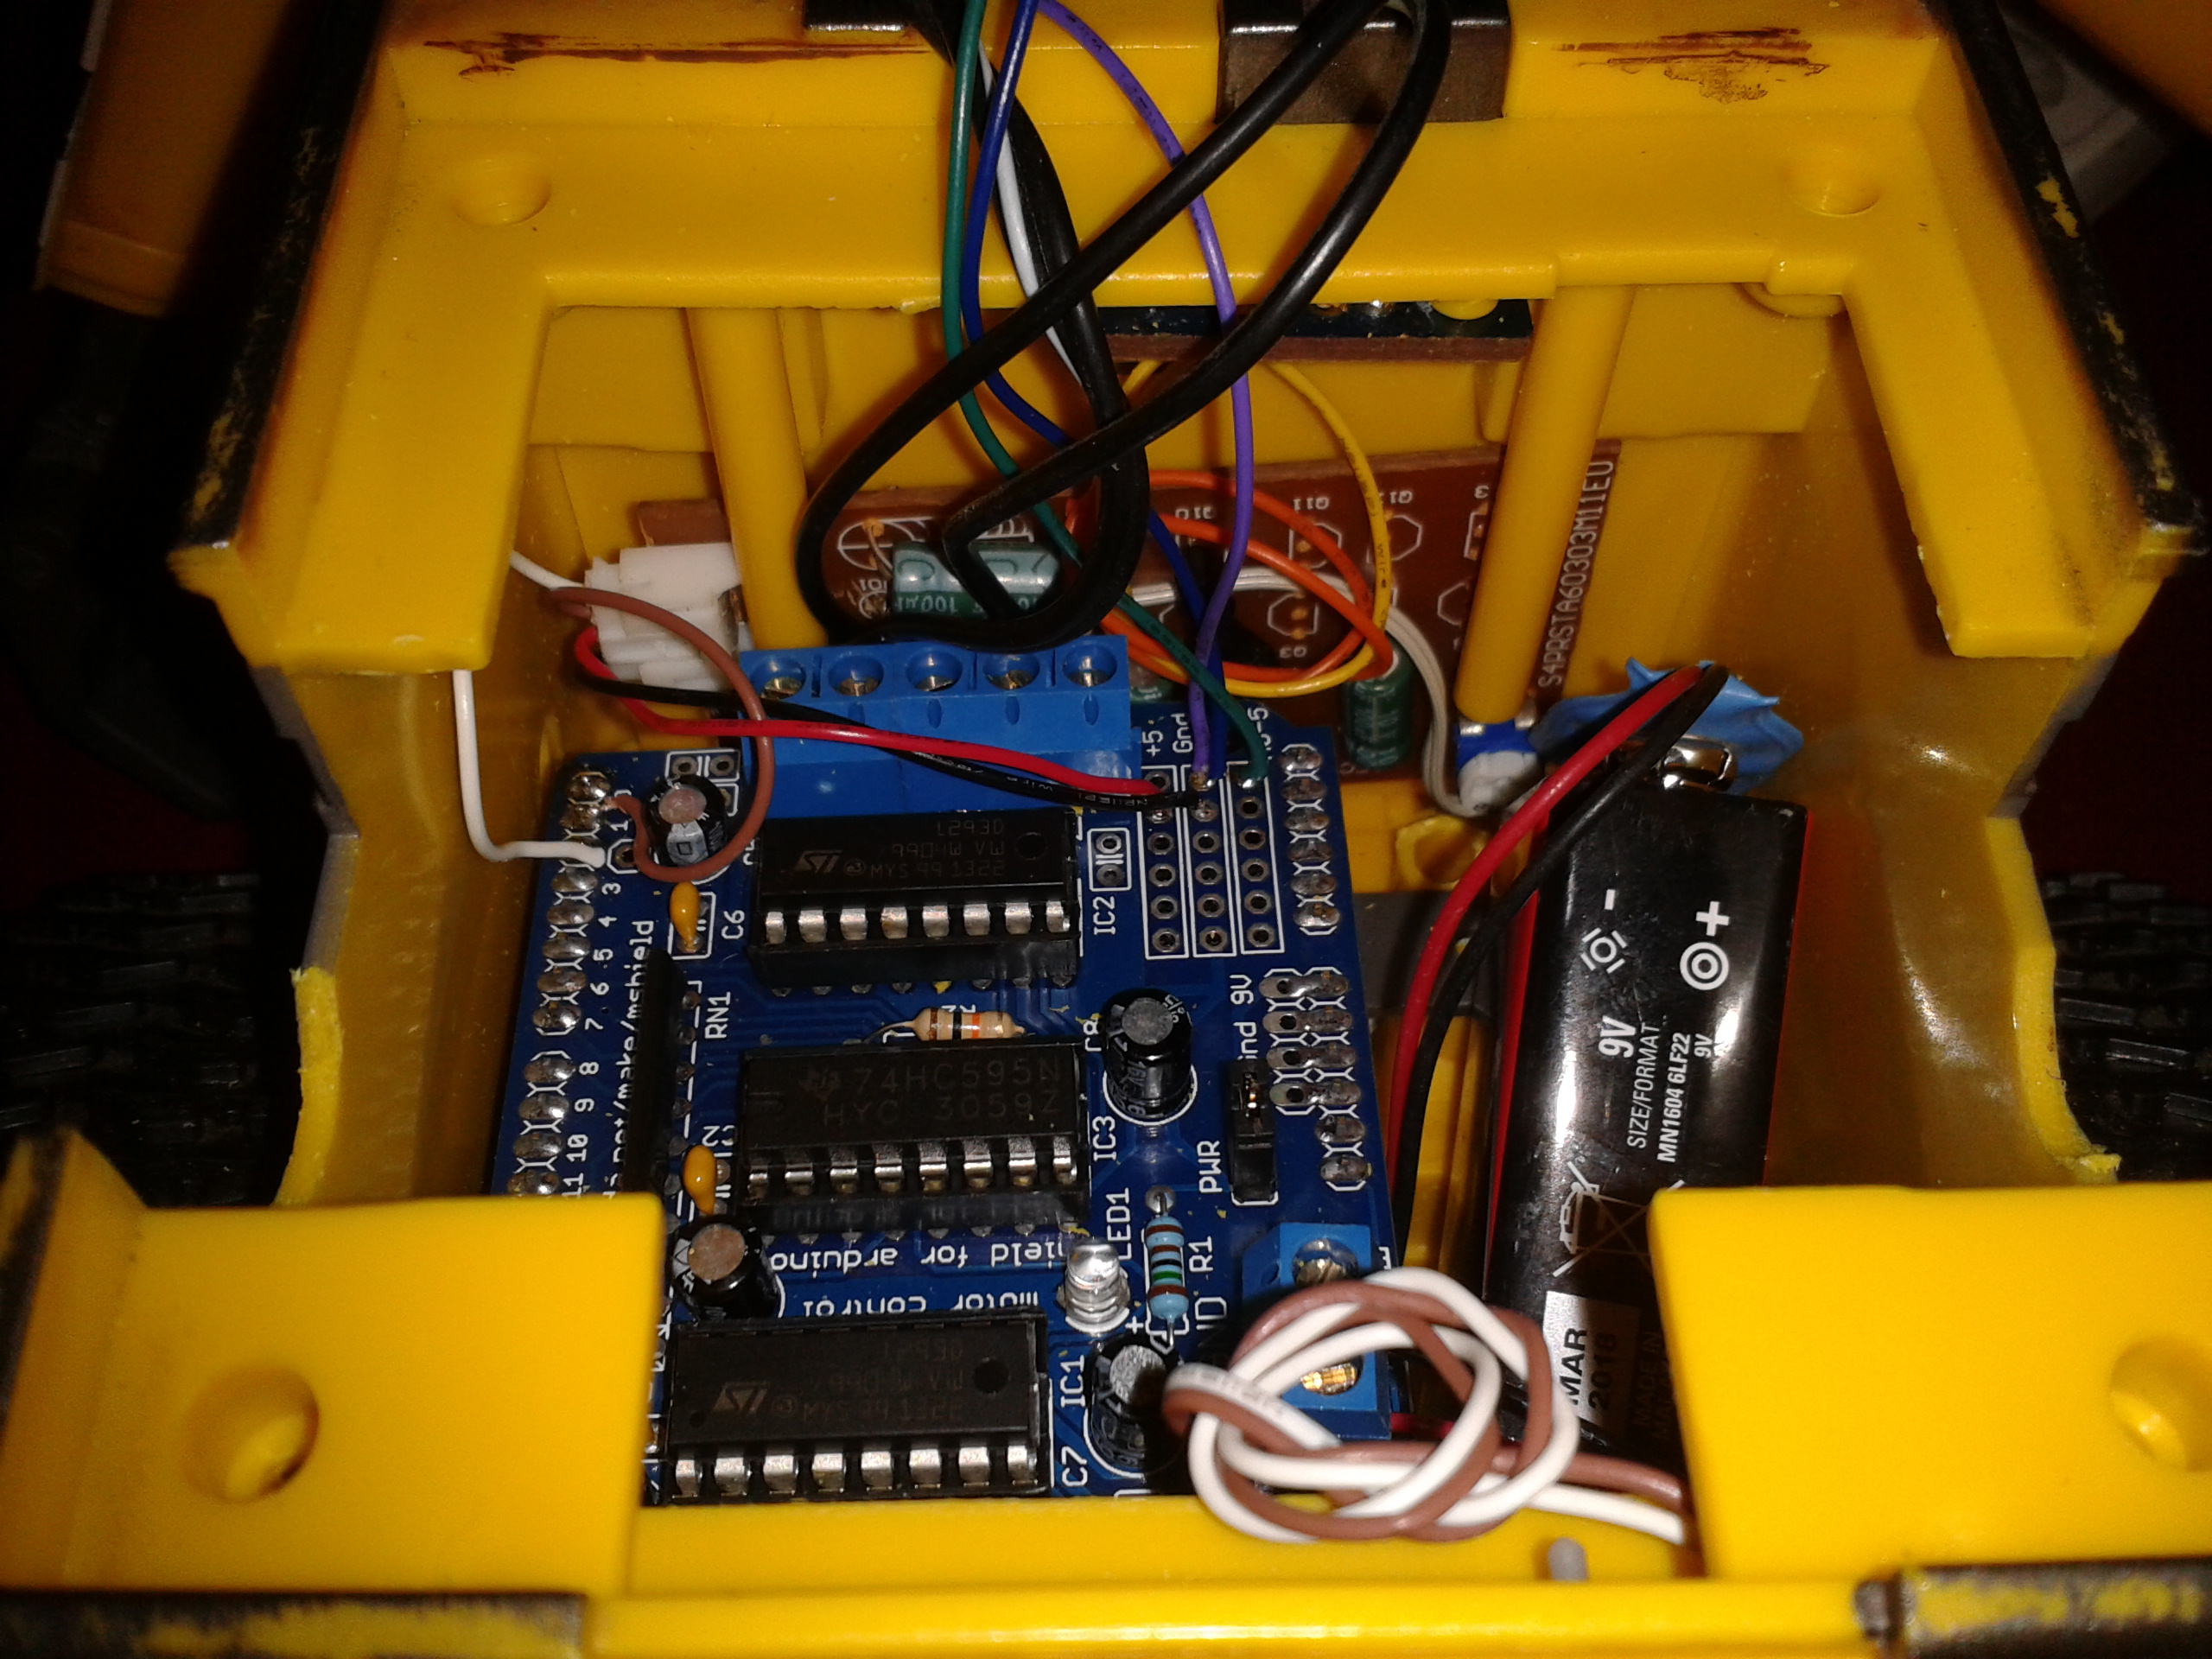
  • UPDATE 3 - I have received Wall-e back, and am over the moon with the results :-)Arduino and Motorshield in place

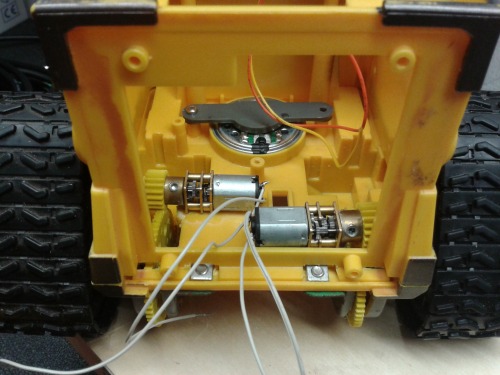
Tracks are attached to the geared motors and sprockety setup

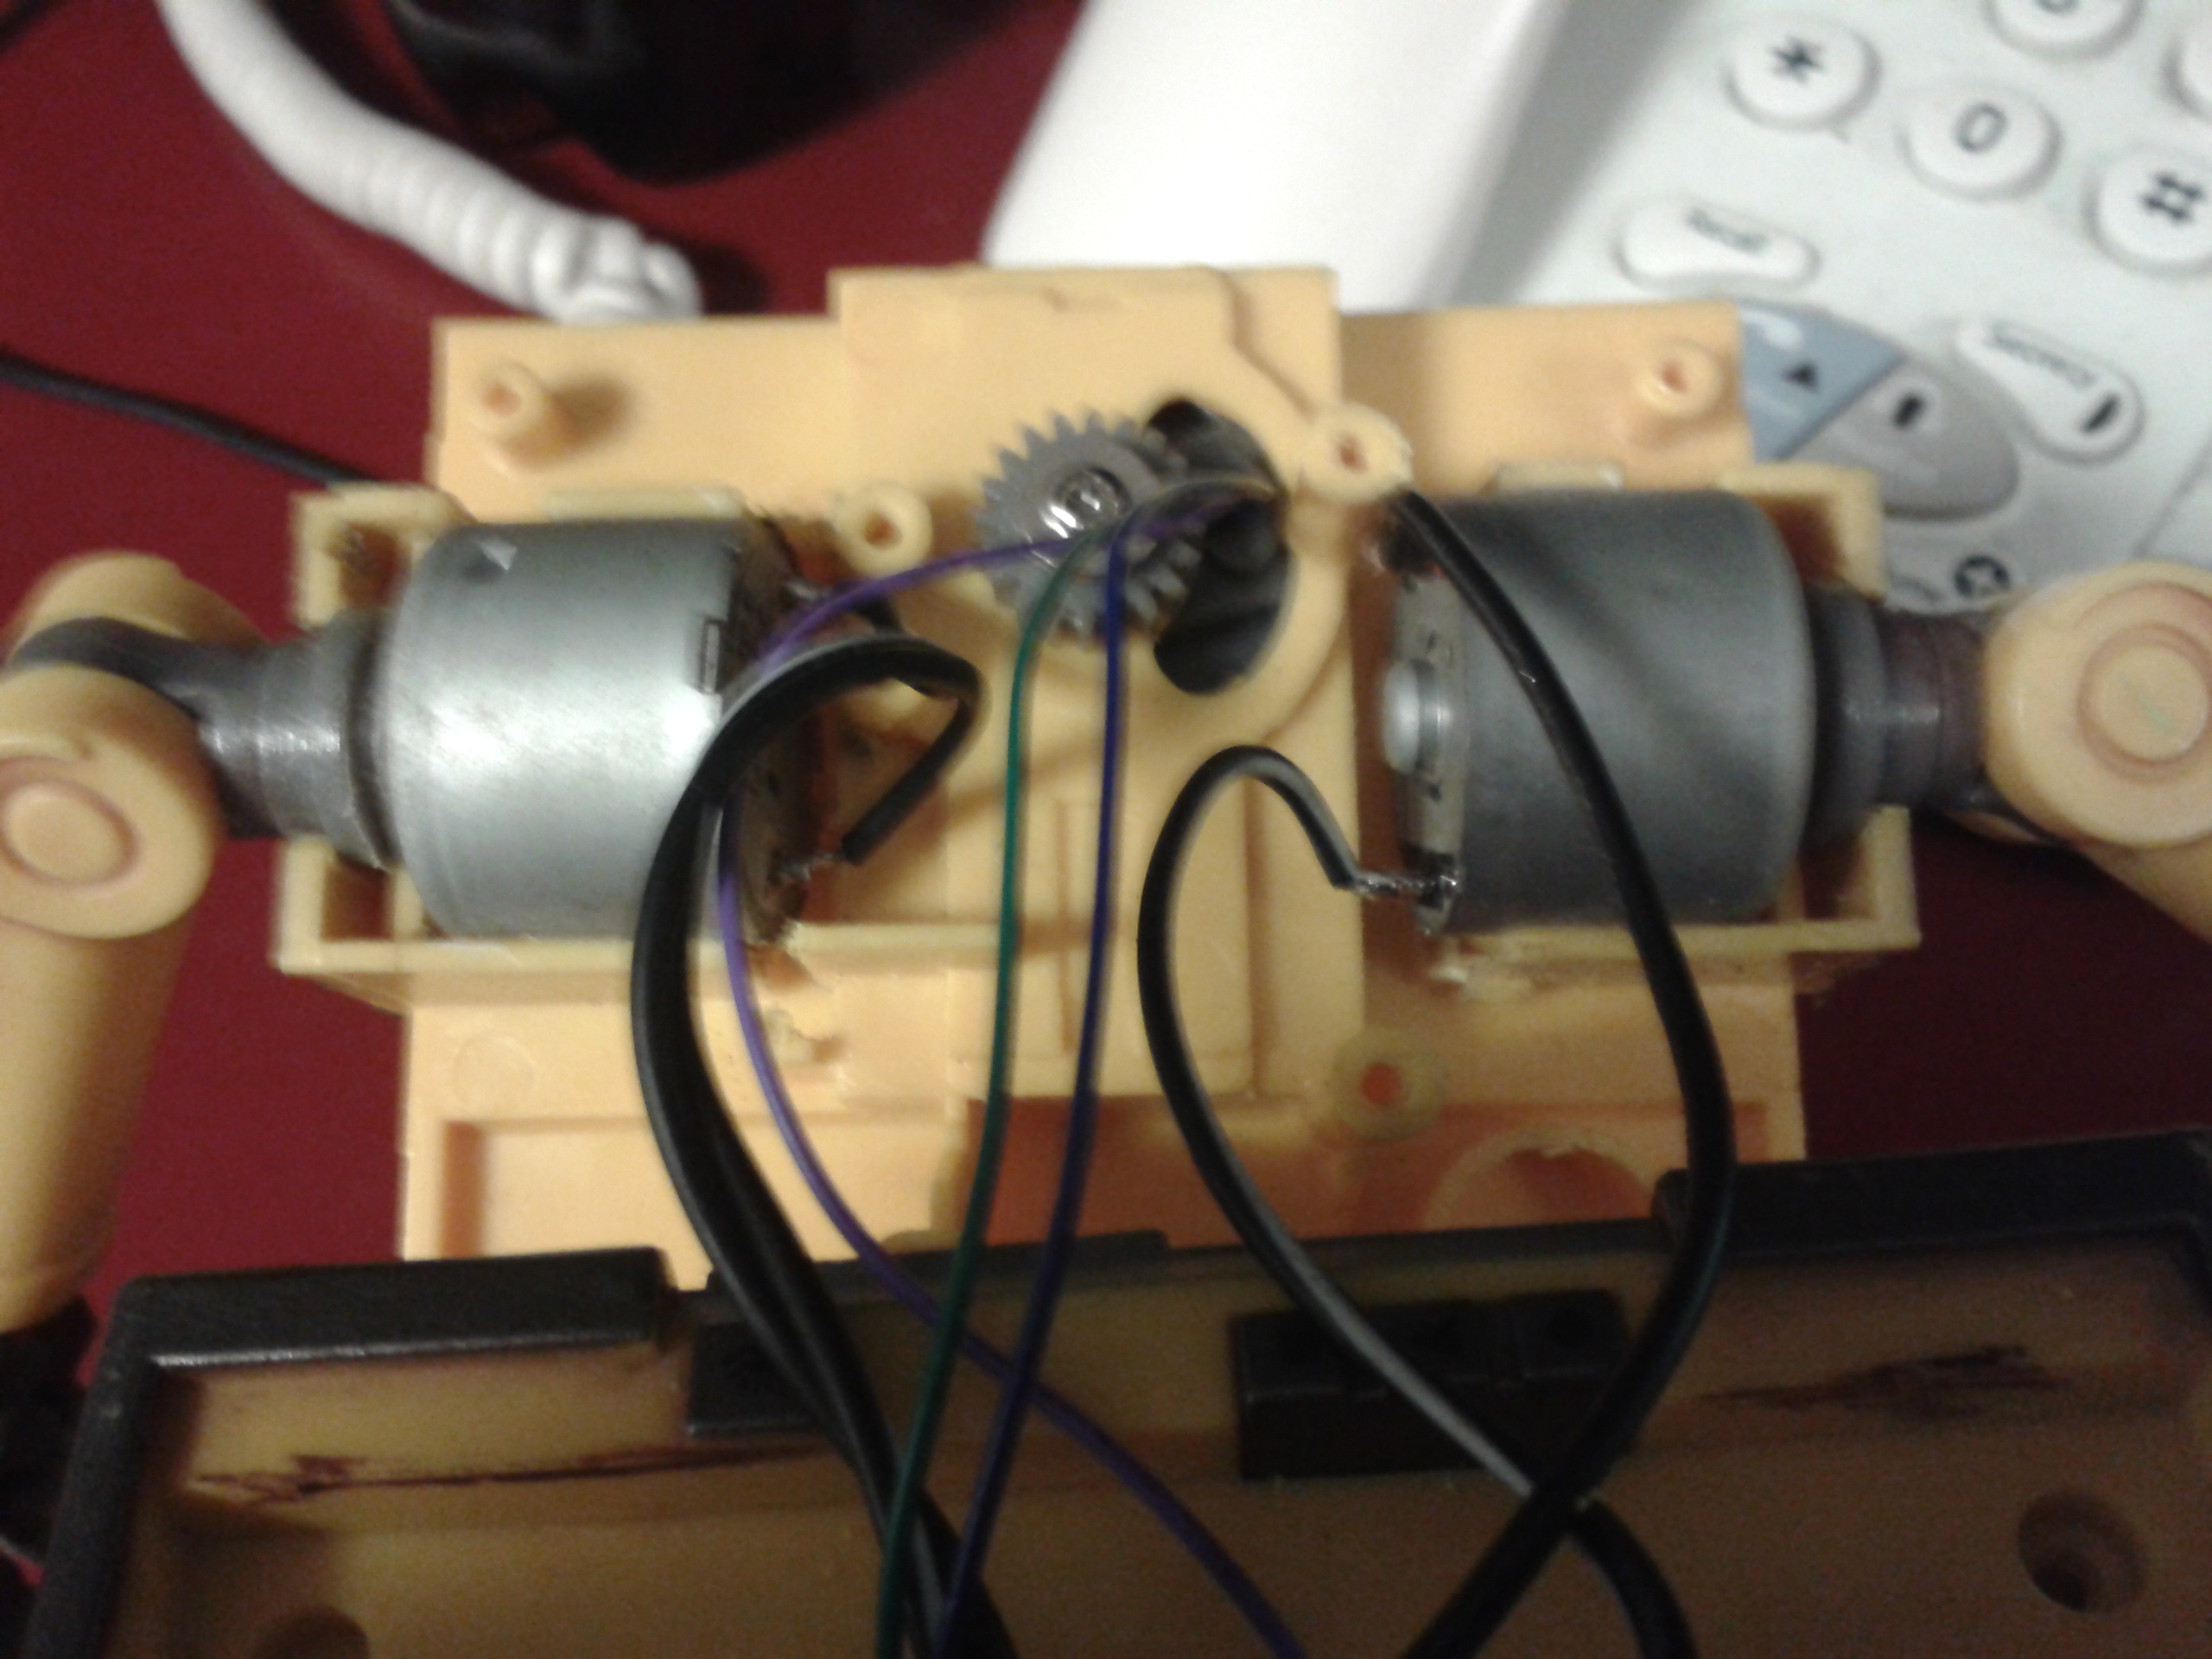
Two motors have been added to the arms

The original PCB has been stripped of some unnecessary components and relocated.

The LEDs in the eyes are attached to a pin

Bluetooth Module has been attached for control

9v Battery attached


The App

The Python app I am working on is starting to take Shape:

Upon runnning it searches for any Bluetooth devices in the area, then tries to first connect to Wall-e's Bluetooth Address. If not successful, it will then try to connect to my other Bluettoth module, which is currently attached to my testing platform. Upon successful connection it then opens up the basic screen below, with movement controls and Eye/Sound trigger buttons.

The button functions are also mapped to keys too, for ease of use.
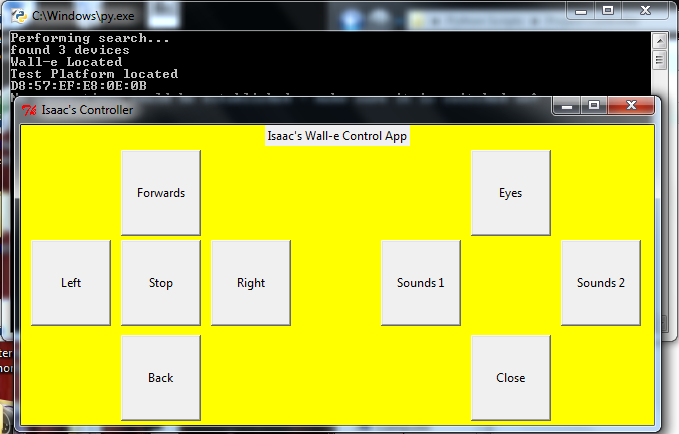
My basic Python controller, using TKinter


Current Issues

I'm having a real issue on the coding aspect; I'd really like a Wall-e robot that can be controlled from a multitude of sources; my android, the missus' iPhone, the grandparents' tablets, my Python app etc. Problem is finding an app that is both android and iOS compatible.Throw into the mix the primitive nature of my Python controller i have a little problem!

The python controller (and the ArduinoRC app i have been using) are configured to send 'F', 'B', 'R', 'L' to the arduino. I haven't been able to find an iPhone app that will be able to allow me to do the same. Other Android Apps (such as Bluebots) are geared up to send more complex controller information.

I am unsure how to proceed; either keep with the simple stuff or write the Arduino code to cater for multiple methods of control.

If anybody can offer a lovely little cross platform solution that would be lovely!

Future amendments to be made:

  • Add 12v, rechargable power supply
  • change arm motors to servos for greater control
  • Consider Continuous servos for tracks/ reworking gearing to allow the current geared motors to move faster.
  • Add the ping sensor for automation ie object avoidance
  • locate a cross-platform controller
  • Add Head Servo


Videos

Coming Soon!


Thanks for reading!

Controlled via Bluetooth, autonomous object avoidance mode. Future: play sounds from MicroSD card, control Walle's LED eyes etc


This is a companion discussion topic for the original entry at https://community.robotshop.com/robots/show/wall-e-push-toy-conversion

yay, another toy repurposer!

Great work so far!   Looking forward to the rest of your build.


Thanks very much!
I appreciate it matey.

It’s my son’s birthday on Wednesday so Tuesday will busy day completing the hardware and plenty of coding fun on Tuesday night :slight_smile:


If it all goes to plan Thursday will be the day to finish my write up.
Then on to project numero two!

Very cool! I have the same

Very cool!  I have the same one that I have been working on for awhile.  Always seems to get sidetracked by other projects.  I used low-profile servos modded for continuous rotation for the tracks.  Seem to work okay for driving the base of the robot around.  We’ll see after we add all the other stuff in! :slight_smile:

Be careful though…

This is a highly addictive hobby.

and with the friendly motivation of our “robot elders” as Ladvien put it, you’ll push yourself to accomplish small miracles.


Welcome aboard.


That it is, my good man!
I know what you mean mate, 75% through project one and i’ve already imagined a million possibilities for other projects ha ha!


I look forward to pushing myself to learn much, much more.
Thank you :slight_smile:

Cheers man!
Same here - then I set my boy’s birthday as a deadline to spur me on.


Yeah servos are the way to do it, however I aimed to.use materials I had to hand :slight_smile: the motors that have been added for arm movement will.have to be swapped out for servos soon as they dont hold the arms in position too well. Get yours back on the go buddy - will race you to get it finished ;-)

Nice!As soon as my son end

Nice!

As soon as my son end his 2WD, he already asked for a Wall-e project :slight_smile:

What size is your Wall-e?

I’m trying to find a toy that we can then hack, but it’s hard to be sure from ebay poor description of sellers

Cheers!

You can’t beat a good Wall-e project :slight_smile:

The Wall-e toy i got my hands on (well, i got two of them) are quite small - around 20cm tall i think?

I haven’t got it to hand, however i have added a few new photos showing the Arduino Uno inside; hopefully that will help with the scale!

Being my first project i would have preferred a bigger toy to hack; it was rather difficult for an amateur like myself to work in such a small environment so i had to call in help.

There are versions of the toy that already have the motors and gearing etc, which would be much easier to hack, however my lack of budget lead me to getting the non-motored one :slight_smile:

I’ll give it a try, it

I’ll give it a try, it sounds so fun to hack a toy! :slight_smile:

Do it… Do it… Do… it…!
I’ve only done this project but I cant recommend it highly enough!
Already got a second project mapped out and I havent even finished this blighter yet! :slight_smile:
Happy hacking mate - I have little-to-no experience but if something I have done on this one intrigues or inspires I’ll be more than happy to help!

Wall-e Toy-Hack \O/ Can’t

Wall-e Toy-Hack \O/ Can’t wait to see it moving.

Looks good!

I’ll keep an eye on your build…

Cheers!
Thanks Enigmerald :slight_smile:


I had him moving yesterday - he’s currently got tourette’s due to his coding not featuring control of the original PCB, however I added to it last night so hopefully today he will be under control :slight_smile:
Movement is very slow at present due to him only running on a 9v battery - hoping to find some small, rechargable 12v cells and add a rechargable circuit onboard to remedy that. A rethink on the gearing is in the works too, as the geared motors I am using with it may well be enough to turn the tracks directly without the need of the improvised cog system, ha ha! I bought a backup toy shell in case something went wrong with the first build so going to use that to make a much better Wall-e mk2
I will film his current movement tonight once he has his new code on. Just need to find a camera as i use my phone to control it :slight_smile:

UPDATE 4

Hardware

Just ordered some AA sized 3.7v, 5000mAh Li-ion rechargable Batteries.

While i await their arrival I’m going to look into regulating down to 12v as well as looking at methods to charge said batteries without removal from Wall-e.

I have also ordered some servos to hopefully add for his arms :slight_smile:


Software

I have added to the Arduino sketch control for the sound on the original PCB plus the LEDs (currently they are floating and causing a form of robitic tourrette’s).

I will upload and test it tonight hopefully :slight_smile:

I am also looking into a more intricate control method and increasing the number of bytes sent by the controller; it if currently sending a single character byte to dictate commands. I am hoping to add extra bytes for speed, control source etc.

Thanks mikronauts!

Cheers buddy!

I’m quite pleased with how it is going so far; it is moving (albeit slowly), eyes and suchlike are are all commandable etc.

I’ve got a second shell i bought as a backup in case build one ended up to Frankenstein-esque, so I’ve already started plotting MkII ha ha!

Wall-e Toy-Hack \O/ Can’t

Sorry for the double post.

UPDATE 5 - Tourette’s cured!

I spent last night adding LED control and sound control to my Arduino Sketch, as well as working out why Wall-e has random outbursts of song when asked to move…

I had a look over the wiring up that my partner in crime did for me, and the Motor Shield has A0-A5 and D2 pins available for use.

Trying to keep pins free for Ping sensor sorcery at a later date the original PCB (which had two sets of sounds, triggerable by two buttons) has been attached to D2 and D1. The thinking behind this being that D1 will be just the Tx for serial; with there been no return information required via serial it could be repurposed.

However after a bit of reading on the tinternet it turns out that the Motorshield uses D1 as an enable piun for one of the motors, thus causing a sound to be triggered when that particular motor is triggered to go forward!


I am going to rethink my pin configuration and resolder it soon.

My free pins should be:

  • D2 - Soundset 2 pin
  • A0 - LED Trigger pin 
  • A1 - Bluetooth Module
  • A2 - Bluetooth Module
  • A3 - Relocated Soundset 1 pin
  • A4 - Free for PING!
  • A5 - Free for PING!

Today is turning out to be a good day!

cool

And please keep us up to date about those 3.7V 5000mAh LiON batteries… those sound very interesting.

I have some 18650’s with similar specs that I am planning to use on HexPi.

** Cross-platform control app with JavaScript**

I saw you collected my rover, dilBot, and I assume it’s because of your control app problem. dilBot’s source code should give you a good starting place for a cross-platform JavaScript-based control app. It’ll run on nearly anything that has a web browser, including iOS and Android devices, of course, and you can easily hook up the existing UI to a Python Socket.io server. Unfortunately, the camera is a bit laggy (1 sec or so), but the rest of it works great.

If there’s interest, I can work to modularize the UI aspect so it can be easily customized for bots of any kind with configurable widgets for sensor readouts etc. Right now, of course, it’s tailored to my project.

Lastly, if you need some help with the JavaScript aspect, feel free to bug me; I work part-time as an instructor at a JavaScript-focused school and wouldn’t mind helping you along!

Edit: I wanted to clarify that you won’t be able to use Bluetooth in client-side JavaScript in a cross-platform fashion, you’ll need a server that recieves commands over a socket connection and sends the corresponding command over Bluetooth. Note that, although in-browser Bluetooth communication is possible, it can’t be done in a cross-platform fashion unless you use PhoneGap + BluetoothSerial, which might actually be a viable solution for you if you’re not afraid to get your hands dirty :slight_smile: