As I previously stated:I've been working on my robot, and I honestly feel like a doctor in a third world country, I'm short on everything. I've run out of glue sticks for my glue gun, my microcontroller was faulty, so I had to replace it, the bumper switches were about 10x smaller than they should be, I don't have the right battery pack (a 9v will fry it), the back is severely sagging, I have nothing to cut my metal, I could go on and on! I've decided to name my robot "Turpis", and I don't know if it will work or not. Quite frankly I'm worried. I'm still confused as to which wires go where. Fear not, I am not deterred. I won't be defeated by a mere Turpis.This little fella has been a huge pain in the you-know-what. I'm goint head over to Radioshack to get a better powerpack, but I hae a feeling that I put the wires in the wring places (like the feeling I got when mouser sent me the wrong transistors).My room is now a total mess, and I couldn't cut the metal I have to make a frame for the motors.
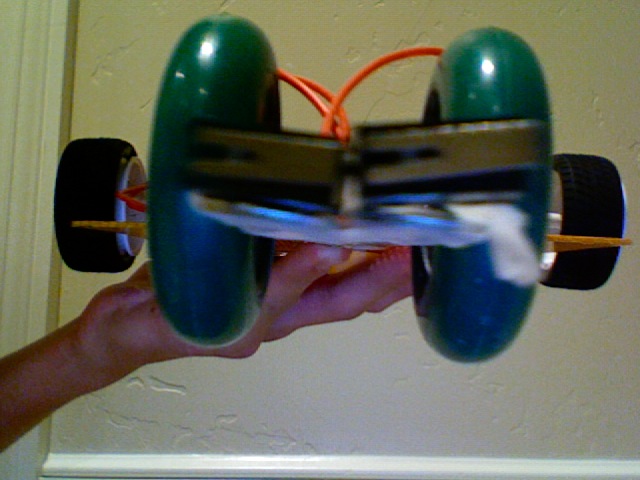
As you can see in the pic of the microcontroller, the top 2 wires on the left go to the left motor. The top 2 wires on the right go to the right motor. The bottom 2 wires on the left go to the left bumper switch, and the bottom 2 wires on the right go to the right bumper switch. I tried to follow the datasheet instructions, but it had one image of the motors going to the top, and another of bmper switches going to the same I/O pins! Here it is: http://www.rev-ed.co.uk/docs/AXE023.pdf
Now that I've imputed the code I would like to thank Fritsl for supplying it on node 87. Thanks Fritsl!
Stop reading so much, just add more tape (since you do not have melt-glue)!
Nobody gets anywhere in building by reading. It is from building you learn how to build. What good is it to read about how to … when you have never even tried to …
Reading is only when you know what your problem is and not when everything is a mess!
Do not concentrate on it all at once; Get a LED flashing, a motor running… get one step going 100% at a time.… and build on top of that; On your robot, ind your mind.
Finish one step (like power to the darn thing), make sure it works (tape & glue often helps here). And THEN plan the next step…
i definitely got your point. and i work just like this - without plan, without much reading. but he allready have a problem, so a little knowlidge might be helpfull. but like i said - i’ll shut up for now, because i’m not a pro. not at all…
Can you explain why motors Can you explain why motors have to be geared? I understand gear ratios (was actually going to post a tutorial on it soon), but not why motors need to be geared. I am assuming it has to do with not burning them up when starting or stopping…
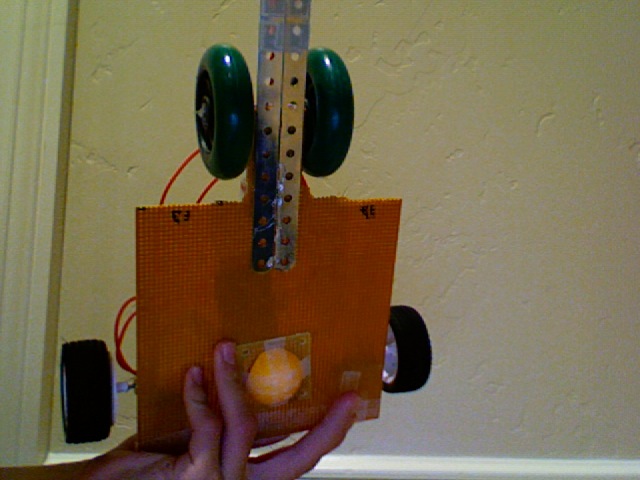
So, is there any way this thing will work? Believe me, I know I have a terrible chasis. I was going to buy better motors, but they were way too expensive, I’ve earned my lesson.
Post a close up of your Post a close up of your wiring and we can check it. Also take a picture of the board and help explain what component is where so we know what to look for.
I put wire cutter/stripper, hot glue gun (with glue sticks), needle nose plyers, metal snips, soldering iron, and spools of wire in my tool box. I’m sure there are other things I’m forgetting.
Have a drivers license? Tried manual (knowing you are from the US)…well… if so, try to start your car in 5´th gear… It will not!
The speed of the little motors are high. Very high. Even my wall-racers are geared down, my guess is 50:1 And they are fast (even with small wheels which is acting as a down-gearing as well). if the gearing was not there, they would not be able to start: High speed = low power, low speed = high power.
You need a gearing that can both suply enough power for your bot to start up, bot not so heavy (slow) that you fall asleep before it has moved an inch
I have seen one bot without gearing. It was FAST, and the wheels was SMALL (this helped, if not, it would not work), it was able to skid (motor could get it’s turning)… it was light… and I also think it got way too much power:
- And then there is of course the solar-powered little things, where there is no wheel, just some plastic around the shaft (=VERY small wheels)
I always recommend high gearing (200:1 or something like that) for beginners projects; It makes the robot much stronger, and so it is more forgiving. And, it makes it slower, which makes it easier to capture what on earth it is doing / bugtrack.
Hmm… I think this could be useful to many - I often see people try with non-geared motors… Hmm… Will make mini-walkthrough…
I have a drivers license and I have a drivers license and my car is a 6 speed manual I know how that works I just wasn’t 100% sure why you said he had to use gears. I know why I will use them on my next bot I just didn’t get the exact reason. It makes sense tho…
They look like a pair of They look like a pair of scissors, but they are used to cut thinner sheets of metal. They ar ehandy for cutting sheets of metal for motor brackets.
Do you know of a good site where I could get some metal sheets that don’t cost too much?
“Our deepest fear is not that we are inadequate. Our deepest fear is that we are powerful beyond measure. It is our light, not our darkness that most frightens us… -Marianne Williamson
Go to a hardware store. Go to a hardware store. Sometimes they have metal pipes used for ventilation that you can cut apart and shape. MUCH cheaper than ordering something and paying shipping.
Thanks, I’ll be sure to do that. I’m going to Radioshack today to pick up some parts.
“Our deepest fear is not that we are inadequate. Our deepest fear is that we are powerful beyond measure. It is our light, not our darkness that most frightens us… -Marianne Williamson
Ok, so I have it all hooked up, 6v AA battery pack, I have the axe023 hooked up to my computer running Vista via serial cable, nothing will happen! Upon pushing F5 it tells me nothing is connected. What do I do?
Brennon
“Our deepest fear is not that we are inadequate. Our deepest fear is that we are powerful beyond measure. It is our light, not our darkness that most frightens us… -Marianne Williamson


 I know how that works I just wasn’t 100% sure why you said he had to use gears. I know why I will use them on my next bot I just didn’t get the exact reason. It makes sense tho…