


Turpis the robot

As I previously stated:I've been working on my robot, and I honestly feel like a doctor in a third world country, I'm short on everything. I've run out of glue sticks for my glue gun, my microcontroller was faulty, so I had to replace it, the bumper switches were about 10x smaller than they should be, I don't have the right battery pack (a 9v will fry it), the back is severely sagging, I have nothing to cut my metal, I could go on and on! I've decided to name my robot "Turpis", and I don't know if it will work or not. Quite frankly I'm worried. I'm still confused as to which wires go where. Fear not, I am not deterred. I won't be defeated by a mere Turpis.This little fella has been a huge pain in the you-know-what. I'm goint head over to Radioshack to get a better powerpack, but I hae a feeling that I put the wires in the wring places (like the feeling I got when mouser sent me the wrong transistors).My room is now a total mess, and I couldn't cut the metal I have to make a frame for the motors.
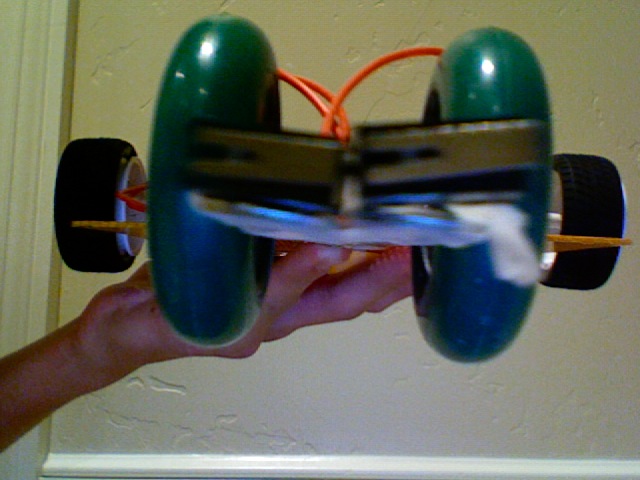
As you can see in the pic of the microcontroller, the top 2 wires on the left go to the left motor. The top 2 wires on the right go to the right motor. The bottom 2 wires on the left go to the left bumper switch, and the bottom 2 wires on the right go to the right bumper switch. I tried to follow the datasheet instructions, but it had one image of the motors going to the top, and another of bmper switches going to the same I/O pins! Here it is: http://www.rev-ed.co.uk/docs/AXE023.pdf
Now that I've imputed the code I would like to thank Fritsl for supplying it on node 87. Thanks Fritsl!
Help appreciated,
Brennon Williams
Navigate via bumper switches
- Control method: autonomous
- CPU: Pickaxe023
- Operating system: Picaxe
- Power source: power pack
- Sensors / input devices: bumper switch x2
- Target environment: indoor