Hello! This is a tracked robot i did a couple of days ago. Unluckly, is suffered from a severe design fault so i disassembled yesterday :) I'm posting it the same becouse it's cool looking and my error could be useful for others.
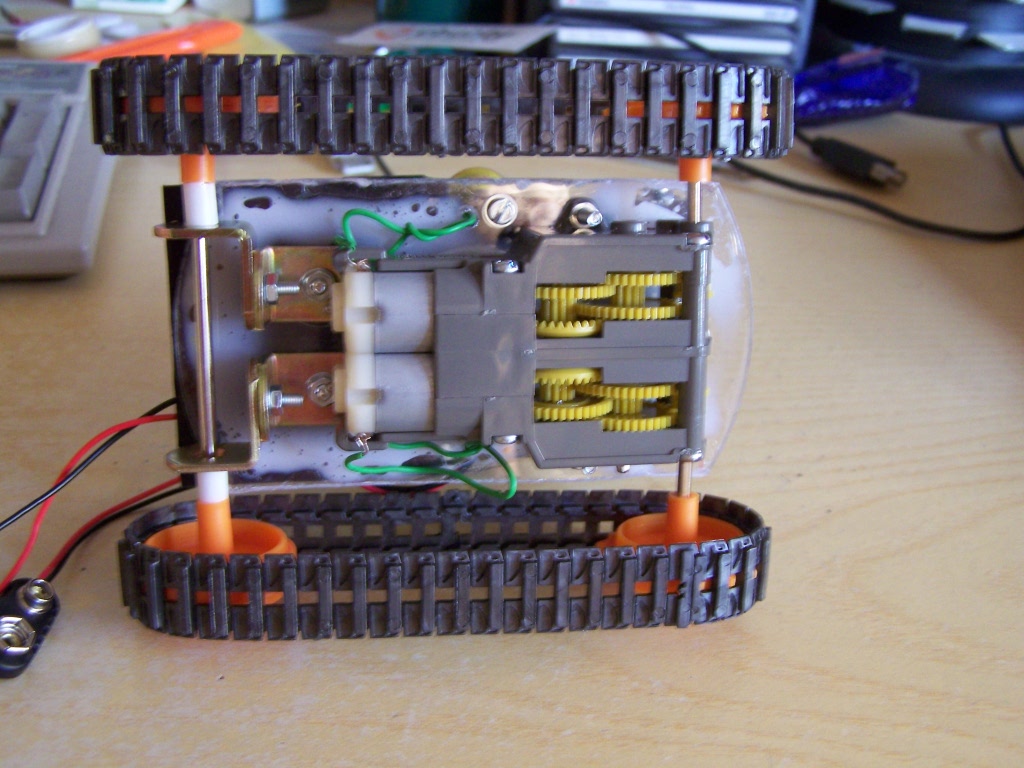
So the problem was that the battery pack (which is the heaviest part) was too high off the ground and too back on the robot, almost at the end of it. This resultedin a severe unbalance, so that even with the smallest step the robot goes upside down :) So learn from my mistakes and design carefully where your weights will be!
Anyway, i used my IMU sensor which is connected to a small mast to detect when the robot is too tilted and in danger of reversing. If it is, it will stop the motor and go back a little, turn around and restart.I used some smoothed acelerometer input, and it turned out it's very noisy when not filtered with some clever method. It worked but very often it have false positive while running without obstacles, just for the vibration of the robot. It was very informative test.
In the end this was a failure as robot but very useful for as a learning platform :)
Construction
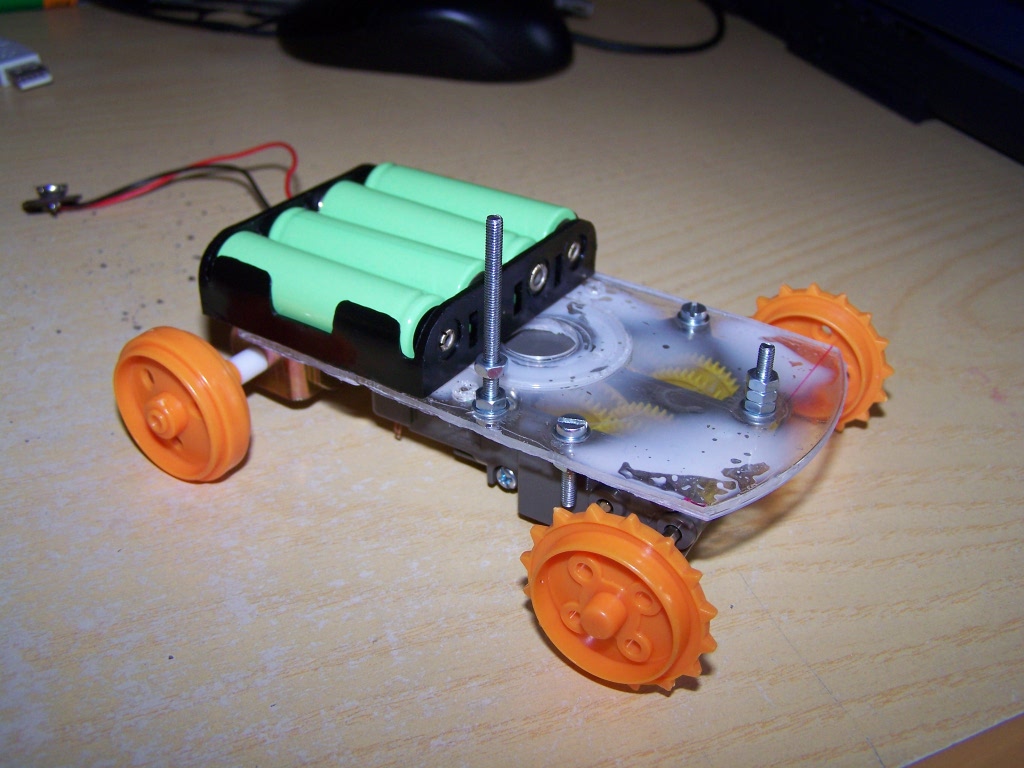
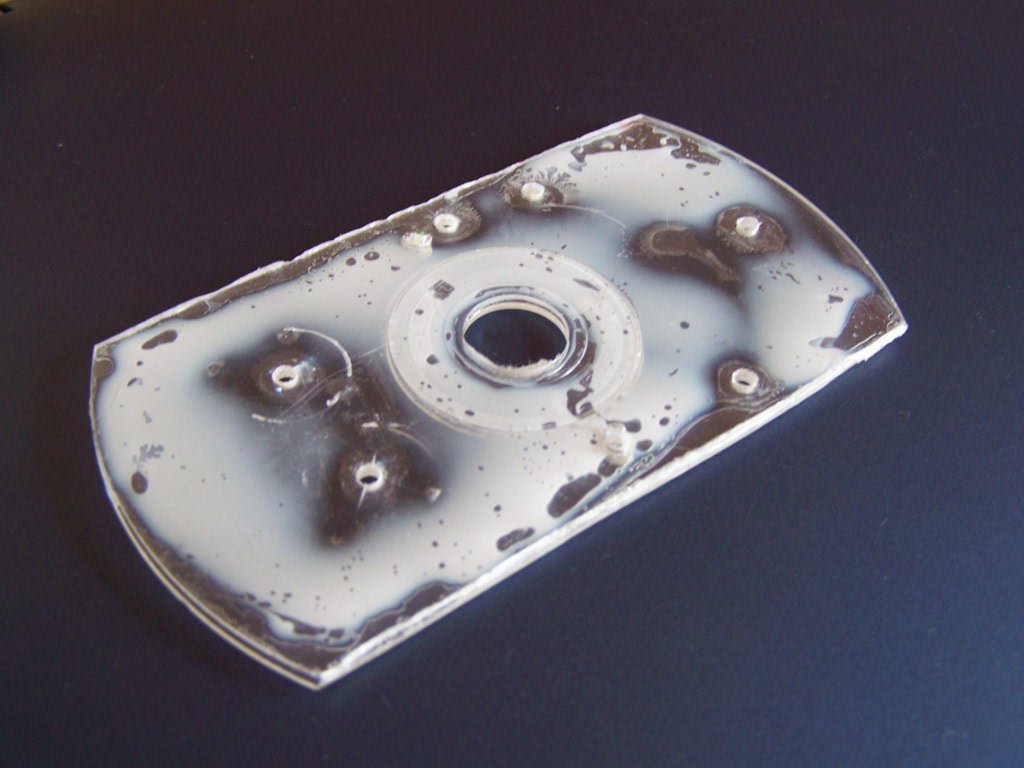
I used the classic Tamiya track set with the twin gear motors, together with a picaxe 28x1 and my favorite building material: sawed CD. This time to make it stronger i glued two together. It's a little ugly but working :) I also used of course bolt and nuts and a newly purchased set of L-shaped metal supports that are really useful.
Sorry, no video consider that it reversed with steps as small as 1,5 cm.
I think the batteries are best placed as low as possible (on the lowest deck) and in the middle. If you look at the pictures you can see that my batteries were not even between the two wheel axel, but “above” the rear axel, so that part of the weight was not even inside the platform.
In the redesign i’m making i’ll use a trapeze shape (i hope it’s write correctly, that is the one printed on the track set box :P), and place the batteries between the inner lower wheels.
That is pretty cool. Thank you for sharing what you learned from your "failure". Actually, if we consider our failures to be "learning opportunities", they are not failures after all. It appears that you did learn from this, and I appreciate that you have shared the experience with us so that we can also learn from it.
I’ve thought about it, and I “think” that part of your problem may have been that you placed the heavy parts ( the batteries ) on the wrong end. I’m not an Engineering Genious, but I DO think that it’d work out better if the heavy parts were OVER the drive sprockets, rather than at the opposite end.
This is offered up not as a critisism, but as something to think about. Of course, your idea about centering the batteries, as low as possible, seems like a better idea, if you can do it.
thanks for your considerations! i’ve considered putting the batteries on the “foreward”, over the drive axle. It surely would help while “climbing” up obtacles. What i fear is that the same problem would show when climbing off, ie “falling” from a small height, having the weight on the nose. I don’t know if this is true, becouse maybe the falling has some little different physics (for example, the direction of motion is the opposite from the other case). So maybe this could work as well!
CD Base I like the idea of using CDs as a chassis. I’m in a small flat with nowhere to use any power tools of any sort, so I find the construction parts a little difficult. So far I’ve been making liberal use of double sided foam tape ans insulating tape. And a breadboard as a chassis. The idea of using old CDs as a base is nice - I might try it out myself. There’s only so many coffee mug coasters I need
Eheh CD are good, but also very weak. Also, they’re hard to saw, becouse they crack and break. If you’re for them, i suggest to glue two together before doing anything else, as i did for this platform. Also, real CD release a lot of metal sheet debris when you saw them. They’re sticky and annoing. I suggest using the trasparent CDs that come with many CD boxes.
Anyway, tired of them i tryed and purchased a transparent “syntetic glass” at an hardware shop. It’s 3 mm thick and far far better! It can be saw with a regular saw, you can make holes and it’s very transparent, almost like glass. It’s 3,8 € for 150x100 cm if i remember correctly


 consider
