

As you may have heard, Project RNGTN's gonna be discarded and re-use the components for another robot, codename project phoenix, the same face, the same functions but only smaller and more portable in size, oh and also good and reliable, why phoenix? well, phoenix means or equally is what we can call reborn, and what happened to the old project? well the answer is....motor problems, some motor bugs...motor noise, the other one is faster because of the gearing mechanisms, but don't worry, the new project will be awesome.....
Hello LMR and roboboys members! this is my first submitted robot on LMR, and this will be my Magnum opus!
so, what is the story of this robot? well, it is a combination of some of my hobbies e.g. robotics: which is the whole thing, primatology: that's why it's an ape, neurology: it's analogue neural network brain, chaos theory: i don't know what's it's first reactions are, aesthetics: cleanliness is next to godliness, art and sculpting: i have sculpted it's face from a homemade clay, and etc....
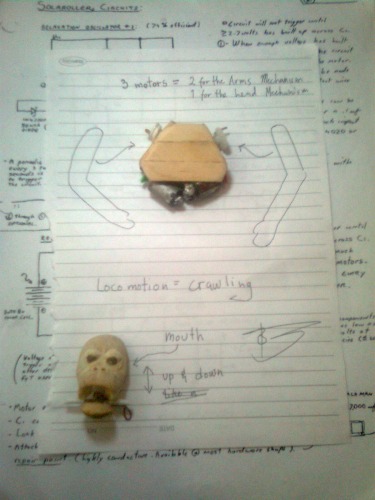
it's main locomotion will be knuckle walking, or maybe crawling like a zoMBIE THAT WILL EAT YA UP!! seriously!
all of it's mechanism are handmade and came from junk.
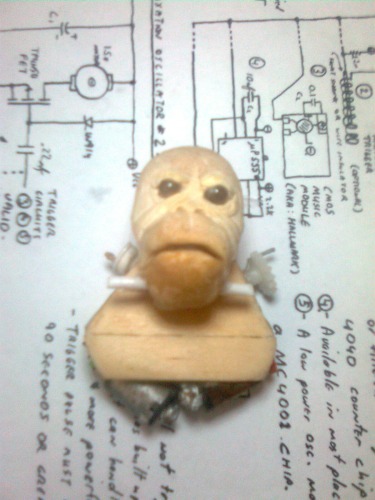
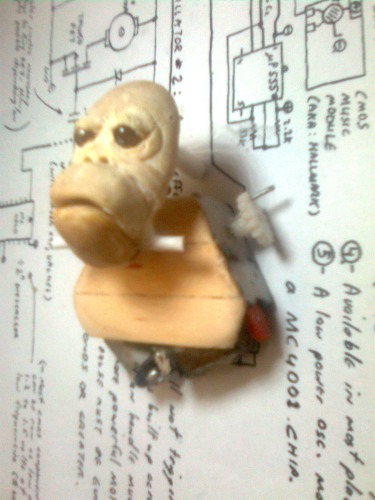
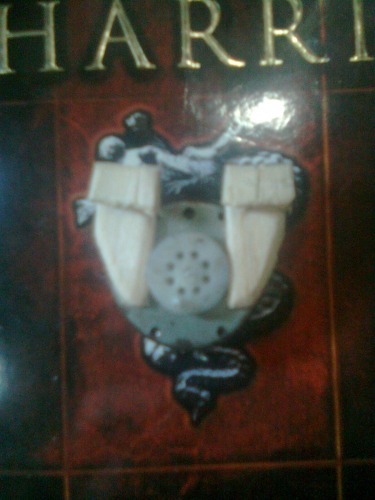
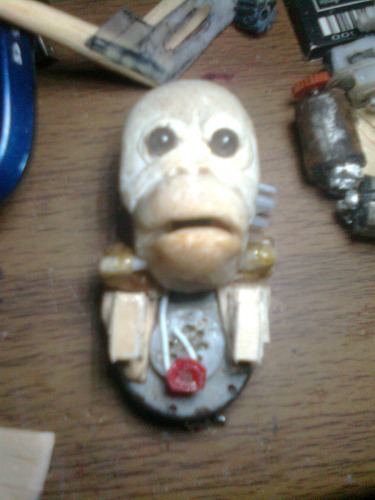
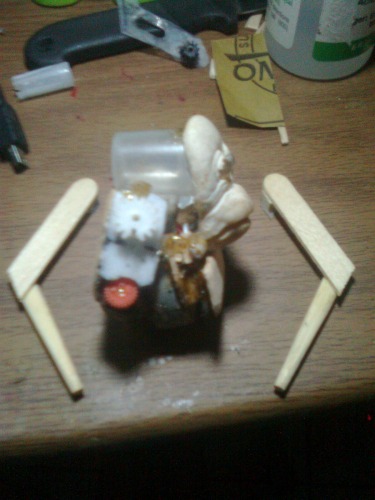
^ This will be what it will look like when i will add it's face.
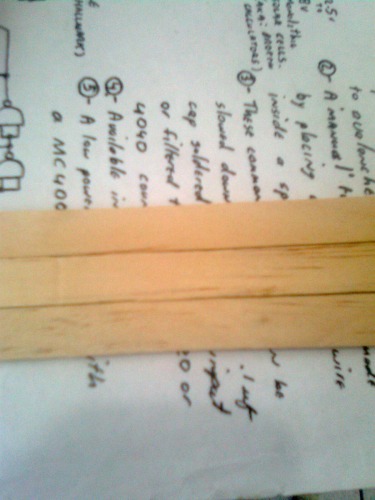
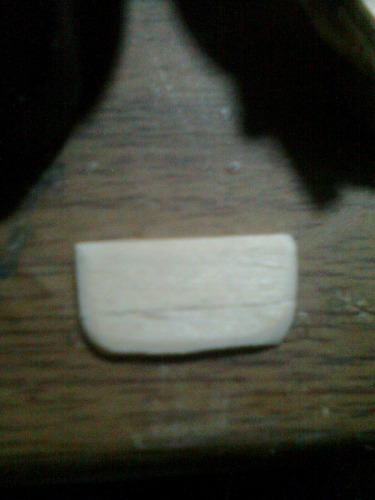
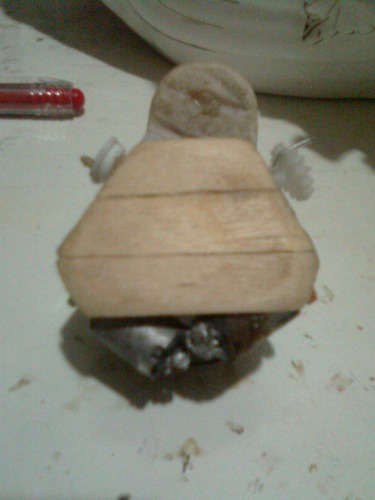
^ I used some popsicle sticks for it's chassis
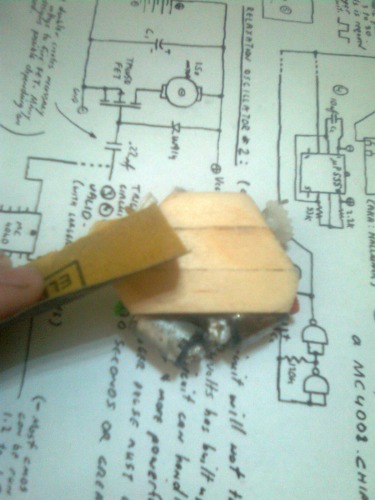
^ cut, glued and smoothen it with some sand paper
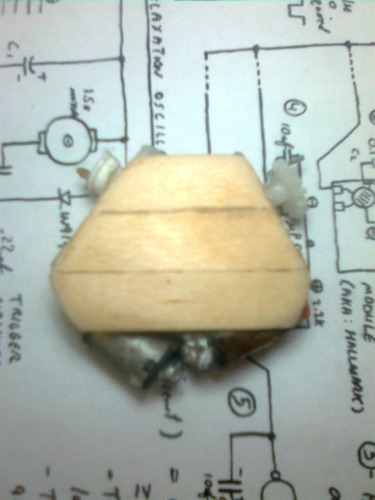
^ then it's smooth as a fiddle (wuh?)
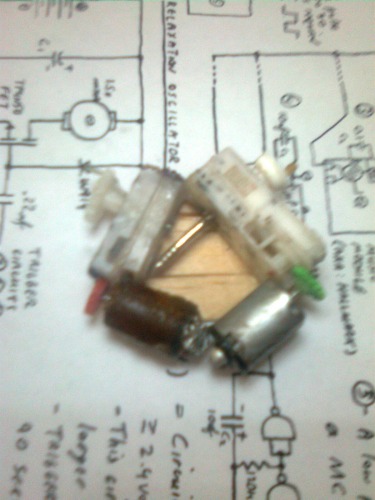
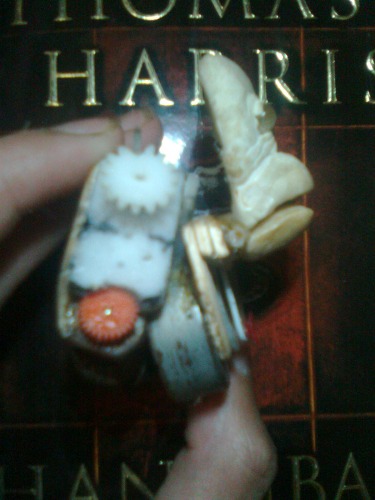
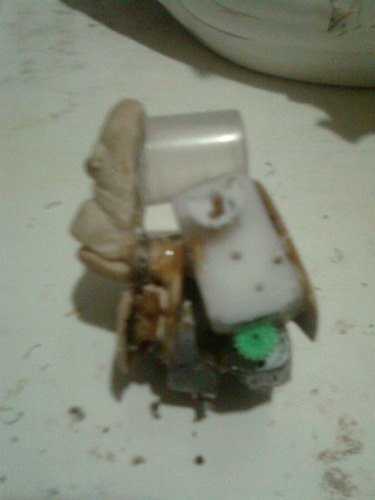
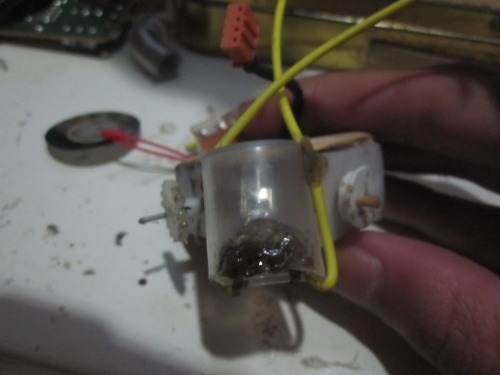
^ the gearboxes and the motors, the other one is rusted but hey, it's working!
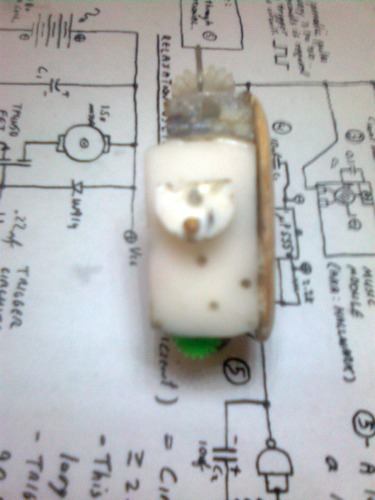
^ side view of the right gearbox ^ side view of the right gearbox (opened)
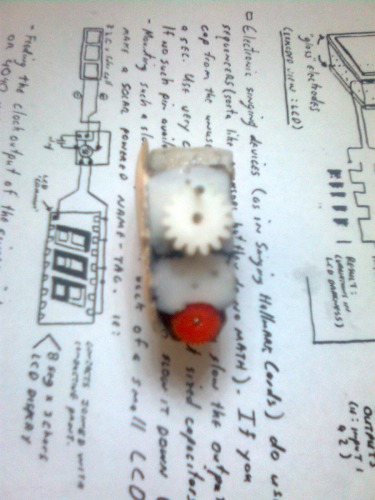
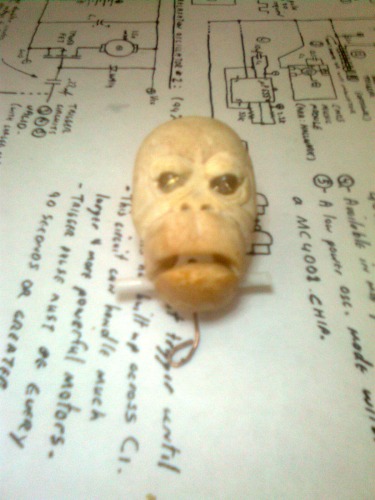
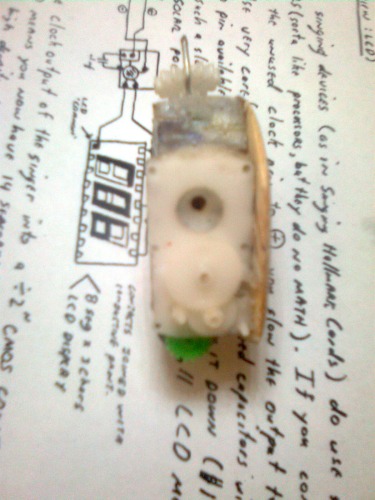
^ the left gearbox (oooh orange!) ^ the head
^ self explanatory!
so that's all folks, cheers!
-⁰ℨ
UPDATE........................
Hello again everyone, i have finished the entire mechanical part of the project, well, except for the arm linkage, which i have not yet placed in it's arm mechanism.
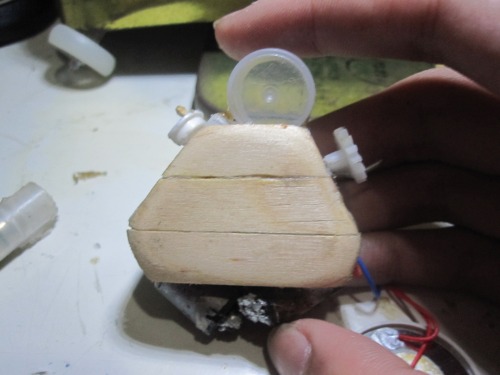
It's whole body primarily composed of popsicle sticks, which is polished using sandpaper and scissors.
What am i about to show you are the pictures on how i created the head mechanism:
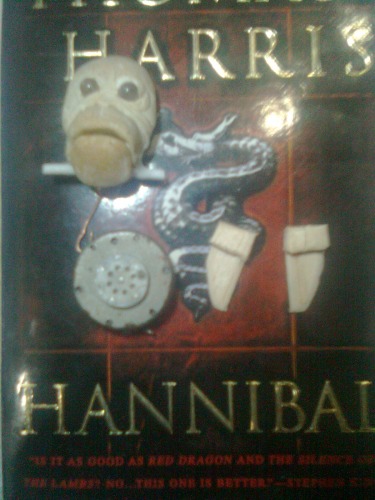
1. le parts of ze head! 2. put em together.

3. Put ze head on le motor. 4. close yer mouth, you don't want some flies to get on it!
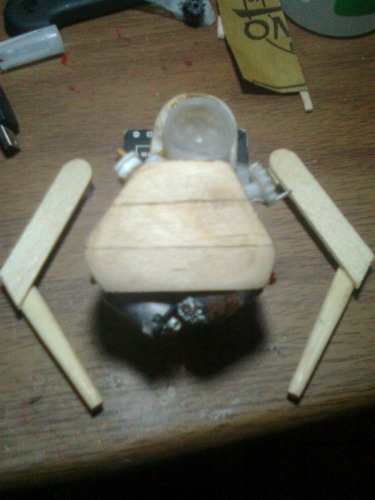
5. side view, attached to the arm mechanism, full torso without arms 6. ze body plate (popsicle sticks, polished)
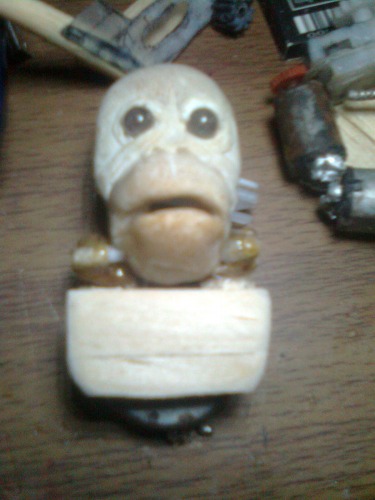
7. front view without body plate. 8. front view with body plate.
9. additional headgear for futuristic design. 10. side view of the whole mechanical part(except for the arm linkage)
11. back view 12. side view with the head gear on.(it's really to support the head)
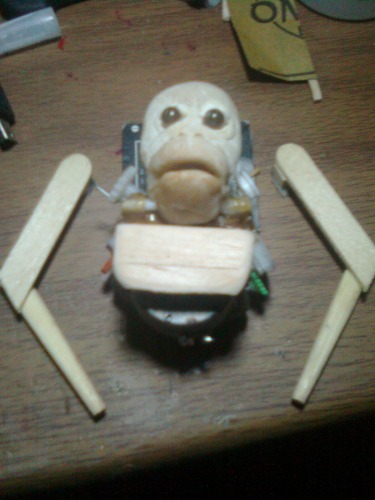
-front view with the future arms at the side -back view
and finally, back view.
that's it for now folks!
cheers
-⁰ℨ
UPDATE.......10th of December, 2011.
I t's time again for an update! and now, it's electronics!
Well, a small part of electronics, i havn't got the transistors yet for my neural network, so it's just this parts for now, and btw, the mechanics have not been finished yet (specially the arm).....
And i have clear (got my new camera) and cool pictures of it for today!
i have added some LEDs for design and neural studies purposes, and also the sound (piezo) :
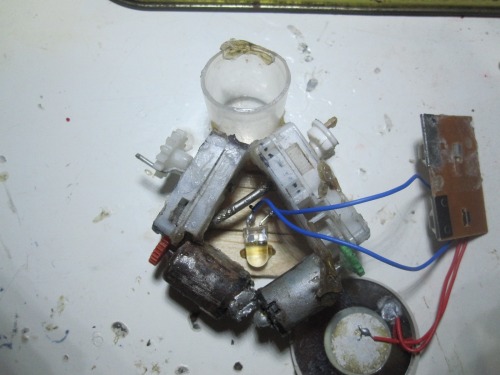
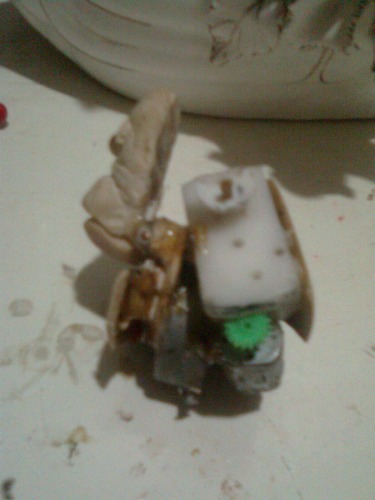
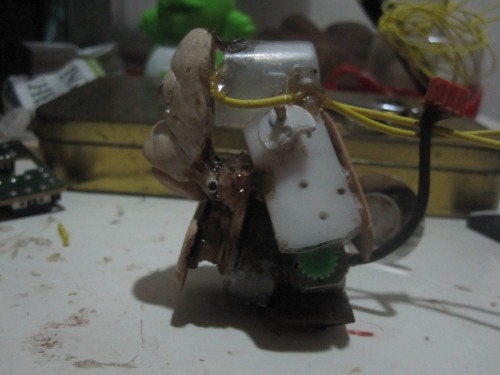
^Here you can see the piezo and an LED that i have added inside rngtn's torso (note: that rusty motor).
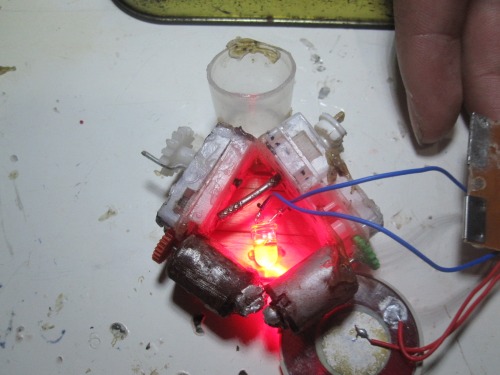
^LET THERE BE LIGHT! (the LED in this picture is the multicoloured kind, changes colour)
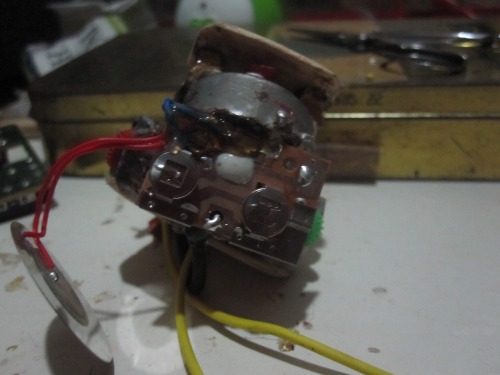
^A clear view of it's polished back.
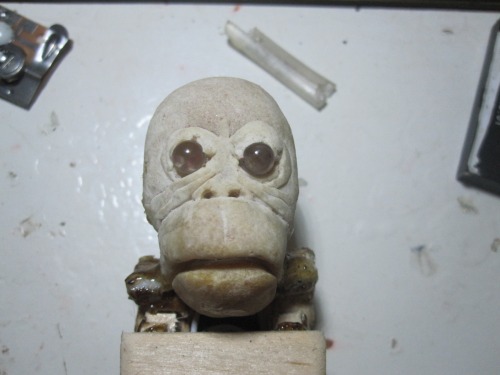
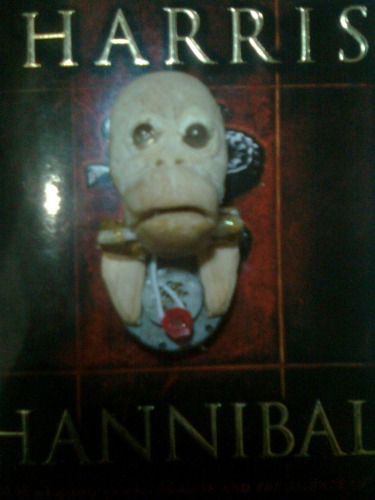
^Look at it's face!!! (really look at it, specially the eyelids, it got broken off, but that's an easy fix)
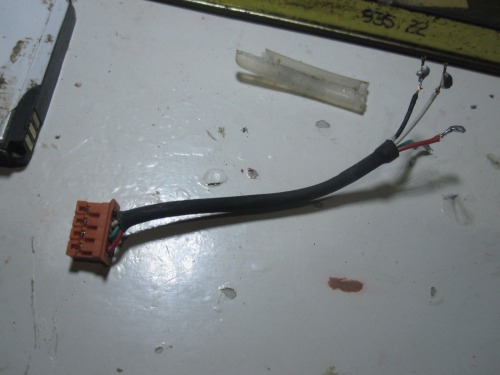
^The "Spinal Cord", it connects the motor to the neural network!
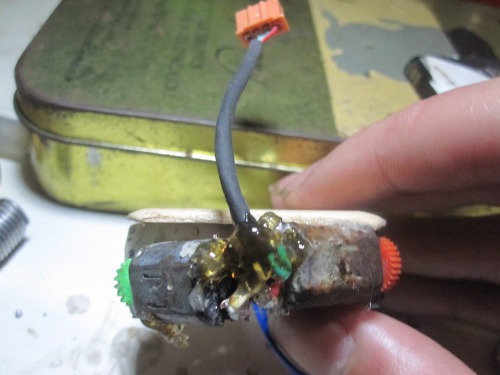
^Spinal Chord, connected to the motors.
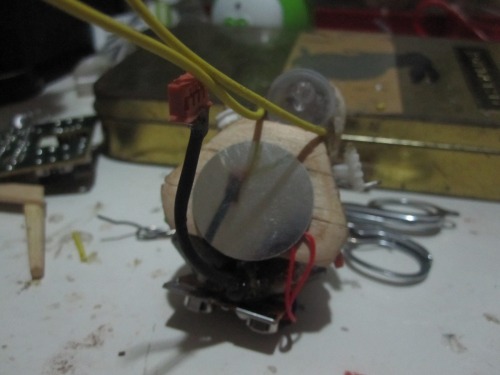
^I have added a Beacon (not bacon) inside it's transaprent head so i can study it's motion using "Time Lapse" and "Light Painting" photography!
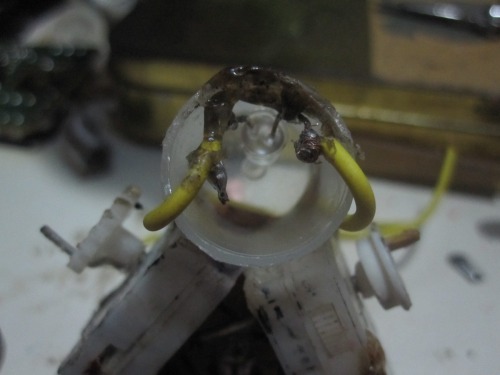
^Here you can see it clearly,

^LET THERE BE LIGHTS..... again, the beacon turned on, too much light, it burns, it burns!
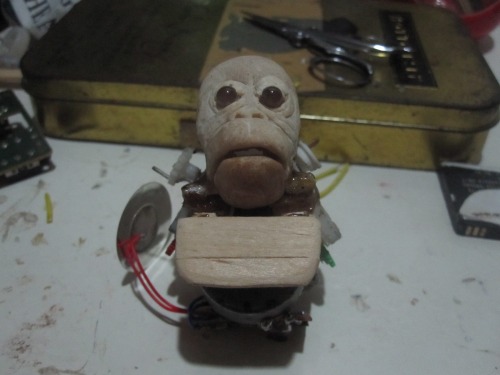
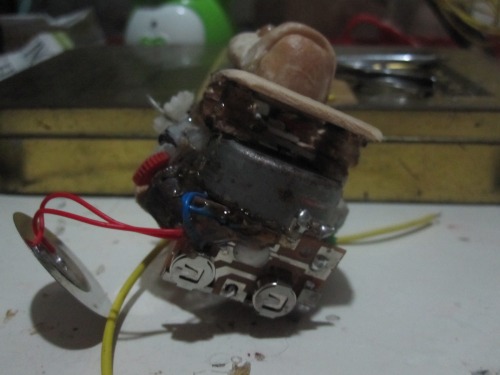
^Here he is, without the arms,
^Side view, i didn't know that orangutans have tail (the spinal cord)
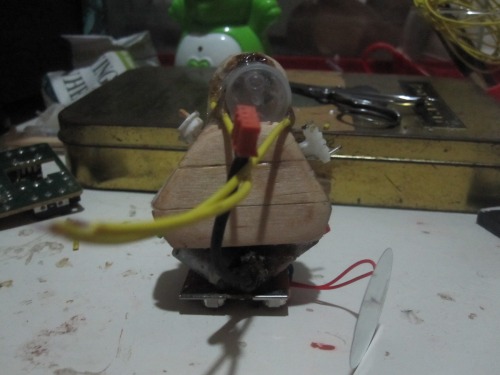
^Back view, with the wires, yellow = beacon, black = spine, red = piezo.
^The piezo circuit board at it's ■■■■! :)
^another look of it's behind!
^i have hot glued the piezo speaker at it's back.
so that's it for today!!
cheers!
-⁰ℨ
UPDATE........20th of december 2011,
Hello all again...TODAY IS THE DAY FOR ELECTRONICS!!!!!
or in short; i have finished the project's pcb, using the easiest cheepest method of making one.
What i'm gonna show you all LMRians today is the process on making one.
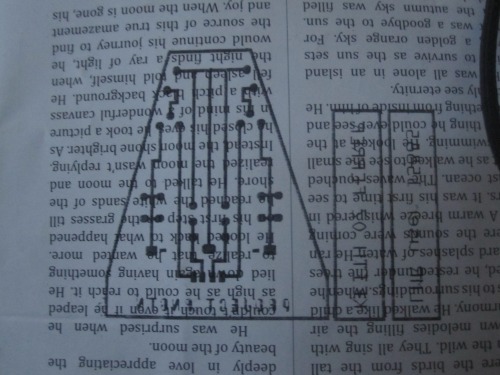
First, you need to make your pcb layout, well in my case, i used Ms Paint for that since it's the best for me, but there are some good pcb programs as well....
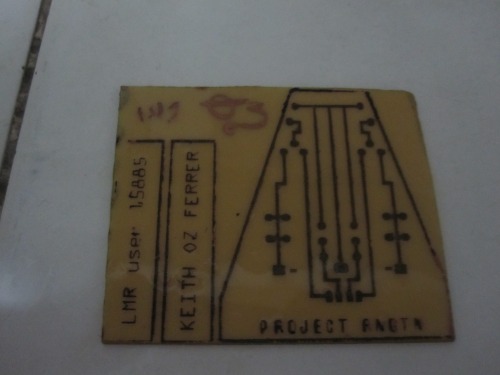
then after that, print them using a Laser Printer on a magazine paper....if you don't have a laser printer, you can use photocopier that uses toner as ink, the picture below shows the project's pcb layout printed on a magazine paper(note: it should be printed in reverse):
after printing it, tape the layout facing down on the copper clad laminate ( this is the pcb in "raw" form) but before that, clean the copper clad with a kitchen scrub, it should be shiny, after doing that, press the magazine paper with the copper clad laminate using a clothes iron (with the highest heat), put some pressure on it for 10 minutes and after that move the iron in back and forth while pressing down as strong as you can...(i don't have a picture for this process, but maybe you can imagine it)
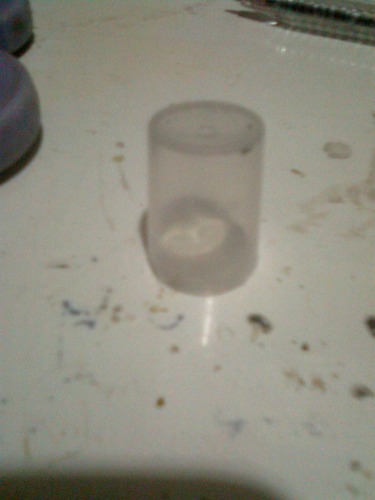
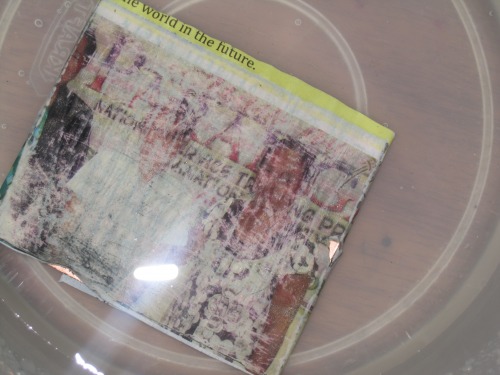
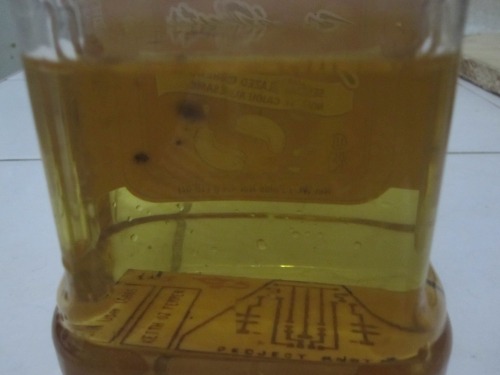
after ironing it for over 20 minutes, wait for the pcb to cool down, the magazine paper will stick to the copper clad, but don't worry about it, it should be doing that, when it is cool enough, submerge the pcb (of course with the magazine paper sticking on it) into a cold water, soak it for 3 minutes or when the paper softens, here's a picture of it soked in water:
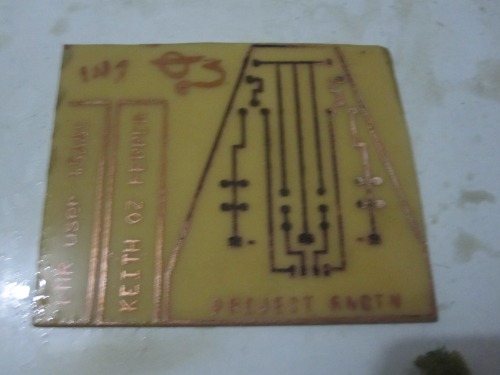
when the paper is soft enough, gently rub the paper off from the copper clad:
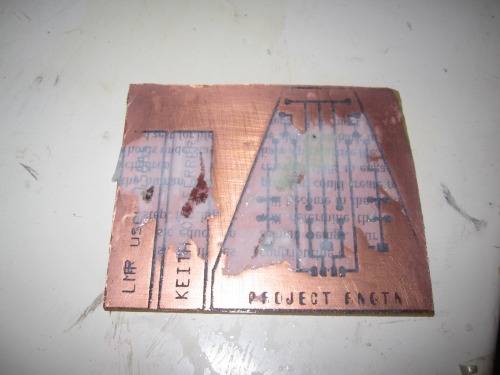
rub it untill it's completely clean, don't rub the toner off (some of the toner got erased, the anser to that problem is.....use a permanent marker):
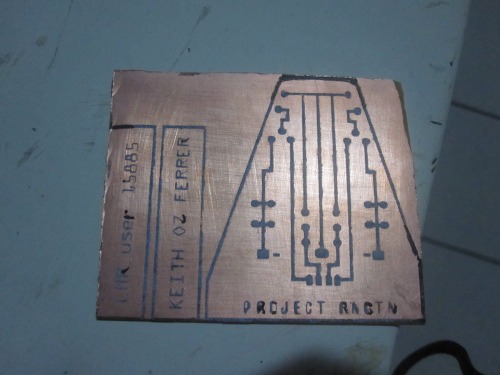
after cleaning it completely, submerge it again in the pcb etching solution, which is the ferric chloride until the copper has been erased completely...be careful:
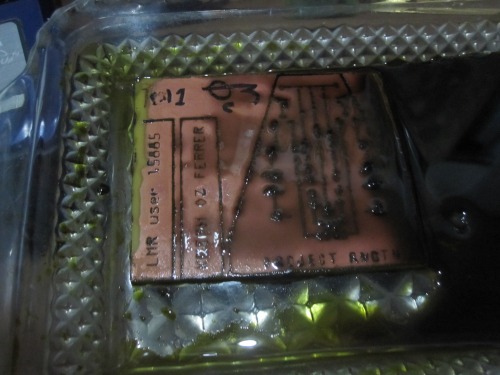
i have noticed something cool with this, there's some kind of a residue forming the printed layout on the etching solution:
when the copper in the board has been erased, soak it in the water:
thy will be done:
after that, erase the toner on the board with acetone:
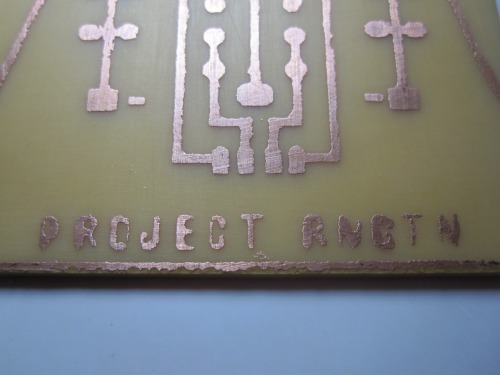
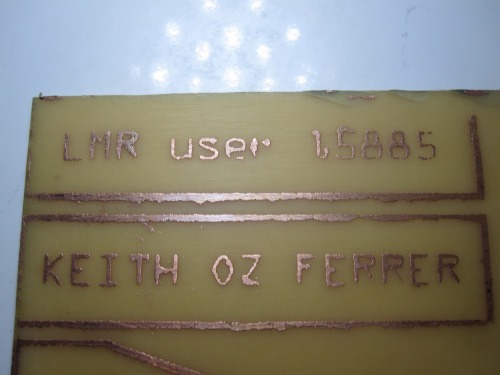
it is done!!!!:
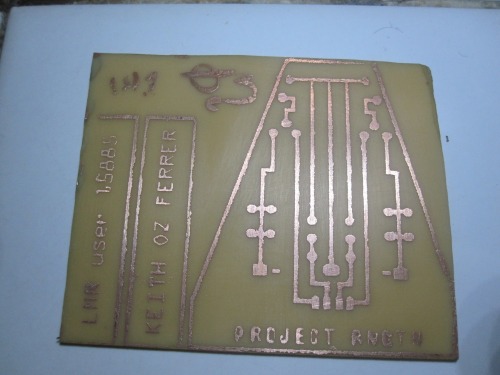
a close up look of RNGTN's neural network pcb:
a proud LMR member(for decoration,gonna place this two pcbs on both arms of RNGTN):
that's all for now! cya anon!
-
follow light, knuckle walking,self recharging, etc.
- Actuators / output devices: motors with wind up toy gearboxes
- CPU: self-made analogue neural network
- Power source: celphone battery
- Sensors / input devices: LDRs, tactile sensors, etc.
- Target environment: Desktop or floor
This is a companion discussion topic for the original entry at https://community.robotshop.com/robots/show/project-rngtn-dismissed
