MDi #2

     UPDATE - September 23, 2013


     Hallo Leute!

     What's new on this update? Apparently, nothing! :)

     In the case of the mechanical part and body building it's actually nothing new... The body construction at this time should be done, and next days will be the robot competition that I've mentioned before... But robot won't be ready for it...

     Ok, no problem... The delay on the construction occurred because I wanting to give to this robot a "big brain", and inside it will work MyRobotLab. Ya, I have tried something with this amazing software some time ago, but since I don't have many skills with Python, I've ended up abandoning it for some months... But now I'm working with this software again... And thanks to some Python studying and specially the great help from MRL guys (GroG and Alessandruino), this project is evolving.

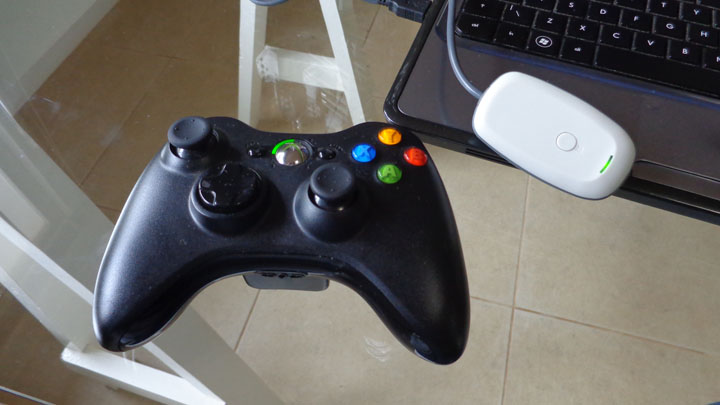
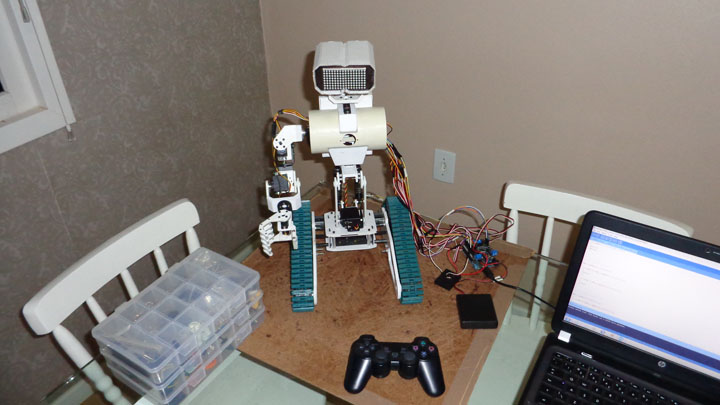
     Now I'm controlling the robot with a XBox 360 joystick. And it works this way: Arduino Mega2560 is attached to my laptop. Laptop runs MyRobotLab which receives the commands from joystick and send to Arduino (via serial communication) the correspondent movements for each button (or combo).

     Some examples of movements:

  • Left stick Y axis: forward and backward;
  • Left stick Y axis: turn left and right;
  • RB + directional pad: controls shoulder joints;
  • RT + directional pad: controls elbow joint;
  • RB or RT + A / B: close and open hand
  • Y + directional pad: controls the head;
  • Start button: plays a audio file that says: "Hello all you guys."
  • Back button: plays a audio file that says: "Hello World from Teutonia." ..... note: Teutonia is my hometown! :)
  • And so......


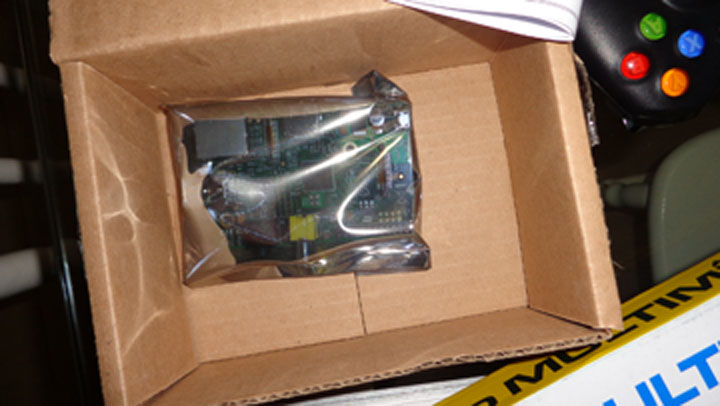
     MyRobotLab simply don't have limits! For example: it can make your robot say things :), can run Sphinx, OpenCV, and many many other services... Ya, right, it needs a PC and, as you can see on my new video, it uses a USB cable to communicate with Arduino... Well, the answer for this can be inside of this box....


     UPDATE - August 10, 2013


     Hi guys. I've passed few days thinking about the design of a piece to interconnet the torso with the main chassis. And have changed my mind a few times. But I managed to get a model that I liked. So, the things begin to evolve! 

     Yes, I know that it's seeming more and more like Johnny 5. But at this moment I can't imagine a better design for an interactive robot.

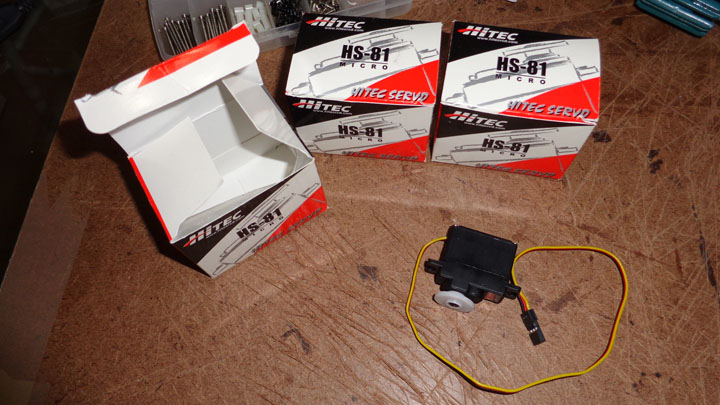
     This week was good also because I've received 3 servos (HS-81), which will be used in the hands and in the head tilt.
 

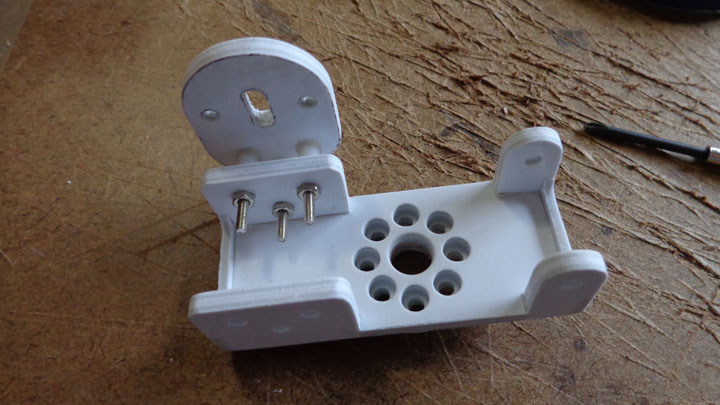
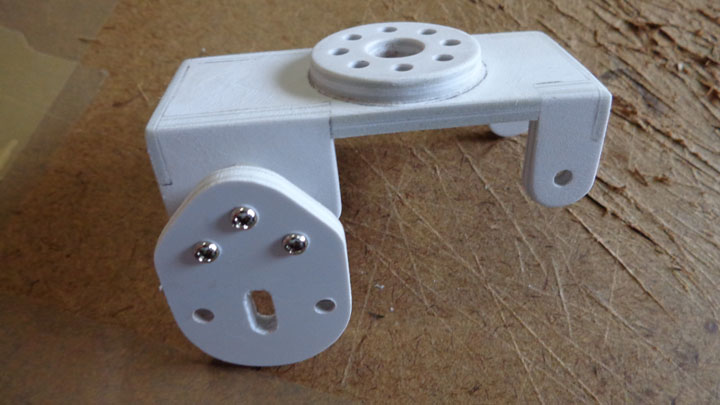
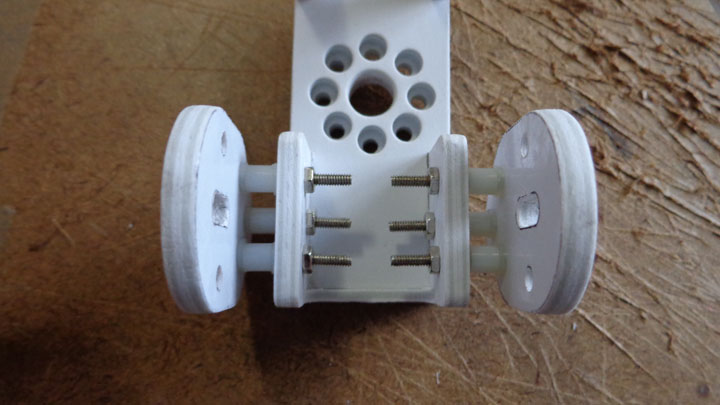
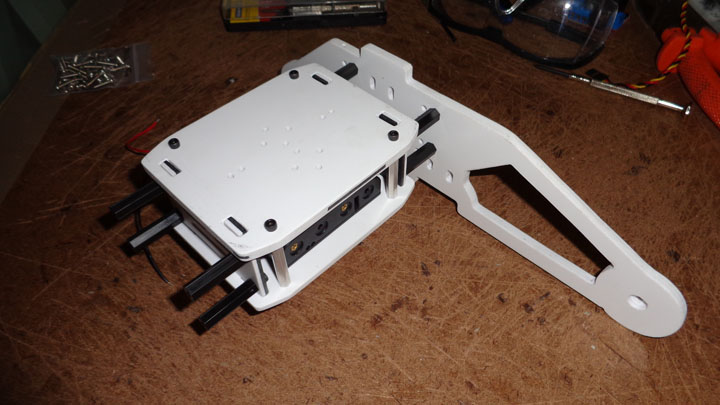
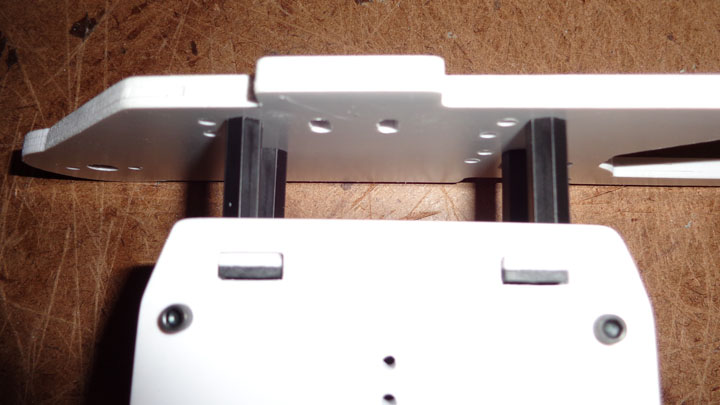
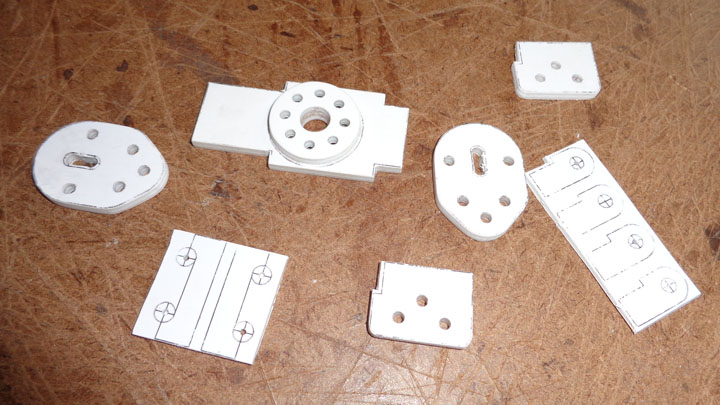
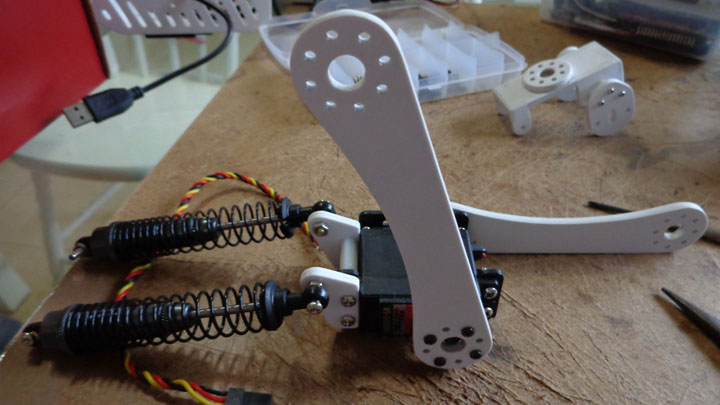
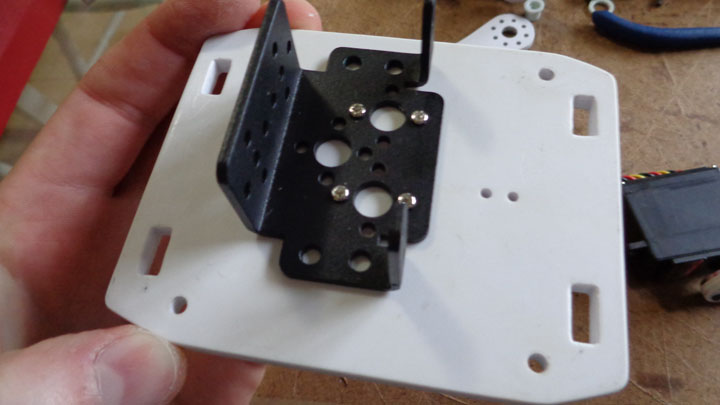
     Below you see the construction of the "interconnect" piece, and other things like the arm and torso assembled.
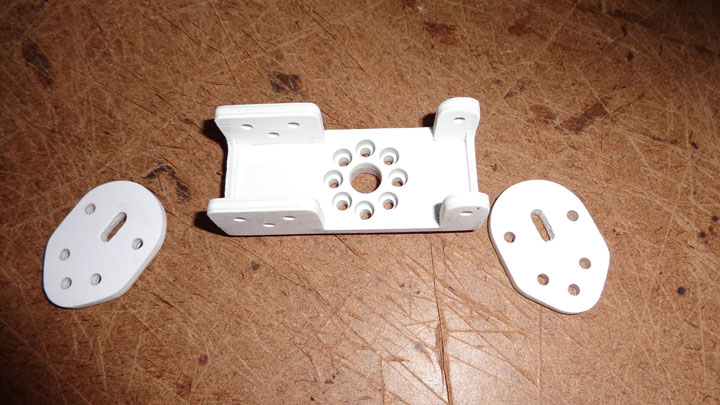


     This long piece is a Lynxmotion femur clone.
 

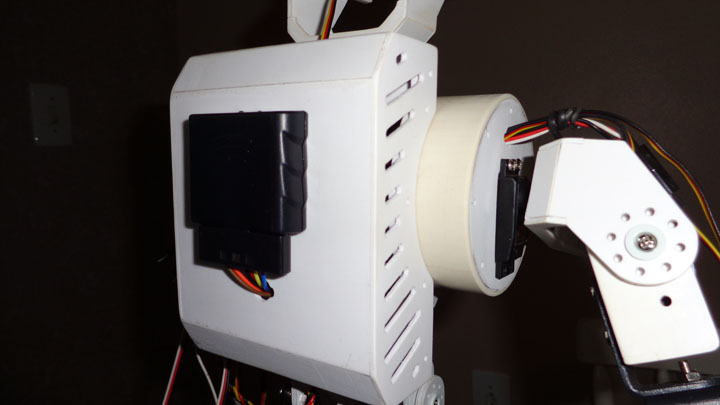
     Torso assembling...


     That's all for now. Next week I'll got to make some break in the work because I'll be in vacancy and will travel to Germany and France with my wife. :) When I'll get back to Brazil I intend to work hard in this project to show it in a kids Lego robotics competition (to inspire the kids) in September.

     See you guys!

     Bis später!

     Au revoir!


     UPDATE - July 6, 2013


     Got some progress this week on my new project. Many hours of working...

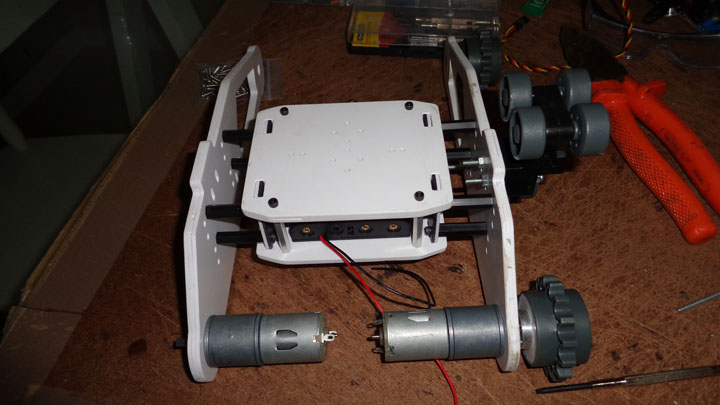
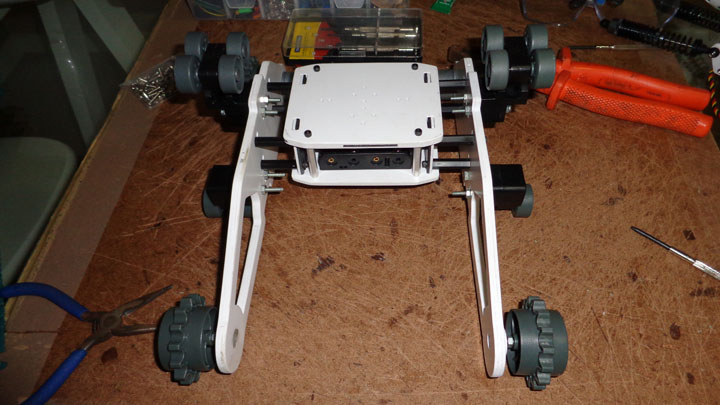
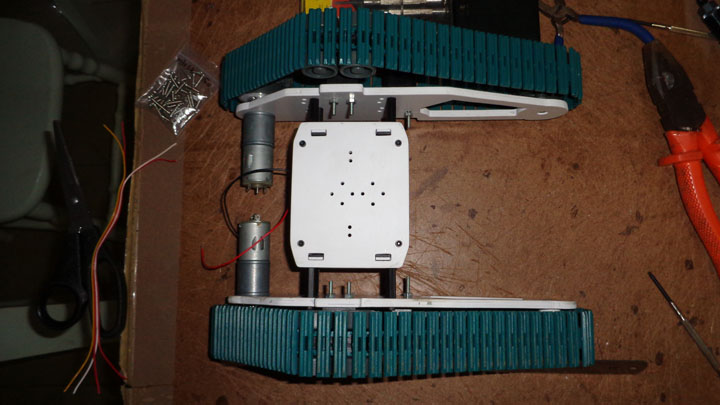
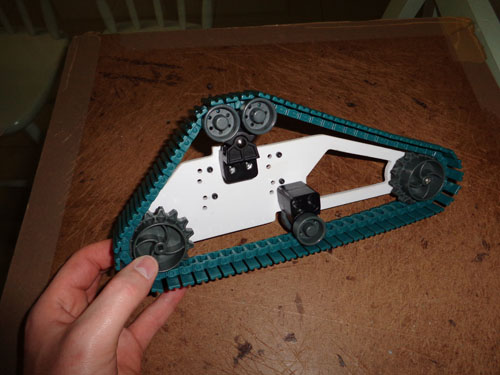
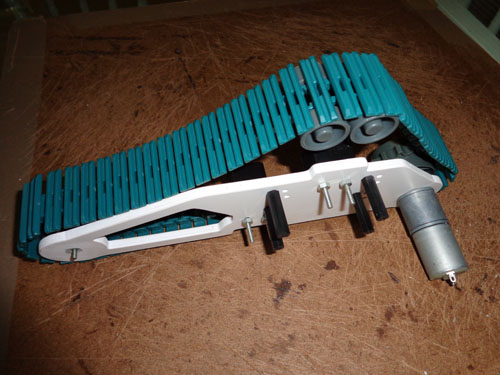
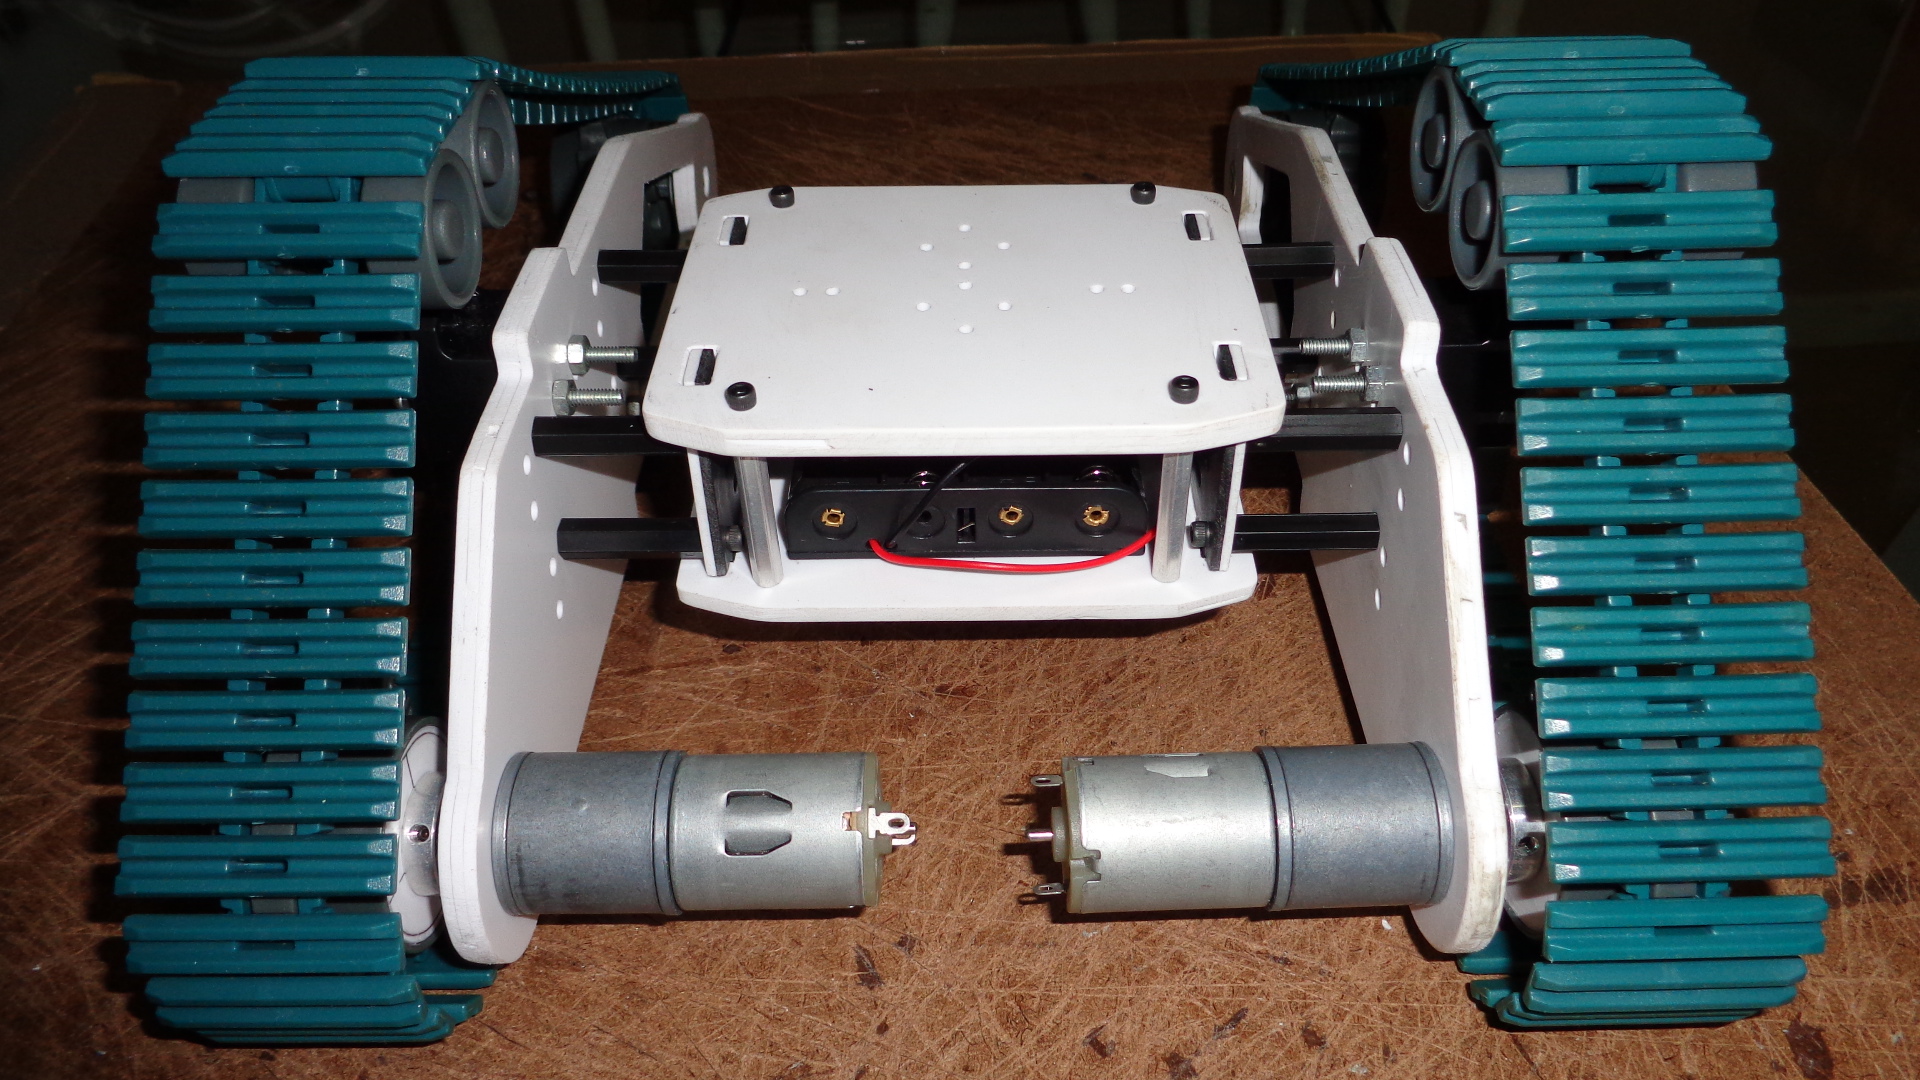
     Now is done the main chassis and the tracks.

     Below you see the assembling.
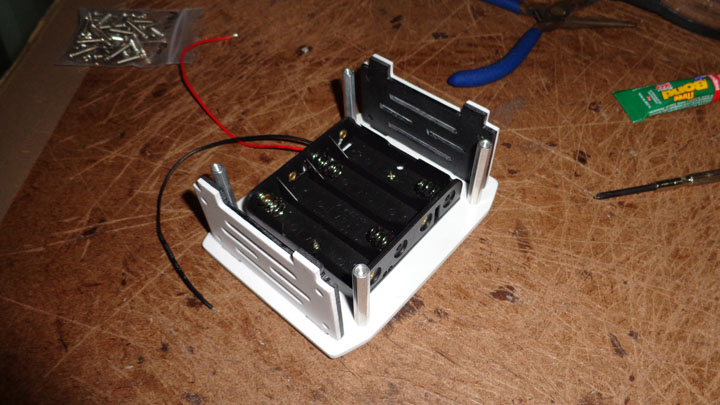
 

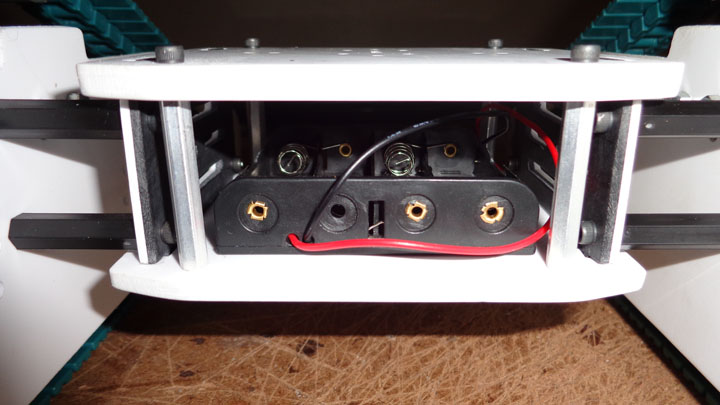
     As you can see, the chassis houses too the batteries holder (will be two holders later).
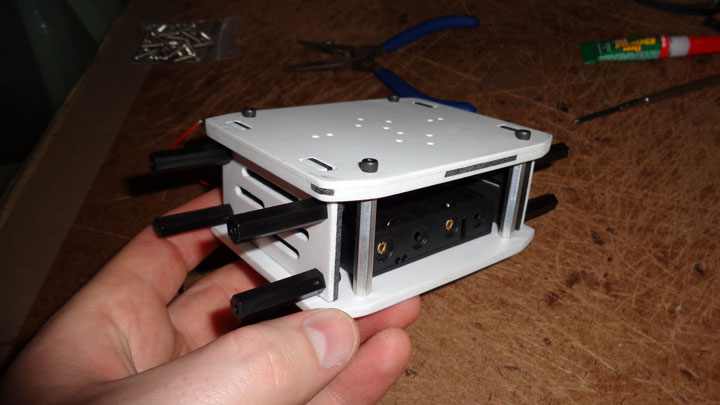
 

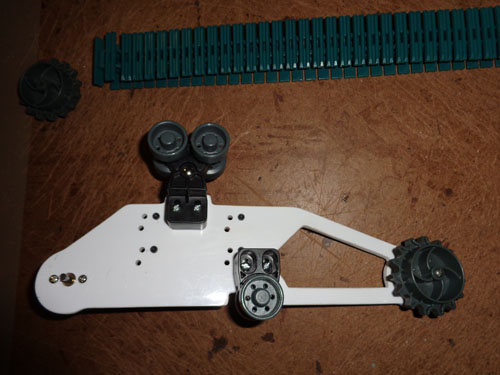
     The Vex kit uses squared axles, and as my DC geared motors have D type axle, I have to make some adaptations on the sprocket and attach an aluminium hub.
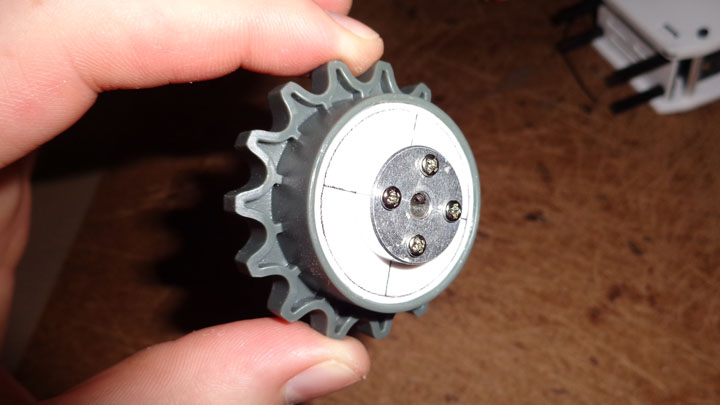
 

     Attaching the motors, idle wheels and sprockets.
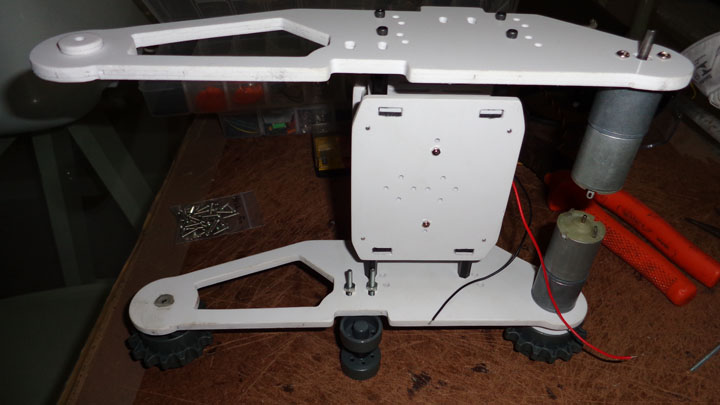
 

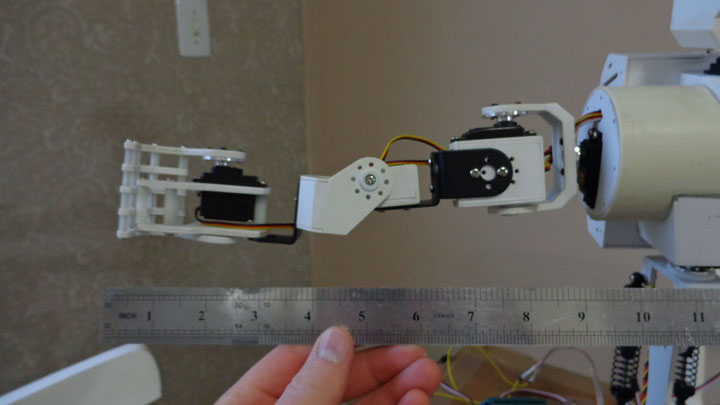
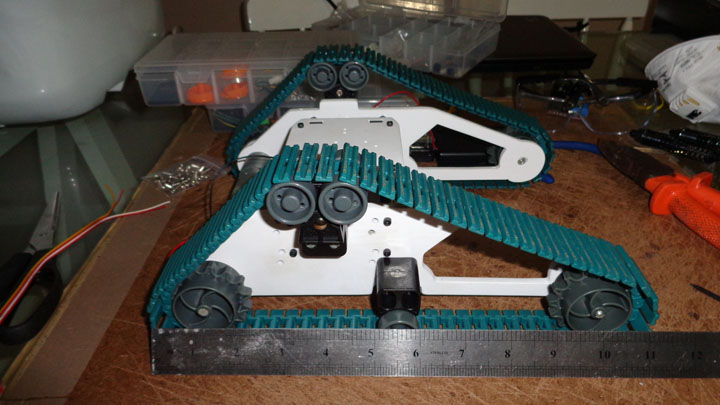
     Just to see the size... around 11".
 

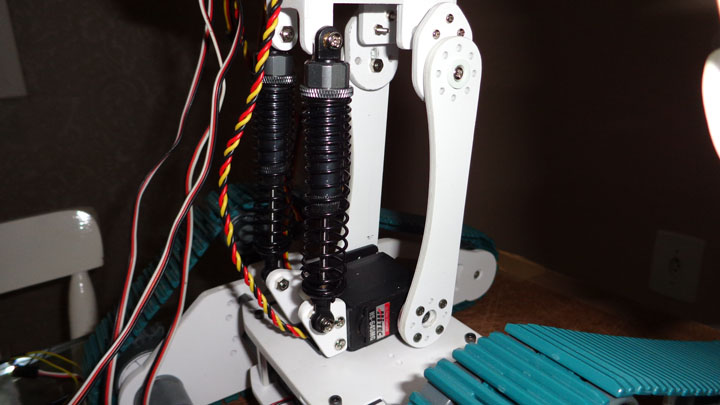
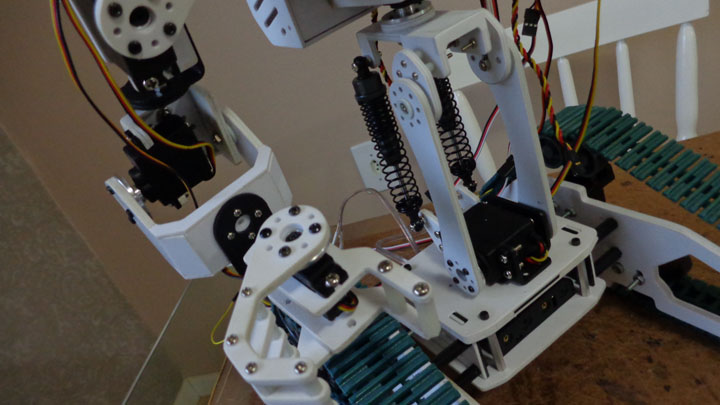
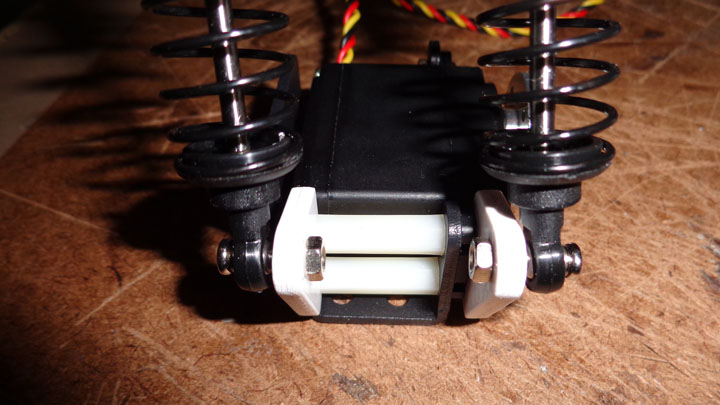
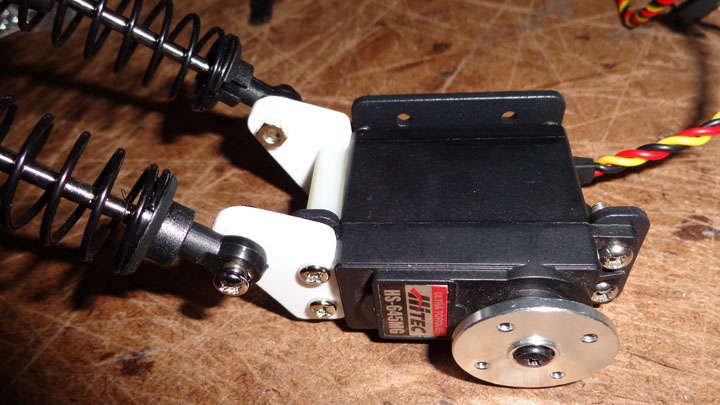
     This mechanism will be used for the torso inclination. The shock absorbers are more for esthetic than absortion.


     To continue the project I need to order more polystyrene sheets... I've utilized all that I have at home.

     Need to order also other parts, like 3 servos (HS-81), one more battery holder and batteries, more nylon standoffs and screws.

     Later I'll make a review on this page to standardize the size of the pics.

     Well, I'm satisfied with the progress till now.


     FIRST POST - June 29, 2013


     It's a bit early to start a post for this, since just a little bit of work is done, but I would like to show you the new project which I'm working on.

     This is a sequence of my previous project (MDi-eins), but with some more new features, mainly for its 2 DOFs head with led matrix for facial expressions and environment interaction.

     The arms continues on the same way: 4 DOFs with a functional hand. The locomotion method will be tank treads with DC geared motors.

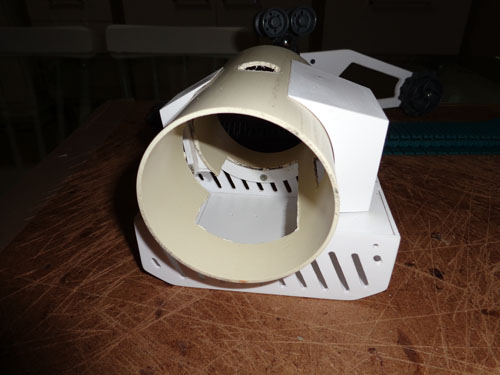
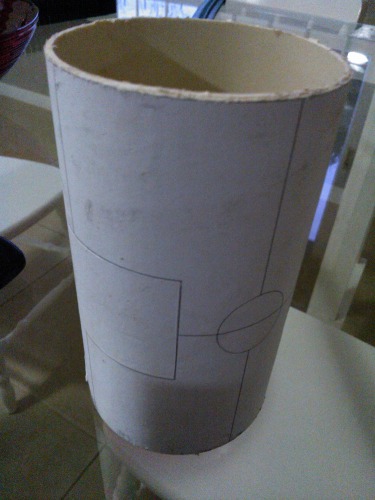
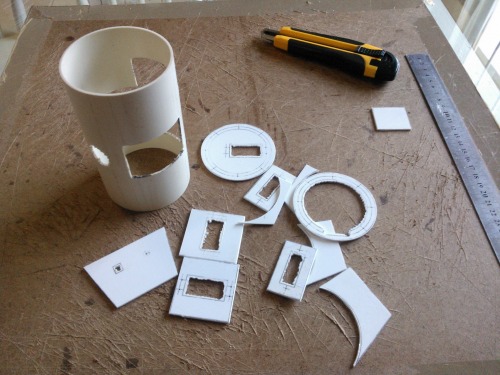
     The great diference in this project is the design of the torso. A piece (130mm lenght) of 75mm PVC pipe is the main of the torso construction. In the back is a "bag" for the electronics and an Arduino Mega2560 (my latest purchase).


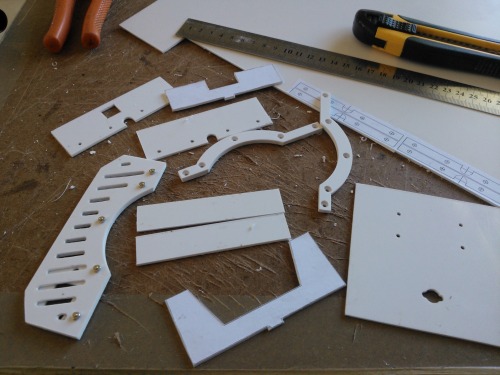
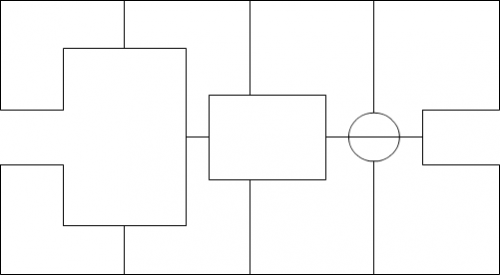
     This is the layout that involves the PVC pipe to determine the cuts.
 

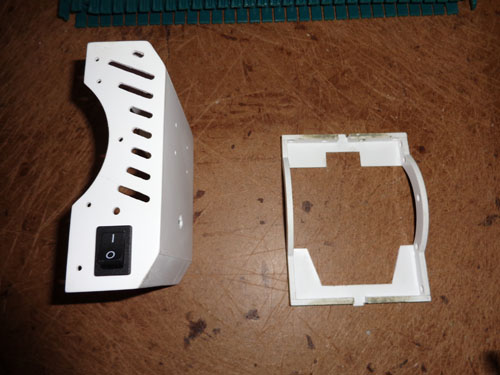
     Below some progress of the torso construction.


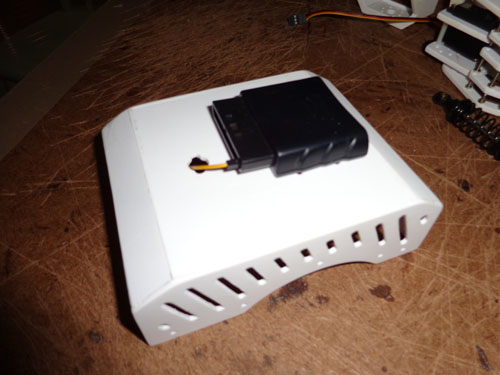
     On the back of the electronics bag will be attached the PS2 wireless controller receiver.


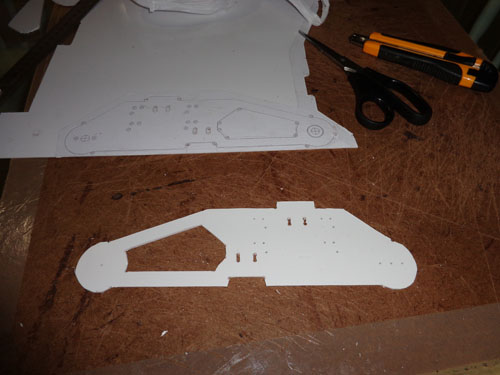
     Below you see the construction of my preferred part (the tracks brackets).

     Just glued the layout on the polystyrene sheet and cut it with sharp blade.
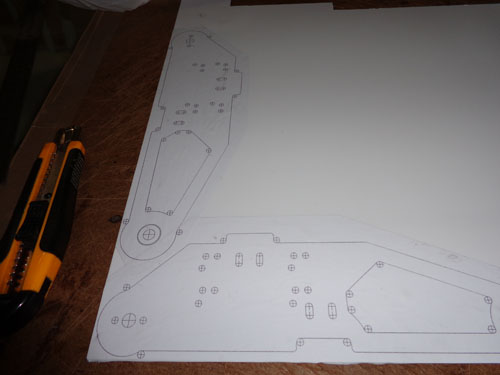


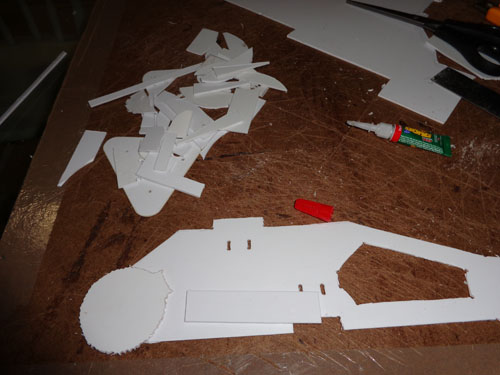
     As this part is a bit long, needed to be more thick. So I made it with 3 layers (3x 2mm sheet = 6mm thick). And to save some material I made the middle layer only with polystyrene patches.


     One more of my recently purchases (Vex tank tread kit).
Will run around autonomously and remote controlled

  • CPU: Arduino Mega2560

This is a companion discussion topic for the original entry at https://community.robotshop.com/robots/show/mdi-2

Purdy work.

I had to collect this one. Looking good.

You know how to use a knife

You know how to use a knife :smiley:

Everybody who says, “I can’t build a nice robot because I have no advanced tools available” is wrong and this is the proof.

I collect this…

what material do you use for

what material do you use for this bot ?

And how you are able to cut it with just a knife it is seems pretty sturdy to me.

Thanks, MarkusB! You’re right!

More important than tools is creativity and a little patience.

Polystyrene

For this, and other robots, I use 2mm sheets of polystyrene. The process is relatively simple: with the support of a metal ruler I cut with a sharp blade. After cutting a bit it is possible to break off the chunks. For very small chunks I make some little holes with drill. But what give it a good finish is sand paper. To join the parts I use instant adhesive.

Take a look on this walkthrough that I made for a homemade servo bracket https://www.robotshop.com/letsmakerobots/node/32828 .

But you just said it all

But you just said it all “You know how to use a knife :D” MMM…

Blademaster Dickel sure knows how to use a knife… not everyone gets to be a brain surgeon :wink:


So I’ll just say: “I can’t build a nice robot because I have no advanced tools available – or superior knife skills – or even a sniper hot glue rifle :P”


And now to D… well looking at this the only work I could think of was: “Whoooa!” :slight_smile:


Beautiful design and

Beautiful design and handiwork. You are a master at the polystyrene sheet!

WOW nice robot,how’s the

WOW nice robot,how’s the polystyrene sheet working is it sturdy enough.

For: JerZ, kariloy, ezekiel181, TinHead, robotmaster18.

Thank you very much, all you guys…

Your comments makes me glad!

did you use any software for designing ?

Hi

very nice work indeed :slight_smile: did you use any kind of computer software (like CAD) to design your part before cutting them ? or did you trace directly on the polystyren before cutting ?

if you used a software, which one please ?

you are very inspirational ^^

Adobe Flash CS3

The software that I use to draw my pieces is the Flash CS3… It may seems fun, but work with this software is a bequest of when I was web designer. It’s not a tool properly for this, but I’m very accustomed with Flash and their drawing tools, which are, for me, very easy to use and very fast.

Recently I came up to the SketchUp world, but I use this just to take some perspective of how my work will look effectively.

Flash continues the tool (in software therms) that I use most of the time to project my pieces.

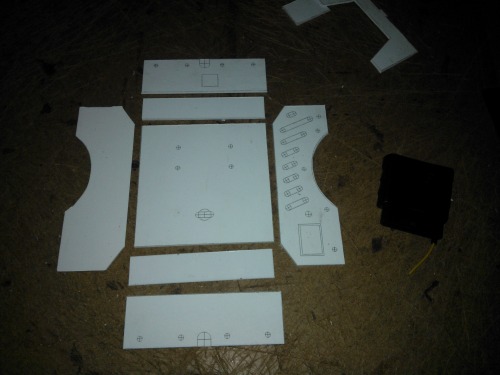
After that I made the drawings, I do export the image and print it. After, glue it on the polystyrene sheet.

Below you see some screens of the software and pieces.

flash_02.png

flash_01.png

That’s just a piece of art

That’s just a piece of art Dickel, nice job.

I am always impressed how you handle the ABS or PVC material. Well done. Hope we can see the finished robot in a video soon.

Plastic passion

As I always say, plastic handling fascinates me! I hope soon I’ll post video, but the project finished will take longer.

I spend a lot of time thinking about how I’ll make a part, then change my mind, then change it again, and so time goes. :slight_smile:

Langsam und immer!

Understood. Well, I guess I

Understood. Well, I guess I can wait for the video a bit longer :slight_smile:

Gut gemacht!!! (Well done!!!)

Beautiful work with the

Beautiful work with the chassis, I initially thought it was part of a kit:) i’m impressed :smiley:

Thank you very much, Sir ciarfah!

Hmmm… a kit… Would be sold as well? :slight_smile:

L298N fighting

Well guys, as I was waiting for more polystyrene sheets, I have spent some hours of the last week working on the motor driver part of my project. And have some problems… fighting against a L298N in a breakout board from eBay… I have tried many changes to make this thing work but no sucess. Changed also all the wires for more thick ones and no sucess too. Now I’m thinking about the L293D IC, that I’ve already used and have worked fine, but I’m a bit concerned about the limited current which the chip can provide (I’ll make more tests with this). Another option I have (and already tested and worked fine) is to use the circuit of a MG995 servo and control my DC motors as continuous servos.

DSC00176.jpg


Well, today I received a big sheet of polystyrene (1000mm X 2000mm), 2mm thick. It comes "rolled", but in a few hours opened it becomes completely flat again. Now I'll work again in some parts of the body construction.

englishdo you speak

english

do you speak portuguese?

because i wanna make a robot but i am not sure which piece is the best to my project and where i can find some cables

is there an website or forum that we can talk?

my project is based in this project

https://www.robotshop.com/letsmakerobots/node/31960

but with UDOO board(similar to raspberry pi,specifications at udoo.org ,the board come with arduino due 1gb ram and quad core processor)

i know what type of servo i gonna use,but i dont know the quantity yet(i think between 15 -20 servos is enough)

i know the battery but dont know how i can “transform” or conect the udoo or the board that control the servos with the battery  in parallel and where i can find the cables to do such thing

as you can see it is better talk about it in another place…

where do you recomend?

thanks

---------------------------------------------------------------------------------

portuguese

ola!

estou construindo um robo baseado no talos (esse projeto)

https://www.robotshop.com/letsmakerobots/node/31960

e na placa UDOO(placa com arduino due e 1gb ram processador quad core,similar ao raspberry pi)

eu nao sei qual peça é a melhor pro meu projeto,algumas coisas estao certas outras falta definir

eu nao sei como improvisar um cabo ou conseguir um pra conectar a bateria lipo 3s 5000mah que vou utilizar

já fiz uns calculos ,já tenho alguns materias preciso tirar umas duvidas…

há algum site ou forum que a gente possa conversar?

obrigado

henrq

I’m also from Brazil…

…so, I speak portuguese. I’m from Rio Grande do Sul. I think the better way for we speak about your project is you make a blog entry here on LMR. So me and other members can help you and so we will be sharing information.

Humanoids are very nice to work in, and I have built something. Take a look: https://www.robotshop.com/letsmakerobots/node/32034 .