


MDi #2
UPDATE - September 23, 2013
Hallo Leute!
What's new on this update? Apparently, nothing! :)
In the case of the mechanical part and body building it's actually nothing new... The body construction at this time should be done, and next days will be the robot competition that I've mentioned before... But robot won't be ready for it...
Ok, no problem... The delay on the construction occurred because I wanting to give to this robot a "big brain", and inside it will work MyRobotLab. Ya, I have tried something with this amazing software some time ago, but since I don't have many skills with Python, I've ended up abandoning it for some months... But now I'm working with this software again... And thanks to some Python studying and specially the great help from MRL guys (GroG and Alessandruino), this project is evolving.
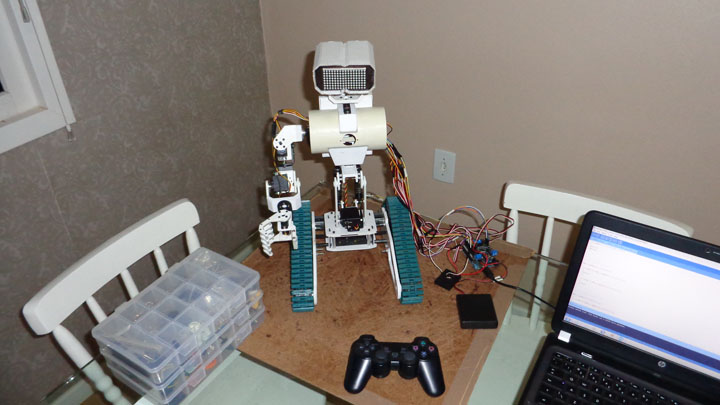
Now I'm controlling the robot with a XBox 360 joystick. And it works this way: Arduino Mega2560 is attached to my laptop. Laptop runs MyRobotLab which receives the commands from joystick and send to Arduino (via serial communication) the correspondent movements for each button (or combo).
Some examples of movements:
- Left stick Y axis: forward and backward;
- Left stick Y axis: turn left and right;
- RB + directional pad: controls shoulder joints;
- RT + directional pad: controls elbow joint;
- RB or RT + A / B: close and open hand
- Y + directional pad: controls the head;
- Start button: plays a audio file that says: "Hello all you guys."
- Back button: plays a audio file that says: "Hello World from Teutonia." ..... note: Teutonia is my hometown! :)
- And so......
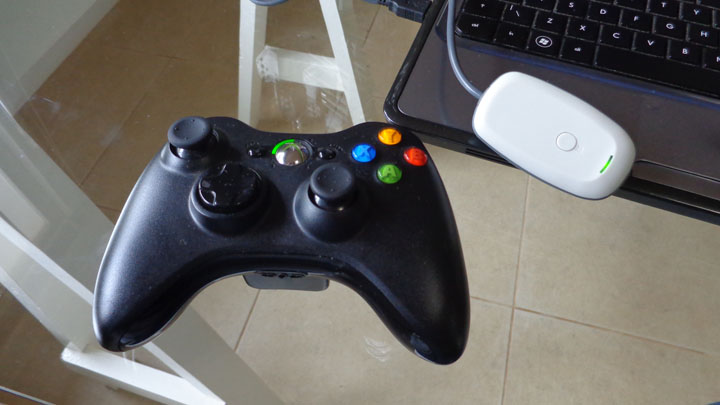
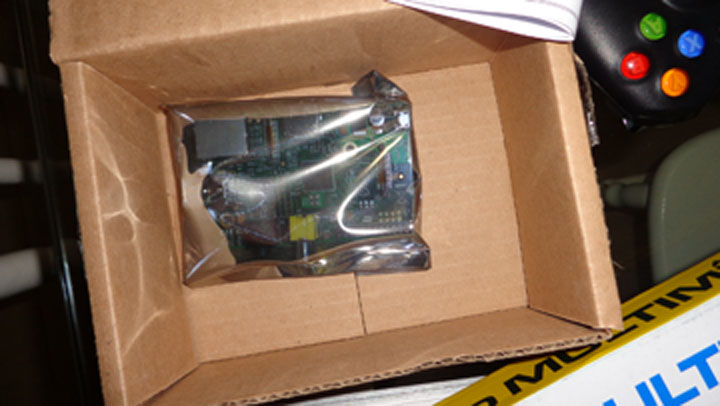
MyRobotLab simply don't have limits! For example: it can make your robot say things :), can run Sphinx, OpenCV, and many many other services... Ya, right, it needs a PC and, as you can see on my new video, it uses a USB cable to communicate with Arduino... Well, the answer for this can be inside of this box....
UPDATE - August 10, 2013
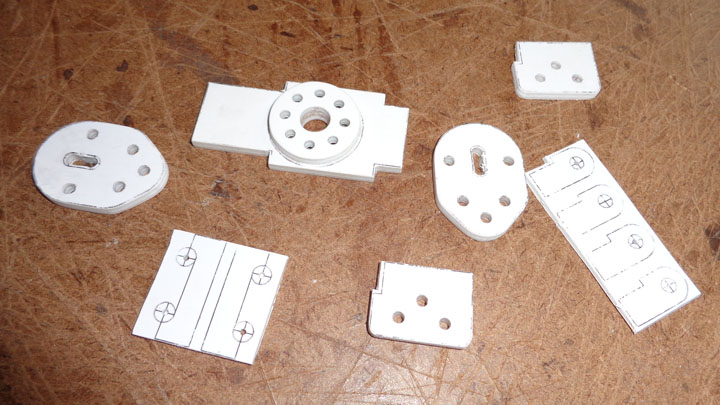
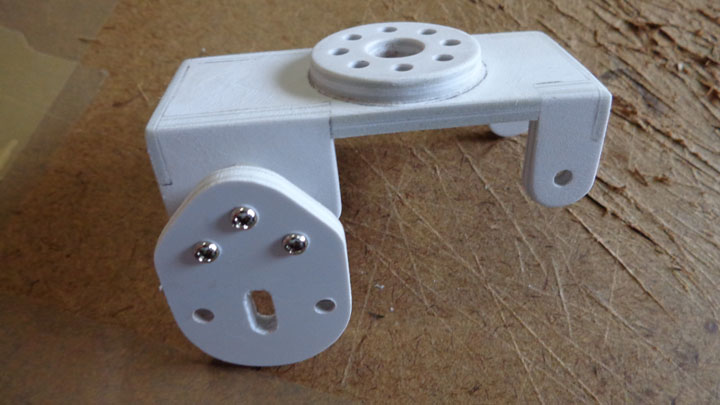
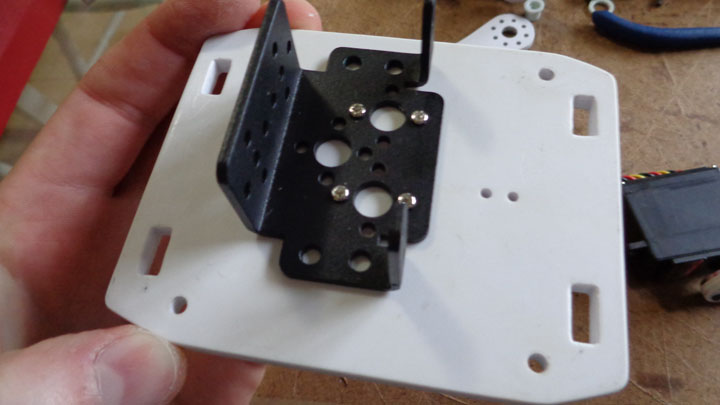
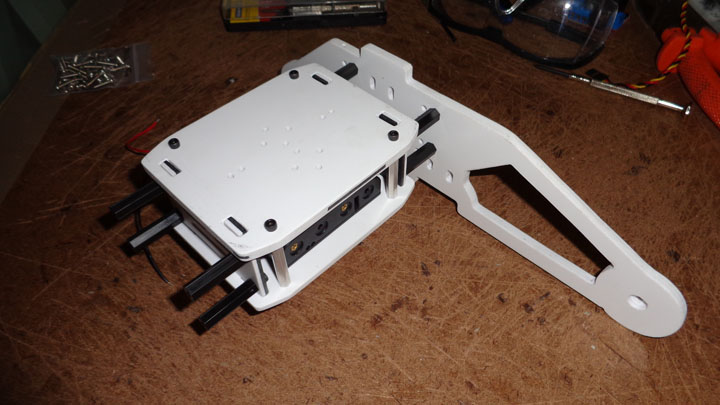
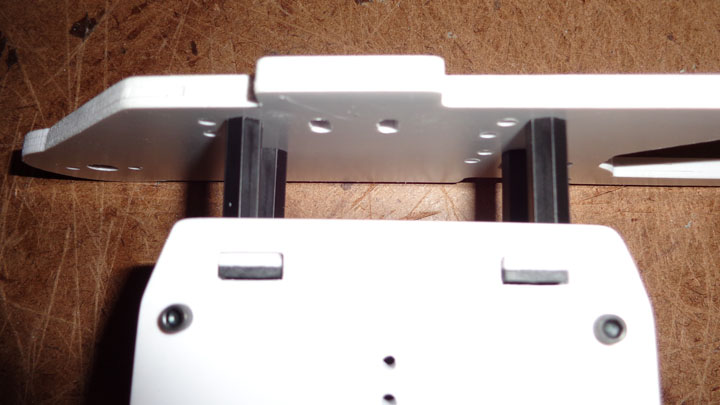
Hi guys. I've passed few days thinking about the design of a piece to interconnet the torso with the main chassis. And have changed my mind a few times. But I managed to get a model that I liked. So, the things begin to evolve!
Yes, I know that it's seeming more and more like Johnny 5. But at this moment I can't imagine a better design for an interactive robot.
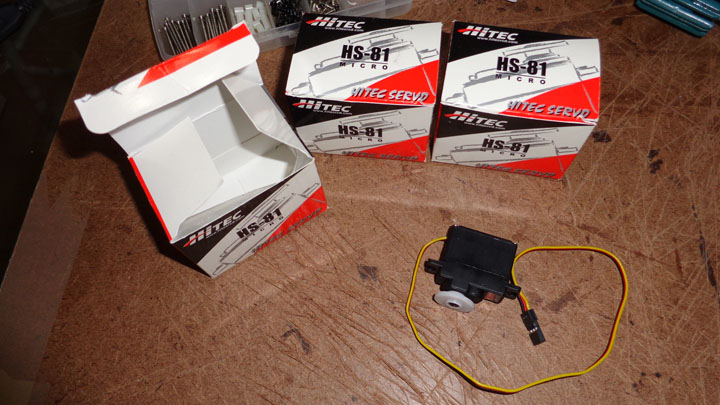
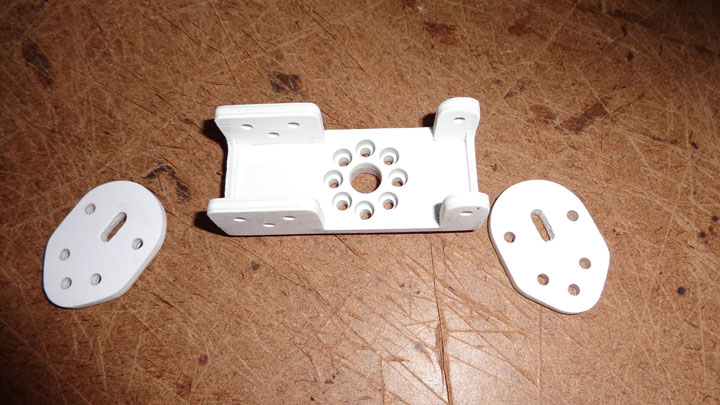
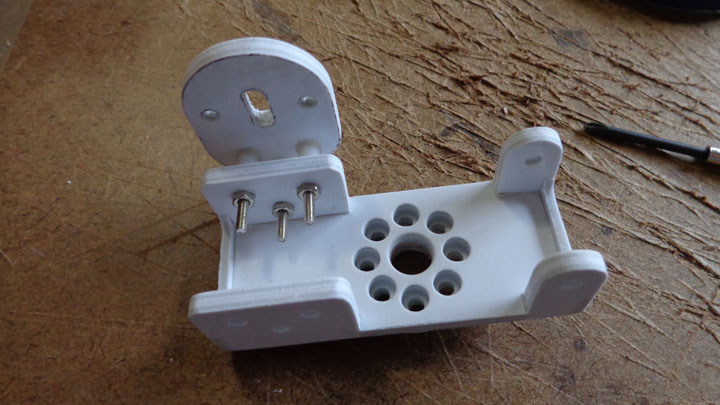
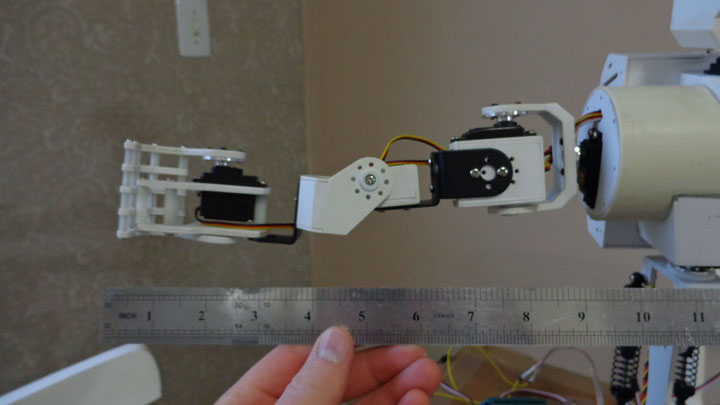
This week was good also because I've received 3 servos (HS-81), which will be used in the hands and in the head tilt.
Below you see the construction of the "interconnect" piece, and other things like the arm and torso assembled.

This long piece is a Lynxmotion femur clone.
Torso assembling...
That's all for now. Next week I'll got to make some break in the work because I'll be in vacancy and will travel to Germany and France with my wife. :) When I'll get back to Brazil I intend to work hard in this project to show it in a kids Lego robotics competition (to inspire the kids) in September.
See you guys!
Bis später!
Au revoir!
UPDATE - July 6, 2013
Got some progress this week on my new project. Many hours of working...
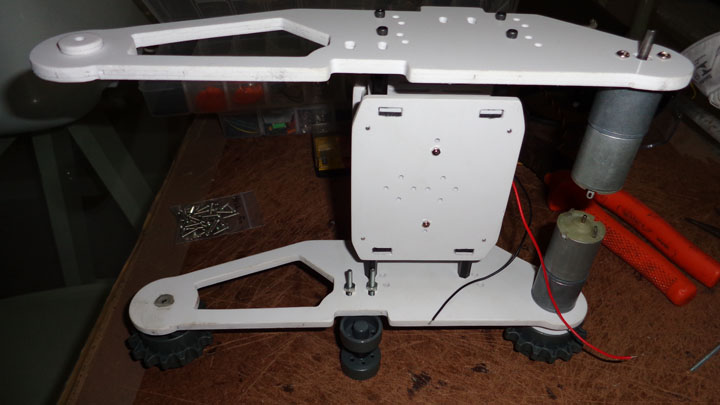
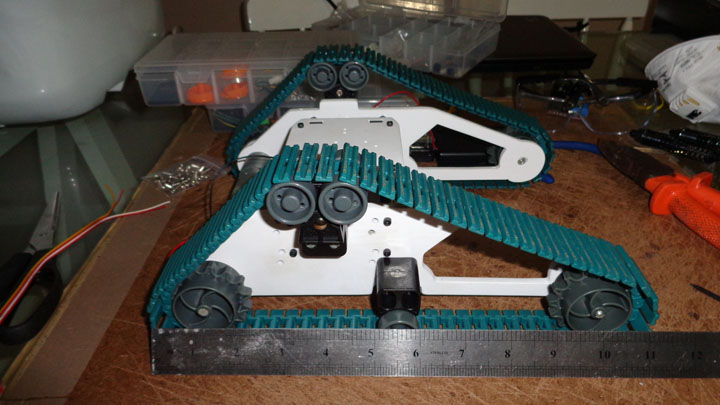
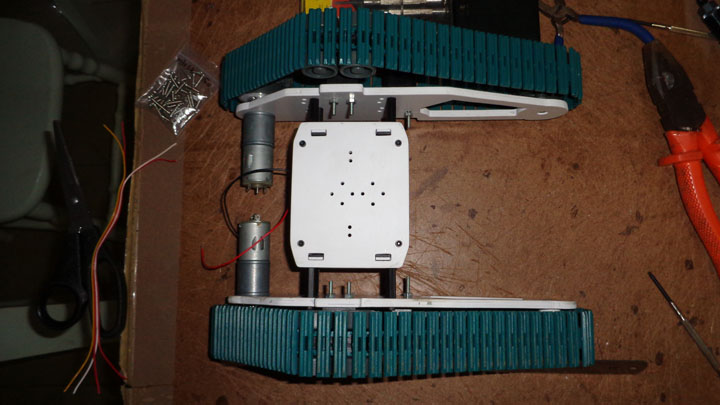
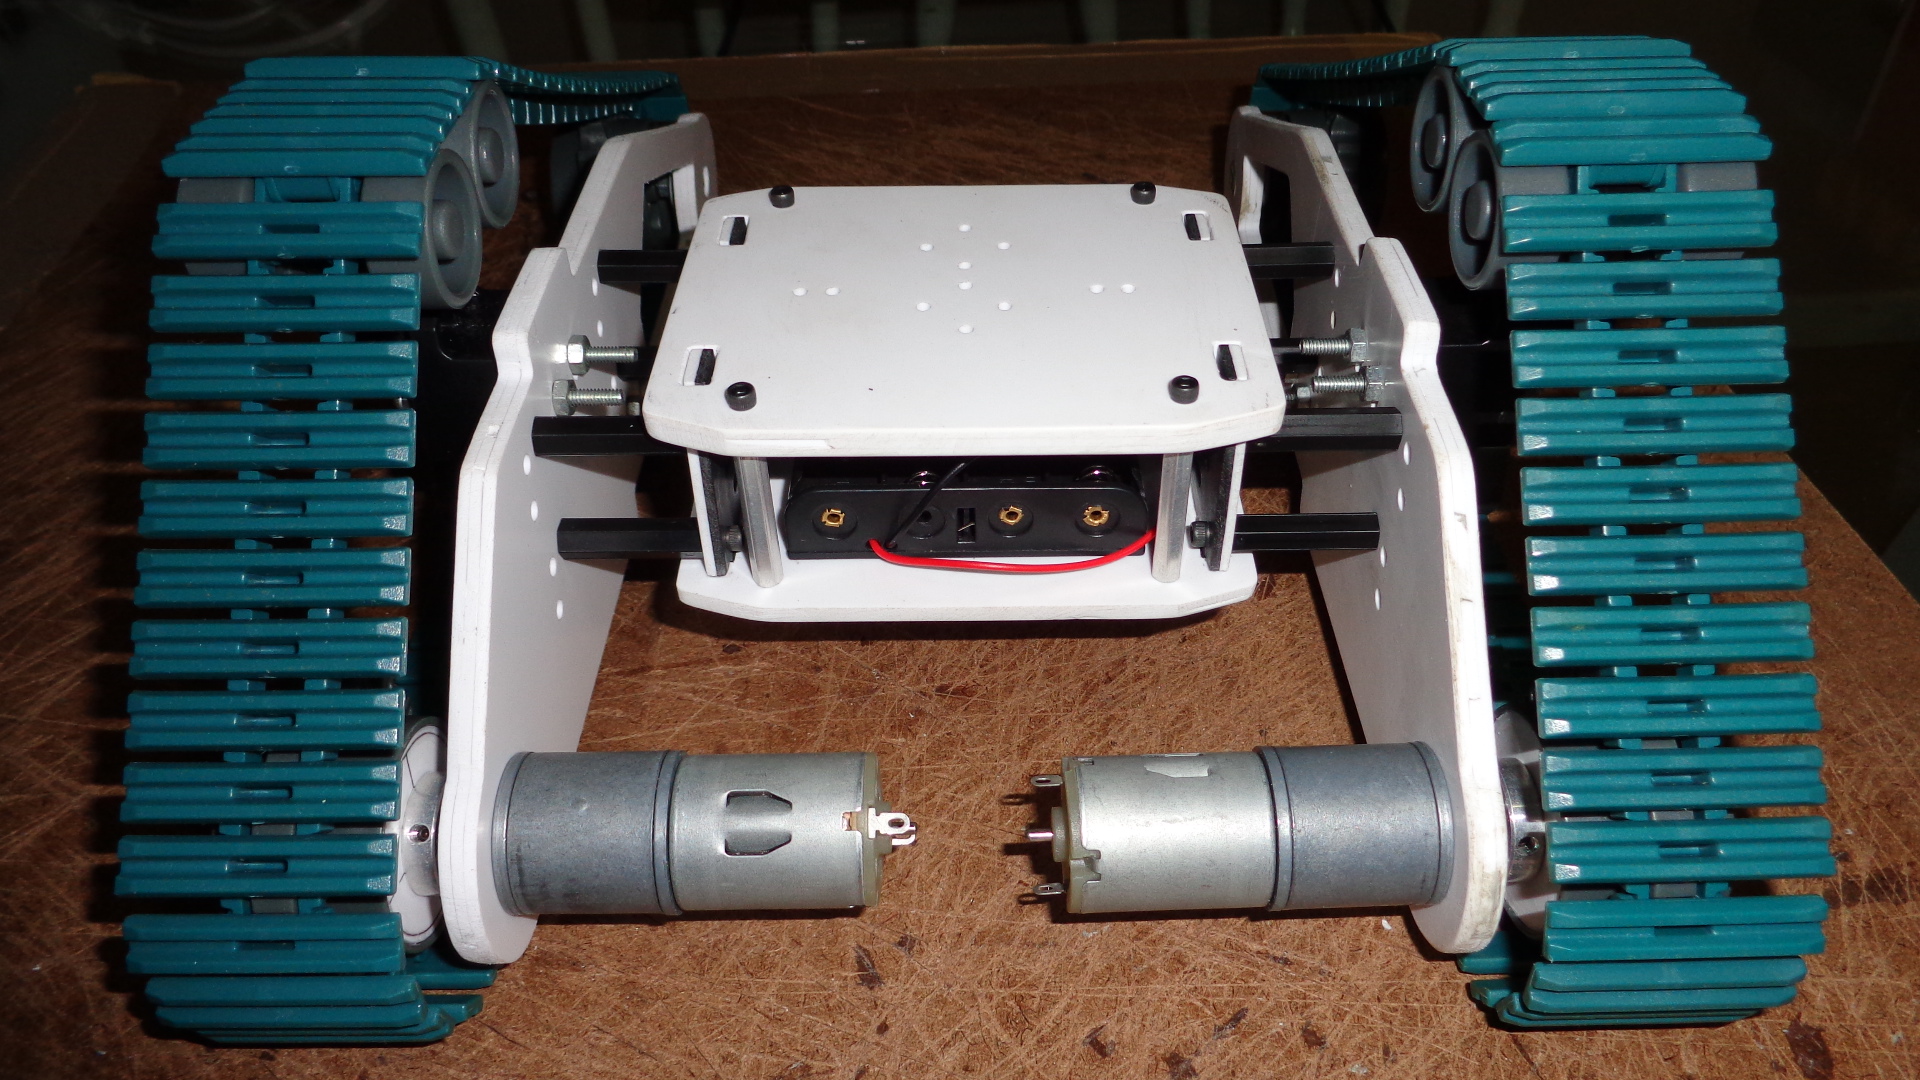
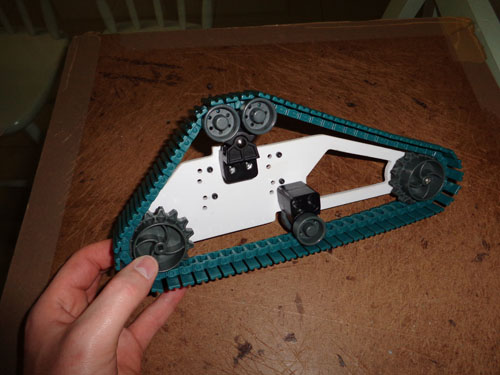
Now is done the main chassis and the tracks.
Below you see the assembling.
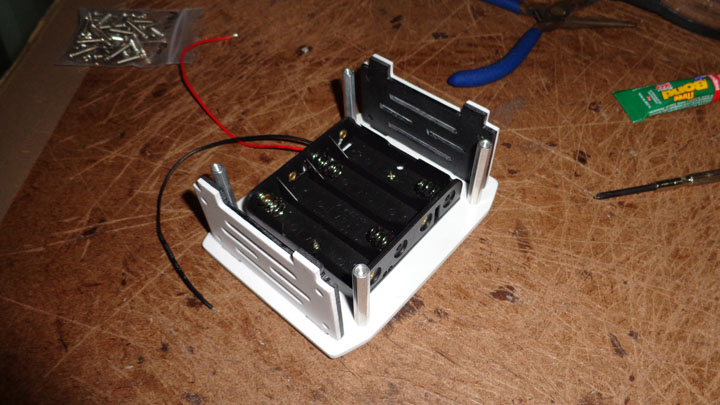
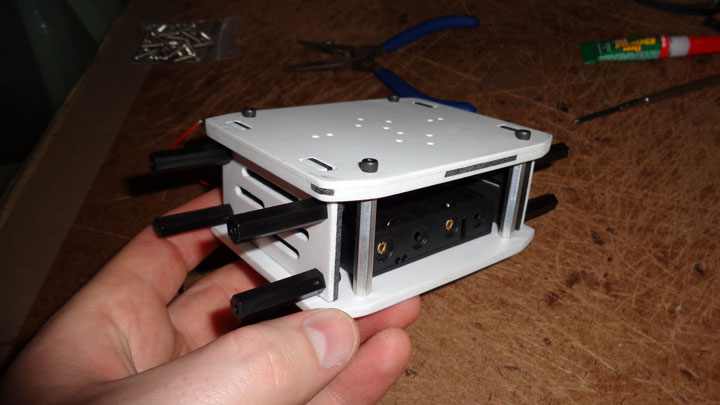
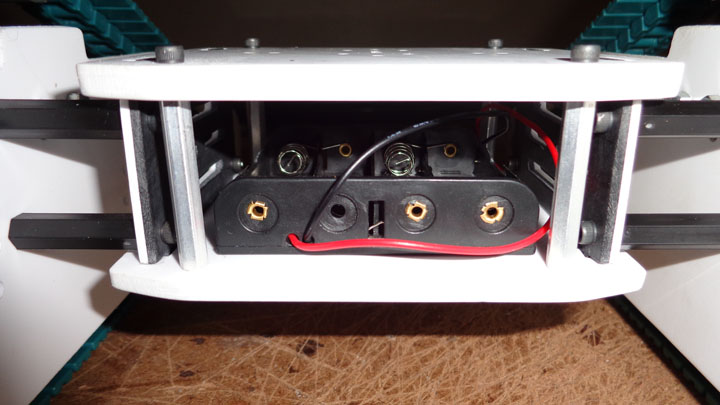
As you can see, the chassis houses too the batteries holder (will be two holders later).
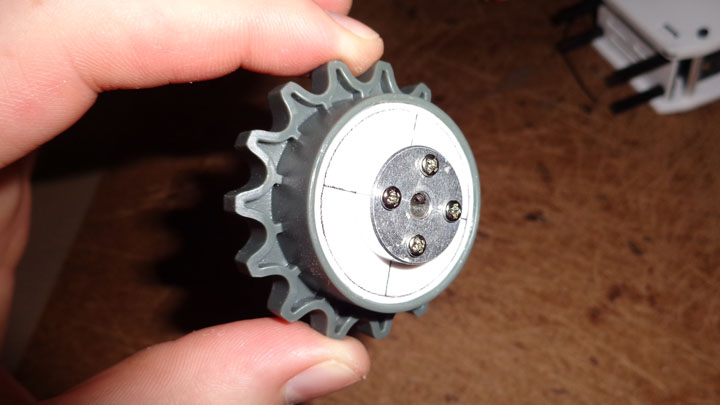
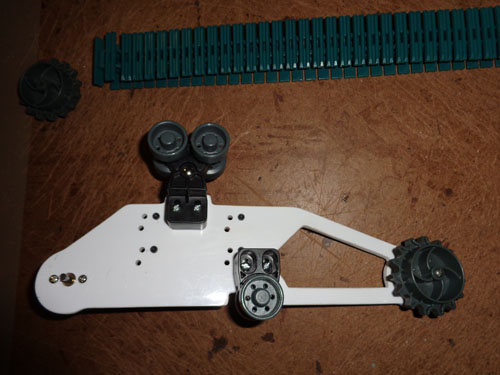
The Vex kit uses squared axles, and as my DC geared motors have D type axle, I have to make some adaptations on the sprocket and attach an aluminium hub.
Attaching the motors, idle wheels and sprockets.

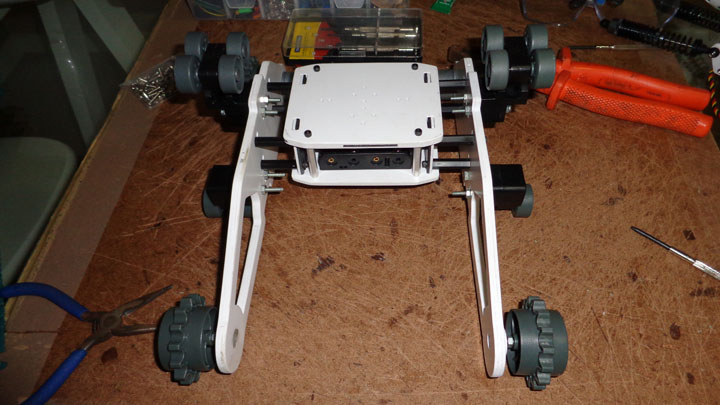
Just to see the size... around 11".
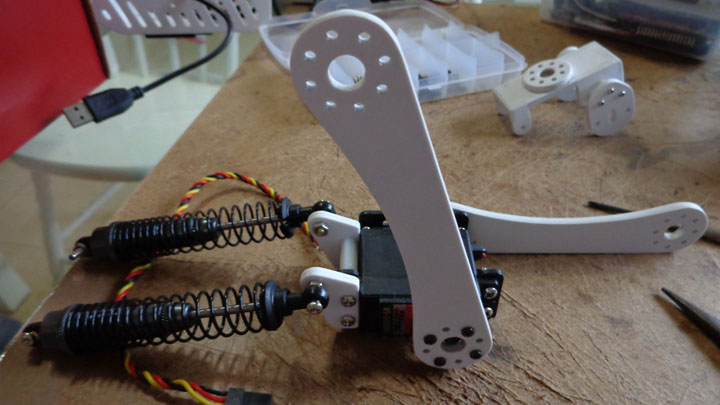
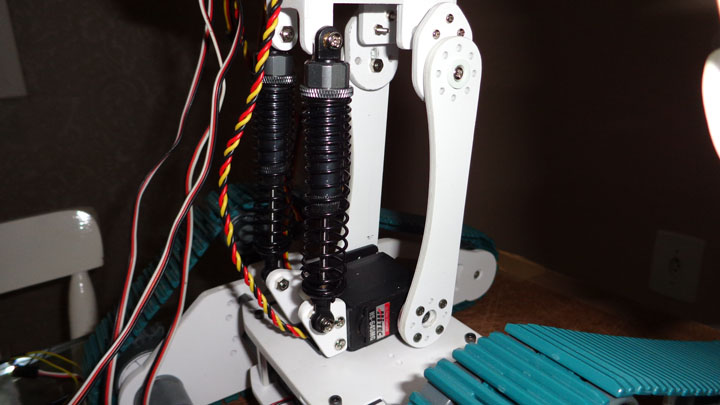
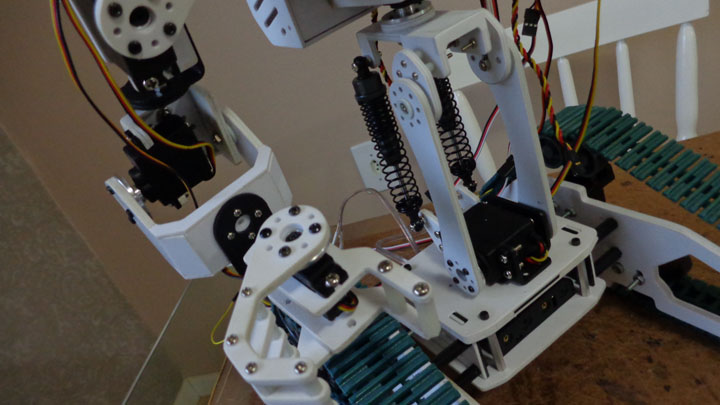
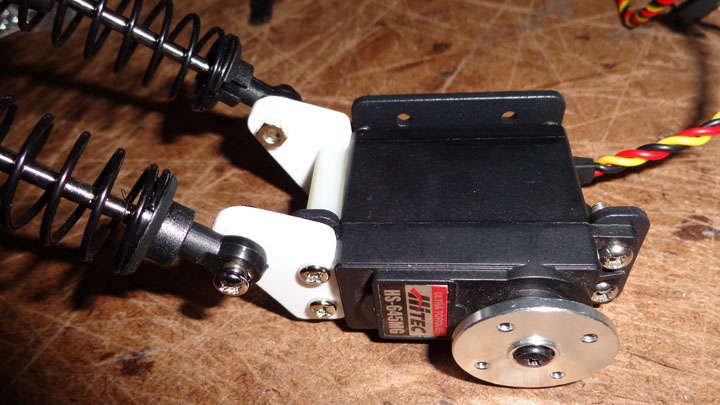
This mechanism will be used for the torso inclination. The shock absorbers are more for esthetic than absortion.

To continue the project I need to order more polystyrene sheets... I've utilized all that I have at home.
Need to order also other parts, like 3 servos (HS-81), one more battery holder and batteries, more nylon standoffs and screws.
Later I'll make a review on this page to standardize the size of the pics.
Well, I'm satisfied with the progress till now.
FIRST POST - June 29, 2013
It's a bit early to start a post for this, since just a little bit of work is done, but I would like to show you the new project which I'm working on.
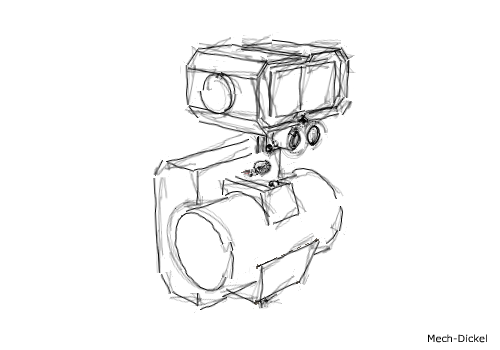
This is a sequence of my previous project (MDi-eins), but with some more new features, mainly for its 2 DOFs head with led matrix for facial expressions and environment interaction.
The arms continues on the same way: 4 DOFs with a functional hand. The locomotion method will be tank treads with DC geared motors.
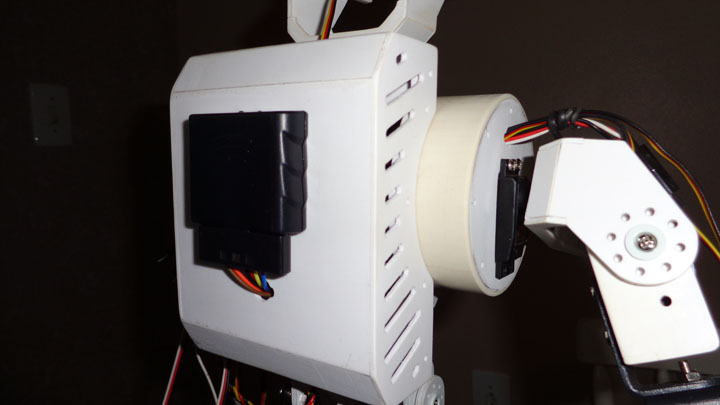
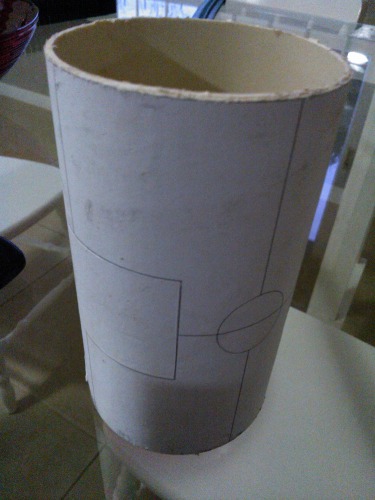
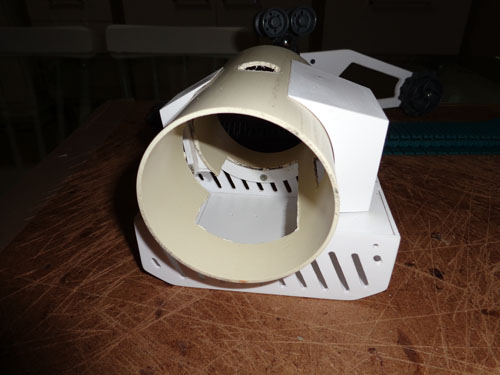
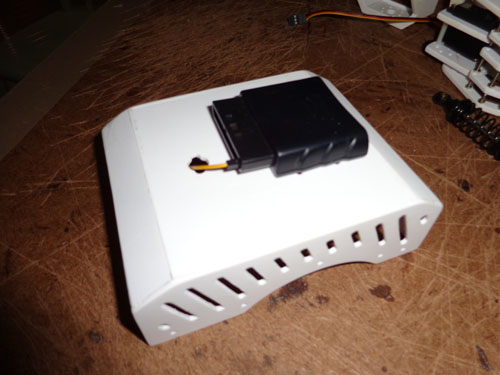
The great diference in this project is the design of the torso. A piece (130mm lenght) of 75mm PVC pipe is the main of the torso construction. In the back is a "bag" for the electronics and an Arduino Mega2560 (my latest purchase).
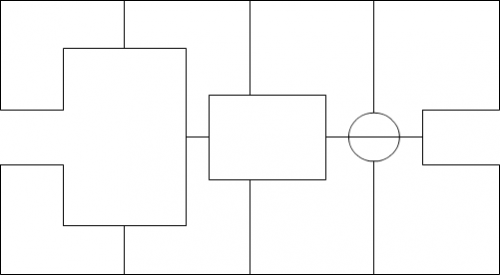
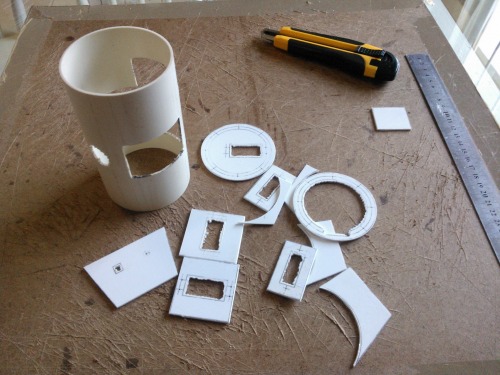
This is the layout that involves the PVC pipe to determine the cuts.
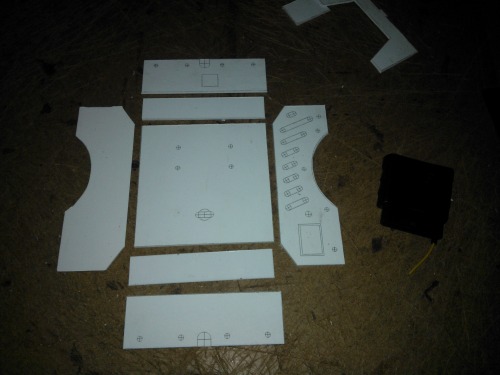
Below some progress of the torso construction.
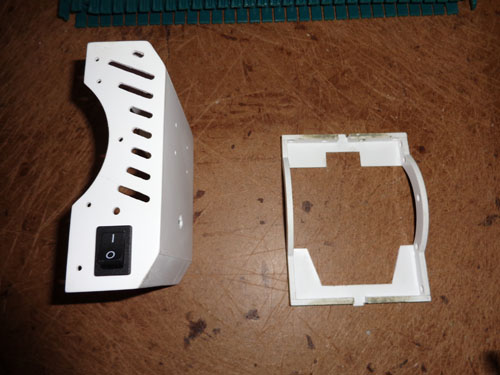
On the back of the electronics bag will be attached the PS2 wireless controller receiver.
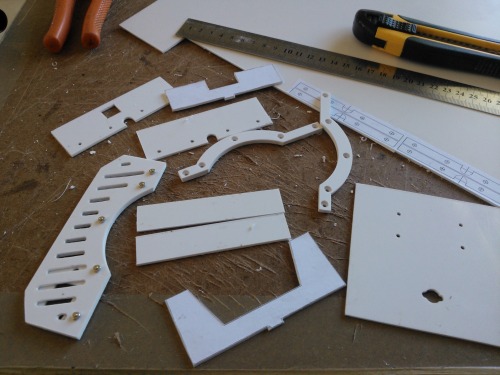
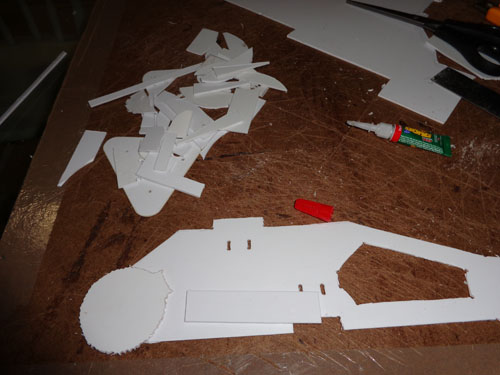
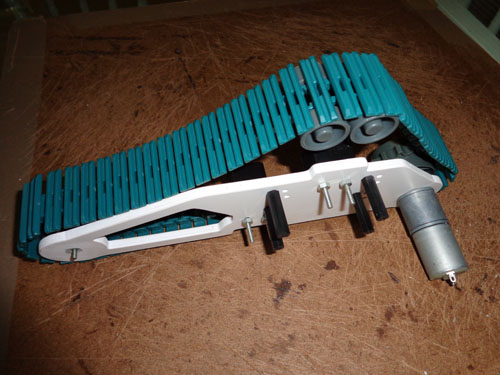
Below you see the construction of my preferred part (the tracks brackets).
Just glued the layout on the polystyrene sheet and cut it with sharp blade.
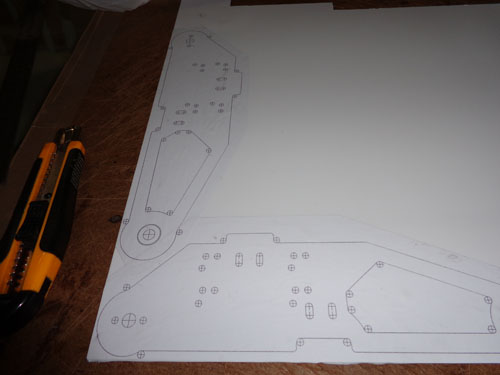
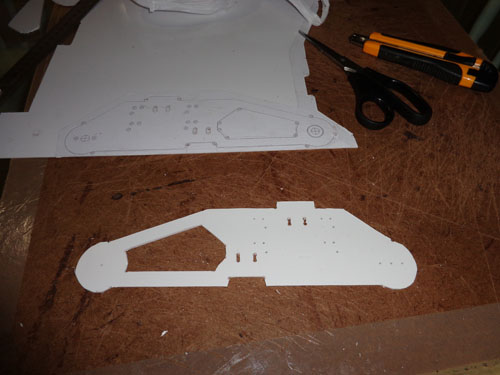
As this part is a bit long, needed to be more thick. So I made it with 3 layers (3x 2mm sheet = 6mm thick). And to save some material I made the middle layer only with polystyrene patches.
One more of my recently purchases (Vex tank tread kit).
Will run around autonomously and remote controlled
- CPU: Arduino Mega2560