Lynxmotion - Hunter VTail 400 & 500

[font=arial, helvetica, sans-serif]Hi All,

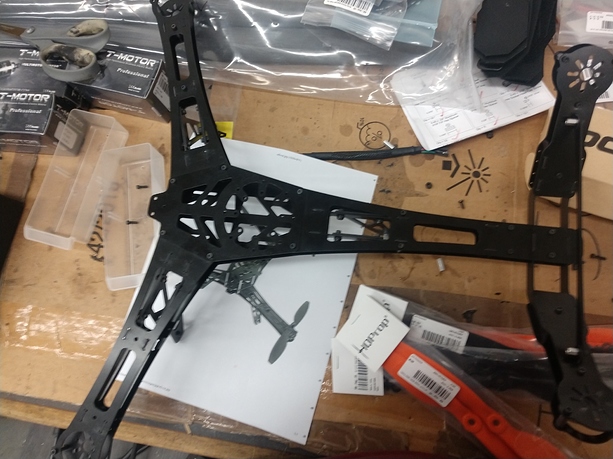
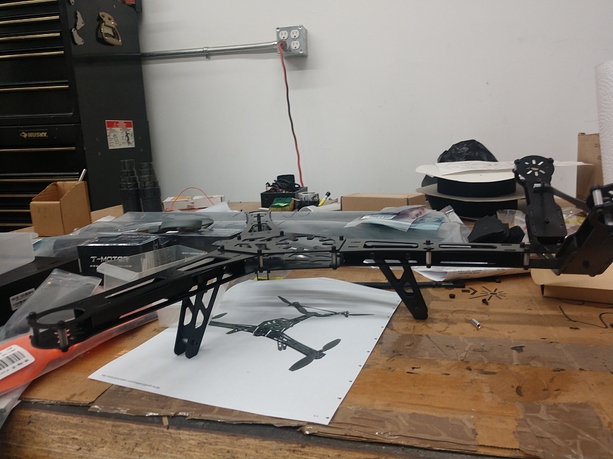
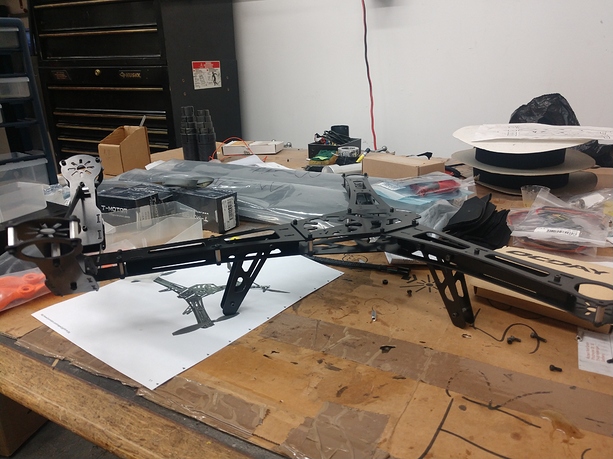
Lately we’ve been looking for the most effective way to mount a standard brushless gimbal on the front of the VTail platforms. This without adding too much hardware which would make it bulky and change the overall look of the frame and also by keeping as much of the original parts as we could.

Here is what we designed. A simple add-on that mounts on two new standoffs with dampers on them. Combined with a new top plate which includes new slots for mounting electronics as well as a standard 45mm mounting up front for the gimbal controller.

Parts in the pictures are “beta” and the top plate is cut out of 1/8" black lexan (laser) but will be the standard 1/16" G10.

Soon available on RobotShop and Lynxmotion websites.

Eric Nantel - DiaLFonZo

static.rcgroups.net/forums/attachments/1/7/6/6/8/9/t8233179-4-thumb-IMG_20150911_132432.jpg?d=1441997300"%20%20%20%20border=“0”%20%20%20%20alt=“Name:%20IMG_20150911_132432.jpg%20Views:%200%20Size:%20591.6%20KB%20Description:%20”%20%20%20%20title=“Name:%20IMG_20150911_132432.jpg%20Views:%200%20Size:%20591.6%20KB%20Description:%20”%20%20%20%20style="overflow:%20hidden;%20font-size:%200.8em;%20word-wrap:%20break-word;%20word-break:%20break-all;%20margin:%202px;static.rcgroups.net/forums/attachments/1/7/6/6/8/9/t8233181-202-thumb-IMG_20150911_132445.jpg?d=1441997302"%20%20%20%20border=“0”%20%20%20%20alt=“Name:%20IMG_20150911_132445.jpg%20Views:%200%20Size:%20616.3%20KB%20Description:%20”%20%20%20%20title=“Name:%20IMG_20150911_132445.jpg%20Views:%200%20Size:%20616.3%20KB%20Description:%20”%20%20%20%20style="overflow:%20hidden;%20font-size:%200.8em;%20word-wrap:%20break-word;%20word-break:%20break-all;%20margin:%202px;static.rcgroups.net/forums/attachments/1/7/6/6/8/9/t8233182-126-thumb-IMG_20150911_132451.jpg?d=1441997304"%20%20%20%20border=“0”%20%20%20%20alt=“Name:%20IMG_20150911_132451.jpg%20Views:%200%20Size:%20649.3%20KB%20Description:%20”%20%20%20%20title=“Name:%20IMG_20150911_132451.jpg%20Views:%200%20Size:%20649.3%20KB%20Description:%20”%20%20%20%20style="overflow:%20hidden;%20font-size:%200.8em;%20word-wrap:%20break-word;%20word-break:%20break-all;%20margin:%202px;static.rcgroups.net/forums/attachments/1/7/6/6/8/9/t8233183-84-thumb-IMG_20150911_132459.jpg?d=1441997306"%20%20%20%20border=“0”%20%20%20%20alt=“Name:%20IMG_20150911_132459.jpg%20Views:%200%20Size:%20520.0%20KB%20Description:%20”%20%20%20%20title=“Name:%20IMG_20150911_132459.jpg%20Views:%200%20Size:%20520.0%20KB%20Description:%20”%20%20%20%20style="overflow:%20hidden;%20font-size:%200.8em;%20word-wrap:%20break-word;%20word-break:%20break-all;%20margin:%202px;

static.rcgroups.net/forums/attachments/1/7/6/6/8/9/t8233185-244-thumb-VTail%20Gimbal%20-%20Adapter%20Only.png?d=1441997311"%20%20%20%20border=“0”%20%20%20%20alt=“Name:%20VTail%20Gimbal%20-%20Adapter%20Only.png%20Views:%201%20Size:%2097.2%20KB%20Description:%20”%20%20%20%20title=“Name:%20VTail%20Gimbal%20-%20Adapter%20Only.png%20Views:%201%20Size:%2097.2%20KB%20Description:%20”%20%20%20%20style="overflow:%20hidden;%20font-size:%200.8em;%20word-wrap:%20break-word;%20word-break:%20break-all;%20margin:%202px;static.rcgroups.net/forums/attachments/1/7/6/6/8/9/t8233186-122-thumb-VTail%20Gimbal%20-%20Full.png?d=1441997312"%20%20%20%20border=“0”%20%20%20%20alt=“Name:%20VTail%20Gimbal%20-%20Full.png%20Views:%200%20Size:%20223.8%20KB%20Description:%20”%20%20%20%20title=“Name:%20VTail%20Gimbal%20-%20Full.png%20Views:%200%20Size:%20223.8%20KB%20Description:%20”%20%20%20%20style="overflow:%20hidden;%20font-size:%200.8em;%20word-wrap:%20break-word;%20word-break:%20break-all;%20margin:%202px;static.rcgroups.net/forums/attachments/1/7/6/6/8/9/t8233187-193-thumb-VTail%20Gimbal%20-%20Trans.png?d=1441997313"%20%20%20%20border=“0”%20%20%20%20alt=“Name:%20VTail%20Gimbal%20-%20Trans.png%20Views:%200%20Size:%20138.5%20KB%20Description:%20”%20%20%20%20title=“Name:%20VTail%20Gimbal%20-%20Trans.png%20Views:%200%20Size:%20138.5%20KB%20Description:%20”%20%20%20%20style="overflow:%20hidden;%20font-size:%200.8em;%20word-wrap:%20break-word;%20word-break:%20break-all;%20margin:%202px;

Here is a quick video with the Gimbal attached:https://www.youtube.com/watch?v=XP64W-fS6k8[/font]

What 2-axis system did you use with the Lynxmotion Adapter?

The gimbal used in this assembly is THIS one.
It retain it’s damper to assemble the gimbal too… :wink:

i would also be interested in which gimbal was used. as the link is no longer active. the main reason i’m posting is to find out what type/resistance of [font=Geneva, Arial, Helvetica, sans-serif][size=2]Anti-Vibration Rubber Damper your using with the gimbal mount?[/size][/font]
[font=Geneva, Arial, Helvetica, sans-serif]**
[/font]
[font=Geneva, Arial, Helvetica, sans-serif]
[size=2]thanks.[/size]**[/font]

I’ve corrected the link above, not sure why it’s been down.
The Gimbal is a standard China model but the concept should work with most gimbal of this kind.

2-Axis Stabilized Brushless Gimbal w/ Motor & Controller for GoPro

:slight_smile:

had a quick about the VTail 400 Rear V Support as i have gone through 2 sets now. i was wondering if you designed those to have stress/break points where the cutout in the middle is and the divots where the frame interlocks together. i ask this, because they keep snapping at these points with a not so smooth landing and would there be any way to reinforce these points?

The part itself was not designed with a stress point at first. The hole is mostly to run wires for the motors.
We’ve not seen much break on normal landing, what kind of motor are you running ? Pictures ?

i might still have the broken set from this weekend but if not I will take a picture of a new pair and ill mark in where the breaks happened after work.
motor wise im only running EMAX 2212’s.

hi there,

i recently bought a hunter 500 and a pixhawk, and im trying to set them up but i cant find the correct firmware or the ‘FRAME’ type to change. is there something im missing?

if theres anyone out there with a 500 and pixhawk running together that could talk me through it or give me a few pointer id be eternally greatful!

We’ve never test-flown a VTail with a PixHawk or any APM based controller.
However, there is VTail configuration available in Mission Planner now.

brilliant ill check this out tonight, being a total noob, would you be able to advise me on what parameters i would need to change/fine tune?
also what heading is that menu under? it looks different to the one i was on last night…

You will only get this menu after loading the PixHawk with APM Copter (Quadcopter for example) and have it connected (top right). It’s available in the “Initial Setup” tab.
We didn’t test this setup so we can’t recommend anything to change and/or try at this point. Sorry about that.

great ill try that later. thanks for your help. when i get it up and running ill try and update with what ive learned

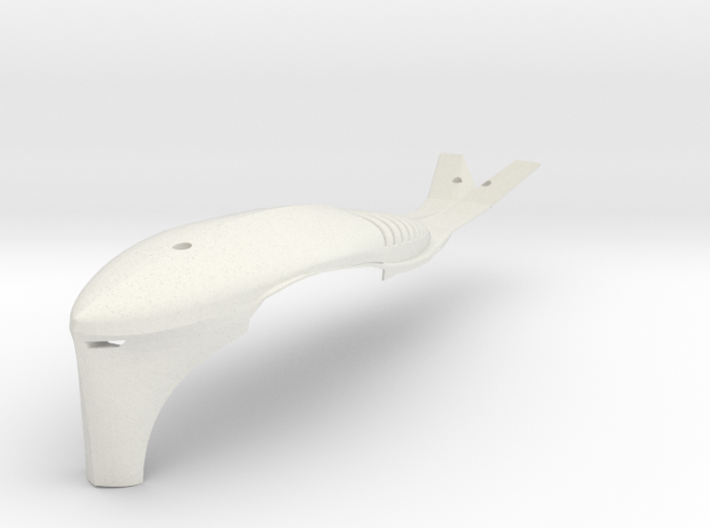
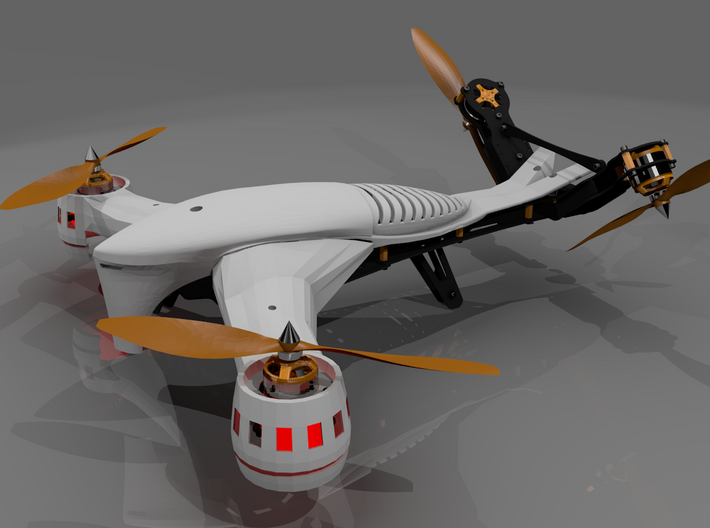
Just thought i would share my design for the [h1]HUNTER KILLER Aerial Drone Main Canopy[/h1]Will fit the 400 V-tail only.
This is a replacement (Center) canopy for your dialfonzo copter vtail existing canopy owners.
The HUNTER KILLER Aerial Drone Main Canopy is to be used in conjunction with its predecessors arms as now sold by Robotshop. robotshop.com/en/vtail-400- … anopy.html

shpws.me/GXeF

Nice design innerbreed (as always) …!
Definitely look more “dangerous” that way.

Hi dialfonzo

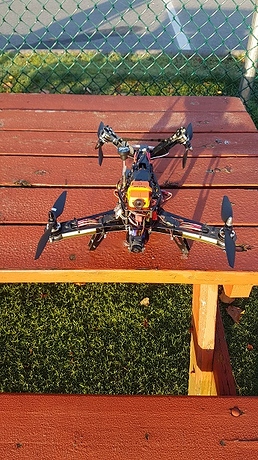
Thanks for the New FPV Top Plate.

Regor

@regor - Nice picture, i think it’s the first time i see it in real from a user :slight_smile:

Thanks dialfonzo,

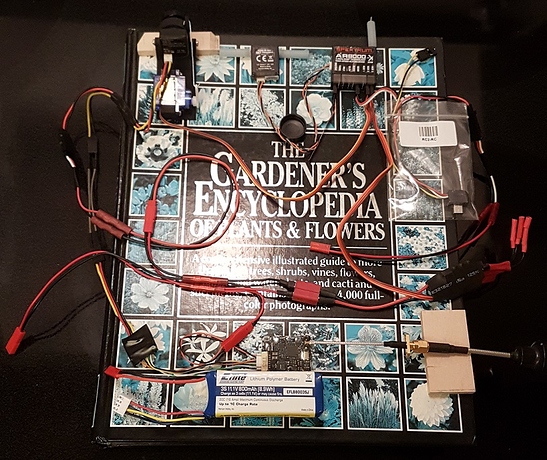
Here is the FPV circuit I used for a
TBS Unify Pro 5GB HV 25-800 mW Transmitter (SMA) and a
RunCam Night Owl Camera and a RunCam2 Camera. I use the Dean Connector
for testing and Run Lights. If you want to create another Power Distribution
Board you can use this FPV Circuit.

Regor

Hi dialfonzo and forum,
I just assembled the Hunter VTail 500.

Scanned_20190305-1558.pdf (295.1 KB)

  1. On page 12 of the assembly guide rev 1.1, there appear to be white color (possibly aluminium) appendages on the very front and at the very rear. Those did not come with the hardware bag. Are they absolutely required?
  2. I’m placing a Pixhawk 2.1 as the flight controller. Are there any recommendations where to place it in the frame considering the Pixhawk 2.1 does NOT use a standard 30mm x 30mm or 45mm x 45mm mounting hole pattern? I’m not sure about compatibility for VTail designs.
  1. Second to last page? Those are clips for the optional shell (included with the shell):
    https://www.robotshop.com/en/vtail-500-white-canopy.html

  2. Internally is always best if possible, roughly centered where the main “flower” opening can be found. Check the Pixhawk software (is it genuine?) to know if a VTail design is compatible. You need to orient it correctly, and offset the weight of the battery so the center of weight of the VTail is correct. Ex: https://diydrones.com/forum/topics/pixhawk-with-v-tail-quadcopter