

The cat sensor may be small, but is still an important part of your Litter-Robot Open Air III. Without this small component, your robot won't detect when your cat is inside the litter. Although the sensor is not prone to defects, it is pretty sensible and you could find yourself one day with a Red Flashing Light on your Litter-Robot. No need to worry, you can easily handle this situation, thanks to our pieces of advice!
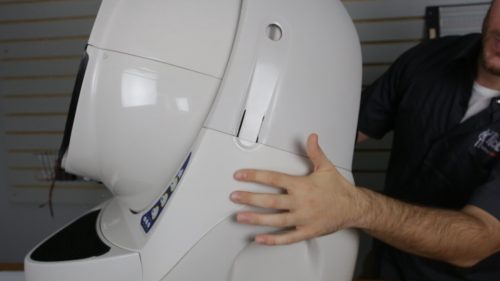 Locate the clip on the side of the bonnet
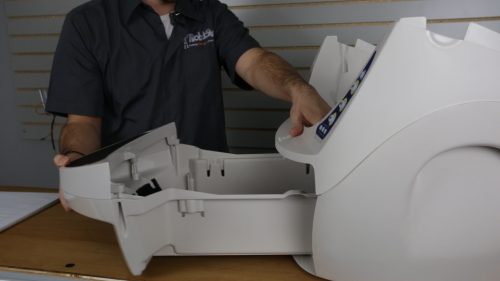 Pull out the drawer
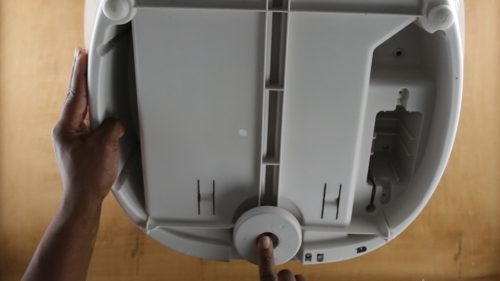 Locate the foot under the base
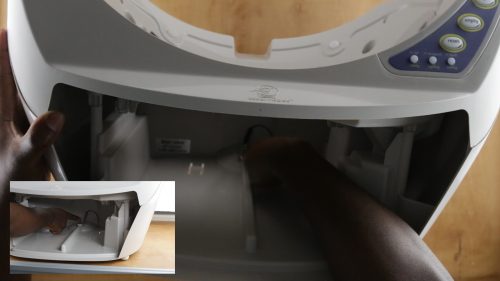 Locate the nut inside the base
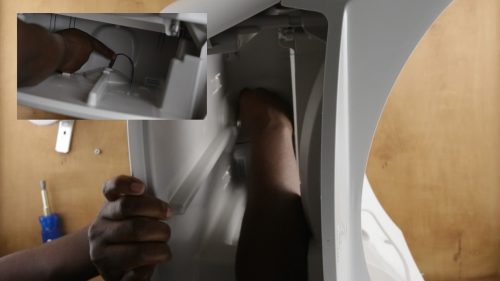 Locate the cat sensor and gently unplug it
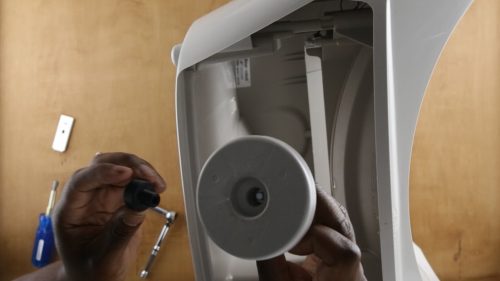 Use a little plastic piece to hold the bolt in place inside the foot
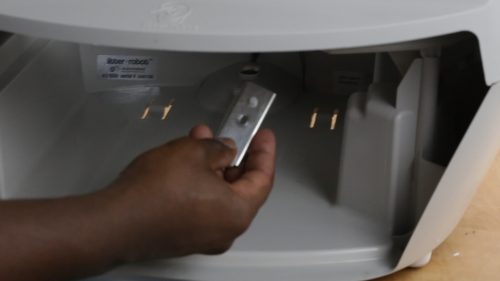 Put the sensor cover back on top of the sensor (double check the orientation)
Josué and I decided to create this easy step-by-step tutorial in order to teach you all the secrets of the cat sensor and how to replace it by yourself. This guide is not only good for the replacement of the cat sensor but will also show you an easy and step-by-step way of disassembling your Litter-Robot. Let’s get started!
Watch us do the repair in our video!
What you will need
- A new Cat Sensor
- Ratchet
- 9mm socket
- 1/4 nut driver
- About 15 min of time
Step 1: Disassemble the Litter-Robot
- Turn off your unit by pushing the power button
- Unplug the power cord
- Locate the clips on each side of the bonnet
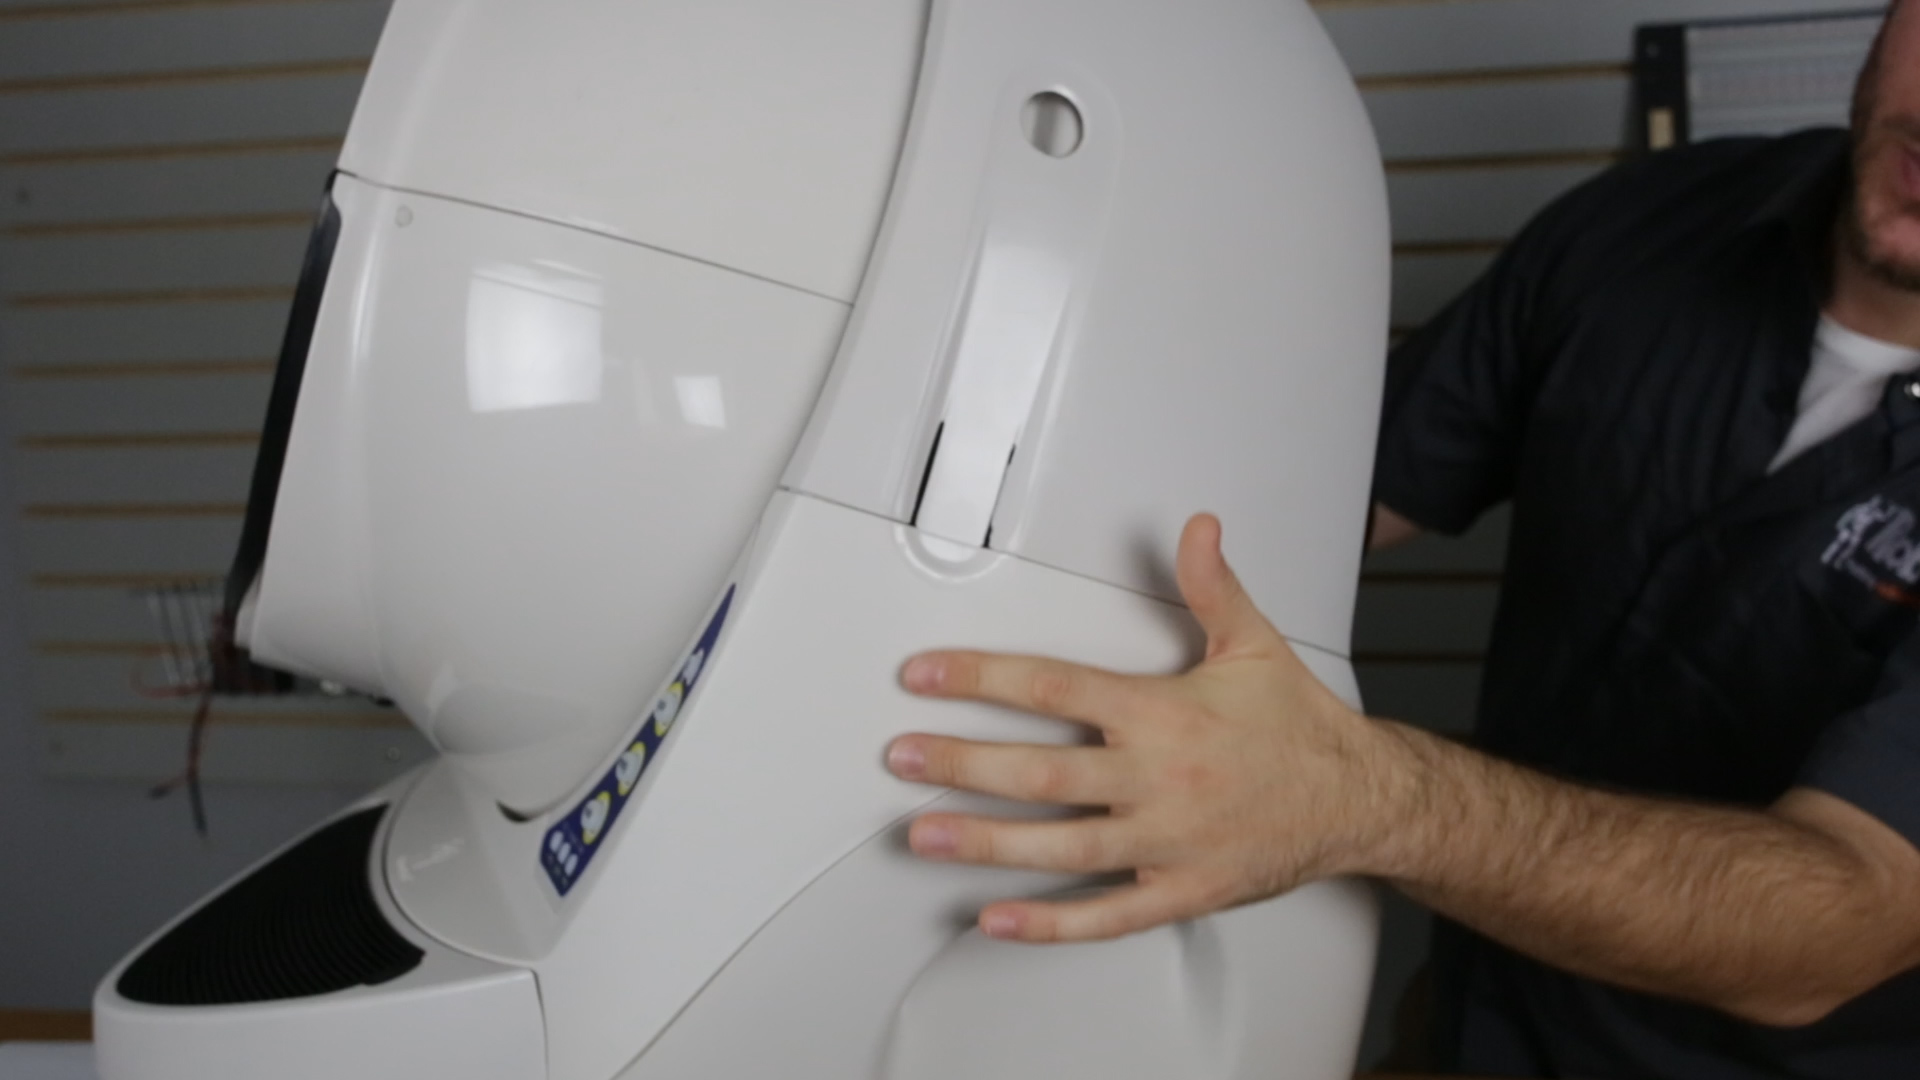 Locate the clip on the side of the bonnet
- Push the clips and pull out the bonnet
- Remove the globe
- Pull out the drawer
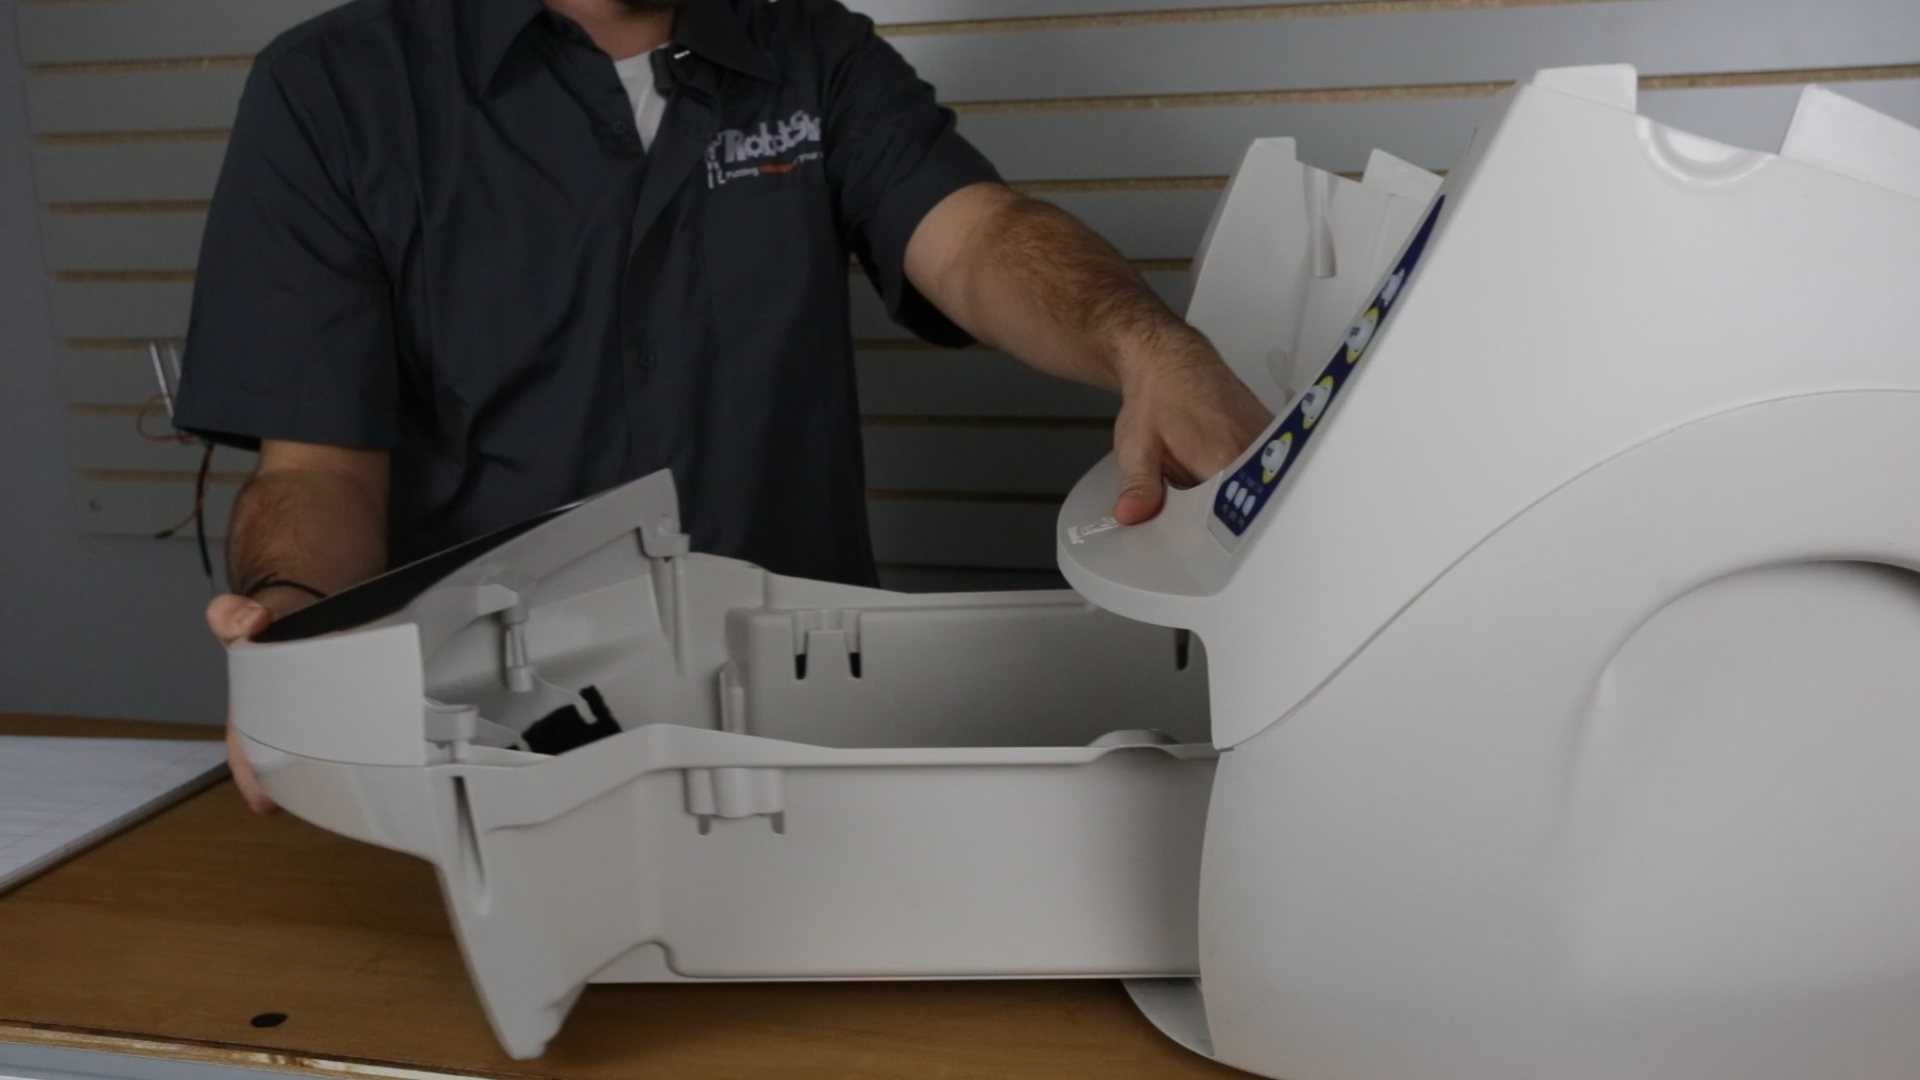 Pull out the drawer
Step 2: Remove the Cat Sensor
- Locate the foot under the base
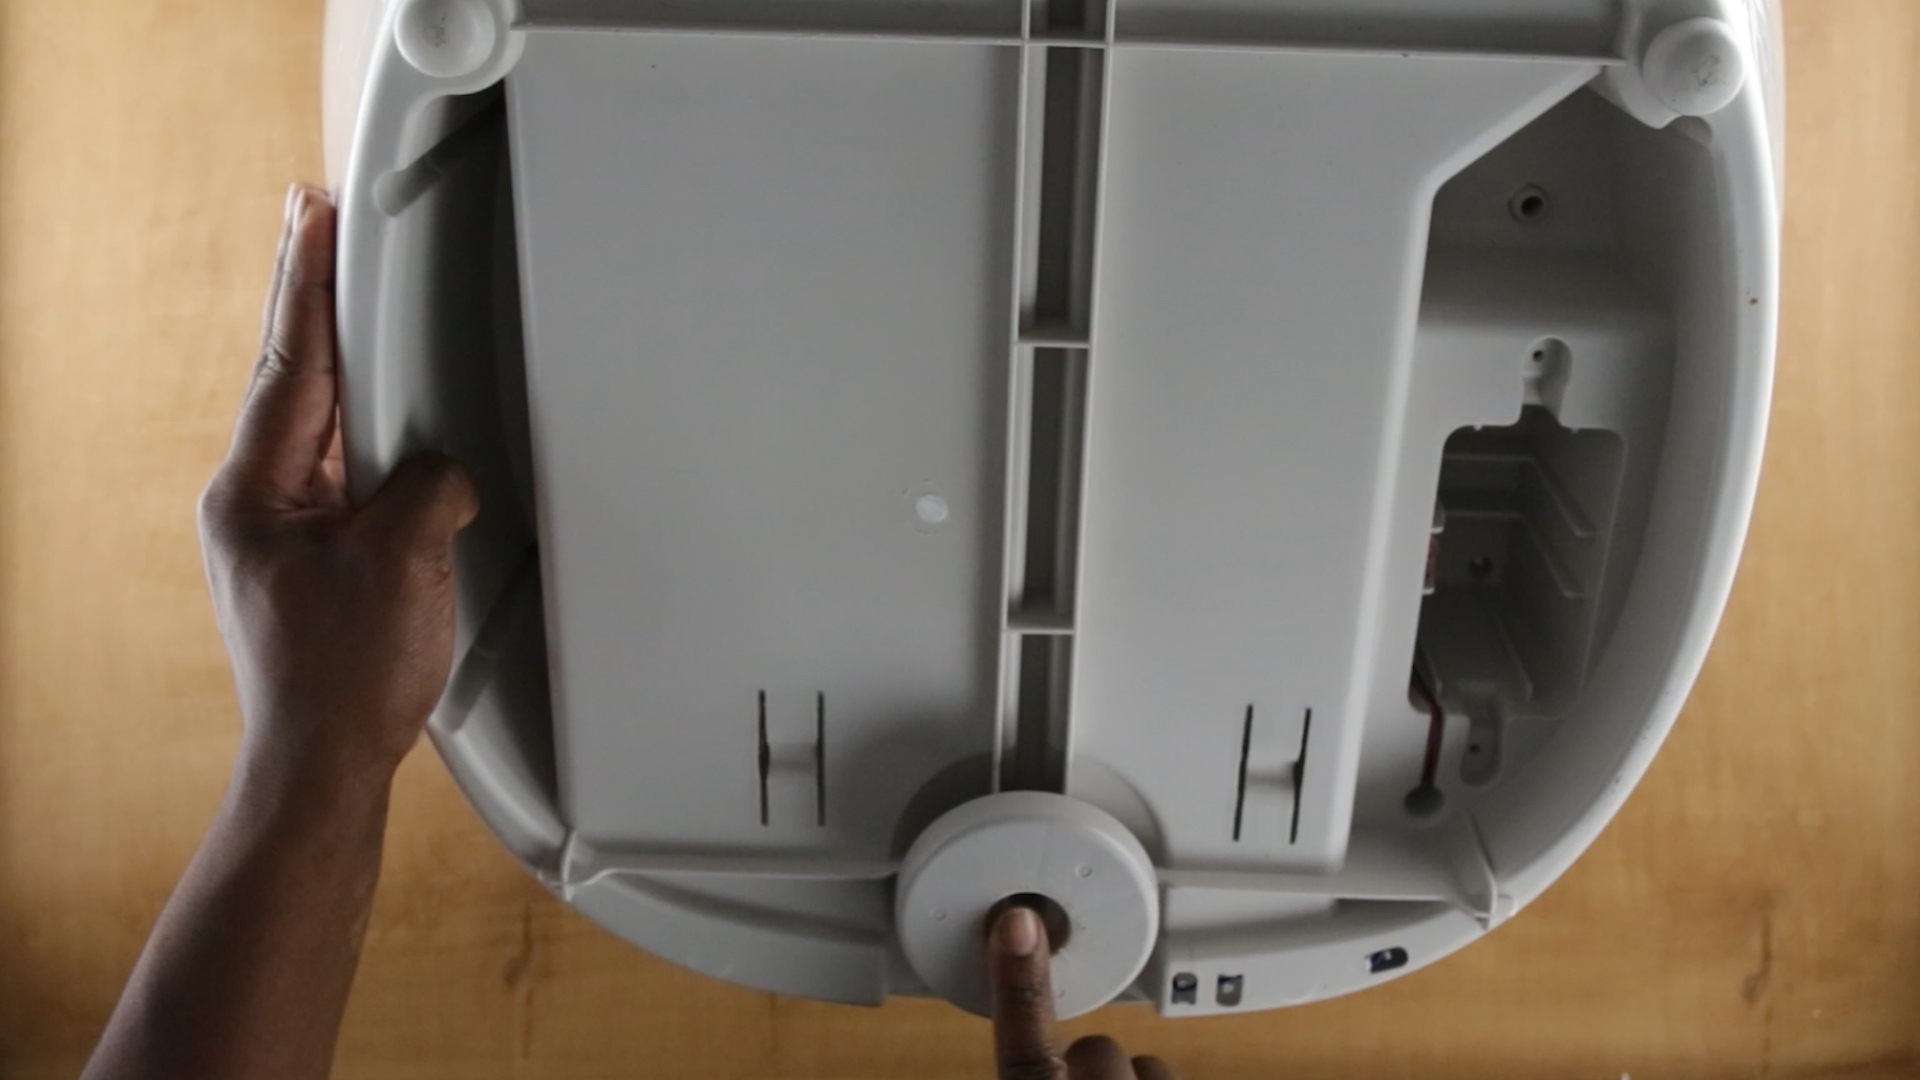 Locate the foot under the base
- Locate the nut inside the base
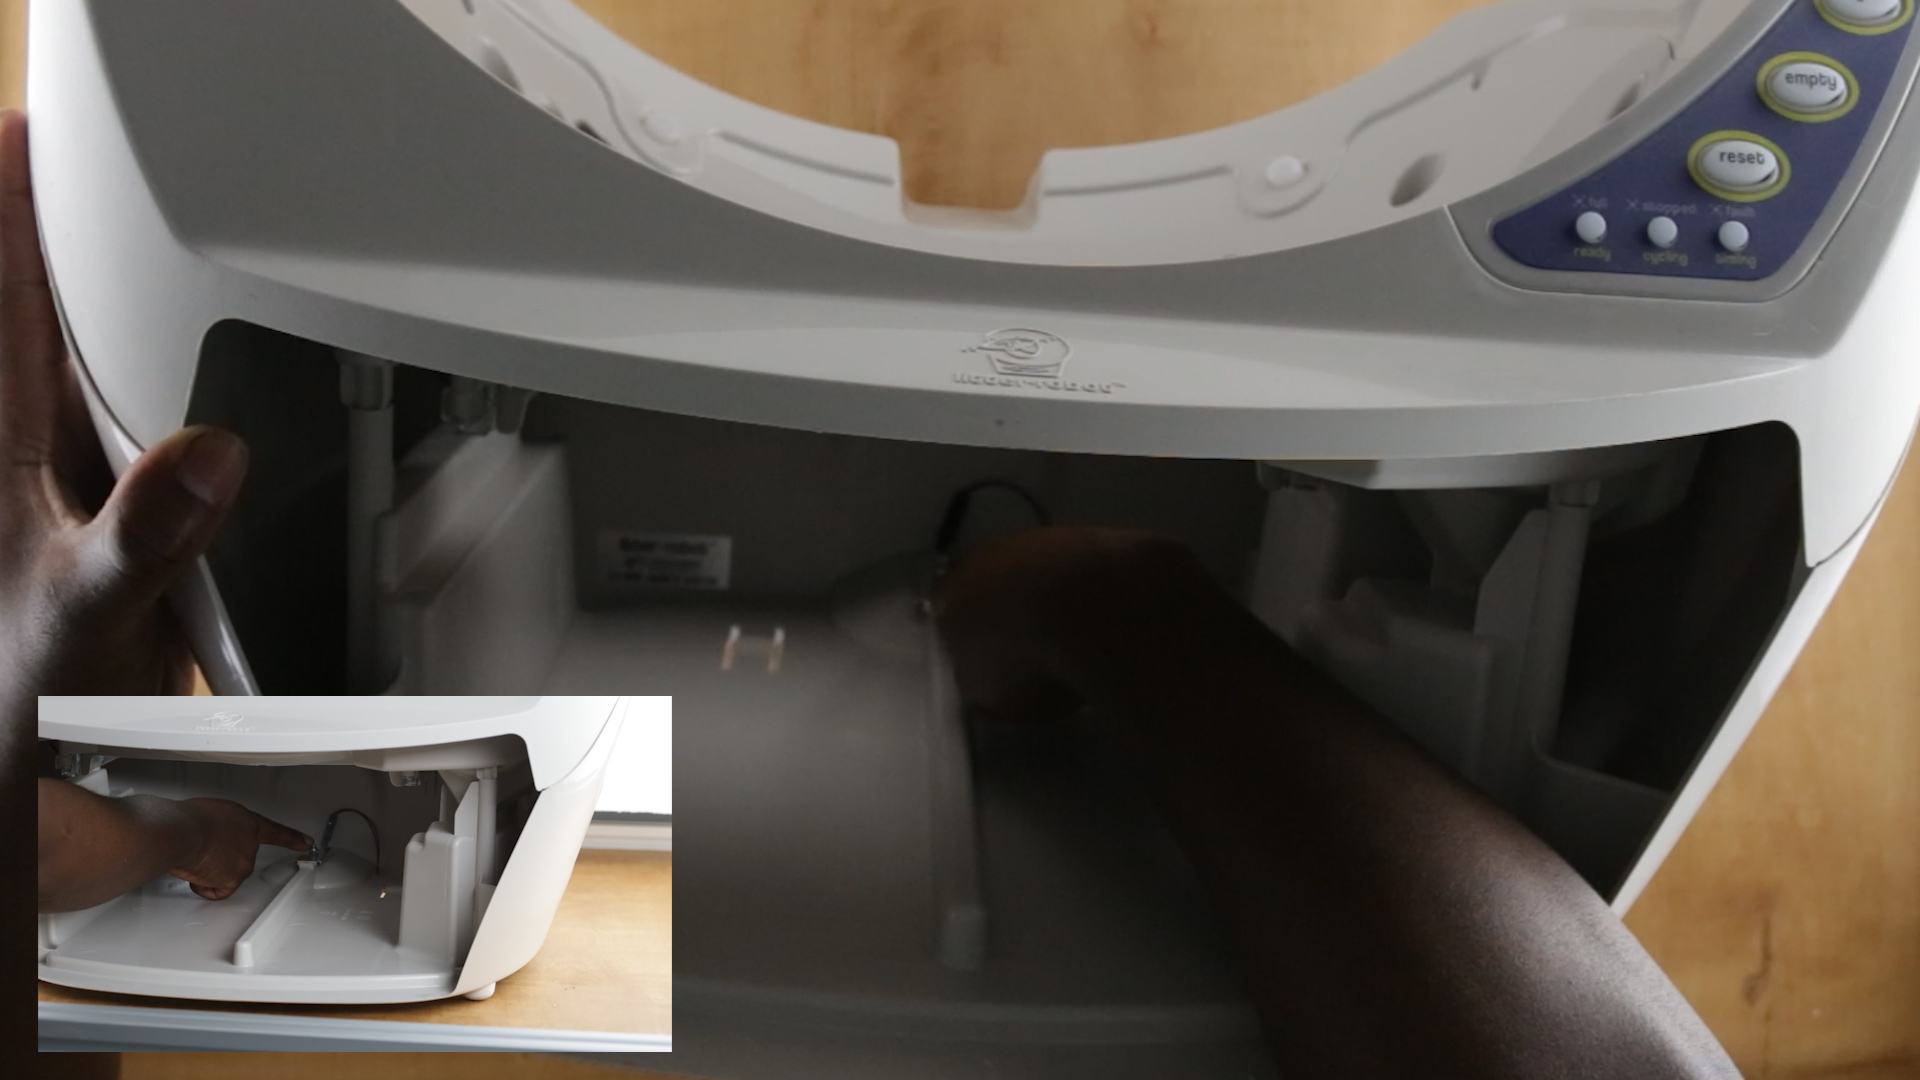 Locate the nut inside the base
- Use the 1/4 inch nut driver to unscrew
- Use the ratchet and the 9mm socket to hold the inside nut
- Remove the foot, the nut, and the sensor's cover
- Locate the cat sensor and gently unplug it
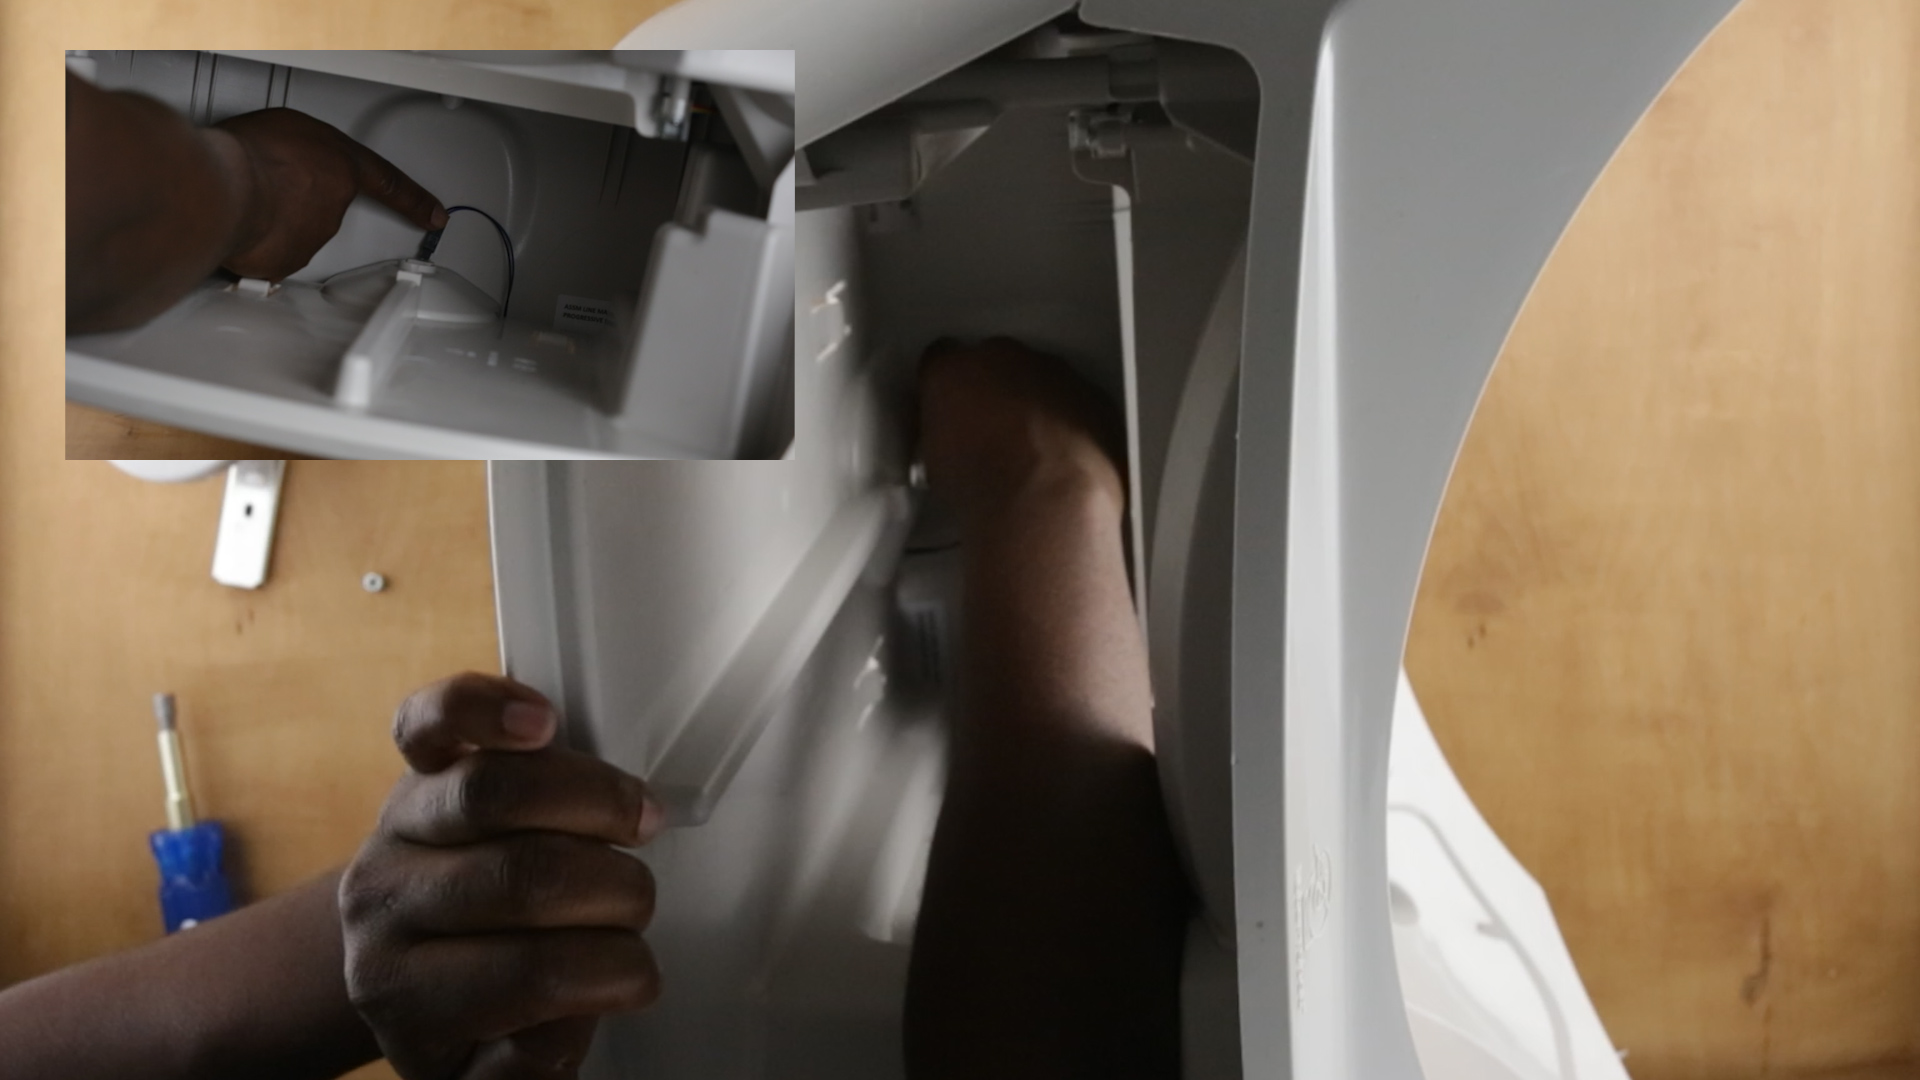 Locate the cat sensor and gently unplug it
Step 3: Install the new Cat Sensor
- Plug the new cat sensor
- Install it back in its spot (Make sure the sticky surface is down and the black plain surface is up)
- Use a little plastic piece to hold the bolt in place inside the foot
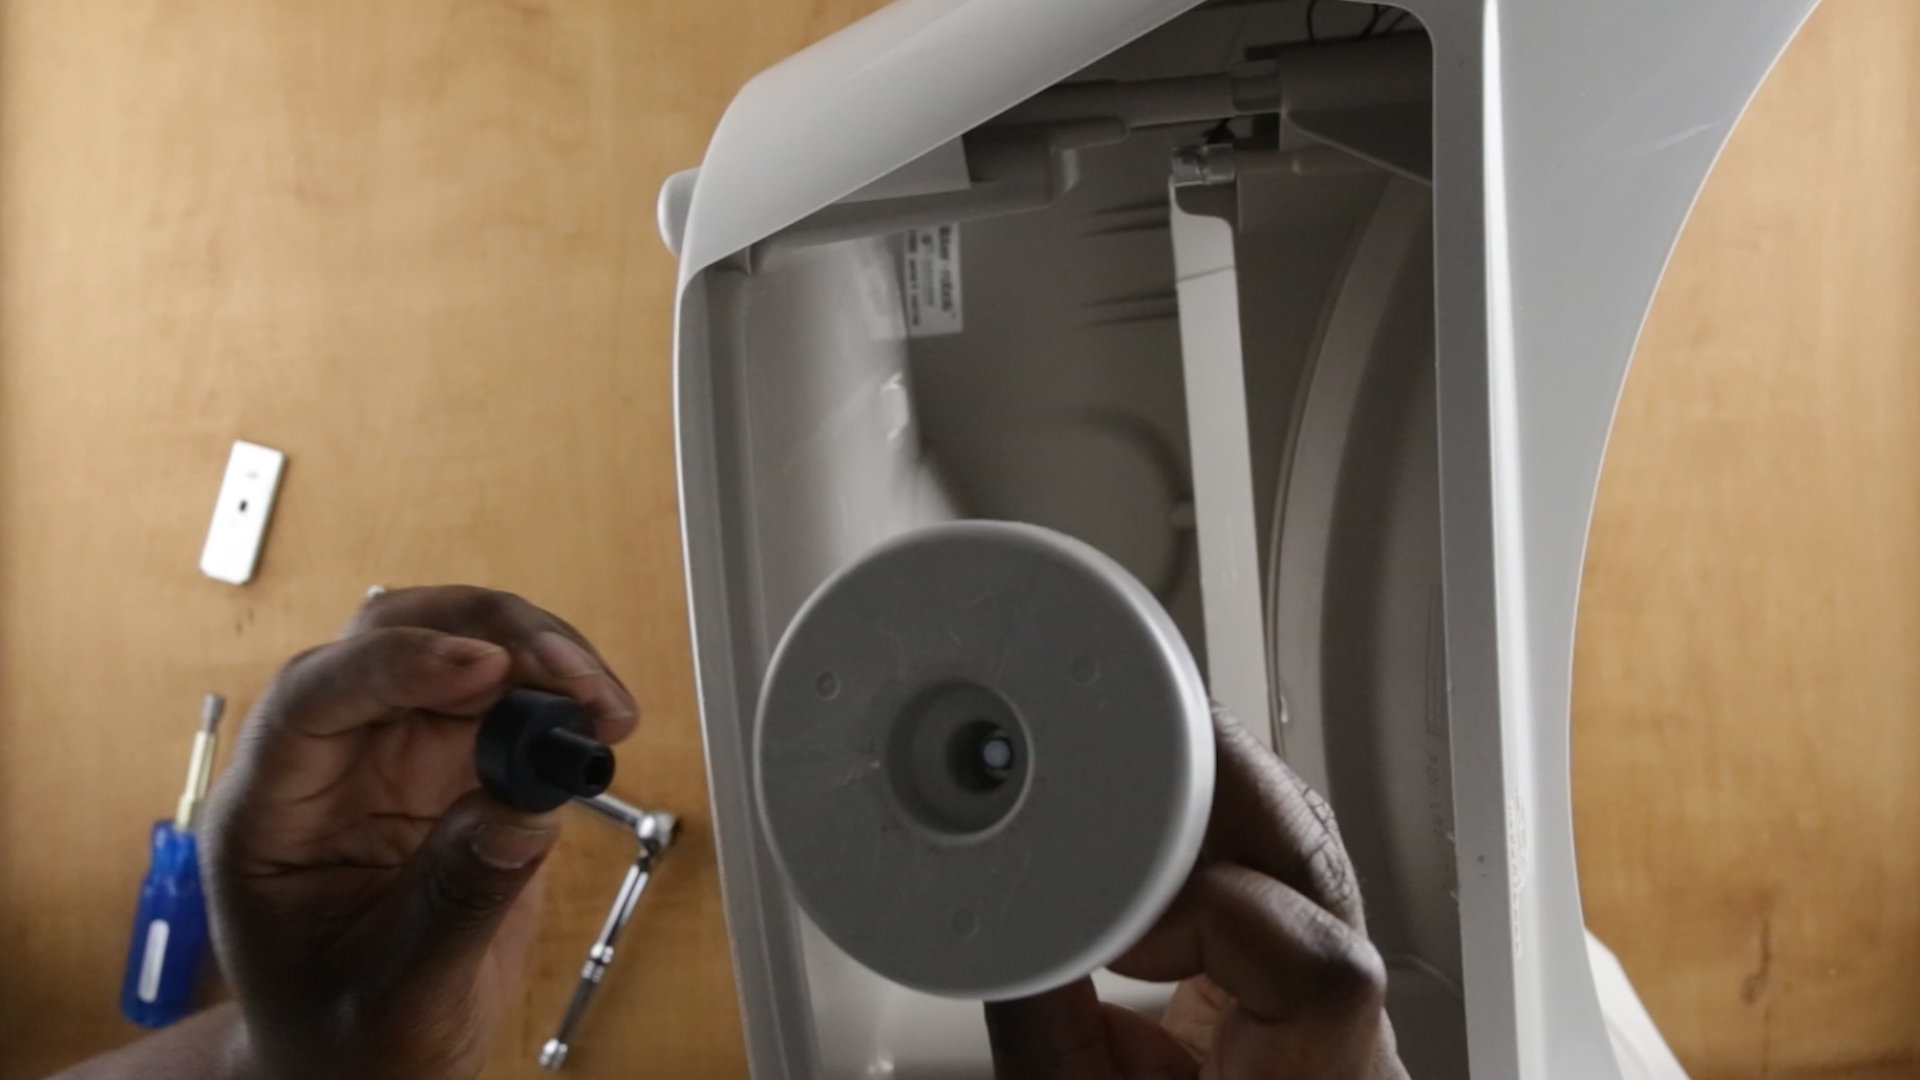 Use a little plastic piece to hold the bolt in place inside the foot
- Put the foot in its emplacement
- Put the sensor cover back on top of the sensor (double check the orientation)
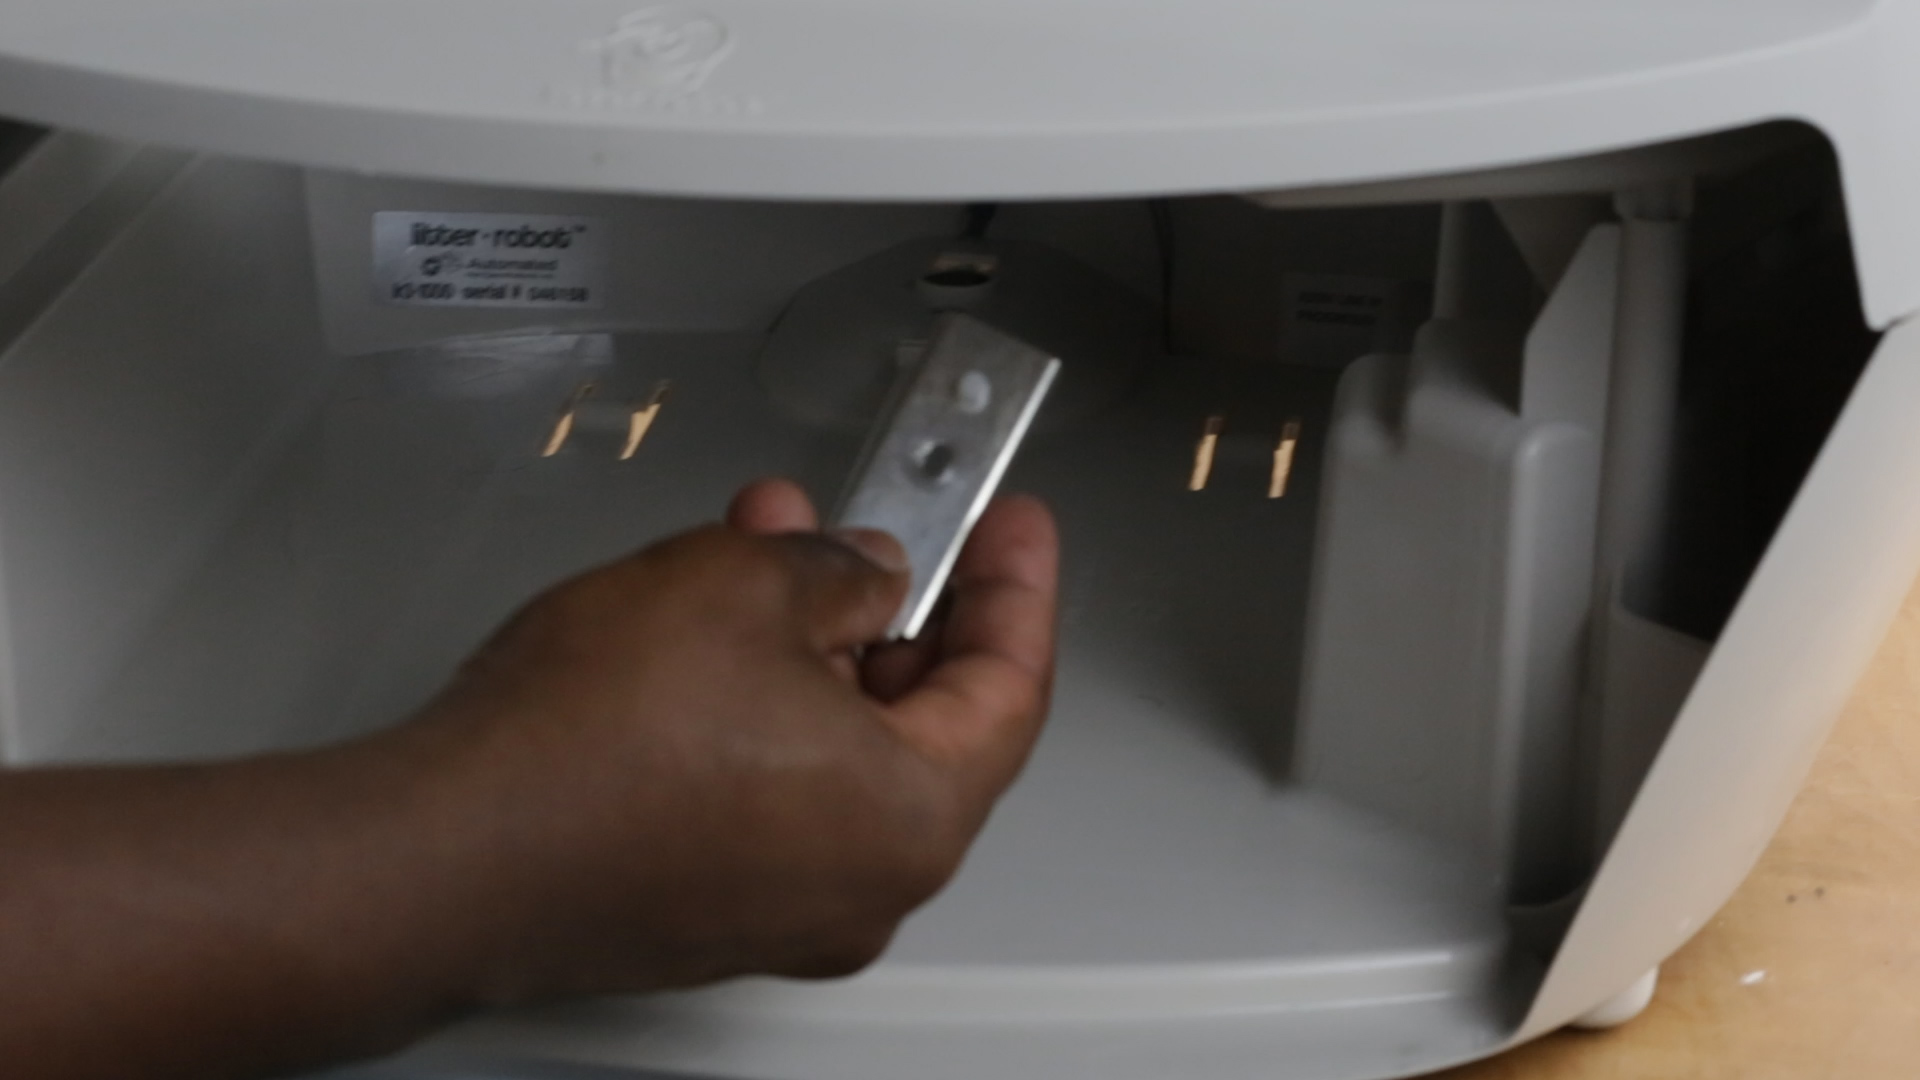 Put the sensor cover back on top of the sensor (double check the orientation)
- Apply pressure on the base and make sure the bolt comes out through the hole
- Put back the nut
- Screw everything back together
- Check how much you need to screw the nut according to the color of the foot White foot (and the bolt is 1 7/8'' 47mm): you need to screw for the bolt to be about ~1/4" (6.35mm) from the bolt. Black foot (and the bolt is 1 5/8'' 41mm): you need to screw for the bolt to just be a mm from the bolt.
Step 4: Reassemble the Litter-Robot
- Put the drawer back in
- Put the globe back
- Lock the black key back in place
- Insert the rear tabs of the bonnet first then clip it
- Make sure it's clipped securely
Here you go, now that you know all the secret of the cat sensor, you should be able to replace it by yourself. For any additional pieces of information, and if you purchased your Litter-Robot through RobotShop, do not hesitate to contact our support center: click here.
This is a companion discussion topic for the original entry at https://community.robotshop.com/blog/show/how-to-replace-your-litter-robots-cat-sensor