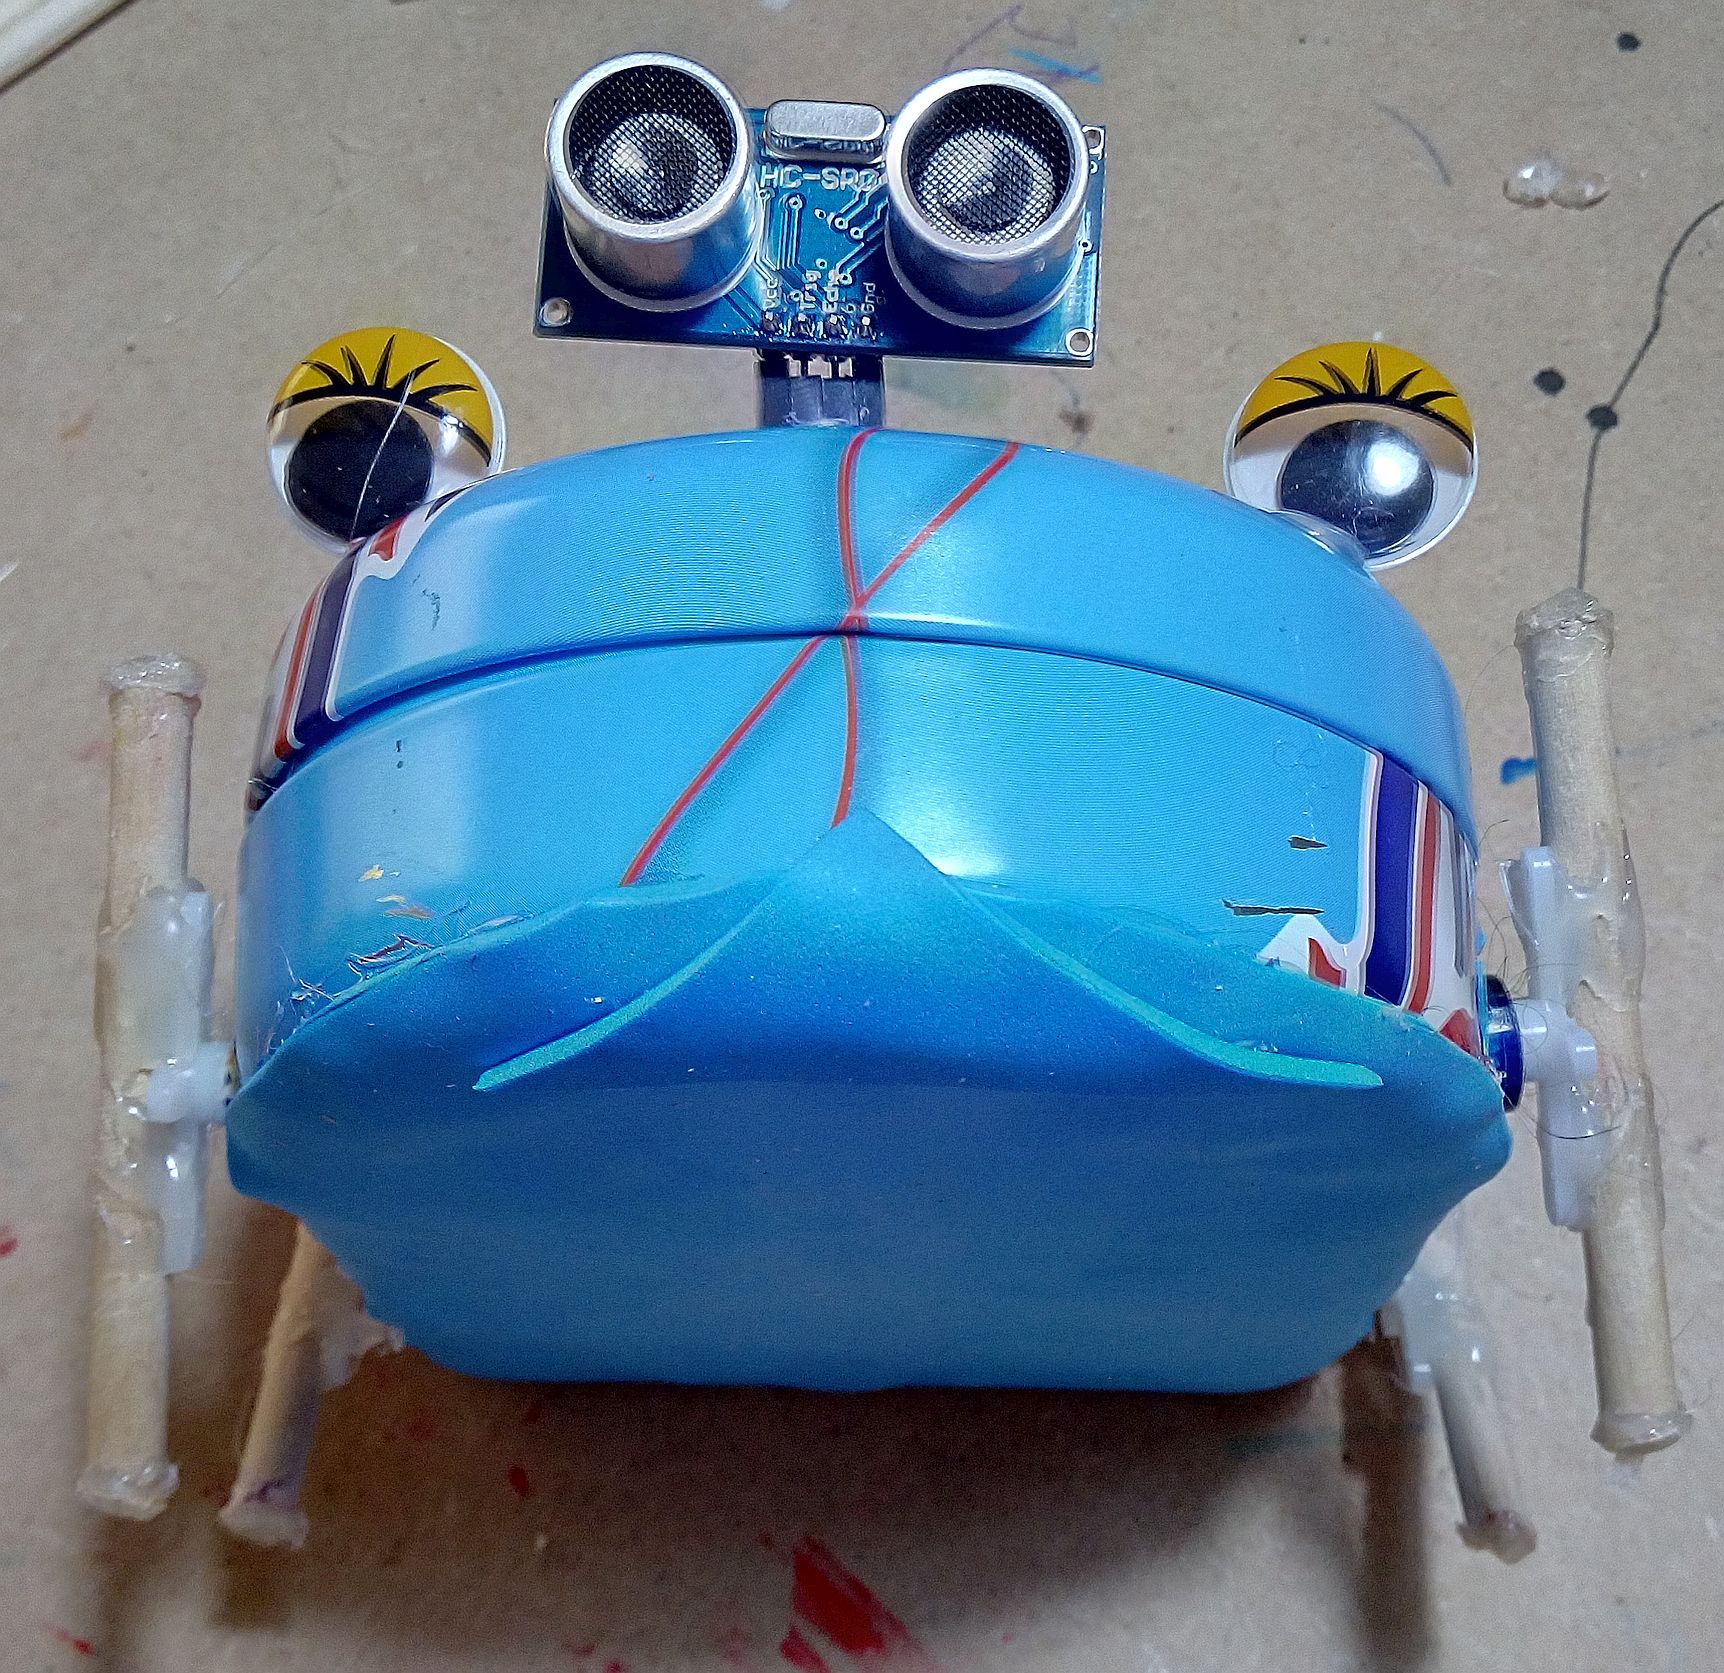
BritishTiny Tin robot


I met last month Andrew (ignoblegnome ) in Philadelphia, and he showed me his Tiny Tin robot. My daugther asked to make one, and as I told her: Let's Make Robots! Here is the result: a fully autonomous Tiny Tin in its first basic iteration, without any sensor still. However it is already funny to see moving.

I use two separated power supplies so I avoid any issue between servos and CPU voltage. In some cases it can render strange behaviours.

Here my son also playing with the tin box when starting the making:
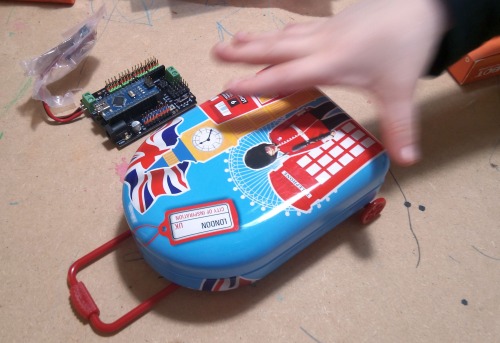
Britishtiny Tin robot and arduino nano

The box is from an London airport that's why it has UK related decoration. I think it gives also some personality to the robot :-)


Inside the tin box there were some sweets so we can enjoy also them:
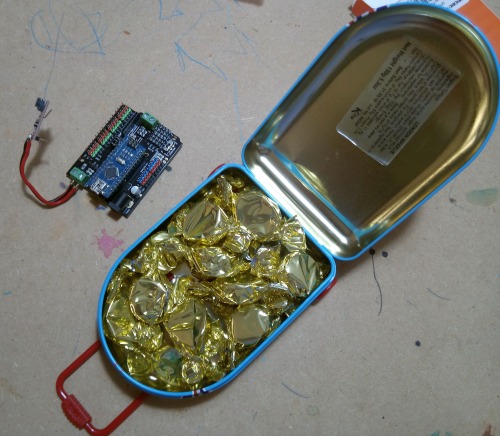
Britishtiny Tin robot and arduino nano sweets


The two difficult steps in this project is placing the servos right and making the holes in the tin box, also distributing all elements in for the system inside the box so you can close it fine...

Here placing the holes:
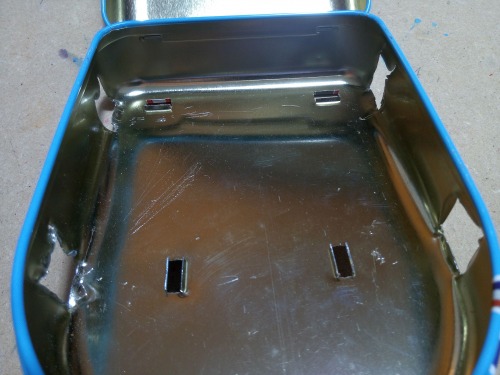
 

Britishtiny Tin robot holes-all


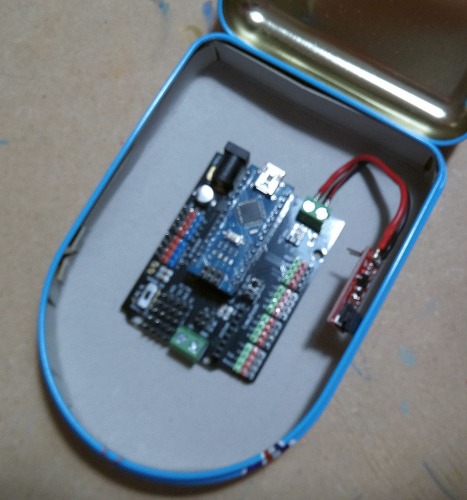
As the box inside is bare metal inside, I had to put some cardboard to protect the electronics. Here you see the arduino nano with the expansion board and a boost and protection voltage converter for the LiPo battery:


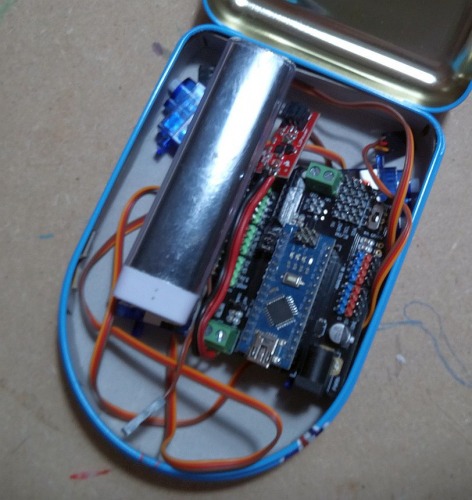
Then I placed everything inside to see everything fit fine:


Then I placed the servos with some hotglue:
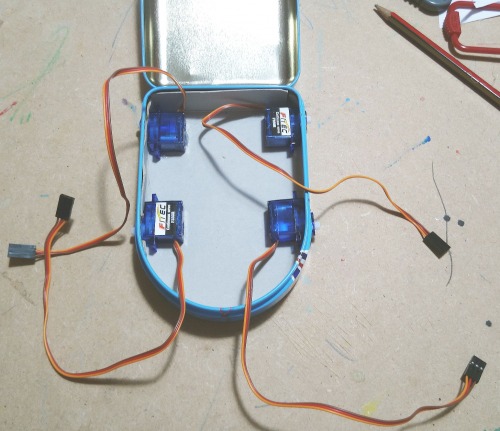
Britishtiny Tin robot and servos


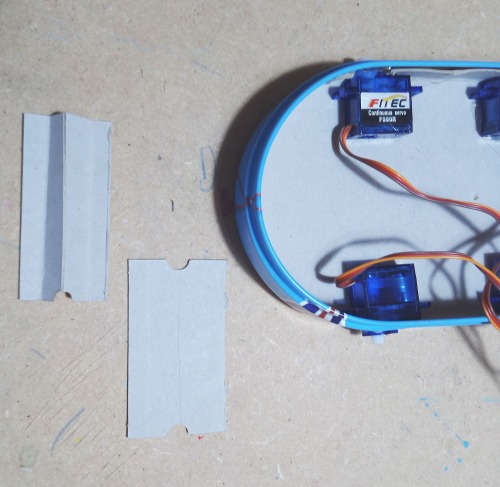
But I found the issue the cardboard was moving and the servos were not steady enough when pressing them from outside. So I added two spacers (made with cardboard and attached with hotglue) between the servos, two by two:


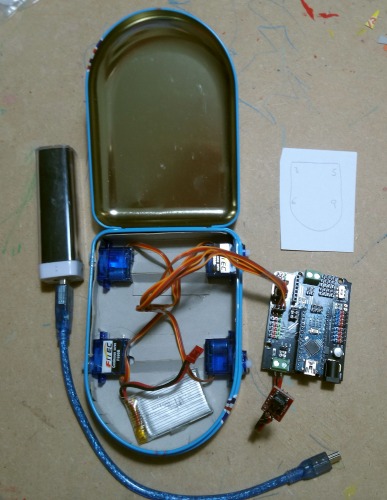
Then I connected the servos to the Arduino expansion board at four PWM outputs, paper shows the current arduino outputs where each servo is attached so it will facilitate programming in the future:


Then I just needed to place everything inside and program it with a simple test software to make the servos work. Servos just rotate from 0 to 180º then back, but it allows a simple functional test:
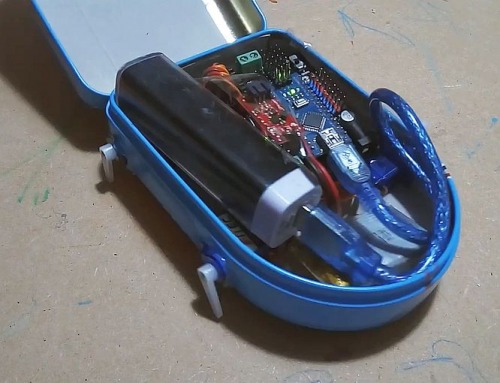
Britishtiny Tin robot working open


You can see my first video about is here.

Next steps are adding some LEDs and sensors to gives it some autonomous freedom.

15th April 2017

Well I added an ultrasonic sensor to give some autonomy to the robot, also added small stick to each leg, so now the robot has much more traction and speed!
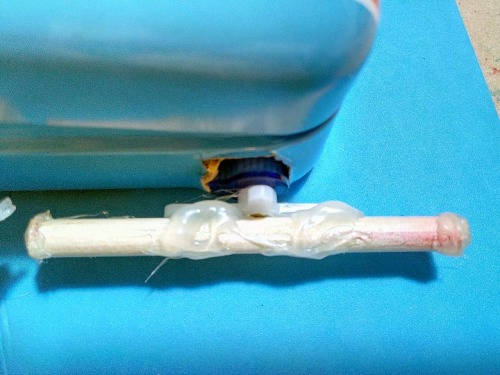
 

Britishtiny Tin robot legs detail


I found also the robot was hitting ground and making noise. With some foamy I solved the issue. 
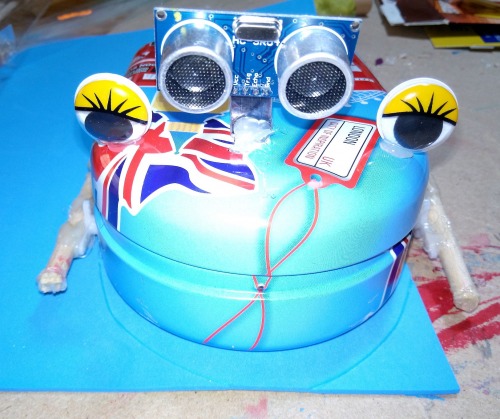
 

Britishtiny Tin robot foamy detail


Please let me know your thoughs at the comments. Thanks!

Moves around

  • Control method: autonomous
  • CPU: Atmega 328
  • Operating system: Arduino
  • Programming language: C++
  • Target environment: indoor

This is a companion discussion topic for the original entry at https://community.robotshop.com/robots/show/britishtiny-tin-robot

from chocolate box ;)) man

from chocolate box ;))  man it looks creepy ! the traction looks like just 1/2 of original tinytin. hopefully I can see some progress later

Well, sweets box exactly :wink:


Well it´s from a sweets’ box but anyway is the one I found best for the project. I think also the ability to make a robot out of anything around is good as helps to develop creativity to solve technical issues and makes anything funny and productive.

You are right. Traction was less because the legs were too short and this robot is heavier. However, you will see a huge improvement with the latest stick “legs” :wink: Thanks for the comments!

Hilarious,Cute and Funny

Very simple yet great build.

Reminds me so much of a little puppy running around.

Good Job Francisco, I am sure the kids had fun.

Indeed! My children have a lot of fun!


Thanks Jeff! You can see in the video how fast the robot runs and my children try to avoid it catching them. It’s very funny and they know now kind how it works. Now I have to give some more sensors or lights… I don’t know it yet. I accept suggestions :wink:

cool man ! that’s more like

cool man ! that’s more like it, the new one doesn’t loss the traction like the first one. Though the first time, I think it’s absurd to put a microcontroller and motor driver in a chocolate box but now I consider this as a creativity.

I’m waiting to see your next creativity

p.s : I just realized the altoid tin is also a box of sweet


Thanks! We’ll see more…

Thanks sw0rdm4n!

Yes it’s getting more like the original one though mine is bigger with more powerful servos, and more weight… It’s just because are according to the things I found to make it.

The only issue now is it needs two different batteries, one a LiPo that needs special charge system. The other is a small power bank still big for the little box… We’ll see what I can do with it :wink: Thanks for the comments

More Sensor or Not

Francisco

One idea I have is that set a limit on the Ultrasonic sensor so that when the distance is less that given say 1 to 3 inches the lights come on. The other idea is to set up a delay so the lights come on every so many seconds much like it is blinking its eyes.

Thanks for the ideas!


Yes a behavior depending on the distance is a possibility I’m checking, either by movement (slow or avoidance) or lights. I want also to improve navigation and power management: 1 battery instead of two, also charge with an USB charger…

Jumping

I like the jumping motion, maybe you should add rabbit ears. :wink:

Right!


He he! You are right Code. I think the jumping way of walking is another thing my children and I like this Robot :slight_smile: