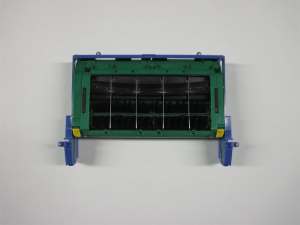
Chapter 9: How To Replace Roomba 500 Series Main Brush Casing

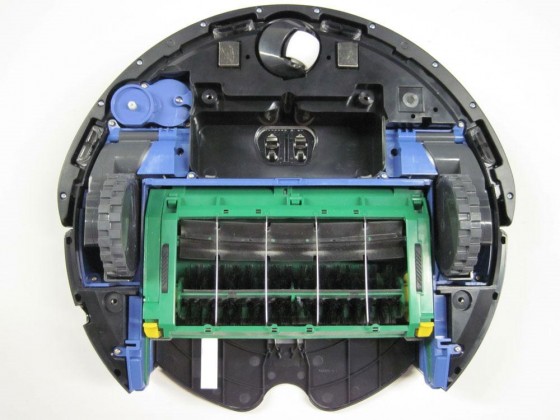
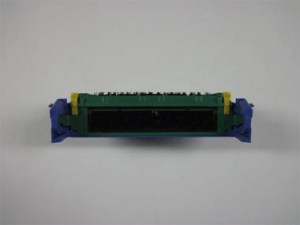
This repair guide explains how to replace the main brush casing on a 500 series Roomba. For details on how to first disassemble your Roomba, please see Roomba 500 Series Servicing and Repair Guide Chapter 3: How to Open Up Roomba. Some of the 500 series Roombas are pictured below:
9 How to Replace Roomba’s Main Brush Casing9.1 How to Remove the Old Main Brush Casing
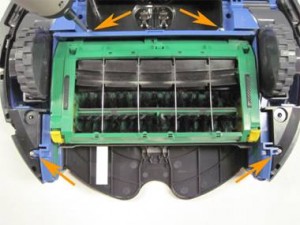
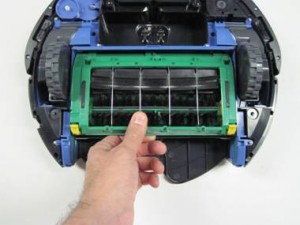
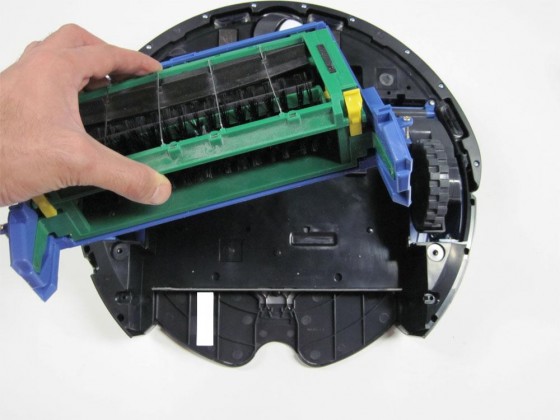
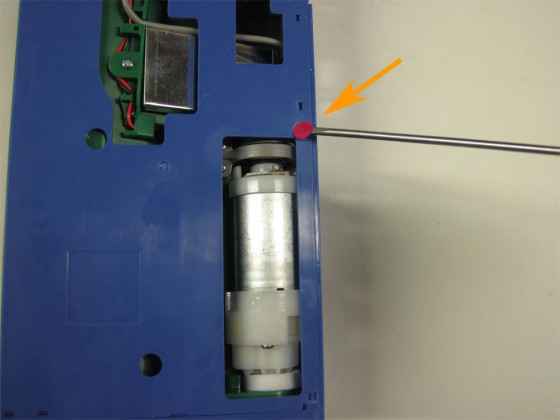
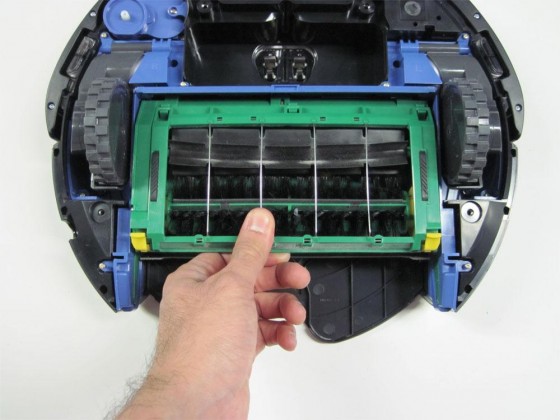
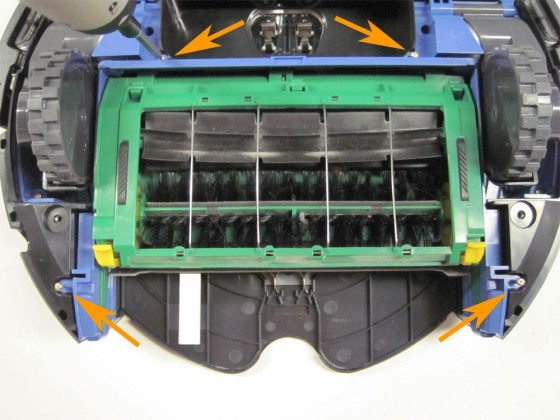
Roomba replacement main brush casing can be found at RobotShop. 9.1.1 Start by flipping the robot on its back with the bottom cover removed. 9.1.2 Loosen the four screws holding the brush deck in place, shown by the orange arrows. 9.1.3 Firmly grip the brush deck module. You can grab it by the brush guard or even by grabbing its blue ‘frame’ at the sides, down where the dustbin goes. 9.1.4 Pull up to remove the brush deck module from the Roomba. 9.1.5 View of casing removed from the Roomba.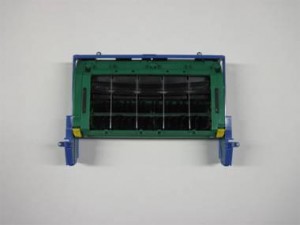 9.1.6 Flip the brush deck module over, and remove the round motor tension cable cover.
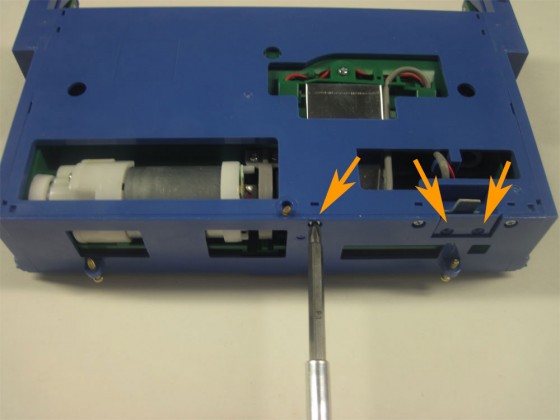
9.1.7 Remove the three screws shown by the orange arrows.
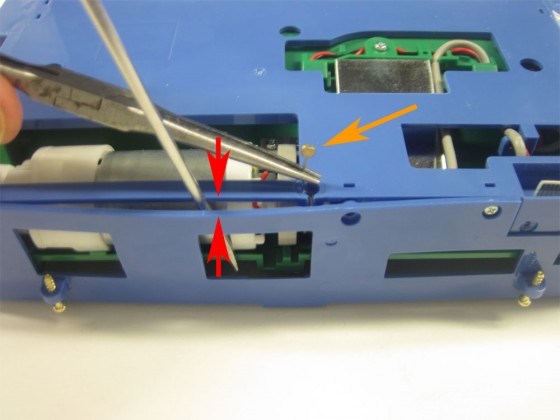
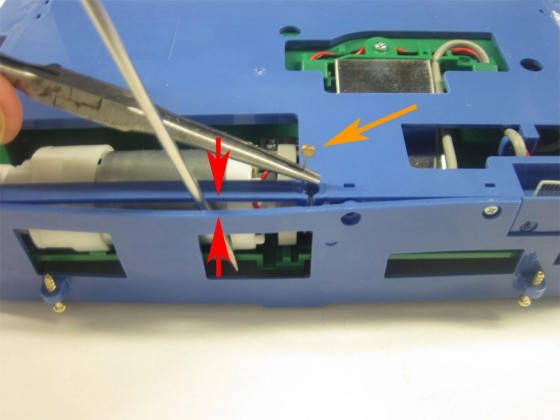
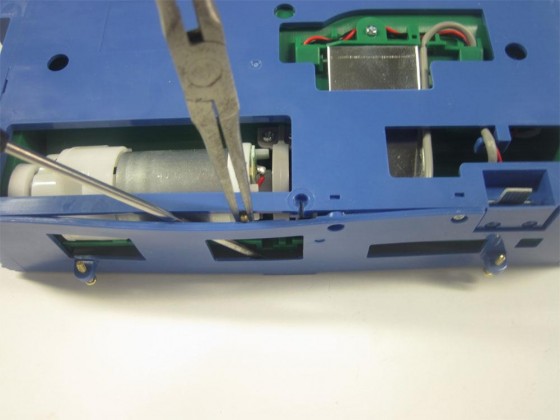
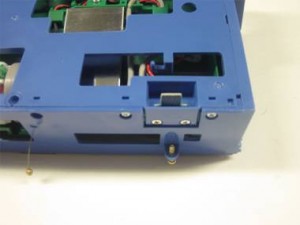
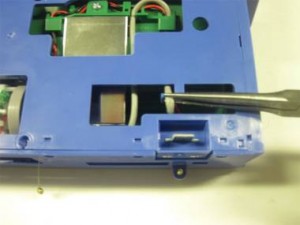
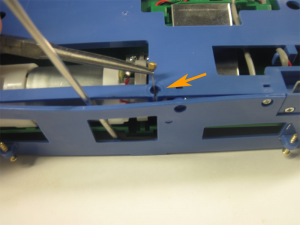
9.1.8 Wedge apart the blue frame with a screwdriver or similar tool, as shown by the red arrows. Grab the motor tension cable with a pair of pliers and lift it out of its spot, as shown by the orange arrow.
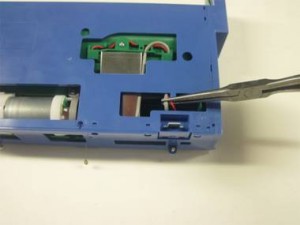
9.1.9 Push the one end of the tension cable through the gap in the blue frame
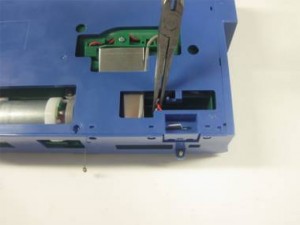
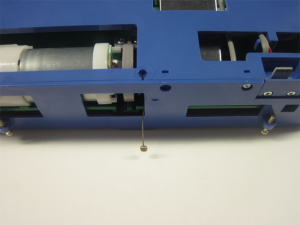
9.1.10 The motor tension cable should hang loosely, as shown in the picture.
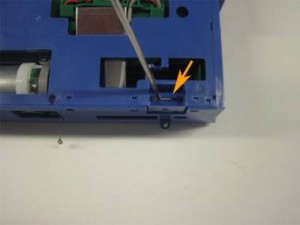
9.1.11 Using a pair of pliers, grip the motor wires located on the right side of the blue frame.
9.1.12 Unhook the wires from their holder, as shown in the picture.
9.1.13 Push the motor connector board down into the blue frame. This will make it easier to remove the casing from the blue frame.
9.1.14 Stand the brush deck module on end to make it easier to get access to the casing.
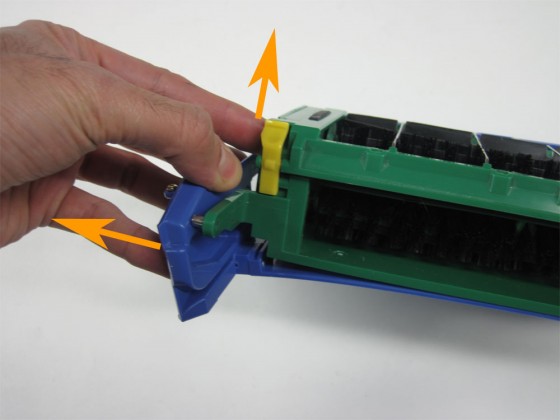
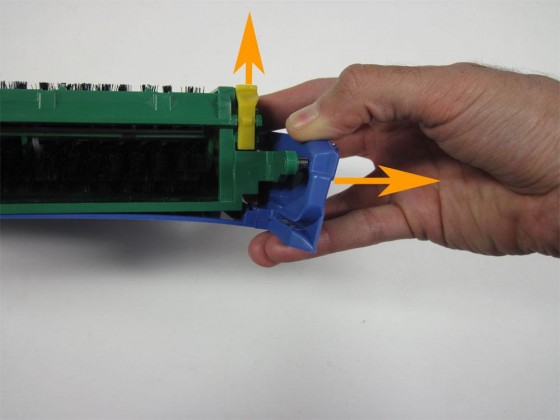
9.1.15 To release the casing from its blue frame, pull the left side of the blue frame outward with your thumb, while lifting the green casing up with your index finger.
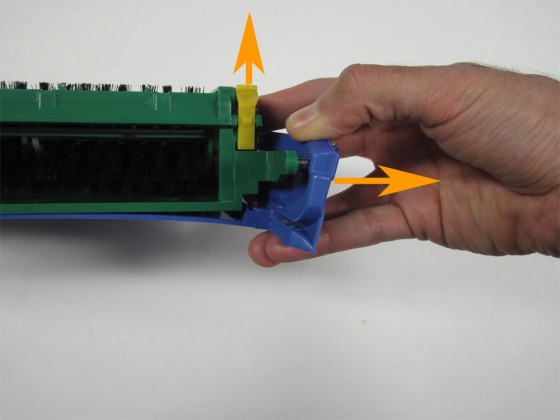
9.1.16 Do the same thing with the right side of the casing.
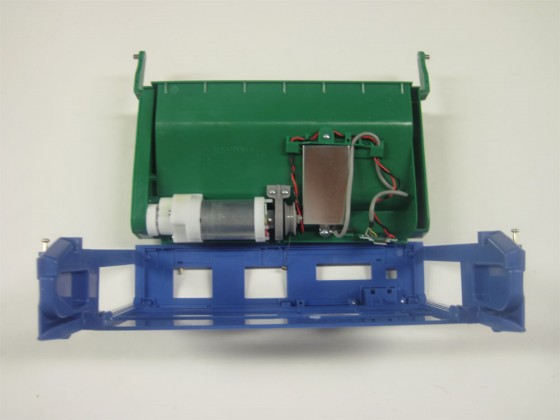
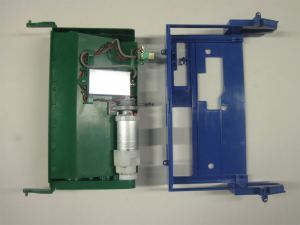
9.1.17 The brush casing should come right out of the blue frame now that its hinges have been released from the blue frame.
9.1.18 Remove the four screws shown by the orange arrows.
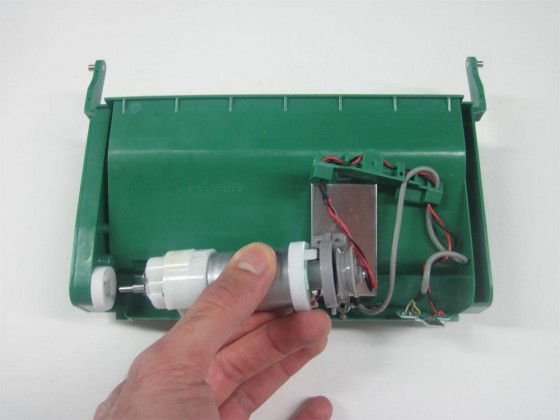
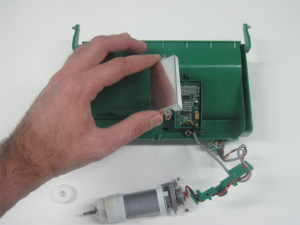
9.1.19 Lift the motor from the right side to remove it from the casing.
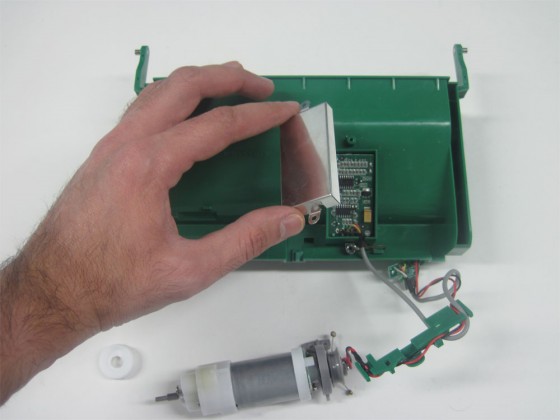
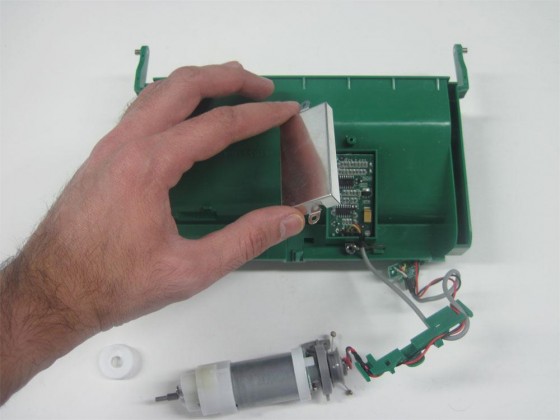
9.1.20 With the motor removed, lift and remove the dirt detector cover from the casing.
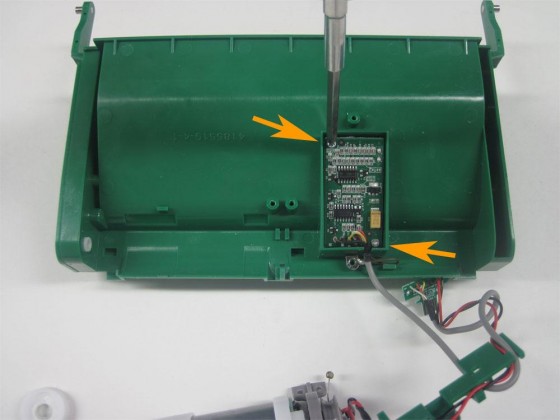
9.1.21 Remove the two screws holding the dirt detector board to the casing, shown by the orange arrows.
9.1.22 If you flip over the dirt detector cover, it is a good place to put all the loose screws.
9.1.23 Remove the dirt detector board from the casing to fully remove the motor.
9.1.24 Flip the casing over, and open and remove the brush guard.
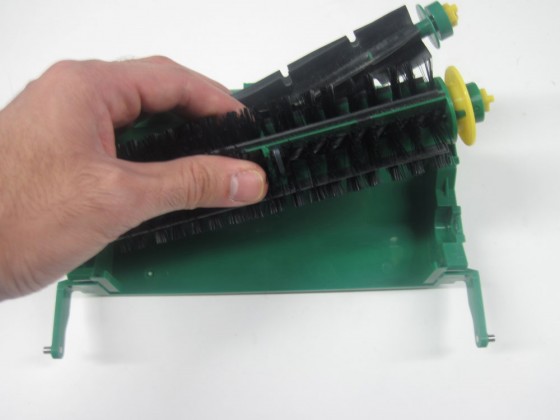
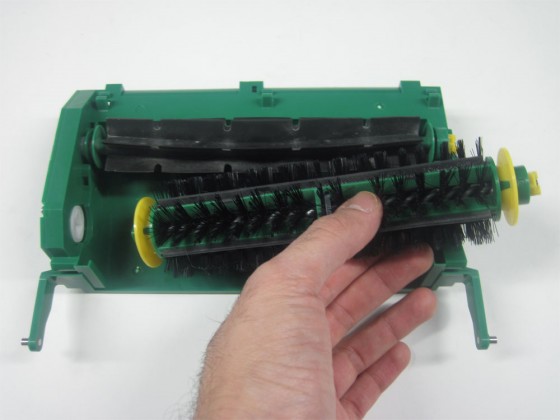
9.1.25 Remove the brushes from the casing.
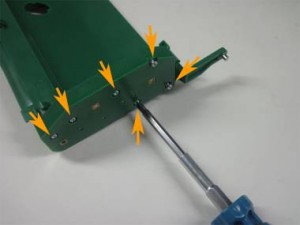
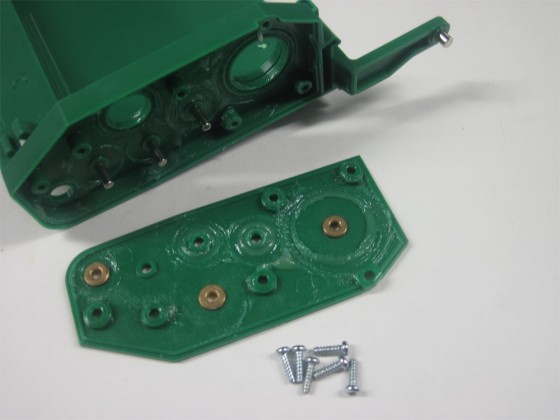
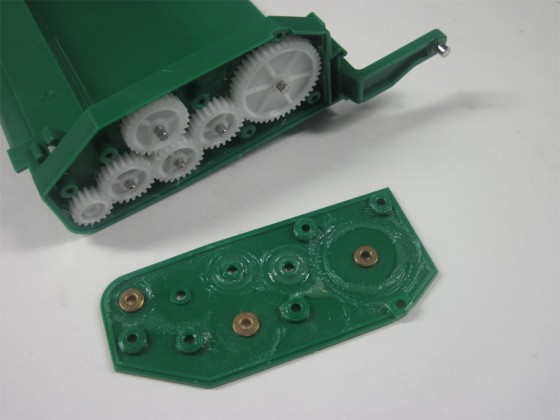
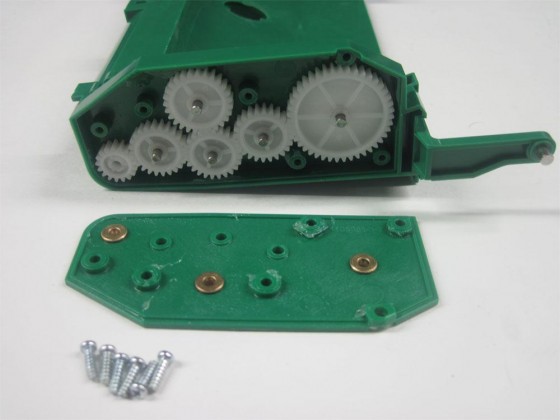
9.1.26 Loosen and remove the six screws to the casing side cover.
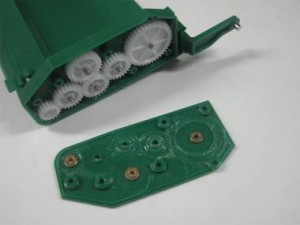
9.1.27 Remove the side cover to get access to the casing gears.
If your casing gears are in need of cleaning OR replacement, now would be the time to clean or replace them.
9.1 How to Install the New Brush Casing
9.2.1 With the gears removed from the old casing, we are now ready to install them into the new casing.
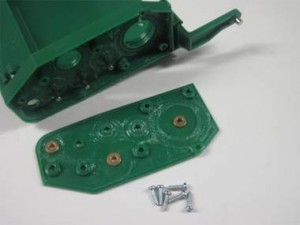
9.2.2 Loosen and remove the six screws holding the new casing’s side cover in place.
9.2.3 Remove the side cover of the new casing.
9.2.4 Transfer the gears into the new casing.
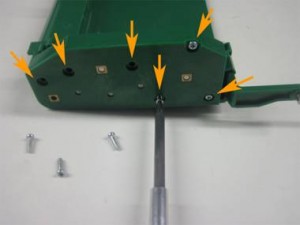
9.2.5 Put the cover back on the casing, and tighten its screws in place.
9.2.6 Flip the casing over, and reinsert the brushes.
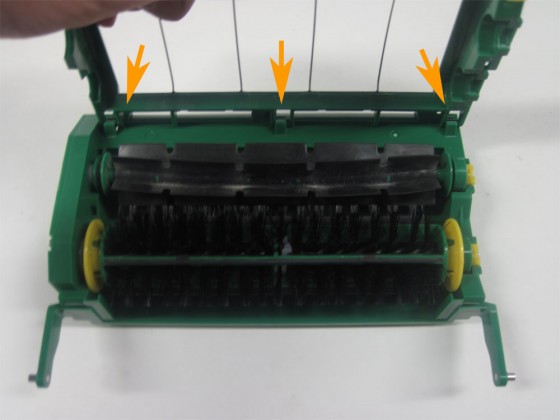
9.2.7 Reinstall the brush guard, making sure to clip in to place all three hinges of the guard, as shown by the orange arrows.
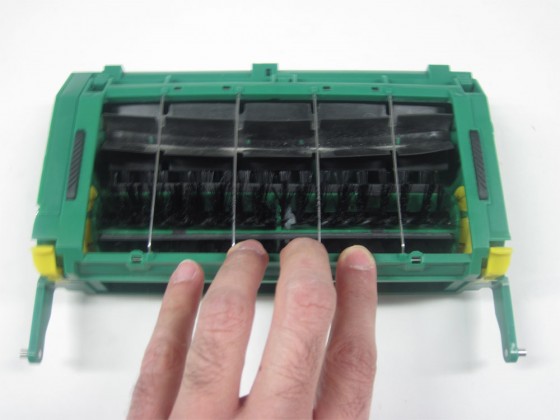
9.2.8 Close the brush guard, pushing down until both yellow latches click into place.
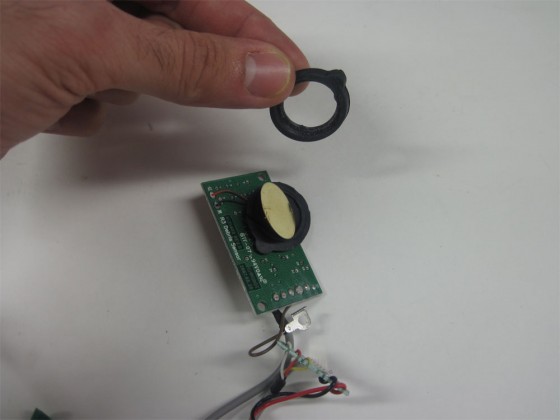
9.2.9 Next we need to reinstall the motor back in to the casing. Remove the rubber seal with the hole through it, from your motor’s dirt detector board.
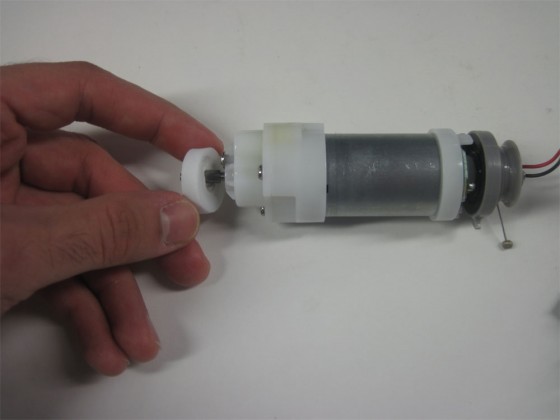
9.2.10 Take your brush motor and install the white foam spacer back on to the end of it’s shaft. Please note this foam bushing may vary in color and material, or it may not be present on some older Roombas.
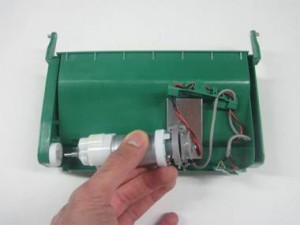
9.2.11 Insert the motor shaft into the gear on the left side of the casing, making sure the plastic tab, shown by the orange arrow, is facing upwards.
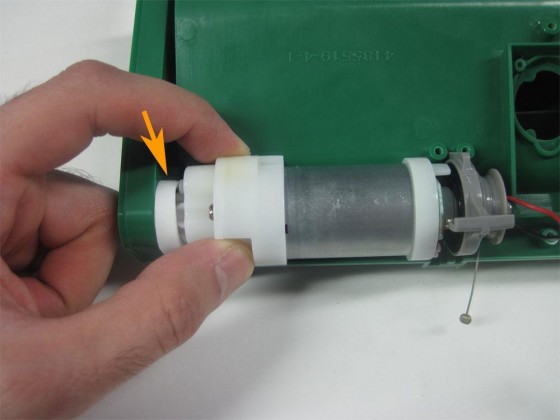
9.2.12 Push the motor over to the left until the foam spacer is compressed.
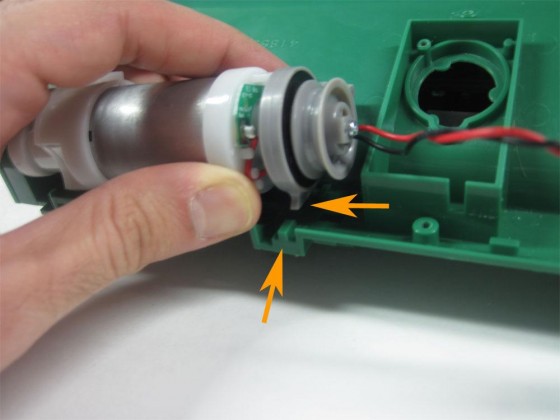
9.2.13 Lift the brush motor on the right side to hook it into the casing. You’ll notice a small hook on the end of the motor; it must lock into a corresponding slot on the casing.
9.2.14 Hooking the motor in place can be made easier by pushing down on the tab on the end of the motor, shown by the orange arrow. This will push the hook into its slot.
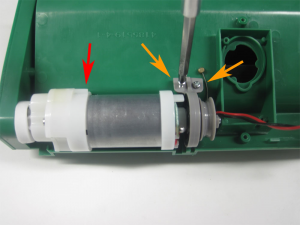
9.2.15 Insert and tighten the screws for the motor to keep it from coming loose. Make sure the small notch on the motor is still facing upward, as shown by the red arrow, before inserting the screws.
If it is not, you will need to rotate the motor until it is pointing up, and then put in the screws.
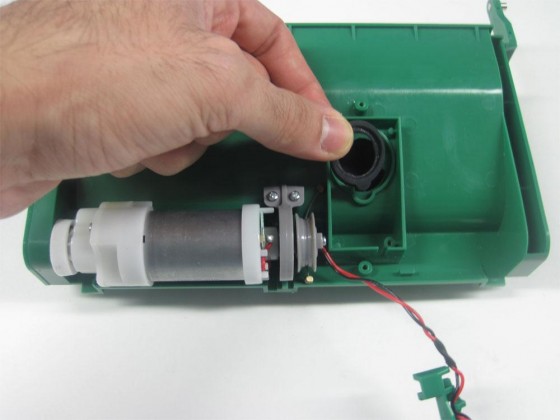
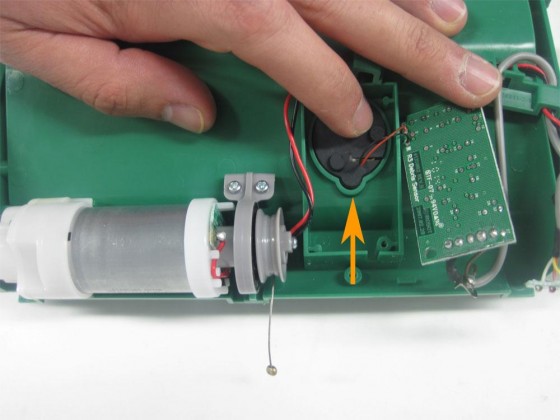
9.2.16 Place the dirt detector rubber seal with the hole through it into the slot on the brush casing.
9.2.17 Place the dirt detector contact microphone onto the casing, matching up the shape of the seal to the outline on the casing.
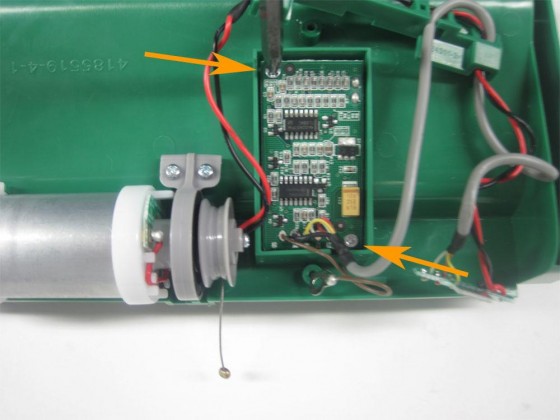
9.2.18 Place the dirt detector board into the rectangular outline in the casing, and insert the two screws.
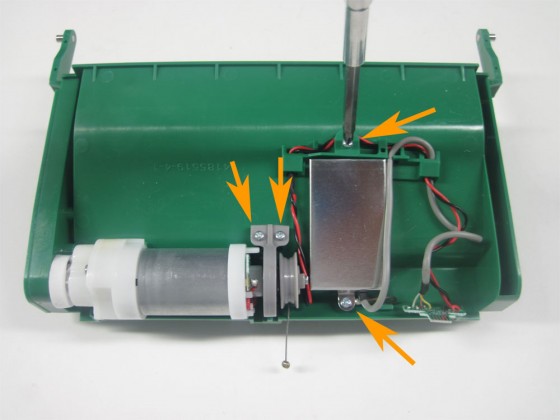
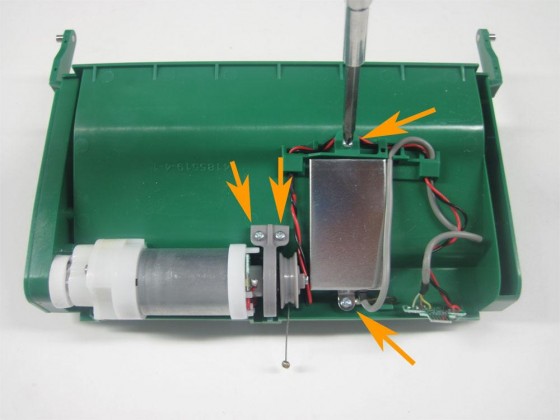
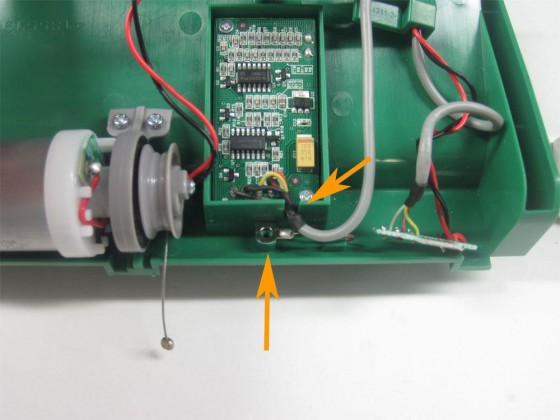
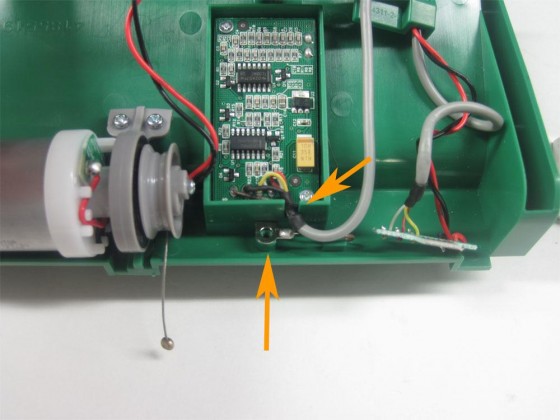
9.2.19 Once the board is secured in place, put the two wires from the board into the slot on the casing, putting the brown wire in first and lining up its terminal with the threaded hole on the casing, as shown by the bottom arrow.
9.2.20 Place the dirt detector cover over the board, making sure to have it the right side up. The slot for the wires should be at the bottom, as shown by the orange arrow.
9.2.21 Push the dirt detector cover down until it’s snug in place. Then place the plastic piece connected to the motor wires over the cover’s top screw hole, as shown in the picture.
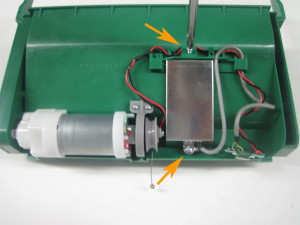
9.2.22 Insert and tighten the cover’s screws.
9.2.23 We’re now ready to reassemble the casing to its blue frame.
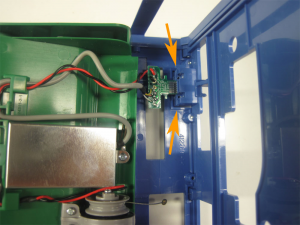
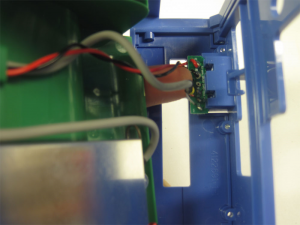
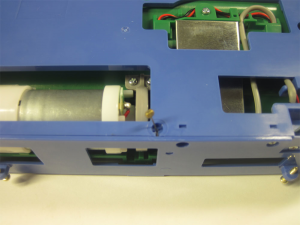
9.2.24 Insert the motor connector into the slot provided by the blue frame. Make sure the connector board’s orientation is as shown in the picture – the red and black wires coming directly from the motor should be toward the outside edge of the blue frame.
9.2.25 Push the connector fully into its slot. It may be best to keep it there by using your fingertip. This will make the next step easier.
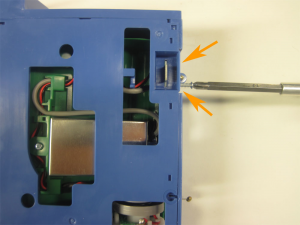
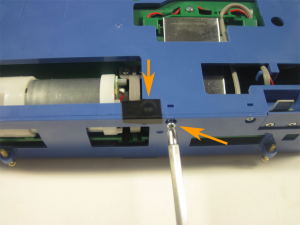
9.2.26 While keeping the connector pushed in all the way, insert its two screws and tighten them.
9.2.27 The motor connector should look like this once the screws are inserted. The connector must be straight as shown in the picture, otherwise it wasn’t pushed in all the way when the screws were inserted and the motor will not work properly.
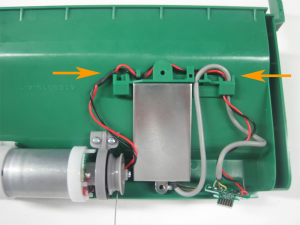
9.2.28 Place the grey wire and the red and black wires for the motor into the hook on the blue frame. The red and black wires should go underneath the grey wire.
9.2.29 Next we’ll reconnect the motor tension cable to the blue frame.
9.2.30 Pry the blue frame open at the seam with a screwdriver (or similar tool). Pull the cable through the opening, slipping it into the slit in the center of the blue frame, as shown by the orange arrow.
9.2.31 Remove the screwdriver to let the frame flex back into place.
9.2.32 Push the motor tension cable down until it is flush with the blue frame, then place a piece of tape over it. Insert the blue frame screw just to the right of the cable.
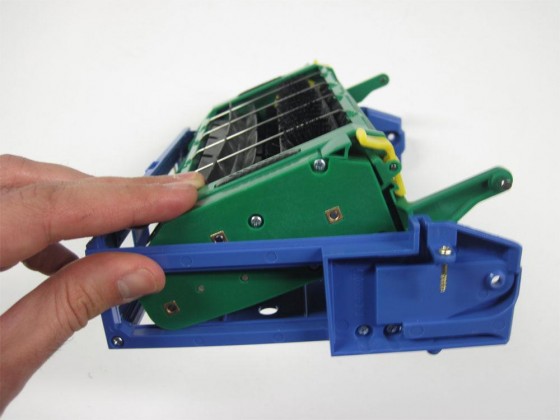
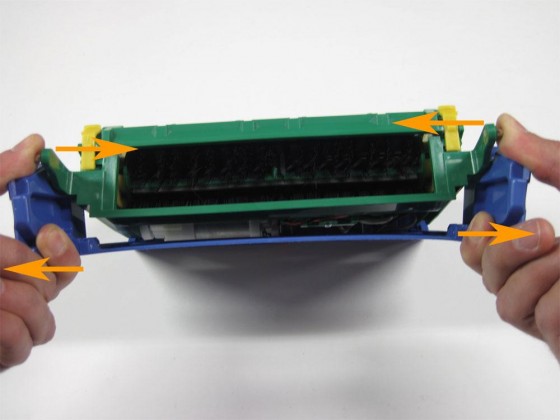
9.2.33 Push the left side of the casing back down into the blue frame.
a. Reinsert the green casing’s hinges into the blue frame by pushing down and inward with your thumbs on the green hinge ‘arms’, while pulling outwards with your fingertips on the blue frame.
9.2.34 View of brush deck module after being reassembled.
9.2.35 Drop the brush deck module into Roomba. Take care to make sure it is aligned properly. It may need to be moved from left to right, or jiggled slightly in place, to get it to settle into position.
9.2.36 Once the brush deck module is in place, tighten the four screws, shown by the orange arrows.
9.2.37 You have now successfully replaced your Roomba’s main brush casing.
For details on how to reassemble your Roomba, please see Roomba 500 Series Servicing and Repair Guide Chapter 3: How to Open Up Roomba
Roomba replacement parts can be found at RobotShop.
Thanks for helping to keep our community civil!
Notify staff privately
You flagged this as spam. Undo flag.Flag Post
It's Spam
This post is an advertisement, or vandalism. It is not useful or relevant to the current topic.
This post is an advertisement, or vandalism. It is not useful or relevant to the current topic.
You flagged this as spam. Undo flag.Flag Post


