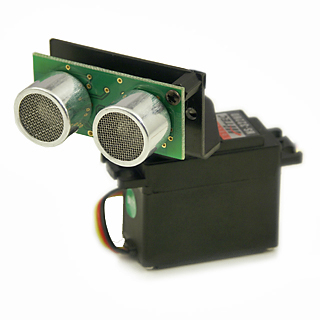
Hi. This is an idea for mounting the SRF05 on a servo for use in all those great projects that are on the go. The main advantages to this are: it's simple, cheap and the expensive SRF05 module can easily be taken off for use on another project without having to de-solder anything. So here goes...
You'll need the SFR05 module complete with right angle header plug, a servo, a 10pin IDC socket, some wire (not solid core) and some hot-melt or epoxy glue.
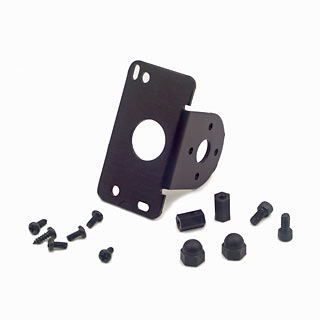
So this is what we're aiming to do:

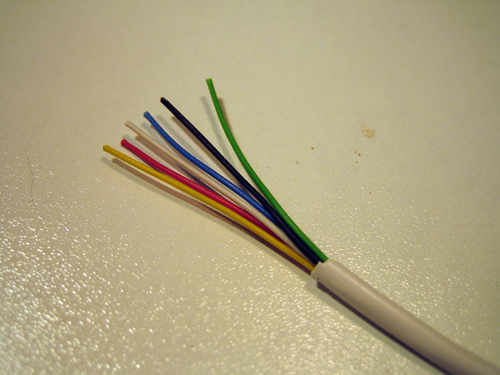
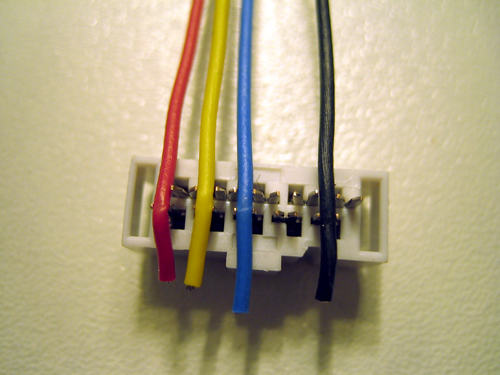
So the first thing is to get some wire. I use stranded (not solid core) that's known as 'signal wire'. It's usually used for burglar alarms or intercom systems. It's handy stuff to have. I've used Red (+5v), Black (0v), Blue (trigger) and Yellow (output). It comes with six cores so discard the other two. There's often a bit of string in the cable that allows you to make a tare in the outer cover if you want to use the wires only (it's more flexible without the cover).
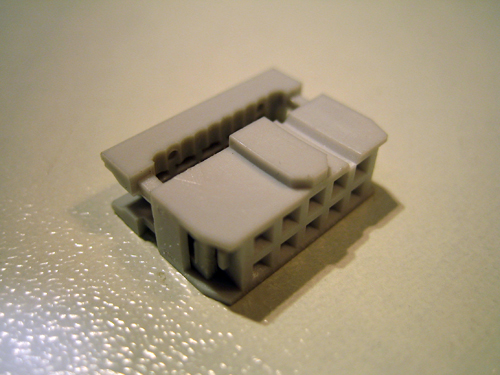
You'll then need the IDC connector. These cost about 20 pence from www.rev-ed.co.uk and are usually used for connecting ribbon cable. Make sure you get a 'female' socket like this one:
So now we need to connect the wires. Remove the top clamp to reveal the gold spikes inside. These things are a bit small so you may find it useful to hold it in a vice for the next step. We now have to lay the coloured wires in the correct places. This is important so check and check again! Follow the photo below. You can push the wires down in between the spikes with a flat screwdriver to hold them in place, but don't push too hard as you may open up the claws. Make sure it looks exactly like the photo.
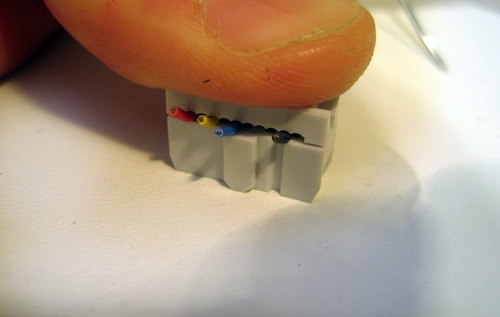
Now, try not to move the wires and carefully put the top clamp back on and squeeze it down until it 'clicks' with your thumb. It's easy with only four wires in. Check that it's all lined up nicely. You can trim the ends off at this point to make it neater.
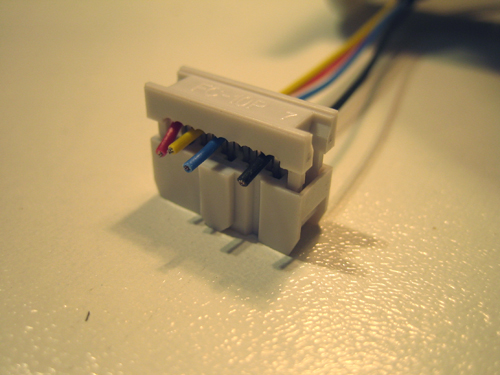
The connector should be nice and secure. So now what you need to do is glue the connector to a servo wheel or horn. I've used a wheel here and glued it using hot-melt (watch your fingers!) as it's easy to get off it you need to. You could use quick-set epoxy also. Also I found that the wheel stays on the servo just fine without using the little screw, but yours may be different.
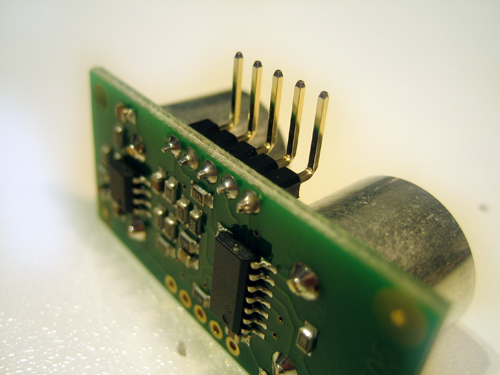
Next solder on the right angled pins that come with the SRF05 so it looks like this making sure you use the correct set of holes and have the board the correct way round:
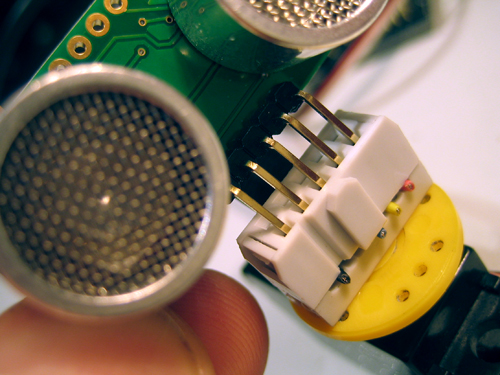
You can then insert the SRF05 like this (make sure you put it in the correct row and the correct way round):
And that's about it. Just for safety I would check continuity between the end of each wire and the pins on the SRF05 to make sure they are connected up correctly.
So there you have it - a nice secure mount that allows easy removal of the sensor for use on another project and doesn't get messy soldered legs!
Hope you think its a good idea...!!!
JH
More info here:
http://www.rev-ed.co.uk/docs/srf005.pdf
https://www.robotshop.com/letsmakerobots/node/66