

My first non-kit robot. Inspired a lot by the "Start here" robot on this site!
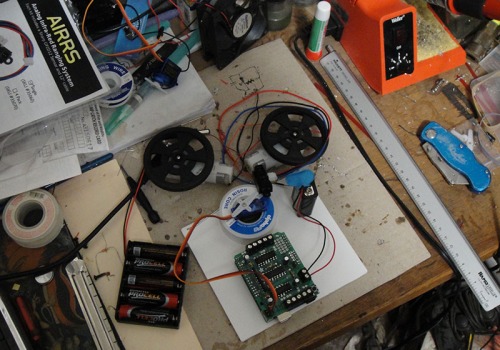
Not much happening yet. I put together my motor shield, and tested it by moving a couple motors and a couple servos simultaneously. Next I stuck the wires to one sharp distance sensor through convenient analog/power sensor holes on the motor shield and started testing. I sent the output to the serial to get a look at it, then added a servo and wrote some code to turn the servo based on the distance reading. I discovered an interesting thing though - I had some mystery jitter in the sensor readings (evidenced by the twitchy servo)!
Now the variability of the sensor readings and the smooth motion of the servo probably have no bearing on the functioning of my final robot. It seemed like such a fun and simple thing to hack around with though, I just had to do something about it. I figured I would just filter the sensor signal so the movment wouldn't be so jumpy, and I already knew a nice filter function for noisy time series data called a weighted moving average. Specifically I used exponential weighting, since that was more tunable. For testing I wrote a little Python script using the matplotlib and numpy modules to get the smoothing function working. At first I just added some noise to a scaled sine wave as fake data, but later I copied the Arduino's serial output to a file. Here is the output of the tuned algorithm on saved sensor data:
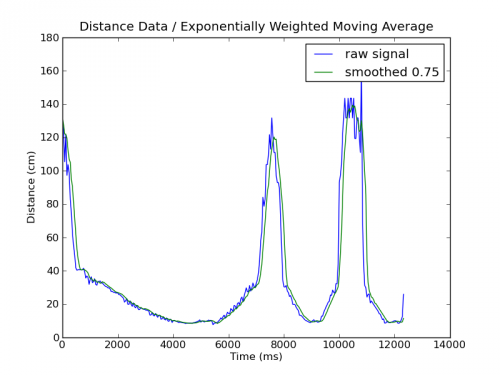
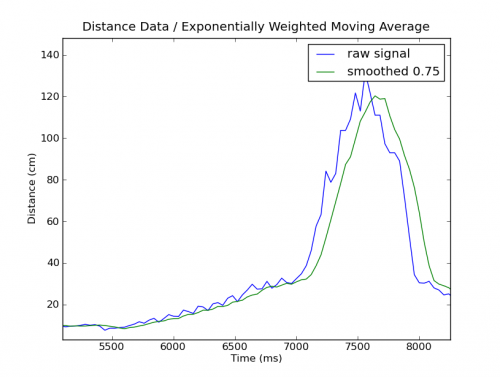
The time offset is just bearly noticable at ~ 1/10 of a second. Here is my averaging function (which hopefully wont get mangled):
def ewma(data, fac=0.5, width=5):
"""Calculate the exponentially weighted moving average of the data points."""
window = deque(list(), width) # cut off old data
facs = [fac**(i+1) for i in range(width)] # factors are constant
results = list()
for datum in data:
window.append(datum) # Extra data falls out other end of window
avrg = sum([window[i]*facs[i] for i in range(len(window))])/sum(facs[:len(window)])
results.append(avrg)
return results
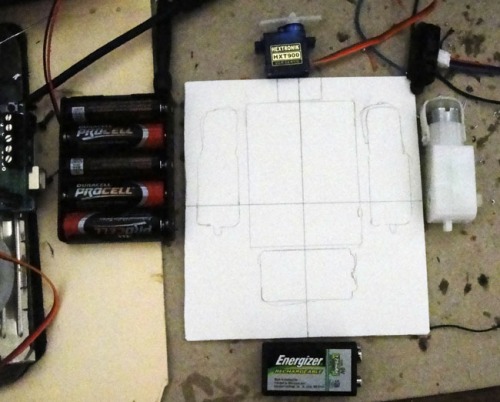
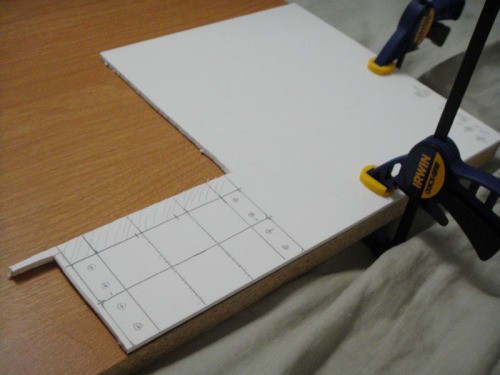
With that non-sense running successfully on my Arduino I started laying out my bot on Sintra.
Continuing:
I finished building the chassis about a week ago, but got caught up in a big project at work... I sort-of remember what I did - all the pictures help!
So first I tried to build some motor mounts by bending Sintra - which didn't work at all! The water was really boiling, and I left the pieces in for quite a while, but when I took them out to bend they were still somewhat stiff - and they cooled so quickly I couldn't shape them! (As a side note, I got a sample of ShapeLock during the week. It is definably as cool as it is made out to be!)
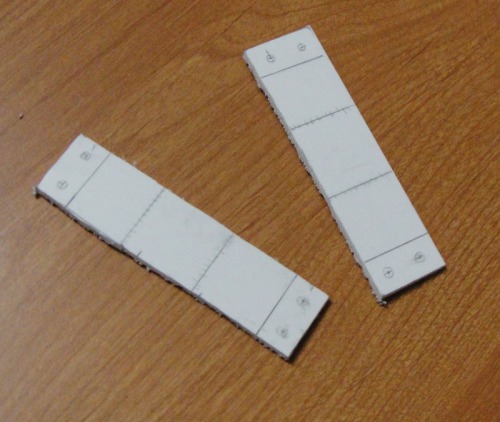
My second attempt was to cut and superglue the pieces into shape. This might have worked out, but the pieces weren't designed for it. I ended up loosing too much material in the cuts. Also I wasn't careful enough smoothing and matching the cuts, so joining them was difficult and nothing was square. Also I didn't allow clearance for the motor shaft.
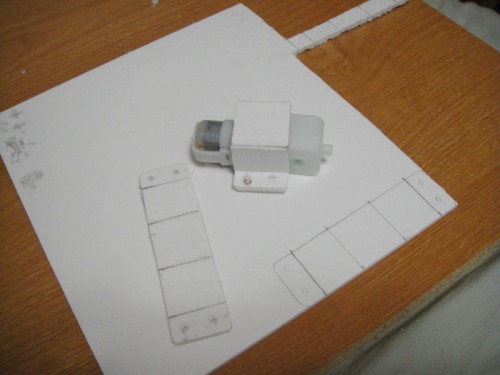
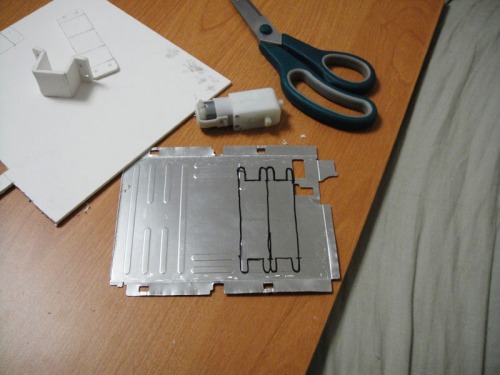
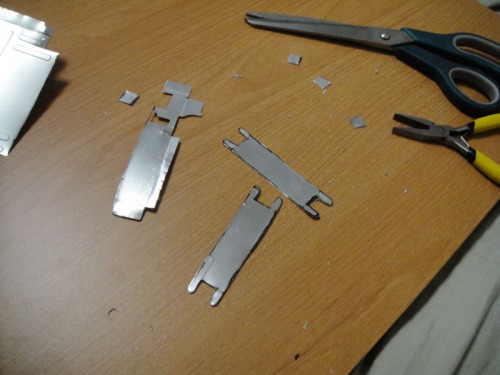
Finally I decided to go for something simpler. I grabed an old scrap disk drive and managed to pull a nice thin sheet of aluminum off it. I was still a little sloppy with my measurements, but these brackets got the job done!
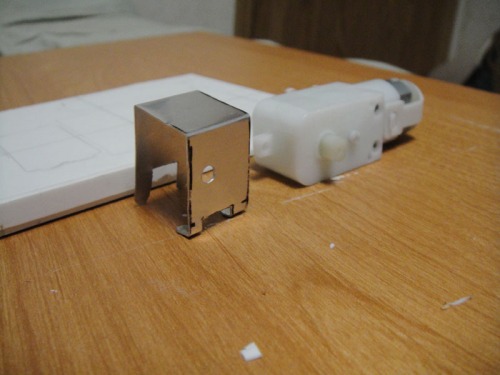
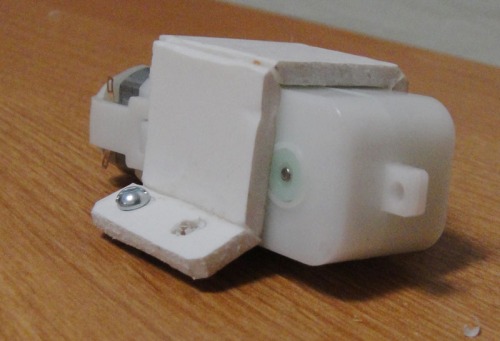
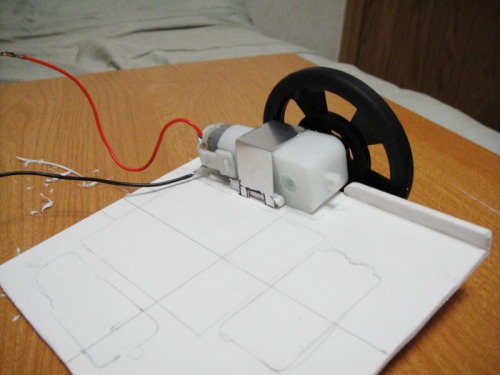
From there mounting the motors was easy. I made a mistake cutting the slots for the first motor though, so I had to add a wedge.
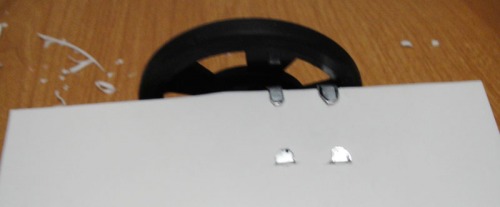
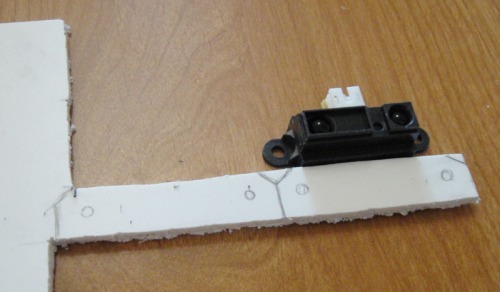
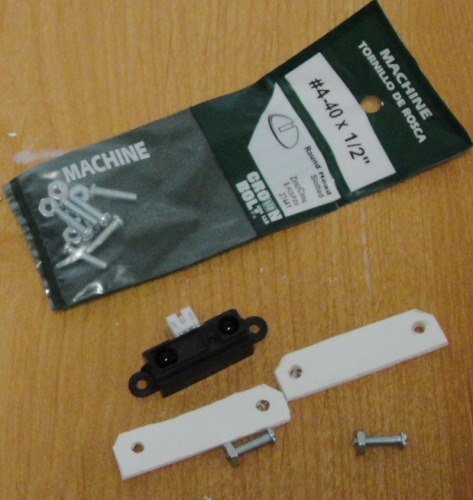
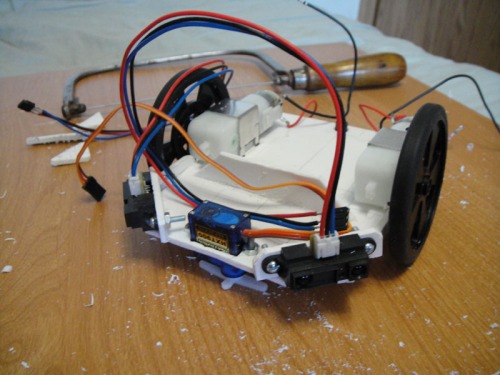
Next I mounted the sensors, this time with little Sintra brackets superglued to the platform.
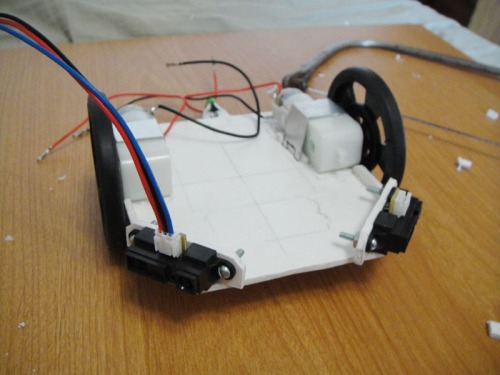
Looking pretty good! Next I cut a hole to mount a servo. I intended to create a single servo gripper mechanism, but I've changed my plans since.
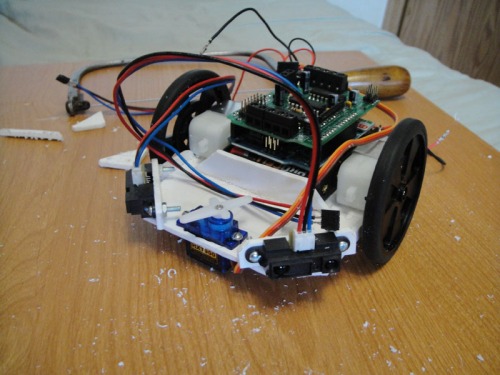
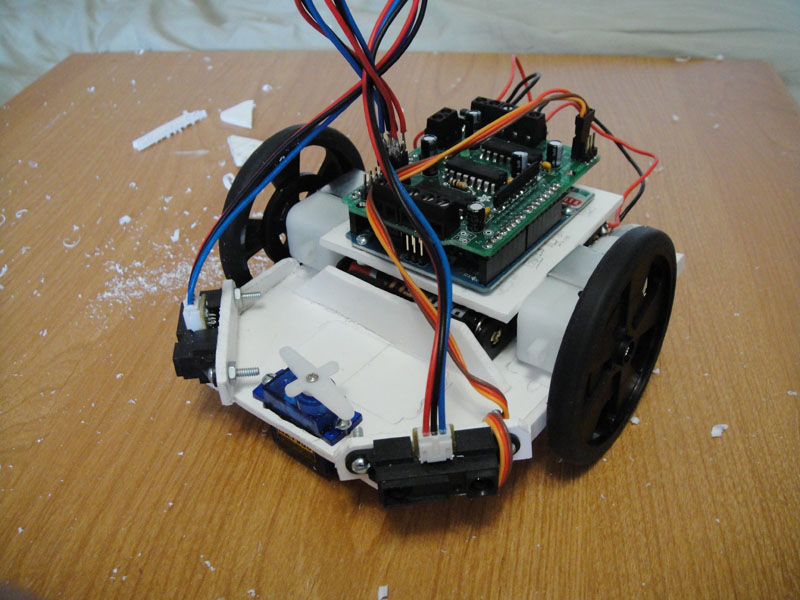
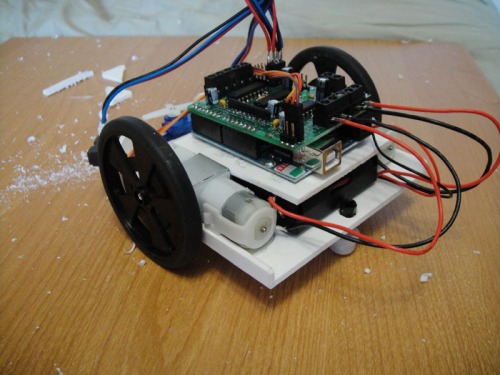
You can see I also added a sort of 'firewall' looking thing to help hold the batteries in place. I also cut a square of Sintra to mount the Arduino to. poof -> finished robot!
Programming went pretty well. I just mapped the distance readings from each sensor to the power output of the motor on the opposite side. This means that as it approaches an object off to the left it will put less and less power to the right motor (as the distance decreases) while the left motor continues at something closer to full speed. The mapping is linear, but with some built-in thresholds to ensure the 'bot doesn't stall, and keeps moving with max readings (which vibrate erratically around 130cm).
This performed fairly well, except there is an odd quirk to these sensors. The sensors are meant to operate at distances from 10cm to +80cm, but at distances below 10cm the sensor readings start increasing again! This meant that an object 40cm away looked the same as an object practically touching the sensor! Also there was no way to differentiate between the bad readings and for instance a wall sloping away from the robot...
The behavior resulting from the bad data was a little interesting though - The robot would slow as it approached an obstacle face on until the 10cm threshold was passed, at which point it would accelerate into the obstacle in a seemingly aggressive manner! It was pretty entertaining, and could be useful for overcoming light or flimsy obstacles, so I didn't want to change that behavior. After the show though the robot would just sit pushing against the object with its motors stalled.
I came up with a simple solution that seems to work well: I have a function called "am_stuck" which compares the current sensor readings with the previous readings. If both sides are the same it pushes true onto the right side of a big boolean array, otherwise false. It also checks if all the values in the array are true (by ORing to a the current value), in which case the robot is stuck. The mainloop then just checks if am_stuck() and if so runs a little back and turn routine. I was thinking I could just use a byte or something to store the sameness array, but because the reading happen so quickly the array needed to be fairly large (~100 items?). With fewer items the robot just thinks its stuck all the time, and traces nice little squares on the floor!
Anyway, I've decided I'm not interested in a gripper. Especially when I realized how few things it could grip. I've decided instead to mount each IR sensor on a servo so it can make better decisions when and if it is stuck. I've also got some light sensors, temp sensors, and touch switches, so I was thinking about adding more senses and behaviors to it. I plan to start work on a quadruped soon though, so I don't know how much attention this guy will get...
simple Arduino robot test platform
- Actuators / output devices: 2 GM9 motors, 1x HXT900 servos
- Control method: autonomous
- CPU: Arduino Duemilanove (328)
- Operating system: Arduino bootloader?
- Power source: 1x9v, 5xAA NiMH
- Programming language: Arduino C
- Sensors / input devices: Sharp IR sensors
- Target environment: indoor on smooth surfaces
This is a companion discussion topic for the original entry at https://community.robotshop.com/robots/show/simple-ardbot