1 - Building up.
The basic design its almost the same as in ShC v1. But differs in parts, processor and sensors (bumpers from an old mouse).
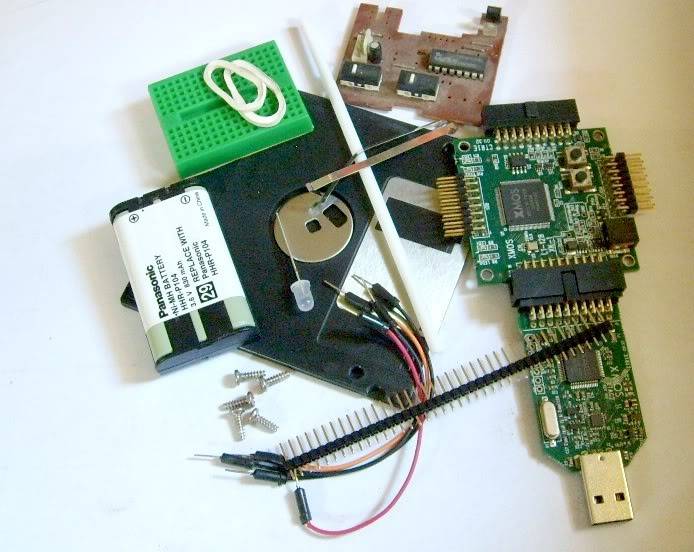
In figure 1 we see all parts to create the new chassis by an old 3 1/2 floppy disc. Two bumpers and small metal parts for the sensor, rubbers, pin headers, etc.
This ShC v2 is more like a develpment hexbot to experiment with XK-1.
Figure 1 - Basic parts for ShC v2
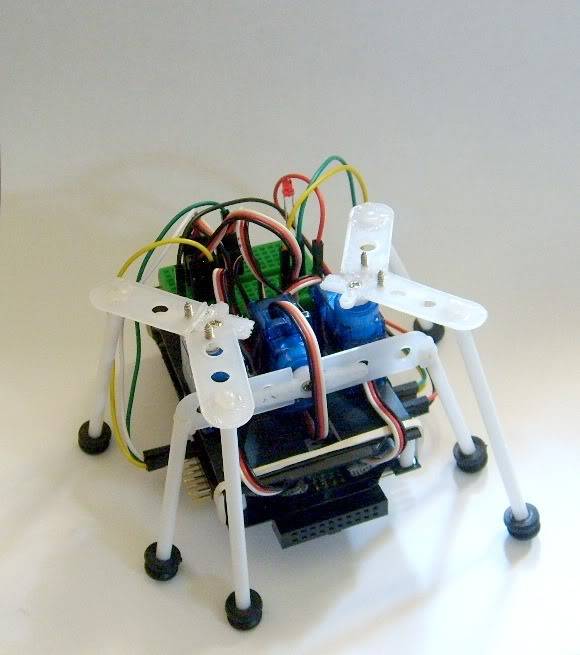
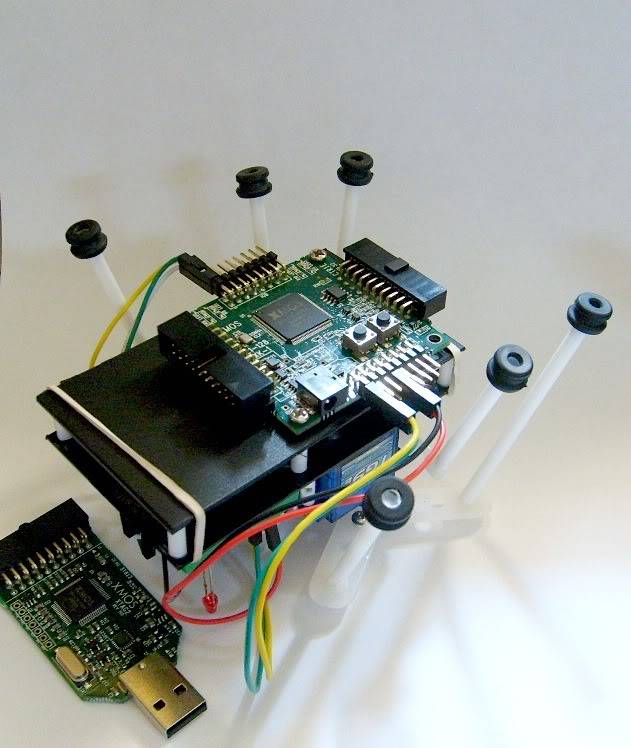
After putting all together, in figure 2 and figure 3 are shown the basic chassis (top and bottom).
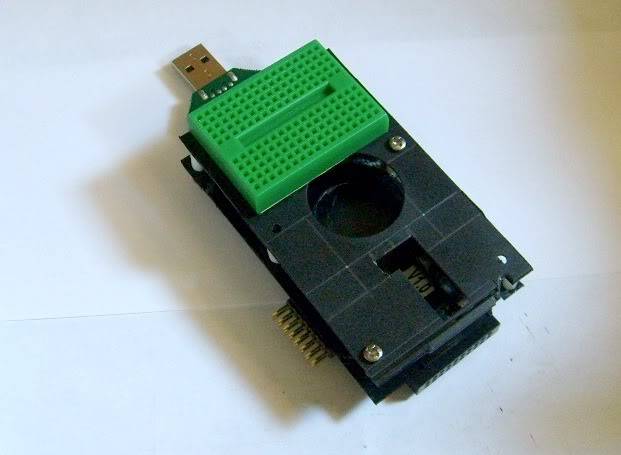
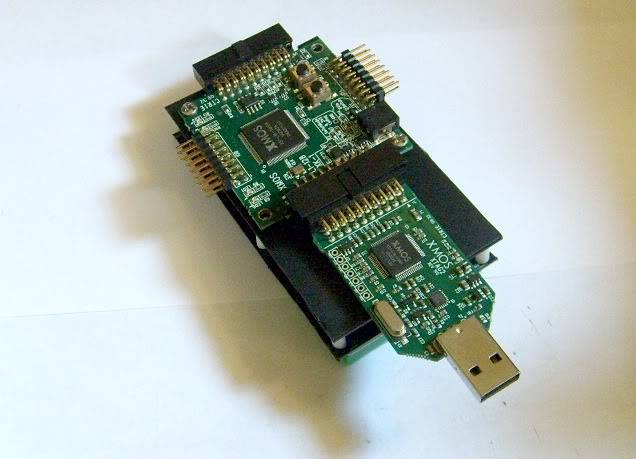
Figure 2 - Top part. Figure 3 - Bottom part.
For the legs are adjusted at the top of the chassis, and finally all parts are assembled with the servos (Figure 4).
Figure 4 - Legs with 3 servos TG9.
Next, assembling legs and chassis are shown two views of the ShC v2 (Figure 5).
Figure 5 - Side and bottom view of ShC v2.
2 - Basic Sensors
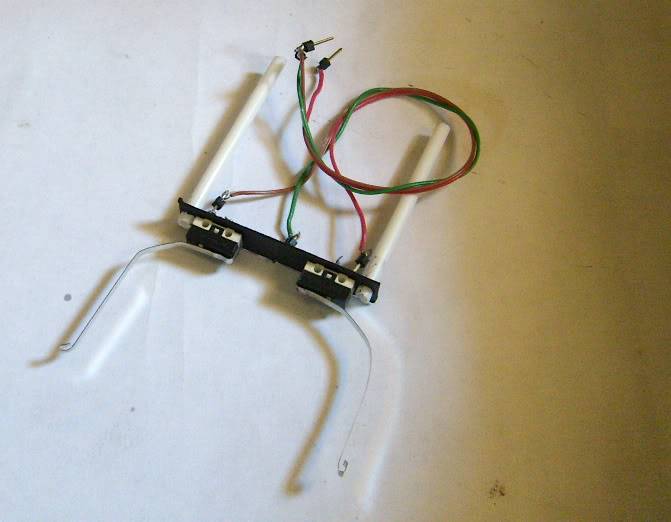
The sensor part, are made from the old 2 button mouse bumpers. This are attached to the main board with aluminium antennas, with this mechanical alignment, is possible to touch obstacles, like a wall, and then operate accordig to the following basic table:
S1 S1 Action
-----------------------
0 0 Move Forward
0 1 Left Backward
1 0 Right Backward
1 1 Backward
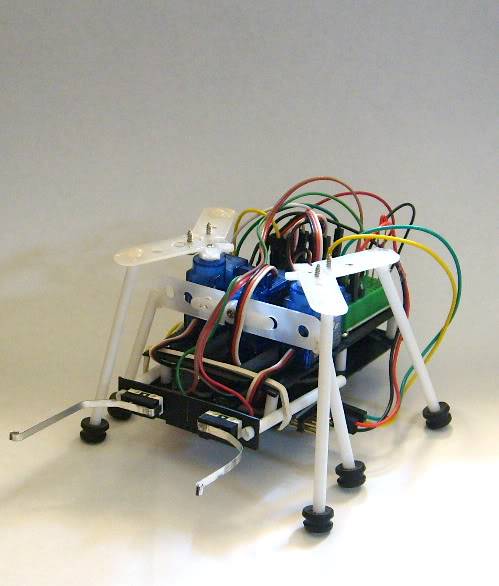
In figure 6 its shown the main sensor antennas, an how the ShC v2 looks like with all parts.
Figure 6 - Bumper sensor and final aspect of ShC v2
3 - XC Program
Soon ...
4 - Tests
Soon ...
- Actuators / output devices: 3 servos
- Control method: autonomous
- CPU: Xmos XK1
- Operating system: Ubuntu Linux
- Power source: 3.6V NiMH f
- Programming language: XC
- Sensors / input devices: soon to be Bumper switches
- Target environment: indoor flat surfaces
This is a companion discussion topic for the original entry at https://community.robotshop.com/robots/show/shc-v2-with-xk-1


