

Ok, so I have wanted to build a robot for a while, but school prevented me from starting anything. At the beginning of this summer I bought a Raspberry Pi to just mess around, but I soon found out how powerful of a learning tool it actually was. Once I got comfortable with the Pi, I decided to take it to the next level. I decided to build a hexapod robot. This project took about 3 weeks of planning, 4 days to build, and about a week to program to where I liked it enough to present it to you guys. Now, I did make a major rookie mistake with this robot, I didn't back up my code that I wrote for the hexapod, and I lost everything! All my original code. So I had to reprogram it again from scratch. Not fun. If you don't do it already, back up your files!! :) Anyways, here is my very first robot build ever.
Parts Used
1 - Raspberry Pi B+
2 - Adafruit 16-Channel PWM Servo Drivers
18 - MG90S Micro Servos
6 - Servo Extension Wires
1 - Male DC power adapter
1 - 12X12 inch by 1/8 inch thick 6061 Aluminum sheet
1 - Aluminum 90 degree angled bar 1/16 inch thick
Painter and electrical tape
Various nuts and bolts
Various plastic standoffs
Tools Used
Drill Press, Chop Saw, Band Saw, Rotary Tool, Sand Paper, and one massive Vice
Goals
Build a working robot
Learn better programing skills
Have fun!!
So, here we go...
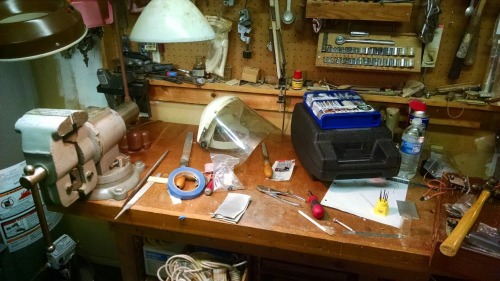
Work Station.
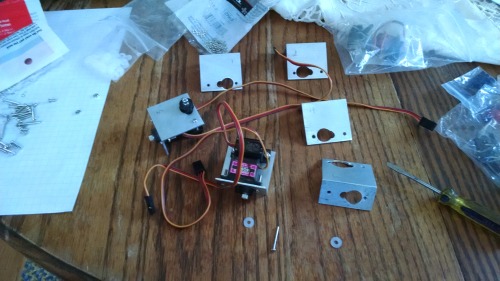
First pieces made.
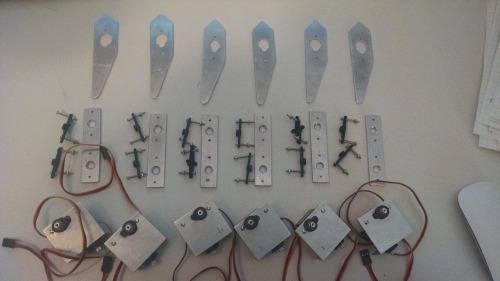
All the leg pieces are now cut and sanded. Now I just need to assemble them.
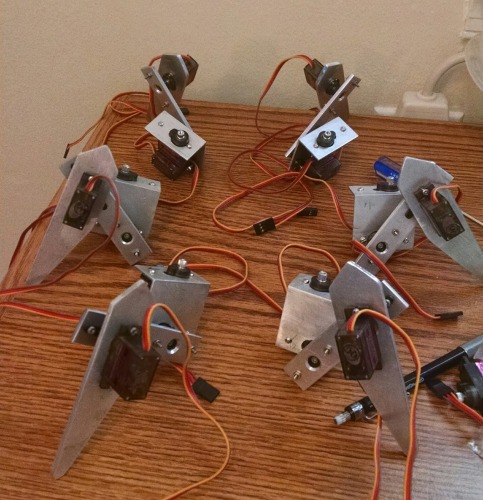
Legs are assembled. (Side note: I actually added a liquid rubber to the bottom of the legs because they kept sliding. Its called PLASTI DIP and works great. You can see the rubber on the legs on my last video)
Prototyping my frame before cutting out the aluminum. This helped me get the proper dimensions to allow for maximum leg movement.
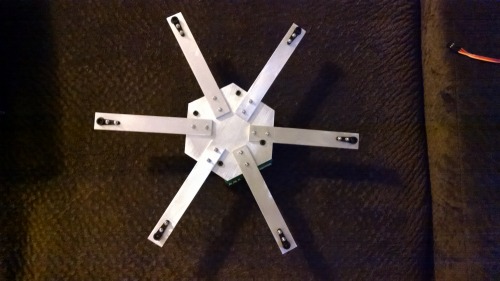
Base cut, finished, and then assembled.
Frame fully assembled. Now I just need to hook up all the electronics.
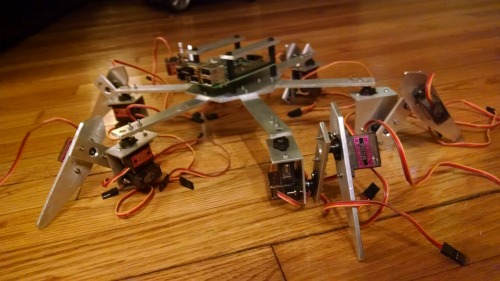
Another View.
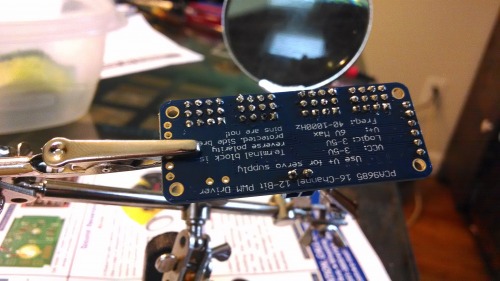
Preparing the servo drivers. The Adafruit Servo Drivers required some soldering. Which I have actually never done before. They are not the prettiest soldering points, but they at least provide good connections.
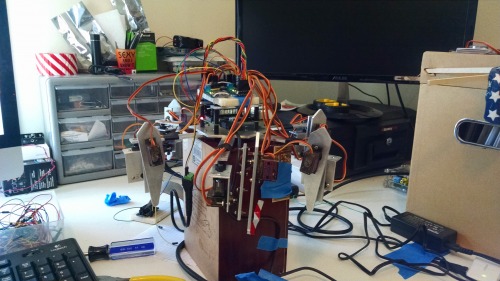
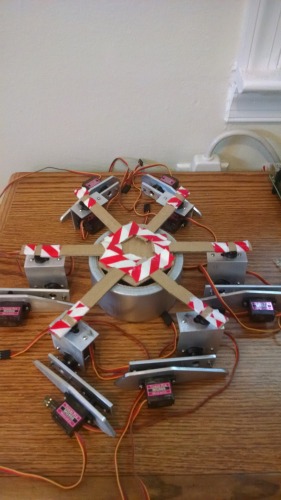
Completely assembled. My girlfriend gave me a cigar box a while ago, and this turned out to be the best test stand ever! I tested all my code here first before putting the robot on the ground. I didn't want to put any unnecessary stress on the servos yet.
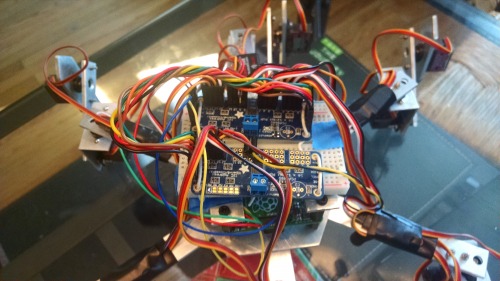
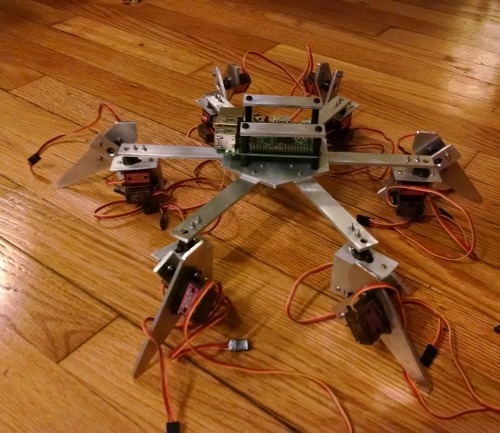
This is a view of the top of the robot.
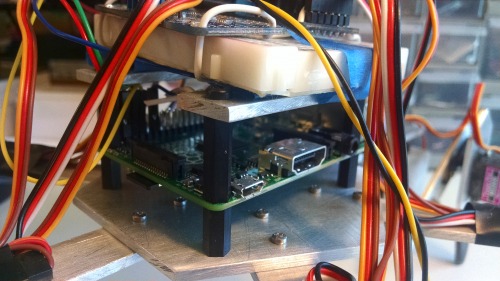
This is just a view of how I mounted the Raspberry Pi onto the frame. I like the Raspberry Pi B+ a lot better than the B because it has 4 mounting points.
Power
Currently am using 2 power sources; one for the servos and the drivers, and one for the Raspberry Pi. The Servos are using a 5V 4A supply, while the Pi is using a 5V 1A supply. This hexapod is wired still only because I don't think the servos can handle much more weight. The next hexapod I build will be completely wireless.
Control
Currently, I am using a basic command line GUI that takes user input and applies it to the hexapod. This command line control is connected to the Pi wirelessly using an SSH connection from my computer to the Pi. In one of my videos you can see it in the upper left corner in the beginning. I have written all the code in python 2.7.8. I will upload my code once I document it better. Ill talk more specifics about the code once I upload it.
Future Development
1. Make a wireless pushbutton controller that uses real time event handling
2. Add LED's to the left and right of the hexapod for easier user control (I keep forgetting what is left/right after running it for a while…LOL)
3. Program different walking styles
4. Whatever else I think of, or you guys think of…(possible ideas/suggestions)
This is a companion discussion topic for the original entry at https://community.robotshop.com/robots/show/semperpi-hexapod-my-first-robot