

Hai guys,
This is my new look 5 axis robotic arm. If you have read my previous post, in LMR at ----->https://www.robotshop.com/letsmakerobots/node/10708
.This new version use the same material of laser cutting acrylic plastics. This kit comes with parts and components which require
manual assembly by the users. So i think, i can make it details about how to assemble all the parts in this LMR.Let's see the overal figure of the robot arm..You can view the video of the previous robot here:
http://www.youtube.com/watch?v=9UxrquUnNd0 (copy and paste in your web browser)
The robot move very fast. Because the driver i made have no speed control capability..i will update it later in my new version..
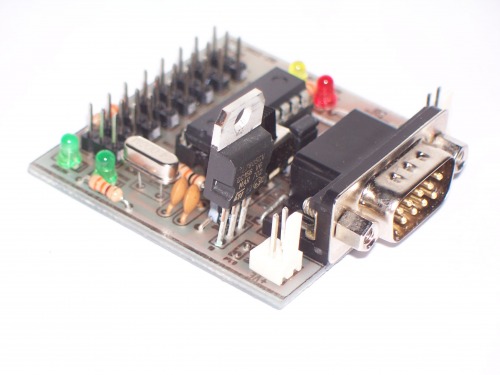
My custom made servo controller 8 channel
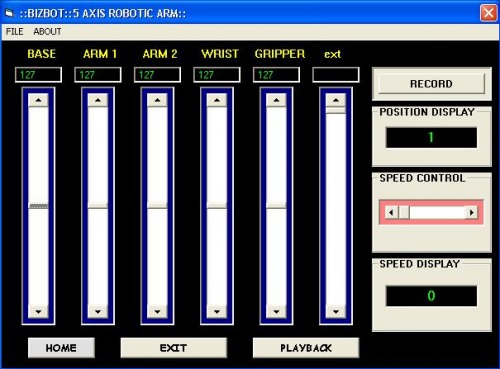
GUI control panel
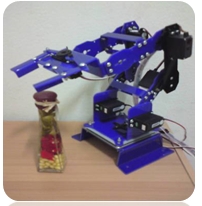
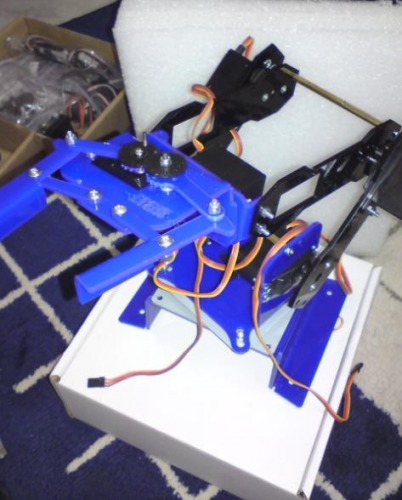
This is the new look of 5 axis robot arm.
This robot arm use two servo motor at each joint. The reason is to provide more torque for each joint and perhaps it can support
a load approximate at 300 gram(never test yet). I use this servo motor Servo-1 to drive the joint. The size of the robot is around 40 cm height and can reach up to 30cm in circle. As you can see in picture, this robot arm is included with our new design gripper (still need to modified) . The base of the robot is suppoerted using ball bearing plates (i just name it :)) )to support the whole body of the robot. This robot can be attached with other robots such as mobile robot and other platforms. Soon i will upload the video of the robot when it operates..
Currently, i use my own robot controller that can control 8 servo motor with record and playback position..but, this robot can also use any servo controller in the market. It's depend to user. Cost to build?? Lol, not more than $120..but i can sell the robot at very cheap price..just ping me through email..
Just, wait, i will update more photo on assemble steps next week. Gtg now..
===================== After a few hours and week ===============================================
Hai guys,
I'm back..Lol.Just finish upload all t'he pictures. Now, let see the first steps. The base of the robot is build using acrylic and sported by bearing plates:
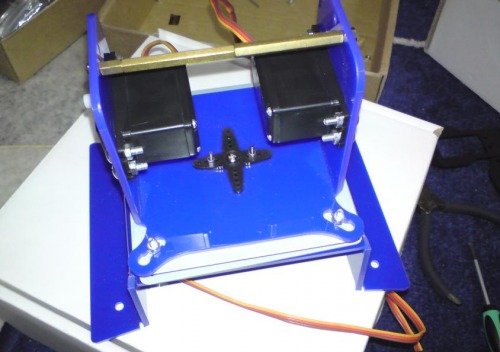
Next is to assemble the first joint:
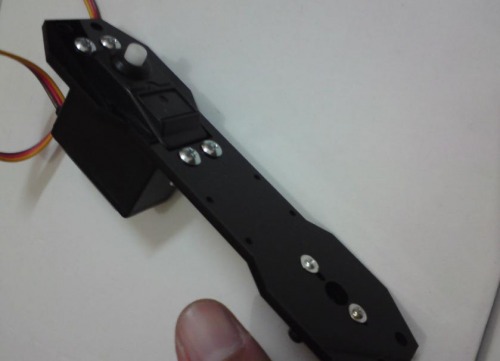
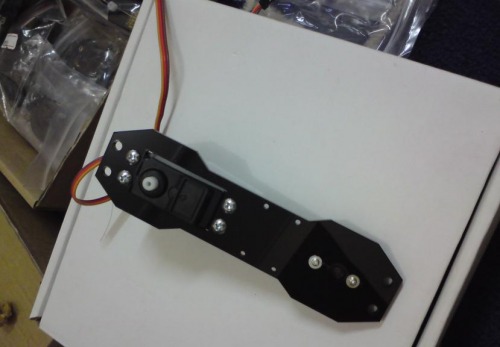
At the first joint, it require two sets of joint which give strong support. Each servo motor torque is Around 4kg.cm, so if i use two servos, each joint can have 8kg.cm.This is good enough to drive the robot arm.
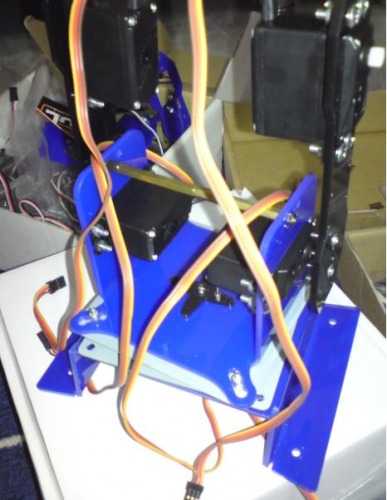
Step three is to assemble the second joint. This joint use 2 servo motor at each end side.
Next is to assemble the third joint with the wrist of the robot arm(joint number 4).
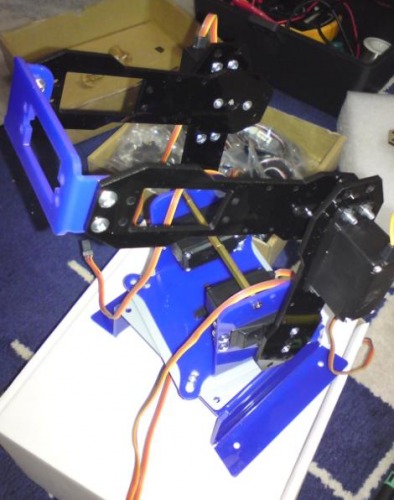
Then, we will add a servo motor to the wrist so that it can rotates from 0 degress to 180 degrees. Finally, the gripper is install
as the 5th joint which makes the robot to become 5 axis.
This is the final figures which complete the whle assembly process of the robotic arm.Next, we need to power up the robot
using our previous custom made controller. The 8 servo controller..Seems this robot is made out of plastic,so lots of precaution steps need to take..
1) Do not force the robot arm when the robot is connected to the controller and is in home position
2) Do not open or disassemble the robot base as you will hard to assemble it again.
3) The servo motor provided is working at 6volt DC only.do not exceed the limits.
4) make sure when you are using your ow robot controller, each servo motor at each joint must working in "mirror" position. Or else you could break the plastic parts if the servo working in twist direction...
5) Carefully plug in the power terminal so that it will not in wrong polarity.(this can burn out the servo and the controller..no warranty for this carelessness:))
6) Later i added more...:))
Erm, if you interested in this robot, pimp me a message..or just leave the comments here..
Next, i plan to make a cheap industrial robot using microcontroller...maybe this can help SME enterpreneur to solve their problems
instead of cheap price but reliable to use...What do you think??:))
This is a companion discussion topic for the original entry at https://community.robotshop.com/robots/show/robotic-arm-5-axis-with-gripper

