


DFRobotShop_Rover_V2_Test_Keyboard.zip (761Bytes)
Next 2nd of April I have the pleasure to represent our LMR community in the Arduino Day event in London city. For that event RobotShop has sent a special robot: DFRobotShop Rover V2 that I review here.

This robot comes as a kit, and as you will see, it is a very versatile platform for multiple robotic projects. Instead of the typical three wheel robot, what we have here is a tracked robot that can manage different surfaces.
As it is based on the standard Arduino Uno board, but enhaced with the dual DC motor driver ST L293B, you can finish the robot and start moving it with one of the scketches that comes for Arduino. You can power it directly from your USB port. But it's better if you have 4 spare AA batteries as you can let it move freely around autonomously. But first let's see what the box brings...
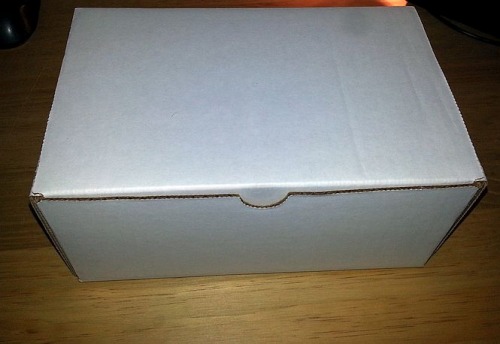
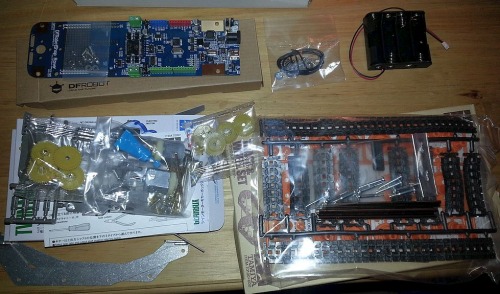
The box is a plain white one full of interesting components:
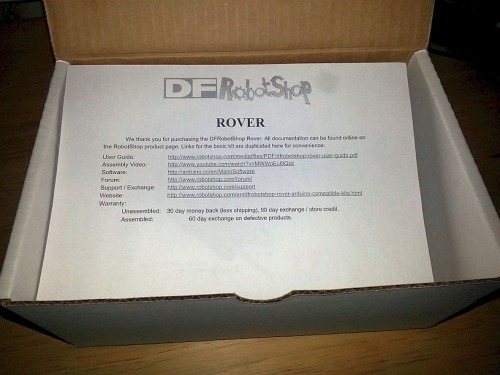
As it does not bring manuals, a paper tells you where you can find all the documentation you need and much more, specially the guide:
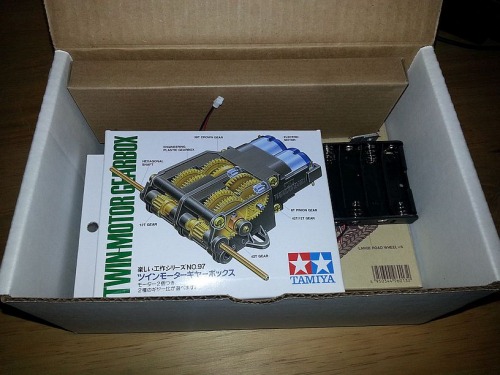
All the parts you need with small elements come in their boxes (you only need some electric tape and simple tools from your bench):
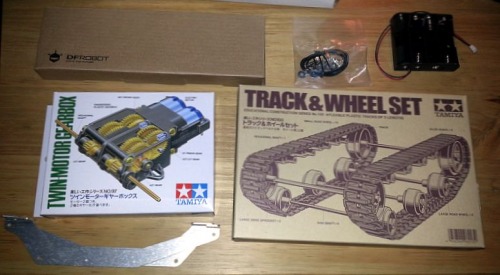
Here are the components for the robot once you have them outside their boxes, ready to mount it:
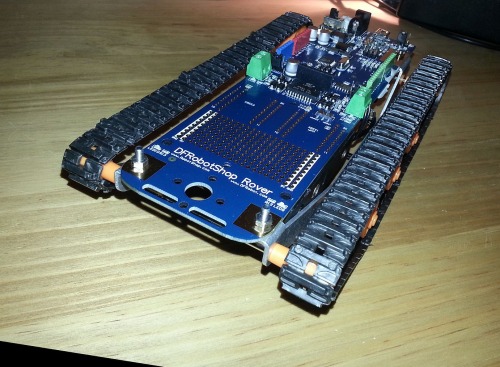
Mouting the robot is easy following the step by step video in Youtube. After an hour approx., and following exactly the easy instructions, you have the robot mounted ready to receive its batteries and start rocking!
At the front of the robot you have plenty space to install sensor and/or actuators, even to solder components to expand its possibilities.
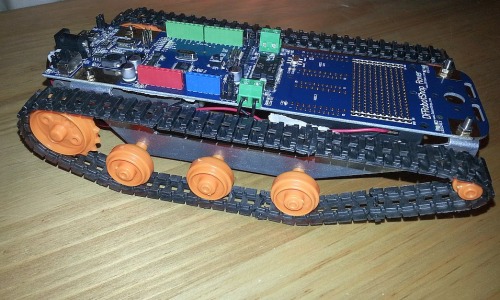
At the beginning you think these rubber tracks are not good, then you realize their are silent and their grip is great in all surfaces.
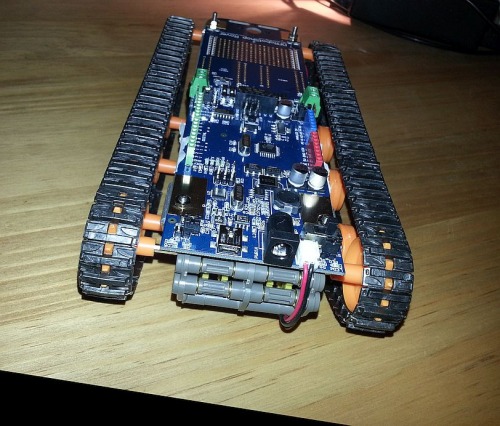
At the back you have main connectors for USB (communications and charge of a LiPo 3.7 battery thanks to its onboard charger). You have also some jumpers to activate some attractive onboard LEDs, and select either batteries or barrel power.
I'm now exploring some refinements like adding some sensors so the robot can move alone. I will publish here it as soon as I have it done. Attached is my sketch modified to command the robot throught terminal and USB cable. I added a Stop key which is "x", so I can stop the robot at any time, otherwise it will be moving always unless you disconnect it.
Update 19 March 2016
So the day later after mounting this robot, I tested connected with the USB cable. Commands from terminal are good and fast performed. I realized there is always a side that performs a bit better the changes of direction if that whell was moving before on the same direction, the other has to be activated. That delay can make a significant impact on the overal performance, but it's fine at the moment..
I have published now my second part of this review here, with a sensor and some intelligence on the rover. Don't miss it!