

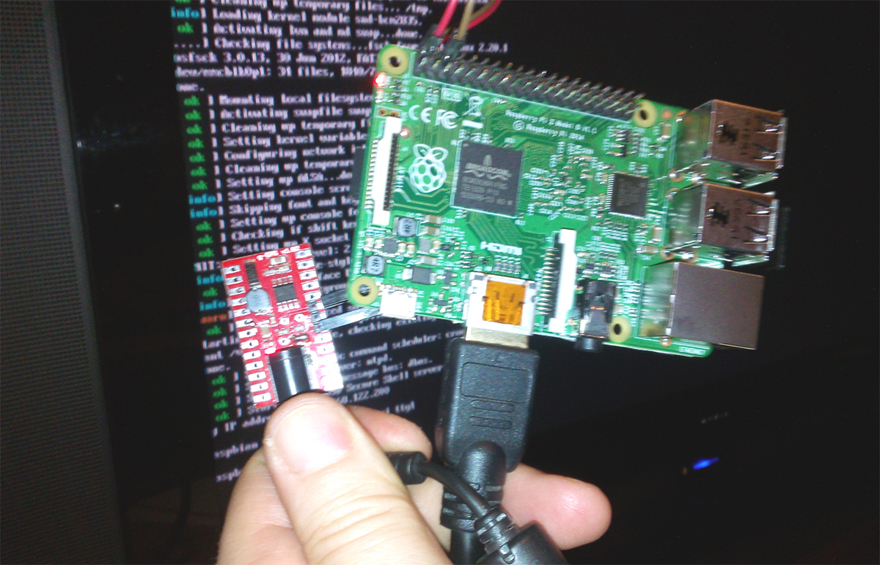
 RASPBERRY PI FREE STYLE POWERING @ WORK
Gathering all parts and tools together
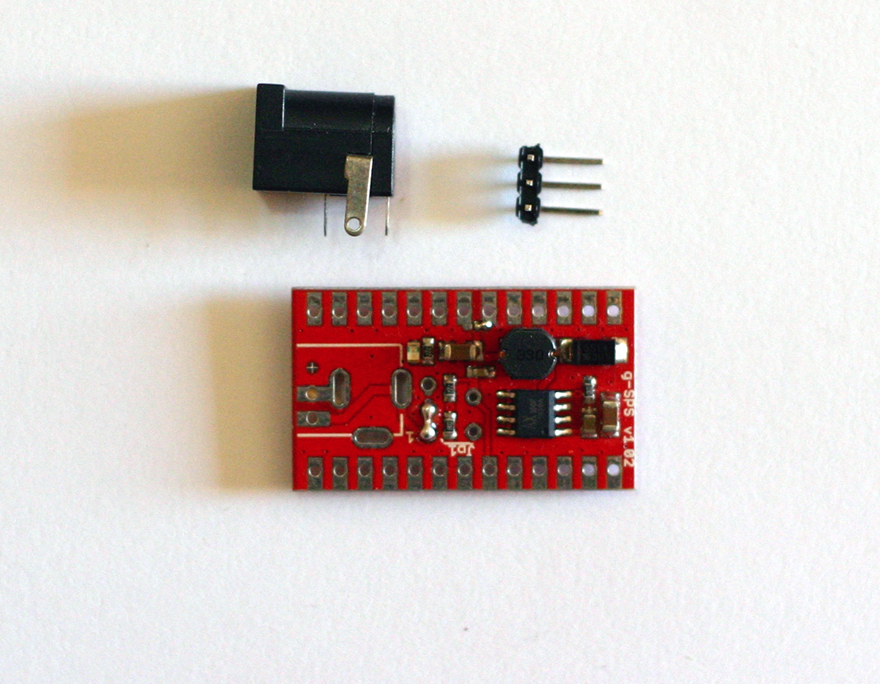 RPI power hack parts needed
- 1pcs. x g-SPS 5V version switching power supply
- 1pcs. x 2.1mm/2.5mm barrel power jack (choose one that fits with your wall adapter) or see the "Barrel jack alternative" and g-SPS reference later
- 1pcs. x 3 pins standard 0.1"/2.54mm row-header 90 degrees or straight + connecting wires x2
- optional 1000uF/6.3V electrolytic capacitor, low ESR (optional, useful in case of high current consumption pulses)
- soldering iron
- small pliers / clip
Soldering the connectors
 g-SPS 5V version having the connector for the RPI power soldered
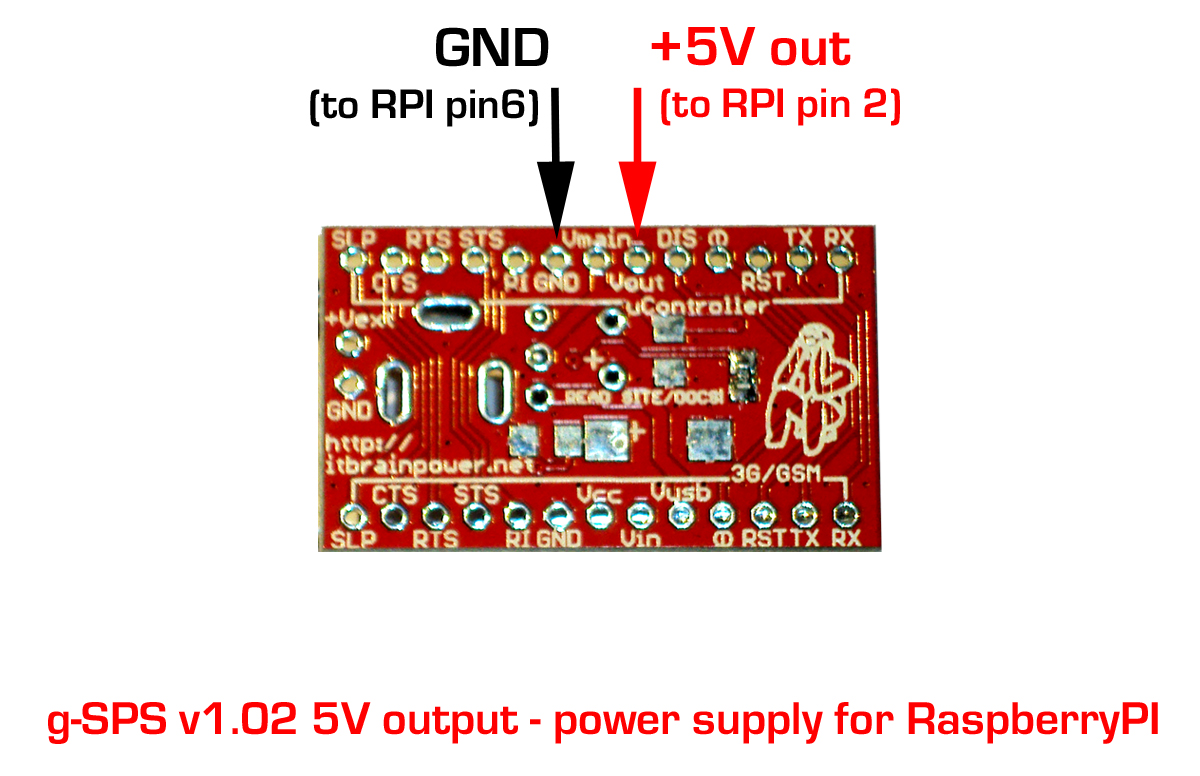 g-SPS 5V version, back side - reference
Wire the boards together
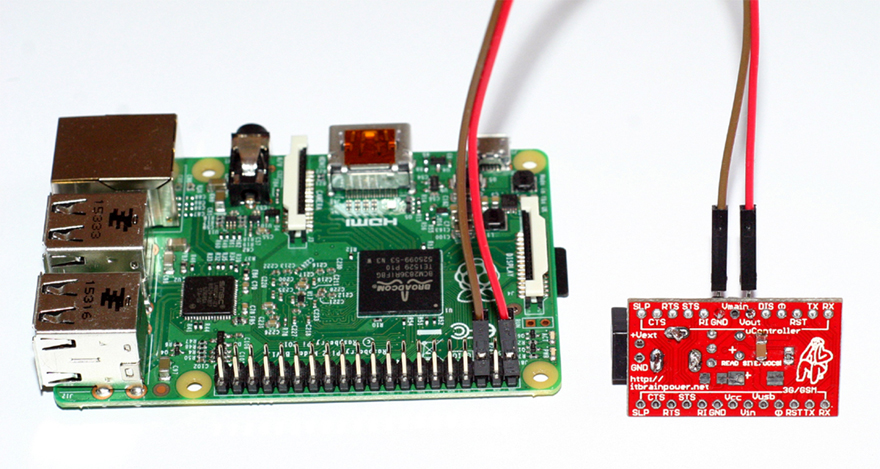 wired RPI switching power supply
- Barrel jack alternative - you can use 2pin standard 0.1"(2.54 mm) soldered to the +Vext and GND pads, as input power source connector. See details on g-SPS references.
- Increase the stability for bigger current loads - you may use one 1000uF/6.3V lowESR electrolytic capacitor. Bend the capacitor terminals to 90degree, insert it(from the top side)) to the "+" and "GND" [placed just above the "+" hole marking] vias/holes and solder it. (reference: "g-SPS 5V version, back side" picture above)
This is a companion discussion topic for the original entry at https://community.robotshop.com/index.php/blog/show/raspberry-pi-free-style-powering