Hello,
this is my last robotic project after 8 years on this forum and my first 3d printed project.
There is not much dog on the net. So, I decided to try to make one.
I liked the size of I-SoDog and G-Dog
- arduino nano
- uSSC torobot
- 10 x HS-85BB Hitec
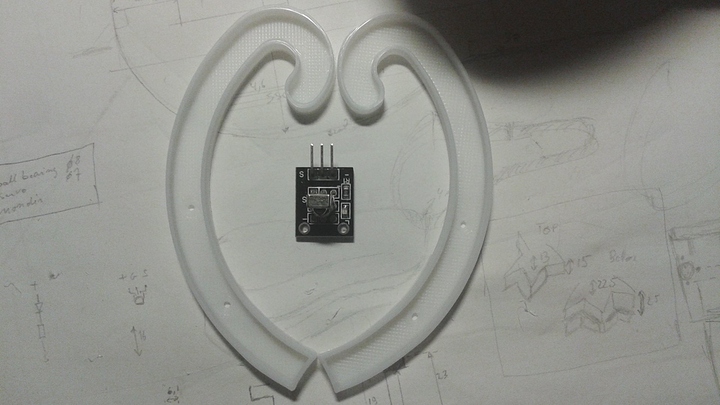
Tail can receive a VS1838B IR receiver( I have tested KurtE’s phoenix code with it) or if I choose a HC-06, it’ll be place in body
I don’t know what type of Lipo and UBEC to choose for powering it at 5Volt . Find a 2s 1800mAH 12C(size is limited). Hope it’ll work whith that
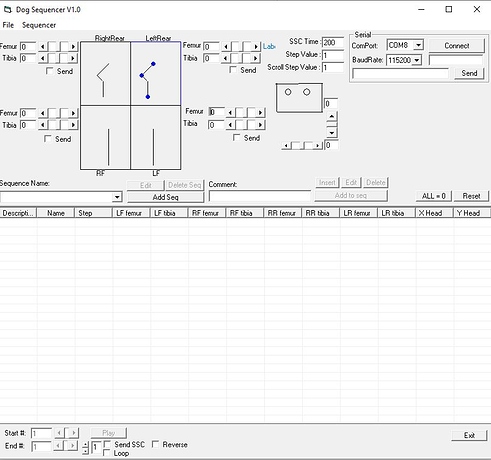
I already wrote a sequencer( in visual basic 6).
and modify KurtE’s code (phoenix for atmega) to implemente IR Remote control but I don’t know if I’ll choose this or bluetooth.
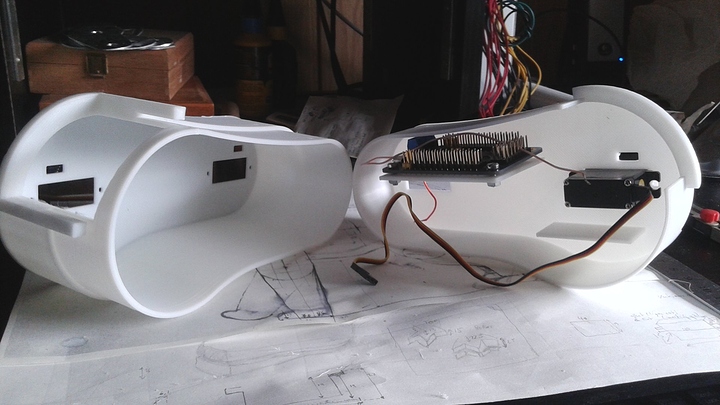
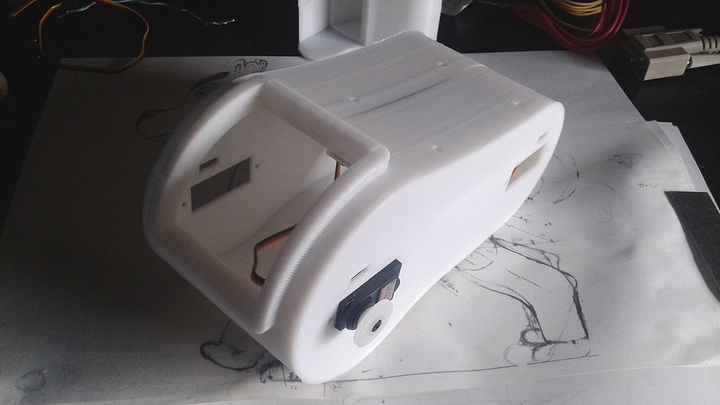
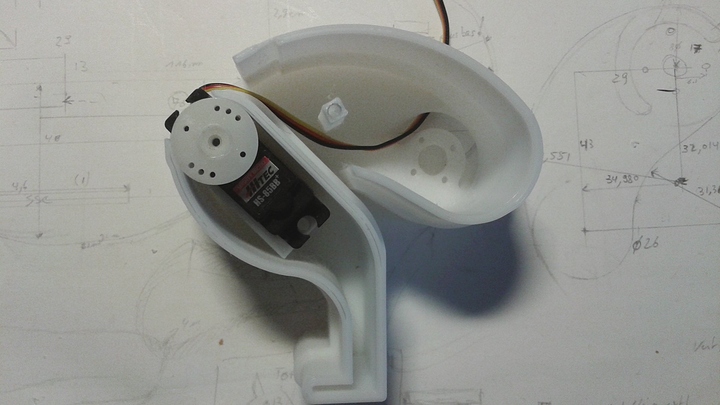
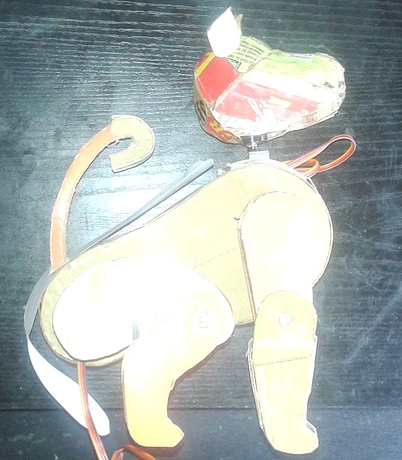
Already printed (test) [there is some little changes to do ]
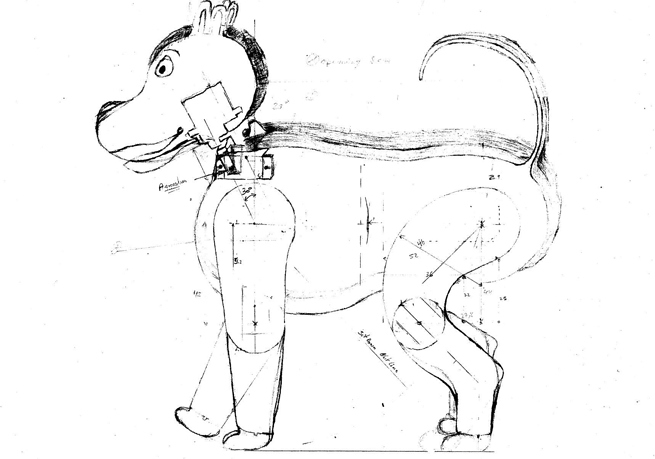
The starting point was a sketch
and
3 Likes
Very cute robotic dog. When I saw that you were mounting the servos to the flat surface of the body and attaching the legs directly to the survos, I thought you might benefit from a small change that will make your robot much sturdier and your servos last a lot longer. for each leg, have a rod that connects to the upper leg and passes into the body with a bearing at the outer edge of the body and another in the center. This will give your robot a strong and rigid structure. then mount a set of inexpensive toothed pulleys on the stepper and the shaft for the leg with a toothed belt to link the two together. They make circular toothed belts with different circumferences. This will mount your servos above, below, or behind the leg shaft. Ideally, all four servos can be mounted in the center of the dog for great balance.
2 Likes


