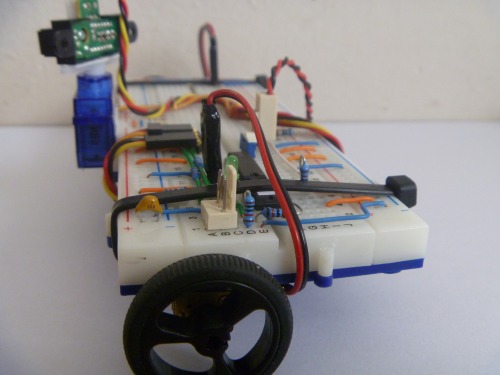
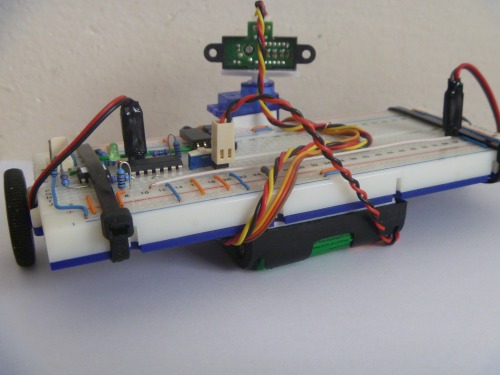
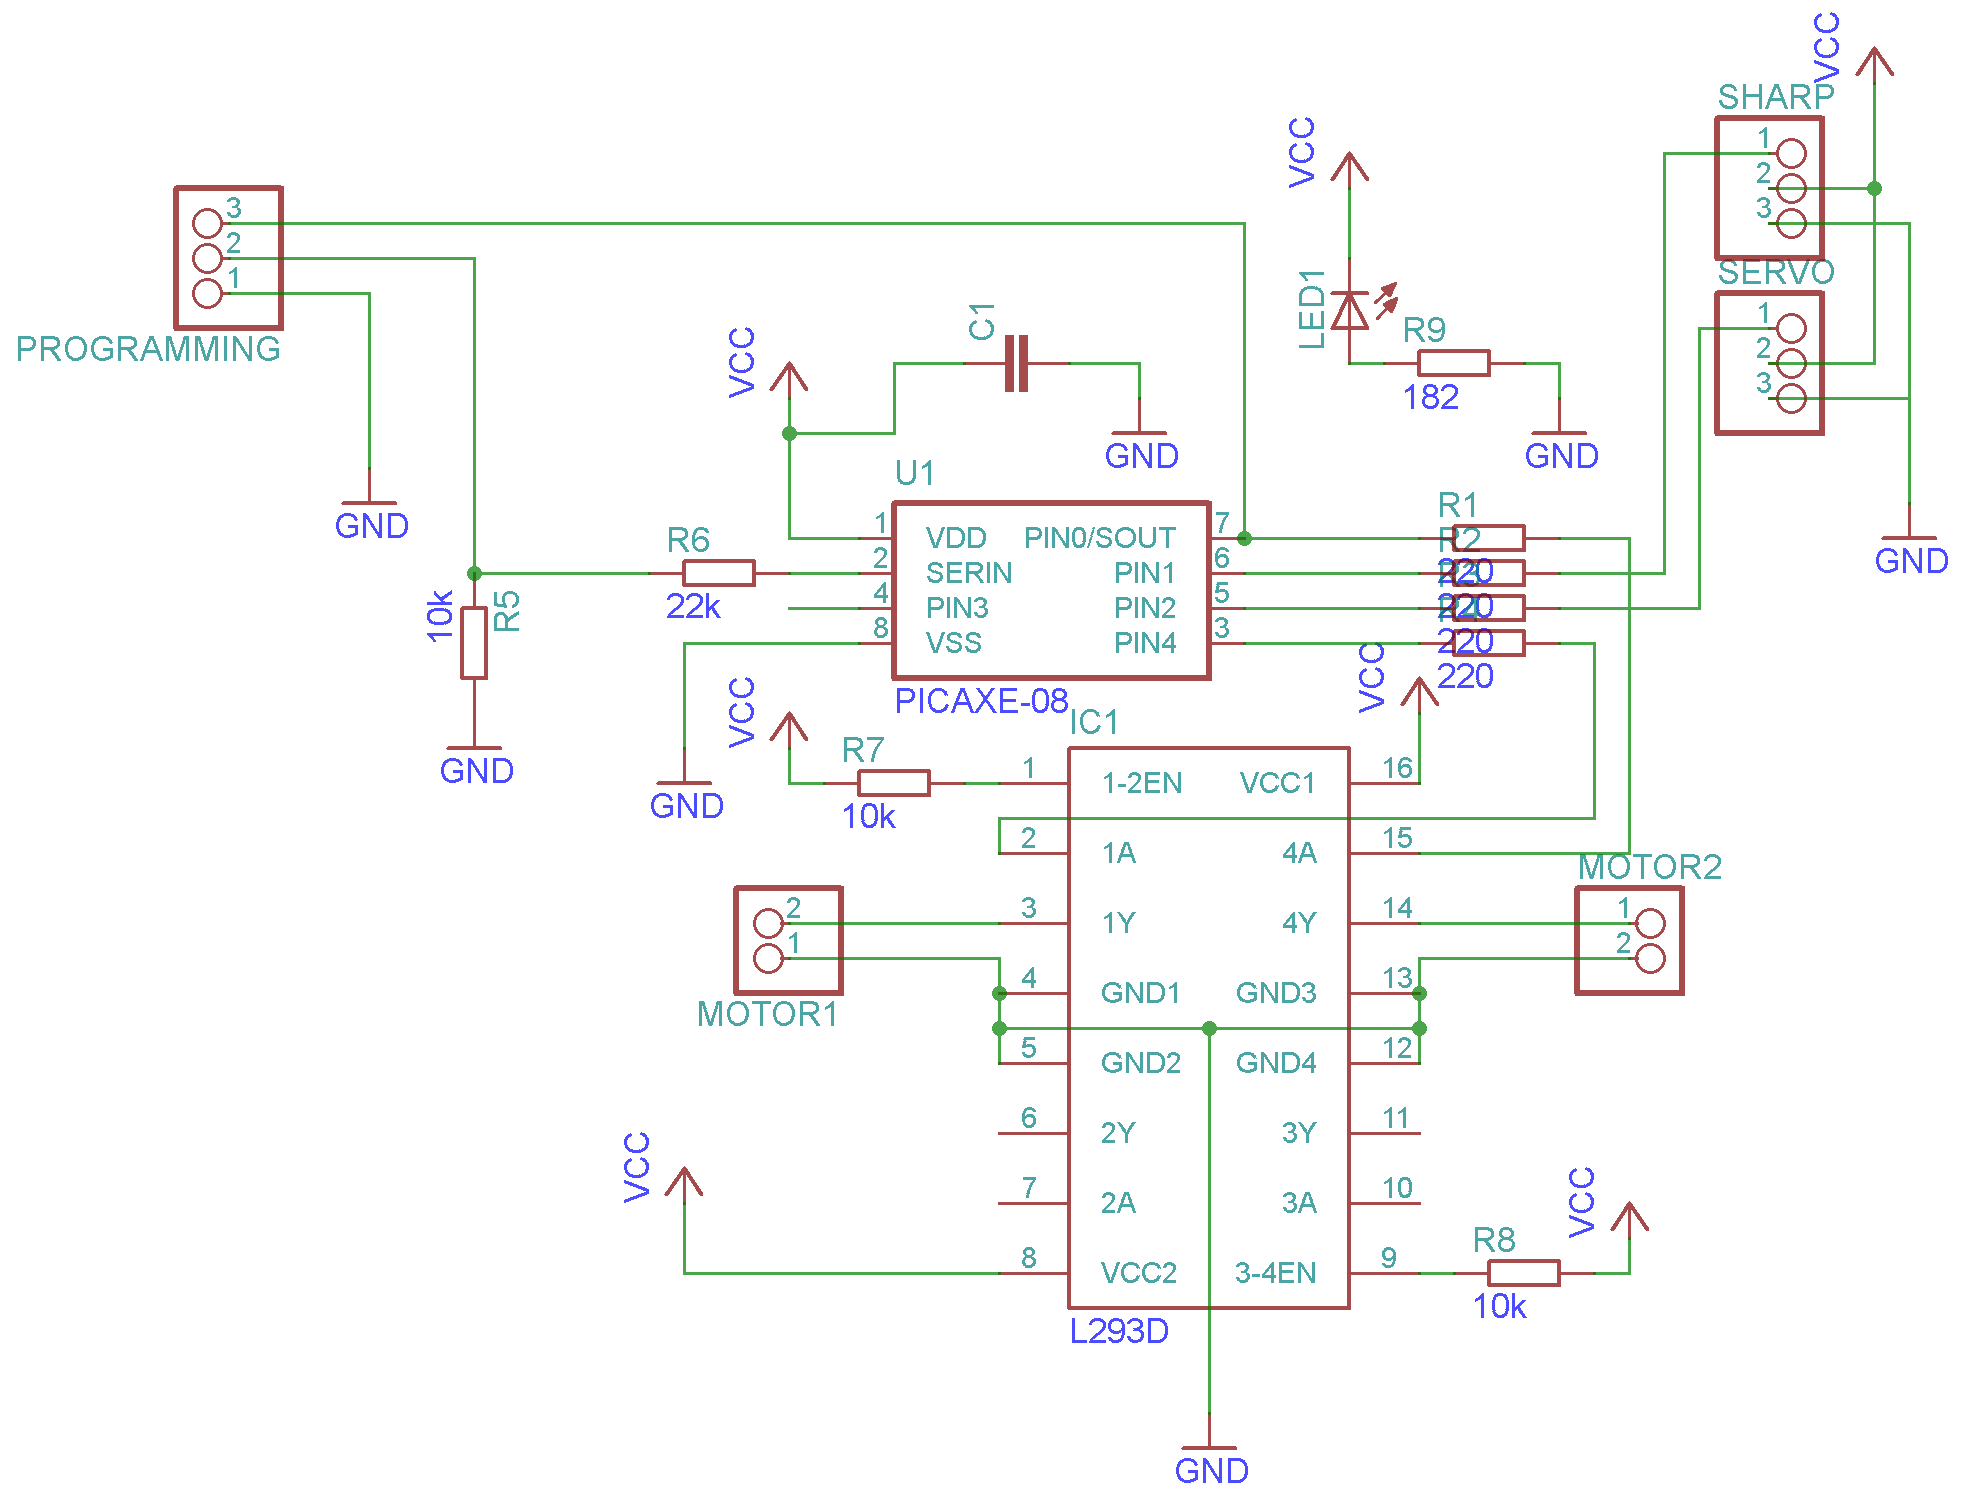
Primo


Pictures in High res. now available on: https://picasaweb.google.com/117478617231202648212/Primo?authkey=Gv1sRgCLy4gIfUuZSIrwE

The Code is on English now !!!!! but it is Terrible :D


Tutorial - How to make Primo


We will need:


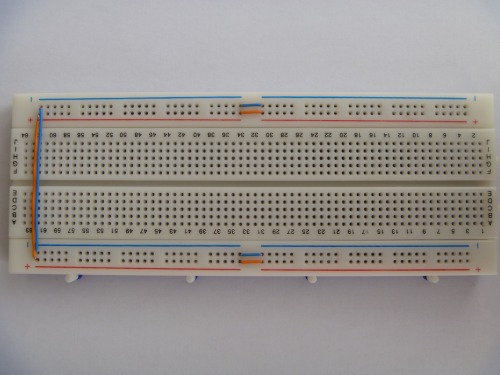
  • Breadboardwith 840 pins (recommended)Primo - Breadboard


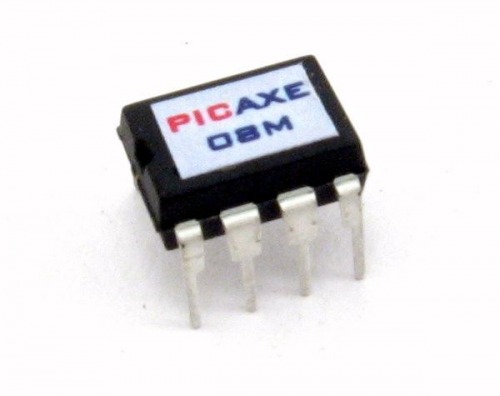
  • Picaxe-08M or Picaxe-08M2 (M2 is better)Picaxe-08M


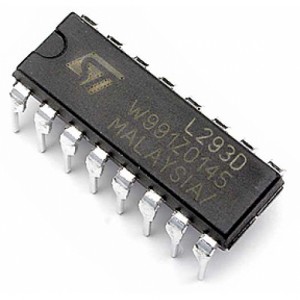
  • H-Bridge - L293D


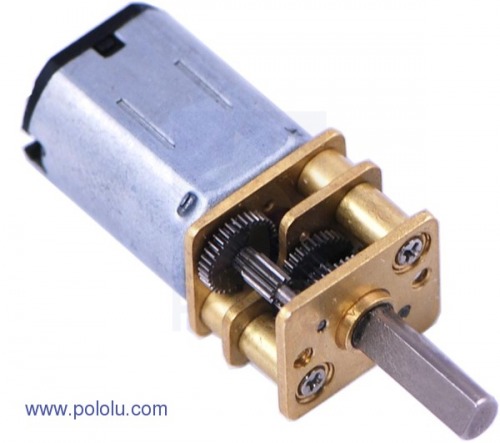
  • Motors Pololu - 100:1 and 360mA


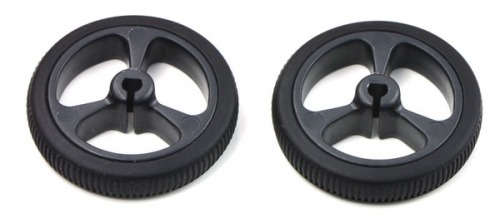
  • Wheels Pololu - 32x7


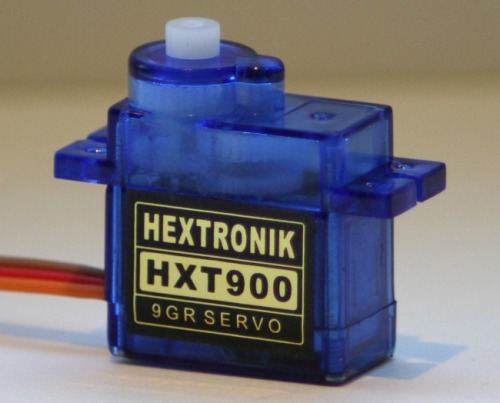
  • Servo

I used the HXT900, because it is cheap and we do not need lot of power.


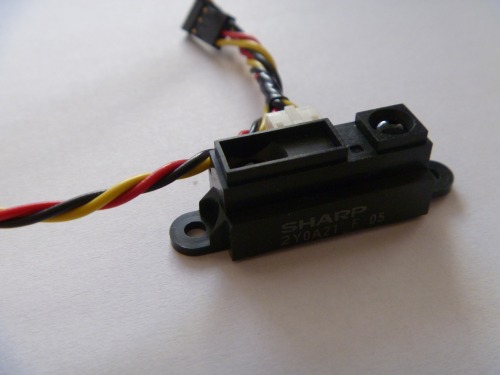
  • Sharp GP2Y0A21


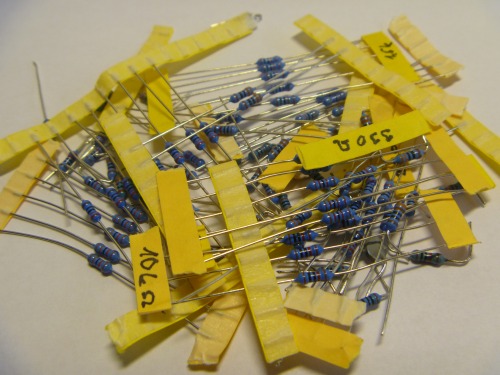
  • Resistors:
  • 10kΩ (3x)
  • 22kΩ (1x)
  • 220Ω (4x)
  • 182Ω (1x)


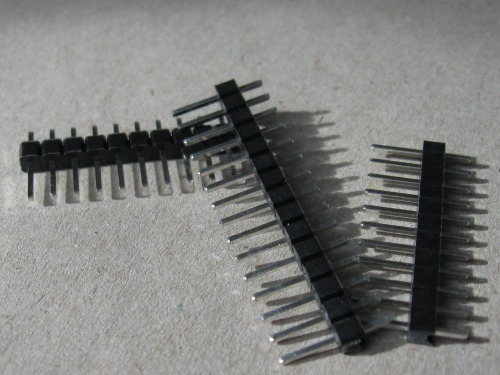
  • Connectors


(picture from "Start here")


  • Wire


Assembly Primo


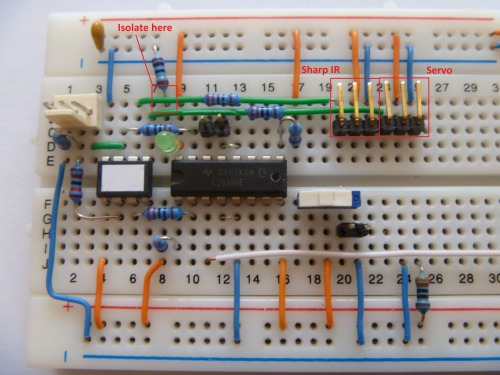
1. We must assembly the Mainboard.


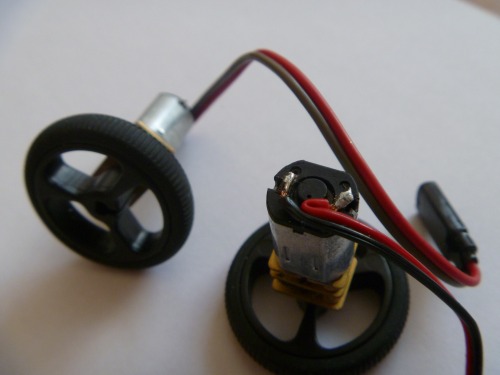
2. Solder wires (with female connectors) on motors.


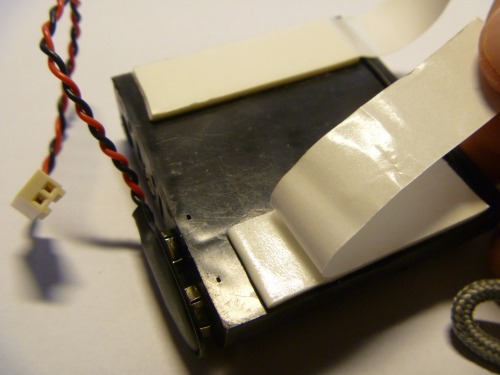
3. The Foam tape

Put foam tape on Motors, Servo, Sensor and on everything what you want attach on te robot.
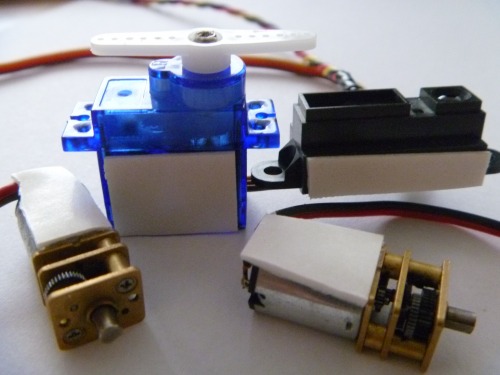
   

Tape you must put over
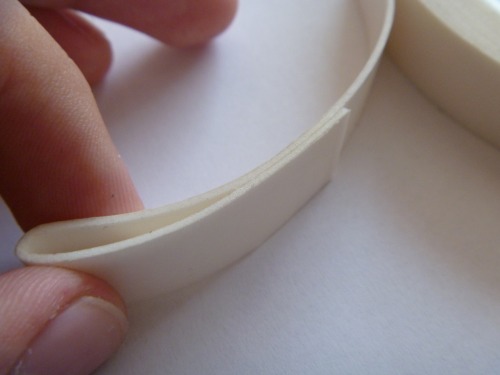
   

and stick it on the battery holder
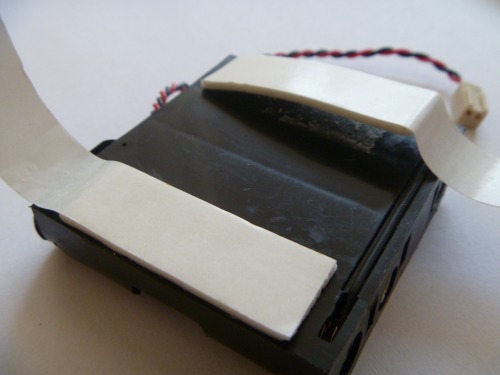


4. Stick all parts together.

First we stick motore with wheel on the breadboard.
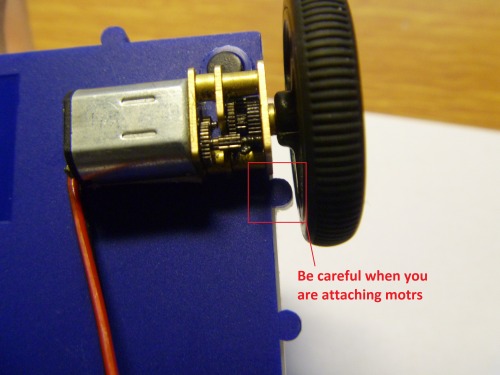
   

Next you can stick the IR sensor on Servo. Important - When you are stiking the IR sensor on servo, servo must be in center !
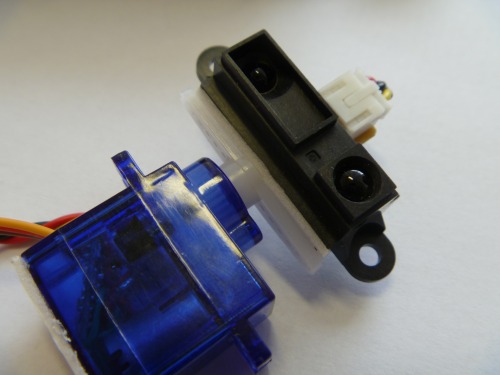
   

Now we can attach te servo with sensor in the bread board.
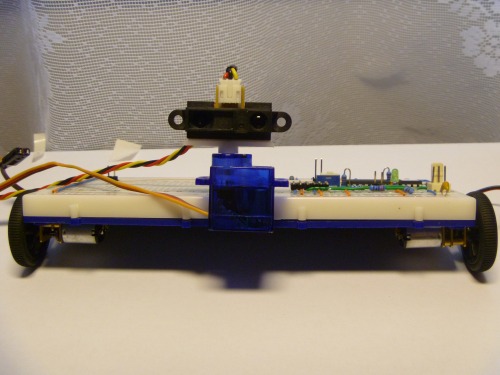
   

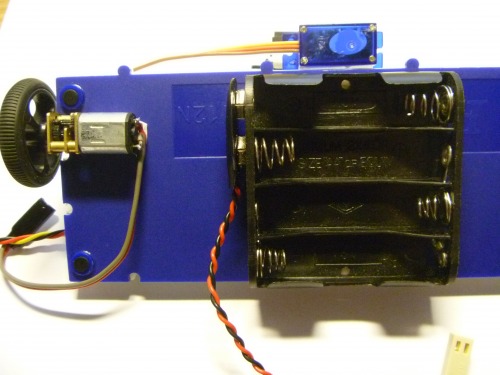
It is look like Robot ! :D Finaly you stick the battery holder on your "robot".
   

Imortant - You must attach the battery holder like you see on the picture !


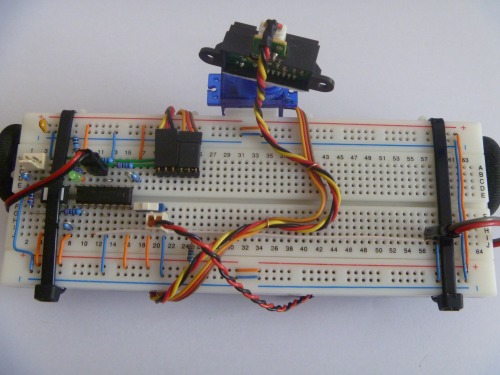
5. Connect

Now connec the connectors, plug in batteries and programming :D
  

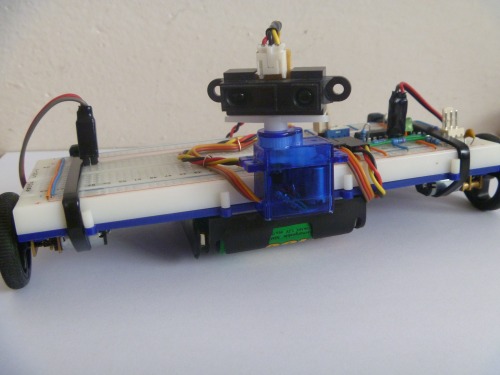
You can pull up motors for better stability.


I add here more informations !!! But if you have some questions please ask.

Navigate around via IR

  • Actuators / output devices: 2 geared motors, 1 Servo
  • Control method: Autonomus
  • CPU: PICAXE-08M
  • Power source: 5V
  • Programming language: Picaxe basic
  • Sensors / input devices: Sharp IR
  • Target environment: indoor

This is a companion discussion topic for the original entry at https://community.robotshop.com/robots/show/primo

Thats some neat wiring

Do you have a video?

That must be the cleanest

That must be the cleanest breadboard setup I have ever seen. And what a great idea to use the breadboard as the base for the robot itself!
Keep up the good work and please post a video.

**Thanks. Im going to add**<br><p>Thanks. Im going to add video.

OMG

You are way better than me with a breadboard! Wow, the cleanest breadboard setup i ever saw! Hope to see a vid soon!

Cool Dude !

Cool Robot Brother It’s Awesome And The Breadboard Setup Rocks ! ! ! Waiting For A Video . . . . . . . . :slight_smile:

Nice!

Nice robot! Can you do a tutorial how to make it?

Thanks, OK I’ll try, but my

Thanks, OK I’ll try, but my english isn’t perfect. :smiley:

Okay…

A new question.

What components did you use and can you put codes on the site?

I am working on tutorial now

I am working on tutorial now :D. I upload code here, but comments is on Czech language. When I translate tutorial I translate the code too.

Yes!
Thanks for the tutorial!

Breadboard
Sorry for my questions… But can I use a breadboard with 270 pins?

Breadboard

You can use all type of breadboards but I think 270 is small. :frowning:

Wow great tutorial and

Wow great tutorial and amazing robot! keep up the great work!!

Great Work

I love breadboard-bots, and your documentation is amazing.  Thanks for sharing!

Woot?

You haven’t translated the code?

Sorry, I do not have a time

Sorry, I do not have a time today. I am going to translate the code tomorrow. Today you can try write code yourself. In article “Start Here” is lot of examples.

Clean

Very clean. Nice job.

Thanks for all :wink:

Thanks

Thanks, Thanks, Thanks.