


Primo
Pictures in High res. now available on: https://picasaweb.google.com/117478617231202648212/Primo?authkey=Gv1sRgCLy4gIfUuZSIrwE
The Code is on English now !!!!! but it is Terrible :D
Tutorial - How to make Primo
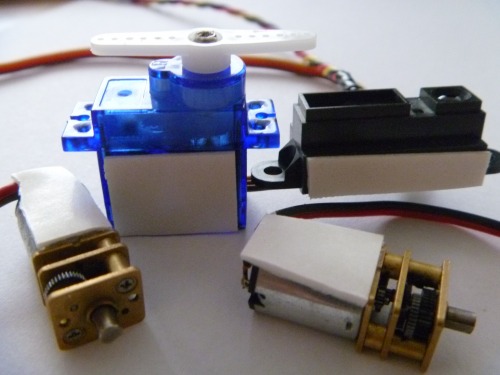
We will need:
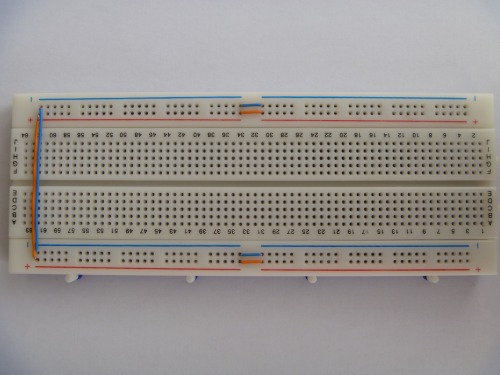
- Breadboardwith 840 pins (recommended)
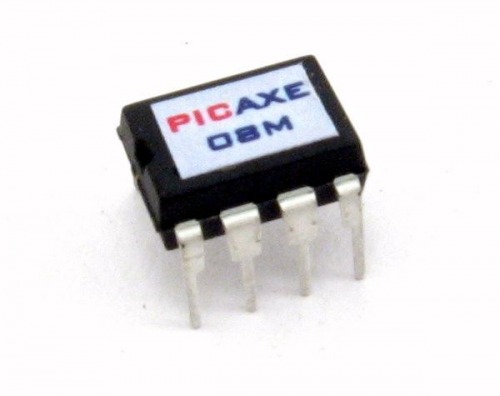
- Picaxe-08M or Picaxe-08M2 (M2 is better)
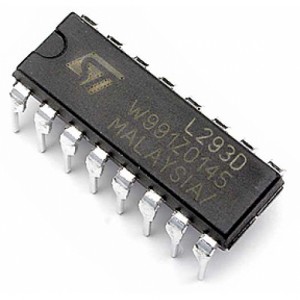
- H-Bridge - L293D
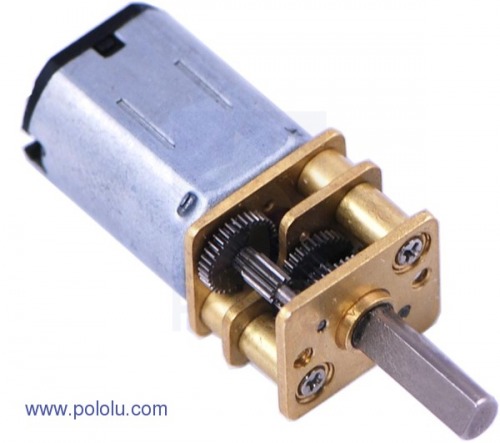
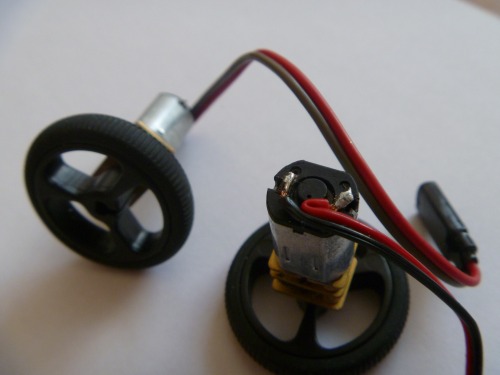
- Motors Pololu - 100:1 and 360mA
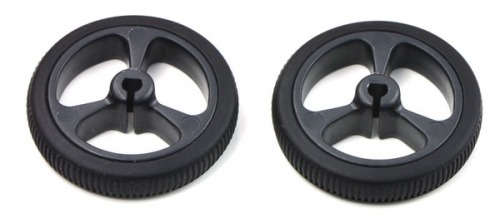
- Wheels Pololu - 32x7
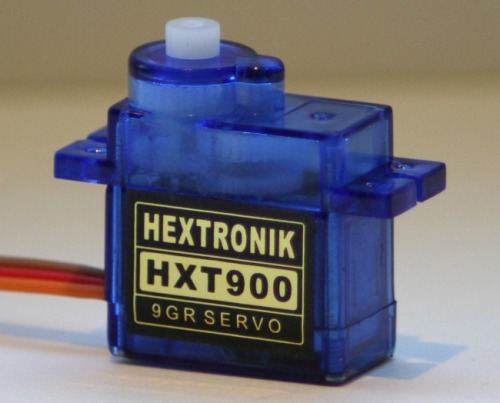
- Servo
I used the HXT900, because it is cheap and we do not need lot of power.
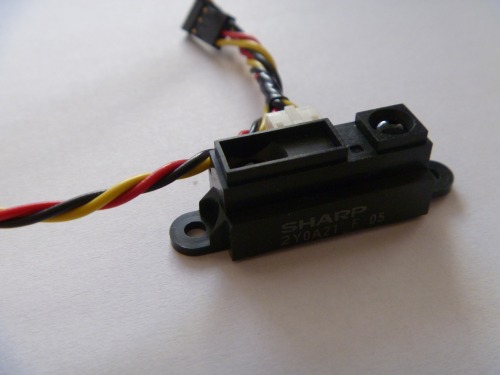
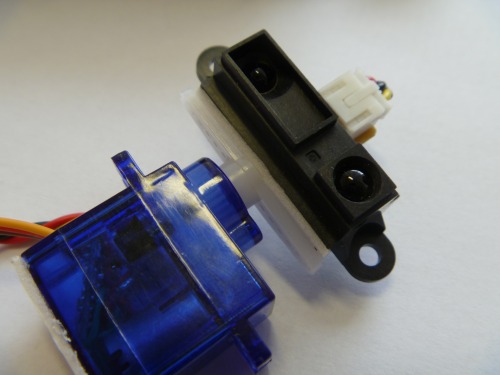
- Sharp GP2Y0A21
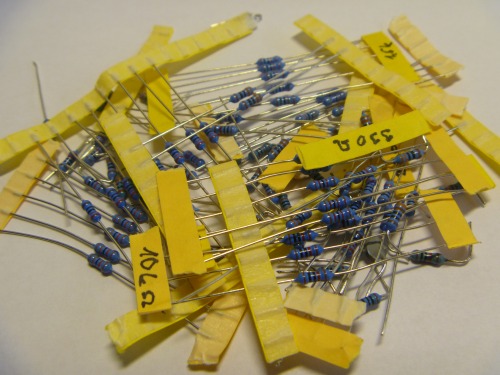
- Resistors:
- 10kΩ (3x)
- 22kΩ (1x)
- 220Ω (4x)
- 182Ω (1x)
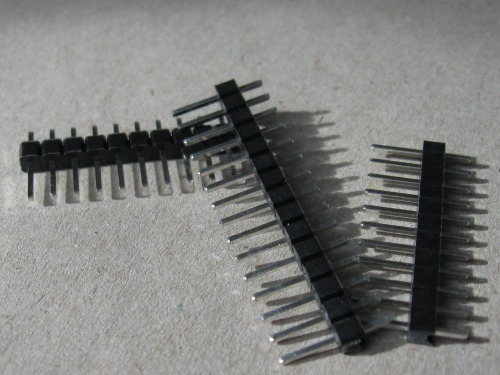
- Connectors
(picture from "Start here")
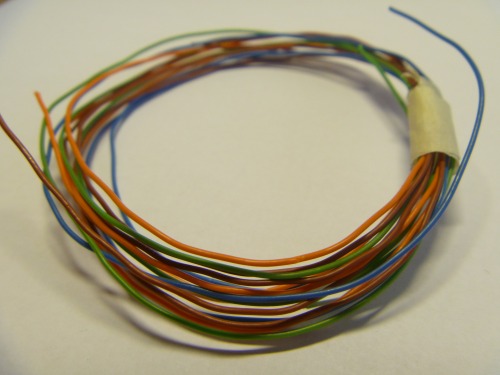
- Wire
Assembly Primo
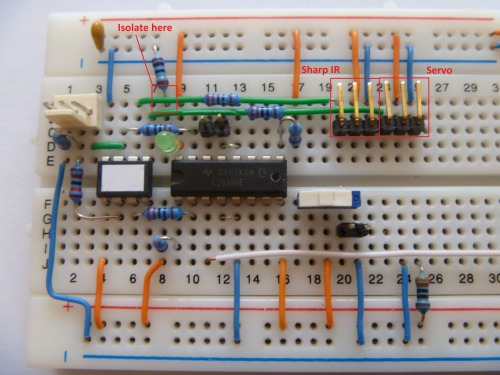
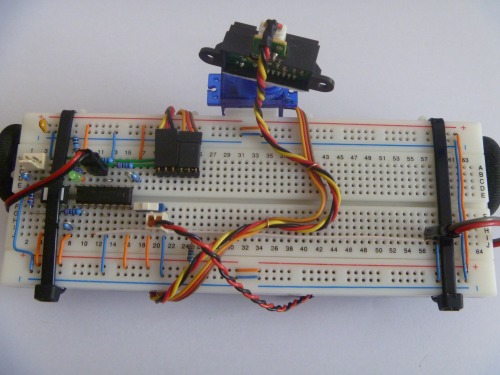
1. We must assembly the Mainboard.

2. Solder wires (with female connectors) on motors.
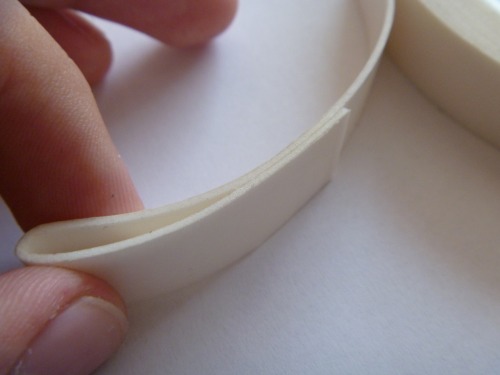
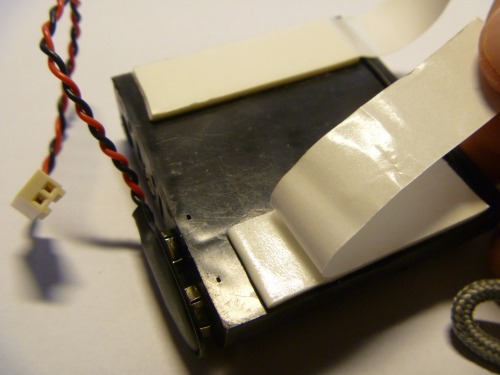
3. The Foam tape
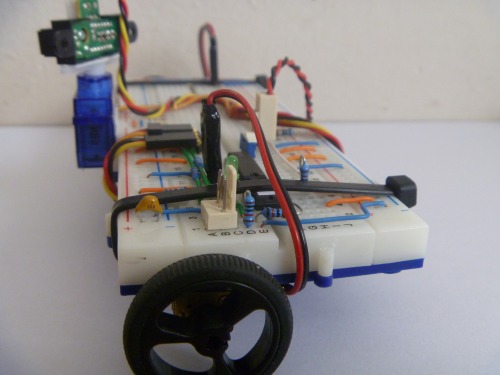
Put foam tape on Motors, Servo, Sensor and on everything what you want attach on te robot.
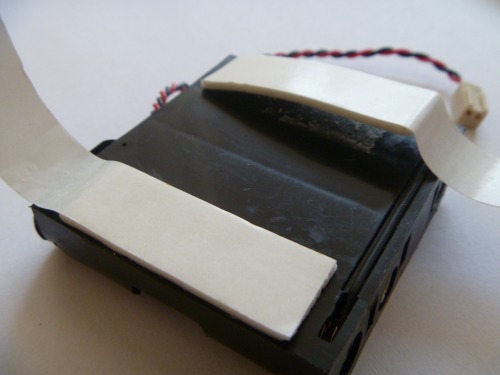
Tape you must put over
and stick it on the battery holder
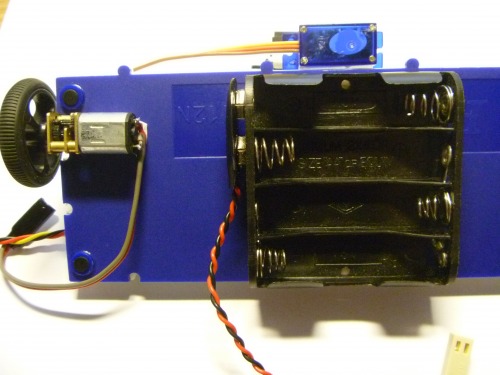
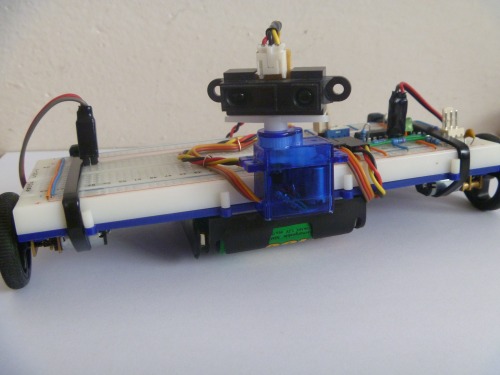
4. Stick all parts together.
First we stick motore with wheel on the breadboard.
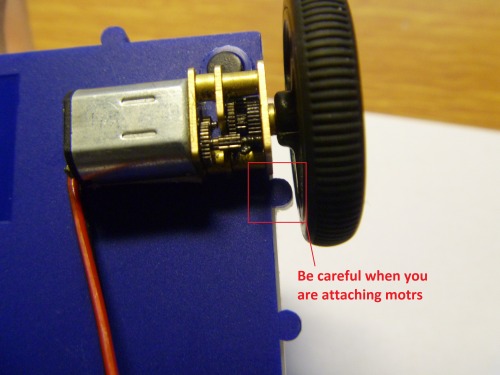
Next you can stick the IR sensor on Servo. Important - When you are stiking the IR sensor on servo, servo must be in center !
Now we can attach te servo with sensor in the bread board.
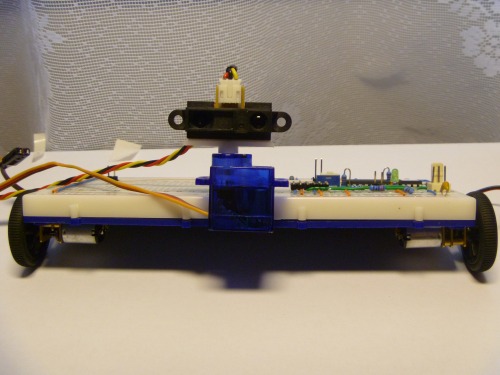
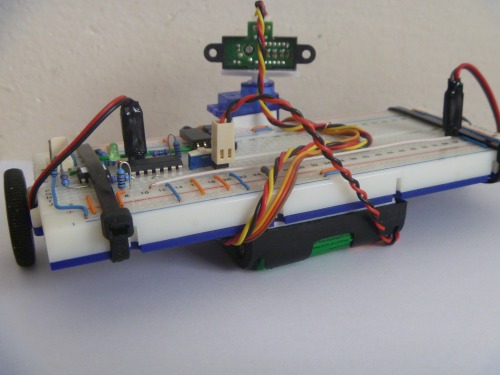
It is look like Robot ! :D Finaly you stick the battery holder on your "robot".
Imortant - You must attach the battery holder like you see on the picture !
5. Connect
Now connec the connectors, plug in batteries and programming :D
You can pull up motors for better stability.
I add here more informations !!! But if you have some questions please ask.
Navigate around via IR
- Actuators / output devices: 2 geared motors, 1 Servo
- Control method: Autonomus
- CPU: PICAXE-08M
- Power source: 5V
- Programming language: Picaxe basic
- Sensors / input devices: Sharp IR
- Target environment: indoor