

line_follower_PID.zip (1639Bytes)
PID_Line_Following_Tutorials.pdf (519025Bytes)
UPDATE : (07/10/2014) Added a PDF version of this tutorial and a sample video of a PID based Line Follower.
UPDATE : ( 01/16/2014 ) A few updates on making things more clearer about P, I , D and Kp, Ki, Kd.
UPDATE : ( 01/18/2014 ) A few minor additions and got rid of some technical errors, misplaced values, etc.
Hello LMRians,
In this writeup, I will try to create a tutorial for tuning your robot using PID to follow a line. This tutorial won't go deep down into the details of PID and its applications but will just attempt to show how a robot can be tuned with the PID parameters to follow a line.
In my PID based line follower, to remove any sort of difficulties and complexities, I chose the Pololu QTR-8RC array sensor. In this tutorial as well, I will hover around this specific line sensor and how it's readings can be integrated into your own PID line following code.
The Line Following Sensor : Pololu QTR-8RC Array Sensor

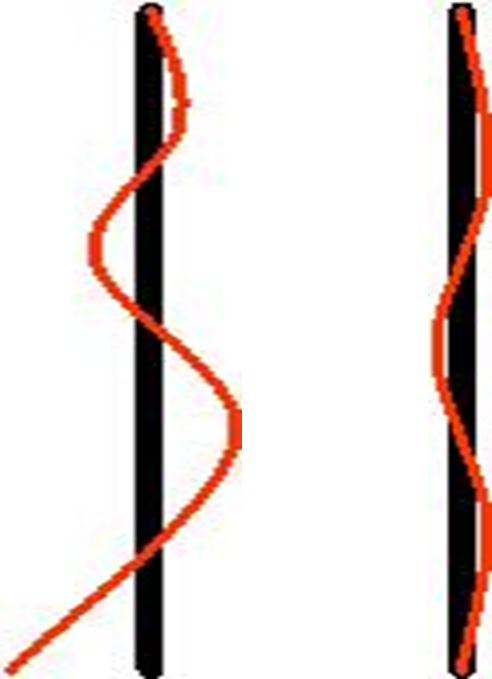
The Pololu QTR-8RC sensor trims the fat when it comes to PID based line following. It not only signals you as to where the lines are located, but in turn, it also outputs the position of the robot while following a track.
KEY TERMS IN PID BASED LINE FOLLOWING:
PID stands for Proportional, Integral and Derivative. In this tutorial, I am taking a few peeks at Pololu's documents. As stated there :
· The proportional value is approximately proportional to your robot’s position with respect to the line. That is, if your robot is precisely centered on the line, we expect a proportional value of exactly 0.
· The integral value records the history of your robot’s motion: it is a sum of all of the values of the proportional term that were recorded since the robot started running.
The derivative is the rate of change of the proportional value.
(Note that the proportional term (P) , the integral term (I) and the derivative term (D) are the measures of the errors encountered while the robot follows a line. Kp , Ki and Kd are the proportional , integral and derivative constants that are then multiplied to the errors to adjust the robot's position. Kp, Ki and Kd are the PID parameters.)
In this tutorial, we will talk about just the proportional and derivative terms and in turn, just Kp and Kd. However, results can be accomplished using the Ki term as well. Perfectly tuning the Kp and Kd terms should be just enough though.
There are two important sensor readings to look into, when implementing PID. However, these readings are not simply the classic "analogRead(leftFarSensor)" type of readings. These readings are not only the analog readings, but also the positional readings of the robot. ( Let's not get into the technicalities of the reading methods of the Pololu Array Sensor. If you are interested, it is well documented on the Pololu website. The basic thing is : This sensor provides values from 0 to 2500 ranging from maximum reflectance to minimum reflectance, but at the same time, also provides additional readings on the robot's position i.e. how far the robot has stranded off from the line. )
Setpoint Value:
This is our goal. It is what we are hunting for. The setpoint value is the reading that corresponds to the "perfect" placement of sensors on top of the lines. By perfect, I am referring to the moment when the line is exactly at the center of our sensor. I will add on this later. If the robot is perfectly tuned, then it is capable of positioning itself throughout the course with the setpoint value.
Current Value:
The current value is obviously the instantaneous readings of the sensor. For eg : If you are using this array sensor and are making use of 6 sensors, you will receive a positional reading of 2500 if you are spot on, around 0 if you are far too left from the line and around 5000 if you are far too right.
Error:
This is the difference of the two values. Our goal is to make the error zero. Then only can the robot smoothly follow the line. Hopefully, this term will get more clear as we move forward.
THE PID EQUATION:
Wikipedia provides a number equations that all refer to the applications of PID. They might look complex and hard-to-understand. However, Line following is one of the simple applications of PID, thus, the equations used are not very daunting after all.
1) The first task is to calculate the error. This can also be called the proportional term i.e. it is proportional to the robot's position with respect to the line.
Error = Setpoint Value - Current Value = 2500 - position
As you can see, I have made use of 6 sensors. Our goal is to achieve a state of zero-error in the PID equation. Just imagine, as I stated earlier, the sensor gives a positional reading of 2500 when the robot is perfectly placed. Substituting 2500 as the position in the above equation we get,
Error = 2500 - position = 2500 - 2500 = 0
Clearly, 2500 is the position that zeros out the equation and is thus, our Setpoint Value.
(Note : You may notice, what if the sensor is to the far left? The positional reading would then be 0. Would that result in an error of 2500? Correct. And that error of 2500 is taken into account, and necessary changes are made in the next equation )
2) The second task is to determine the adjusted speeds of the motors.
MotorSpeed = Kp * Error + Kd * ( Error - LastError );
LastError = Error;
RightMotorSpeed = RightBaseSpeed + MotorSpeed;
LeftMotorSpeed = LeftBaseSpeed - MotorSpeed;
Note the equation -------------- MotorSpeed = Kp * Error + Kd * ( Error - LastError );
The proportional constant is multiplied to the proportional term i.e. the error.
The derivative constant is multiplied to the derivative term. ( the derivative term, as the name suggests, measures the rate of change in the proportional term)
Now that we have calculated our error, the margin by which our robot drifts across the track, it is time for us to scrutinize the error and adjust the motor speeds accordingly. Logically speaking, an error of 2500 ( in other words a positional reading of 0 ) means our robot is out to the left, which means that our robot needs to go a bit right, which inturn means, the right motor needs to slow down and the left motor needs to speed up (Differential Drive). THIS IS PID! It is basically just an implementation of the general rules of line following in real-time, in high-definition, and in split-seconds!
The MotorSpeed value is determined from the equation itself. RightBaseSpeed and LeftBaseSpeed are the speedsat which the robot runs at when the error is zero. Any PWM value from 0 -255 should do. ( If you are using an 8-bit PWM microcontroller that is :P )
So this is what we have so far :
1 2 3 4 5 6 7 |
int error = position - 2500; |
( I have become a fan of this beautifier. Thank you Ladvien Sir! )
Troubles you may run into:
As I stated earlier, PID is a super hero and can be a mega-villain as well. It can deceive you with the erroneous responses but at the same time, it’s accurate results will WOW you, if it gets implemented correctly. These are a few troubles I personally ran into while building my line follower.
1) Errors in Sign :
This is the most dangerous of all the errors you may encounter. A small sign error in any part of the PID equation could spell trouble. In this example, I have used the equation error = 2500 - position . This may not work for you. This works for a line follower following a white line on a black background. If you have a black line on a white background, you might need to set it to error = position - 2500 and might also need to make other changes in the signs in the PID equations.
If you are finding trouble to adjust your robot, an another option may include carrying your robot above a certain height, just to determine if the wheels are spinning in the correct directions. For eg : If the robot is at a position of 5000, the robot is to the far right. However, if the wheels are still spinning in such a way that the robot is still tending to move to the right, there is a sign error in your second equation.
RightMotorSpeed = RightBaseSpeed + MotorSpeed; ( + might need to be changed to - )
LeftMotorSpeed = LeftBaseSpeed - MotorSpeed; ( - might need to be changed to + )
2) Troubles with finding the PID parameter values :
I have read many comments on many PID line following projects and the most popular question that stands out is : "Please provide me the Kp, Ki and Kd values!!!"
Really? It’s a great experience, if not the best, in finding them. You falter and falter and falter, and finally, you will have something running at the end. So give it a try yourself!
Whatever you do and however you forge ahead with tuning the PID parameters, I suggest to start small. Maybe a PWM value of around 100 should do for the base motor speeds. Then plug in the Kp and Kd terms. As I mentioned way above, the P term is the Proportional and the D term is the Derivative. The derivative of an error is smaller than the error itslef. Thus, to bring about meaningful corrections, it needs to multiplied by a bigger constant and thus, the Kp term is very small in comparison to the Kd term. You could start just with the Kp term, and then when you have something fine, you can add the Kd term and experiment as you move towards your goal of a smooth line follower.
Thanks for reading this tutorial. It’s not that well managed and systematic, I guess. I may have made a few errors along the way, so constructive suggestions are highly appreciated. I, myself, am still learning to make my programs look more matured. I will try to make some more updates and hopefully add some more ideas, if I learn them in the days to come. Do find the attached code if you are having troubles. ( Still, there are no values for the constants  . I’ll give you a hint though. Kd is at least 20 times bigger than Kp in my case )
Happy Tuning!https://www.youtube.com/watch?v=G7PC9B4DBdI
