

Hi guys, few days ago we started to plan and make a new robot with my daughter. She is 5 years old and loves to build things. The picture uploaded represents the plan. M stands for motor or servo, B for battery and C for computer. You'll see a strange box with a cabel to the robot on the picture. This is the optional remote controller. We plan to make it from thin wood cardboards approx. 3mm. I think the legs will be double thickness due to stability. The head should be able to tilt left and right. My doughter finds it funier. She gave it the Name Minion because of the head shape. We use this blue plastic micro servos. The size of the Robot should be 25 cm x 16 cm. I'm just thinking about the joints between the parts using the servos. Any ideas or suggestions?
UPDATE 07.08.2017
Yesterday we managed to draw some shapes we took 1:1 from the sketch and we cut then out of the wooden plates. We glued with glue for wood where needed, f.e. legs to make them stronger and 3D shape. Then I drilled the holes to attach the servos in a stable way. I’ll describe it in the next post in detail with some photos.
Drawings on the wooden plates and the simple saw.
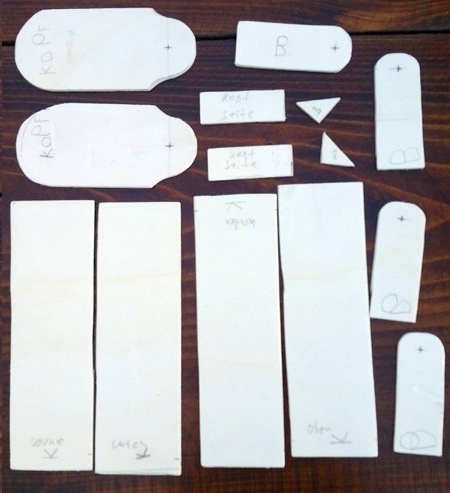
Cutted parts. Taken from the sketch 1:1.
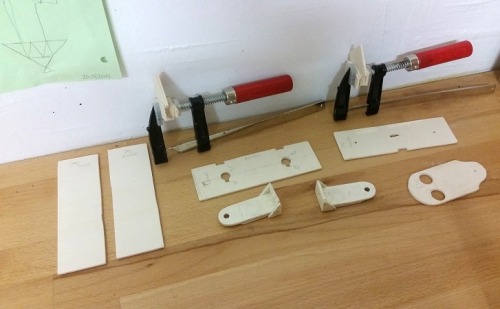
After drilling and glue. Do you see the holes for the ultrasonic sensor? We'll use it for the self navigation of the robot.
UPDATE 13.08.2017
We finished the robot. Here some pictures.
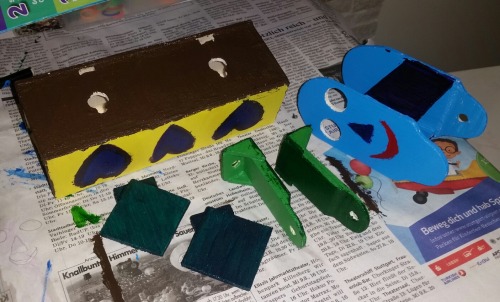
Robot parts painted
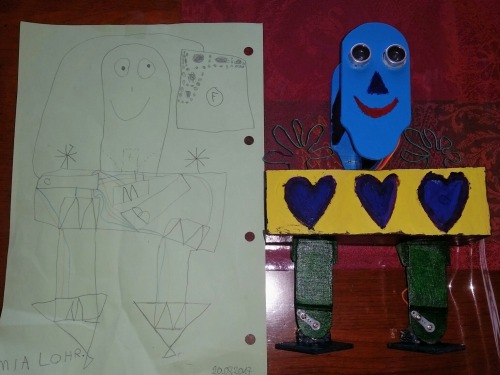
The plan on a A4 letter and right next to it the 1:1 finished robot

Front view
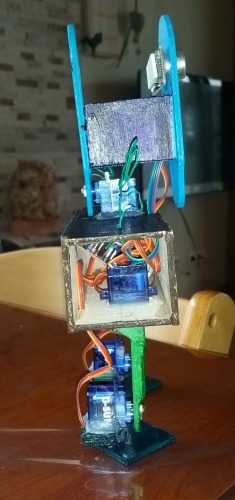
Side view
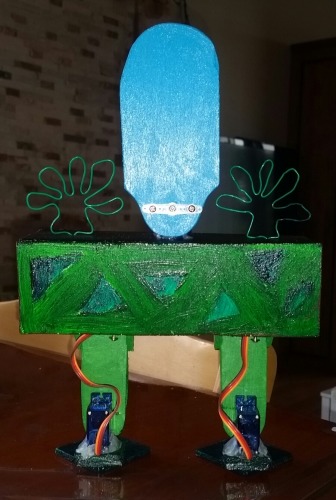
Rear view
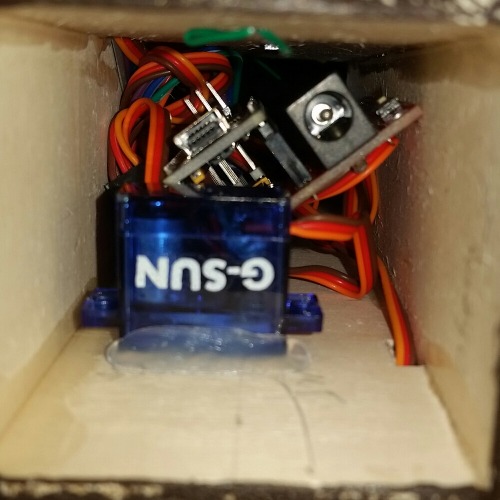
Detail view inside of the body
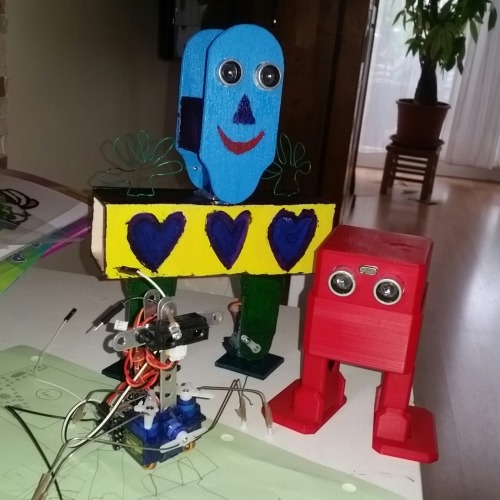
And the family. Insect bot, minion bot abd otto bot
Well my litle doughter had lot of fun building and painting it together with me. Or I with her :).
List of materials:
Arduino nano, funduino shield, 5x sg9 micro servo, 1x ultrasonic sensor, some wires, power bank as battery and 3mm thin wooden plates
Total amount: around 25 Euros
Summary:
The servos can carry and easy operate the given movements. This means they have enough power for this operation even with 5v. We protrude the servo geared wheels through the wooden plates and attached from outside the original servo horns. This gave us extra stability. We can control the robot by using the ultrasocnic sensor.
Walks around
- Actuators / output devices: 5 servos
- Control method: Autonomous and remote
- CPU: Arduino Nano
- Power source: 1 Power bank
- Sensors / input devices: ultrasonic
- Target environment: indoor
This is a companion discussion topic for the original entry at https://community.robotshop.com/robots/show/minion-my-daughters-first-robot

