

Update (sort of):
Today the guys from the mechanical engineering department told me that they are movinginside the building, which means the plotter cant be used for presumably one week or so. Damn! I could kick my self for not checking those measures again.
So I thought I at least post some pictures of the cardboard prototyp, so you can see where this is going:
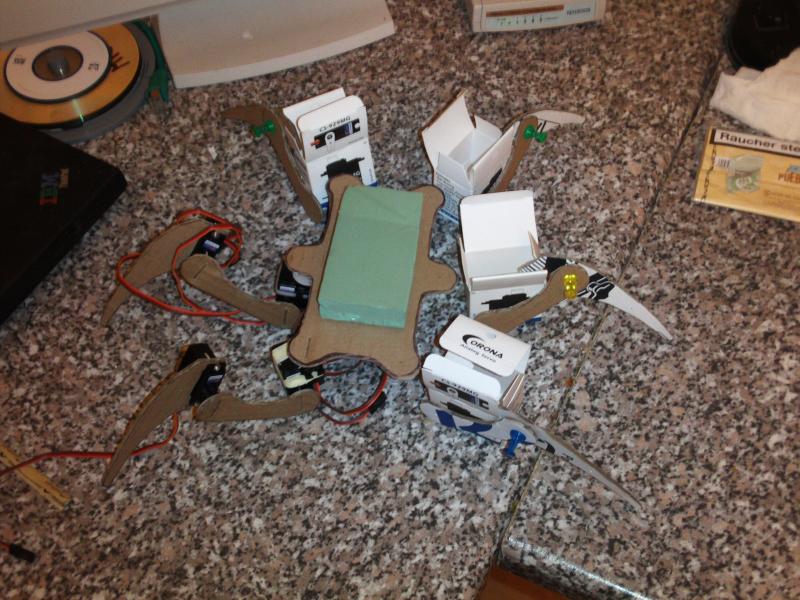
As you can see in the picture, I assembled the two legs on the left as some proof of concept. The others are just put in place to judge upon the overall design.The green thing, that looks a bit like plastic explosives is a placeholder for the battery pack. The Controller will be placed on the bottom. With spread legs its about 40 cm in diameter. The body lenght is 13 cm.
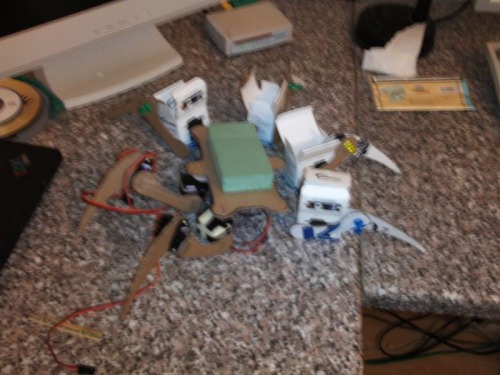
and another angle
I definitly would like to post a video, but i think at this point it would'nt make much sense.
Also I am not sure how to upload a video (do I need a Youtube account for example?), but i have to admit that i did'nt search LMR for instructions on this topic. Will do next week.
Hello,
my name is Ruben. Im a 2nd year computer science student and always loved the idea of building my own hexapod robot.
When I saw the Mini Hexapodinno a few weeks ago I totally wanted to have such a little fella, but I didnt want to spend the 700 something bucks for the kit.
So I decided to build my own, which is of course more fun as well.
I downloaded the construction manual and studied it extensivly. After realizing that is indeed less complicanted than i thought, i ordered some servos from the internet which had nearly the same specifications like the ones mentioned in the manual.
I choose analog servos though. I know they are less acurat, but they are still much cheaper than digital ones and my budget is small. Hopefully they will get the job done.
When the servos arived last week, i immediatly started constructing some sort of prototyp from cardboard and assembled the parts. I went more for a lynxmotion phoenix like look.
When i was happy with the designed i started moddeling the parts in QCAD. Today I plotted them and they came out very well, but back at home i realized that unfortunately they were scaled down about 1/10 due to conversion from dxf to hpgl format (no idea why this happens).
Tomorrow i will plot them again at the university.
For the brains I decided to go with a Seeeduino mega (arduino mega compliant), cause it is small in size and money, can drive up to 48 servos and seems to have a pretty forward c/c++-library.
Though I did a bit of assembler programming, my c/c++ is much better.
Im playing with the idea of "driving" the robot with a neural network,but i am not sure if this will work. I did a lot of research into this topic lately and am actually writing a general purpose C++-library at the moment.
What gives me headaches is the sensors to read out servo position. It is by default possible to read out the angle, but afaik thats just the last parameter of the write-function and is not necessarily the real position.
So if you have an idea, keep it coming.
So, thats it for now. Hopfully i can assemble the mechanics tomorrow.
Pictures will follow asap, which means as soon as i find my camera usb cable ;-).
For now i use a picture of the lynxmotion phoenix (please dont sue me, im poor), because I like it and my one looks a little bit like it.
Cheers, Ruben
walk around the house
- Actuators / output devices: 18 servos
- Control method: autonomous
- CPU: Arduino
- Power source: 7, 2V 2200mAh
- Programming language: C
- Target environment: indoors
This is a companion discussion topic for the original entry at https://community.robotshop.com/robots/show/mini-hexapod