

UPDATE April 29, 2014:
As for request of fello LMRians I've put those motors in the shopping section of Letsmakerobots: Micro Gear Motor
UPDATE April 21 2014:
Sadly no progress with the programming but I've got some nice pictures done...here only one of it :-)
(scroll down to see the picture)
UPDATE April 12 2014:
Added a video of MB3434 running in the pub on a table during the Hackaday gathering in Shanghai :-)
UPDATE March 28 2014:
3D files on Thingiverse
That is work in progress, so not much to see right now.
UPDATE March 19 2014:
Added the Beetle as the brain and wired the whole thing up....but without a sensor yet. New pictures and videos.
UPDATE: Since something is wrong with the video link and/or preview here is the direct link to the youku video:
NEW Video!!!
MB3434 pre-programmed movement due the lack of a sensor
Inspired by the Nano Crawler (nCee) and having a 3D printer on my desk I decided to build my own micro robot.
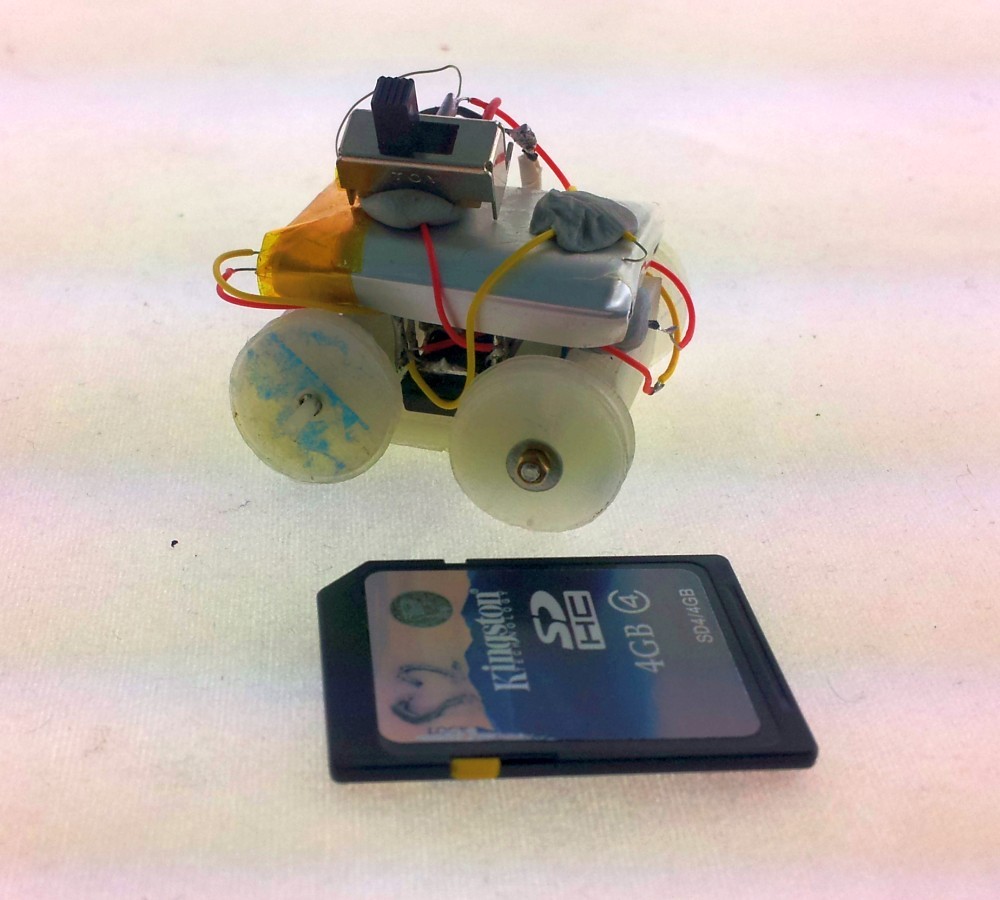
What are you looking at? This is my attempt to build the smallest (at least my smallest) robot using a 3D printer for the parts.
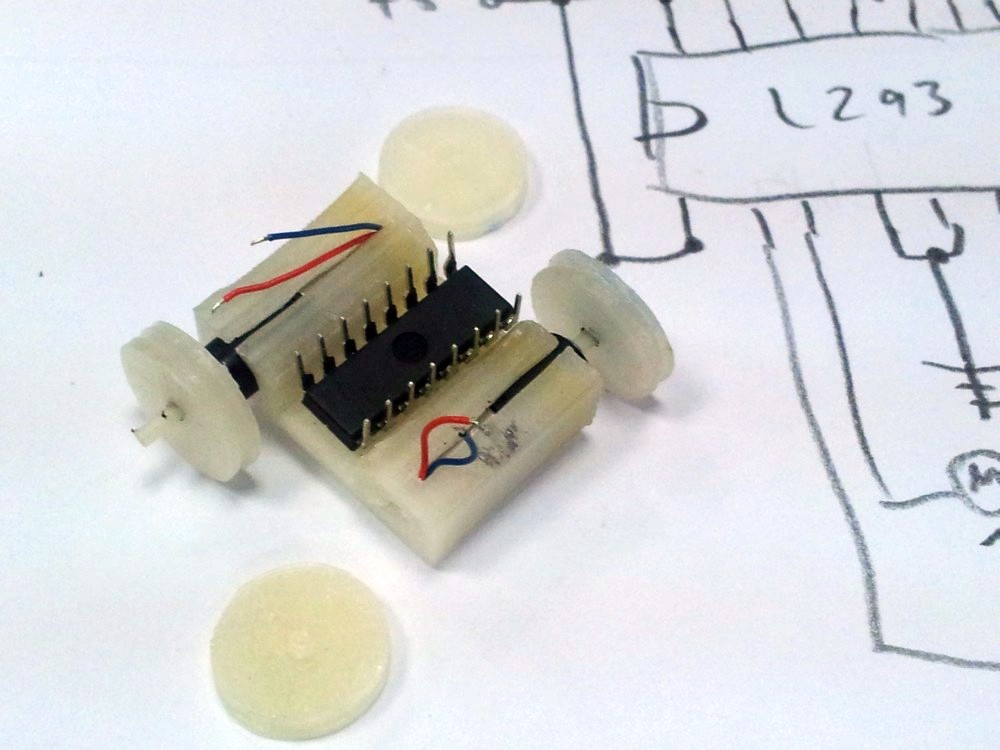
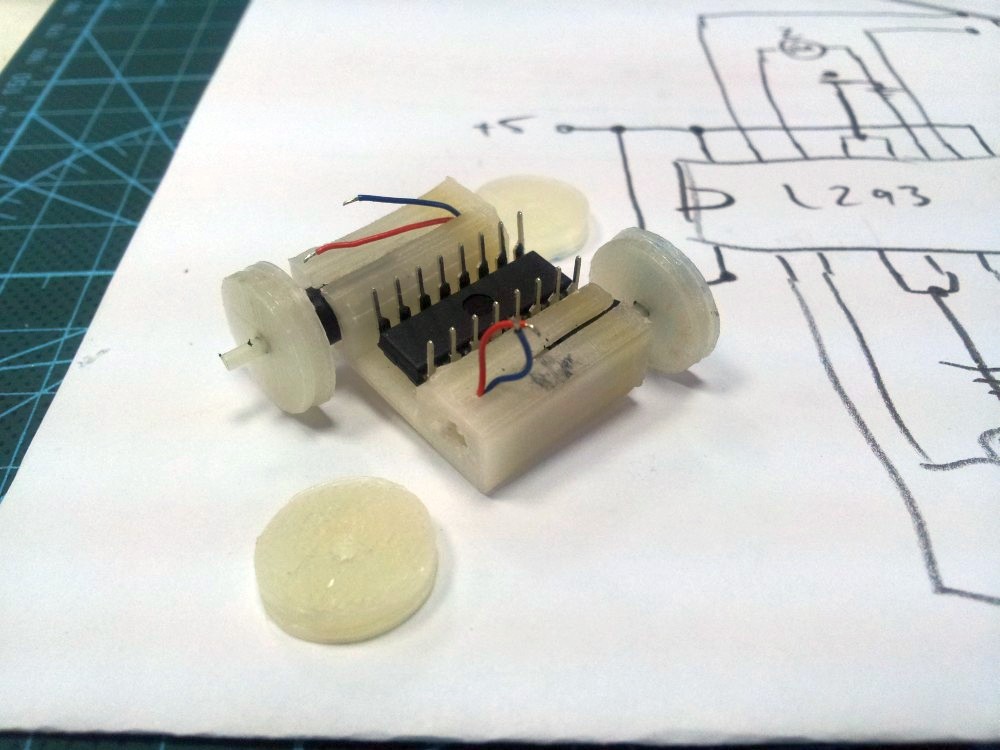
First I had the idea then made some models in Sketchup. The below one is the one you see on the photos.
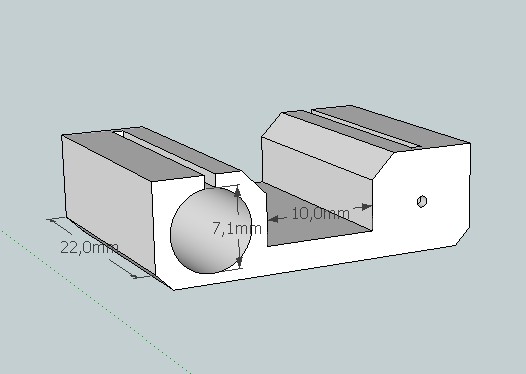
I 3D printed the frame strucure and the wheels.
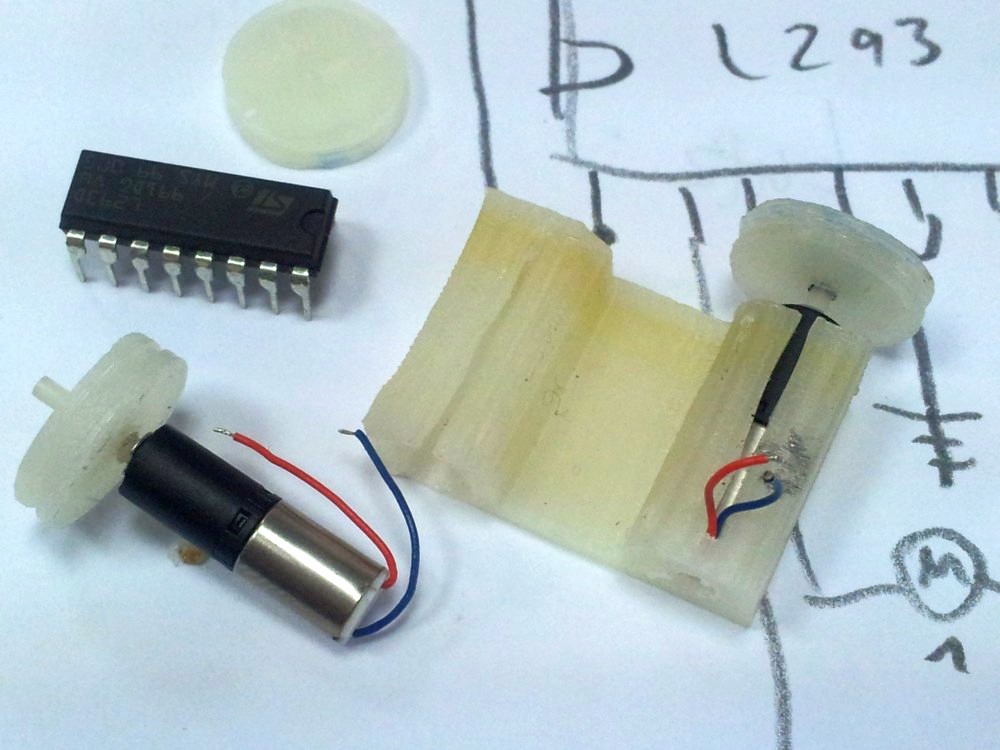
That's how it is intended to save space. The motors are facing to the opposite side and on the other side will be a idle wheel. In the middle section there is a L293 (yeah, i know it's ancient but I still have some lying around and that chip fits perfectly in that space.
I will just dead-bug-solder it on the pins of the beetle.
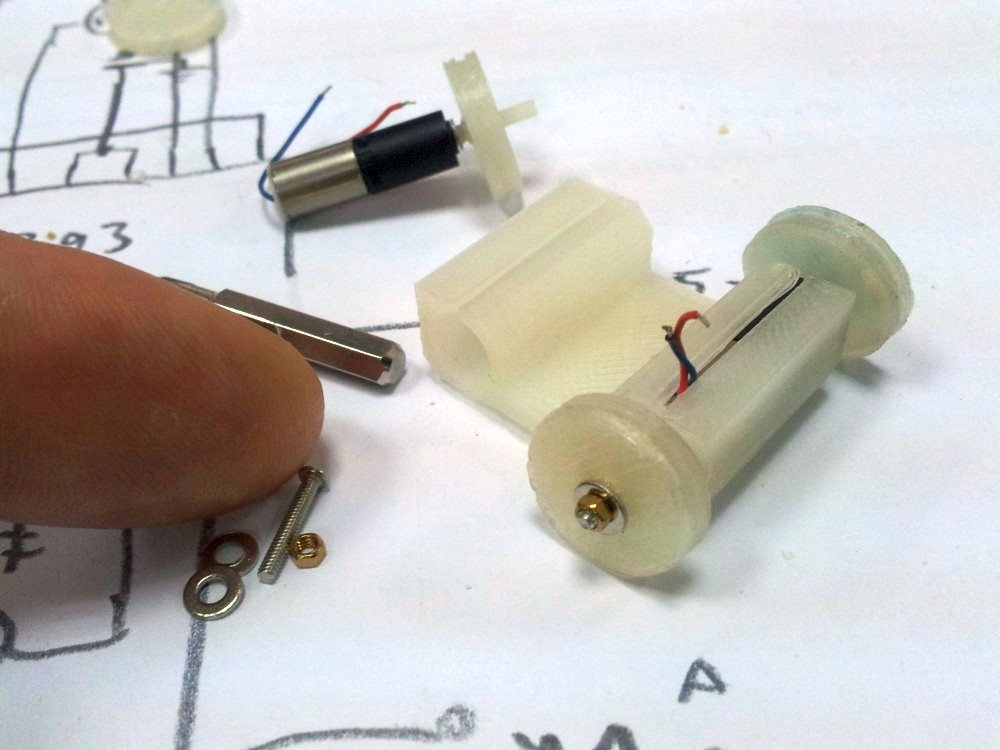
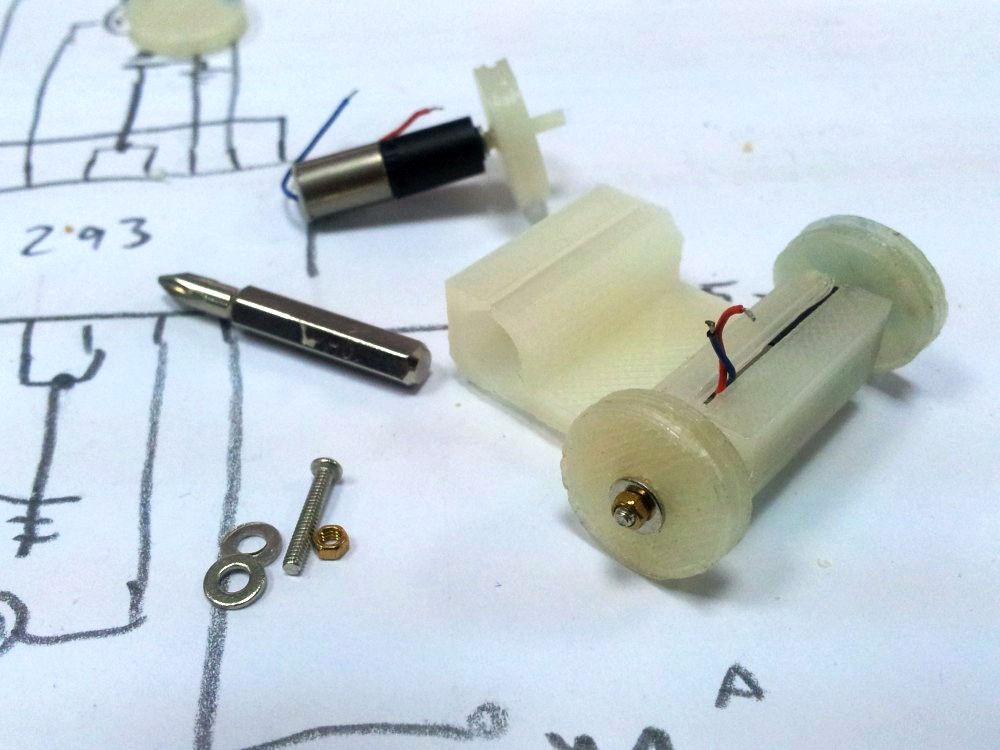
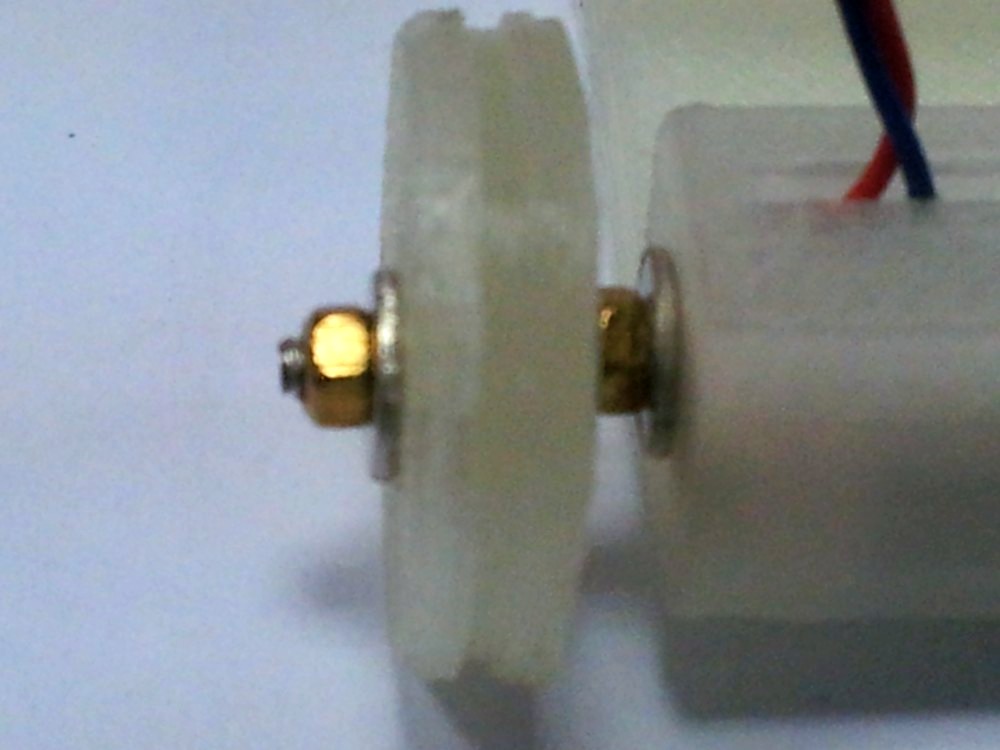
Well, the next picture is a bit blurry since I tried to get a close look at the idle wheel and it's axle.
The axle is a 10mm long M1.6 bolt. That axle is coming from the inside the motor housing and will be fixed with a M1.6 nut. The wheel is 3D printed as well and will sit on that axle secured with a M1.6 nut too. Both of the nuts has to be fixed with some kind of glue after finishing the robot to avoid loosening or tightening issues.
The video is a first test for the speed and how it runs with those wheels. The test shows me that I have to print other wheels since the rubber band I used just jumps off the wheel, so the test is performed without that rubber band. Sorry about the bad quality but our studio setup is still not finished.
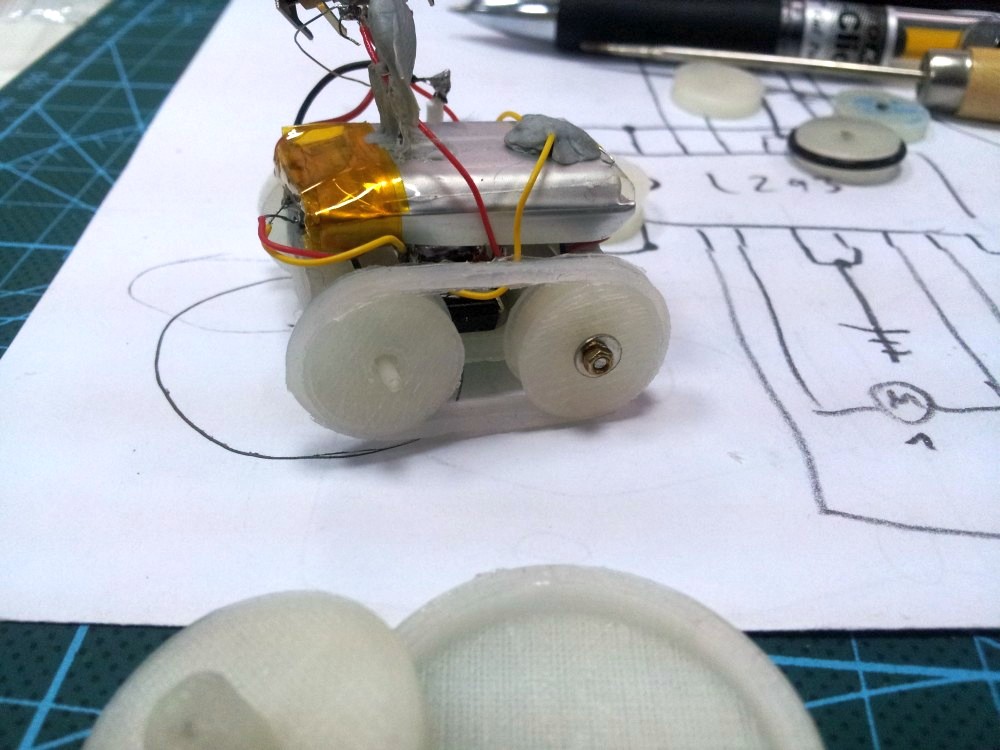
Partially assembled robot with just the L293, battery and switch. The L293 is connected in a way that both motors are running in the same direction :-)
UPDATE March 5th:
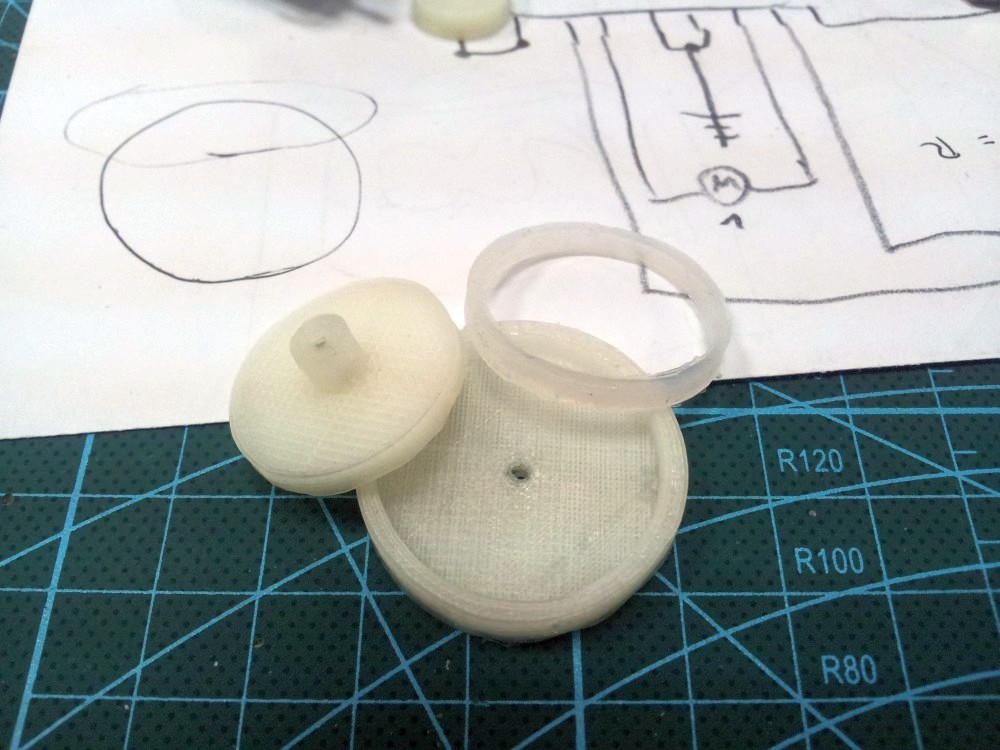
I finally casted one track to see how that is going.
I used a 3D printed mold, round and 3mm wide. The Track is 1mm thick. There is nothing else, basically a flat round silicone ring. Why round? I think that's the best way to cast them since if they get streched they will have the same tension in any direction. Casting them already in shape of the final tracks on the robot might cause an un-symmetrical tension. Please correct me if I am mistaken. Also it's easier to construck a round mold :-)
That one track yet pulled on the wheels I see that the wheels have to get re-printed. The rim is not high enough to keep the track on the wheels and they will fall of after 3 rounds. Sorry about the messed up wireing but as it's only a mechanical test I am not taking care about that now :-)
UPDATE March 19 2014:
Right now I am casting new tracks since the old ones are too big and falling off from time to time.
I added the Beetle as the brain and pre-programmed some moves to test everything.
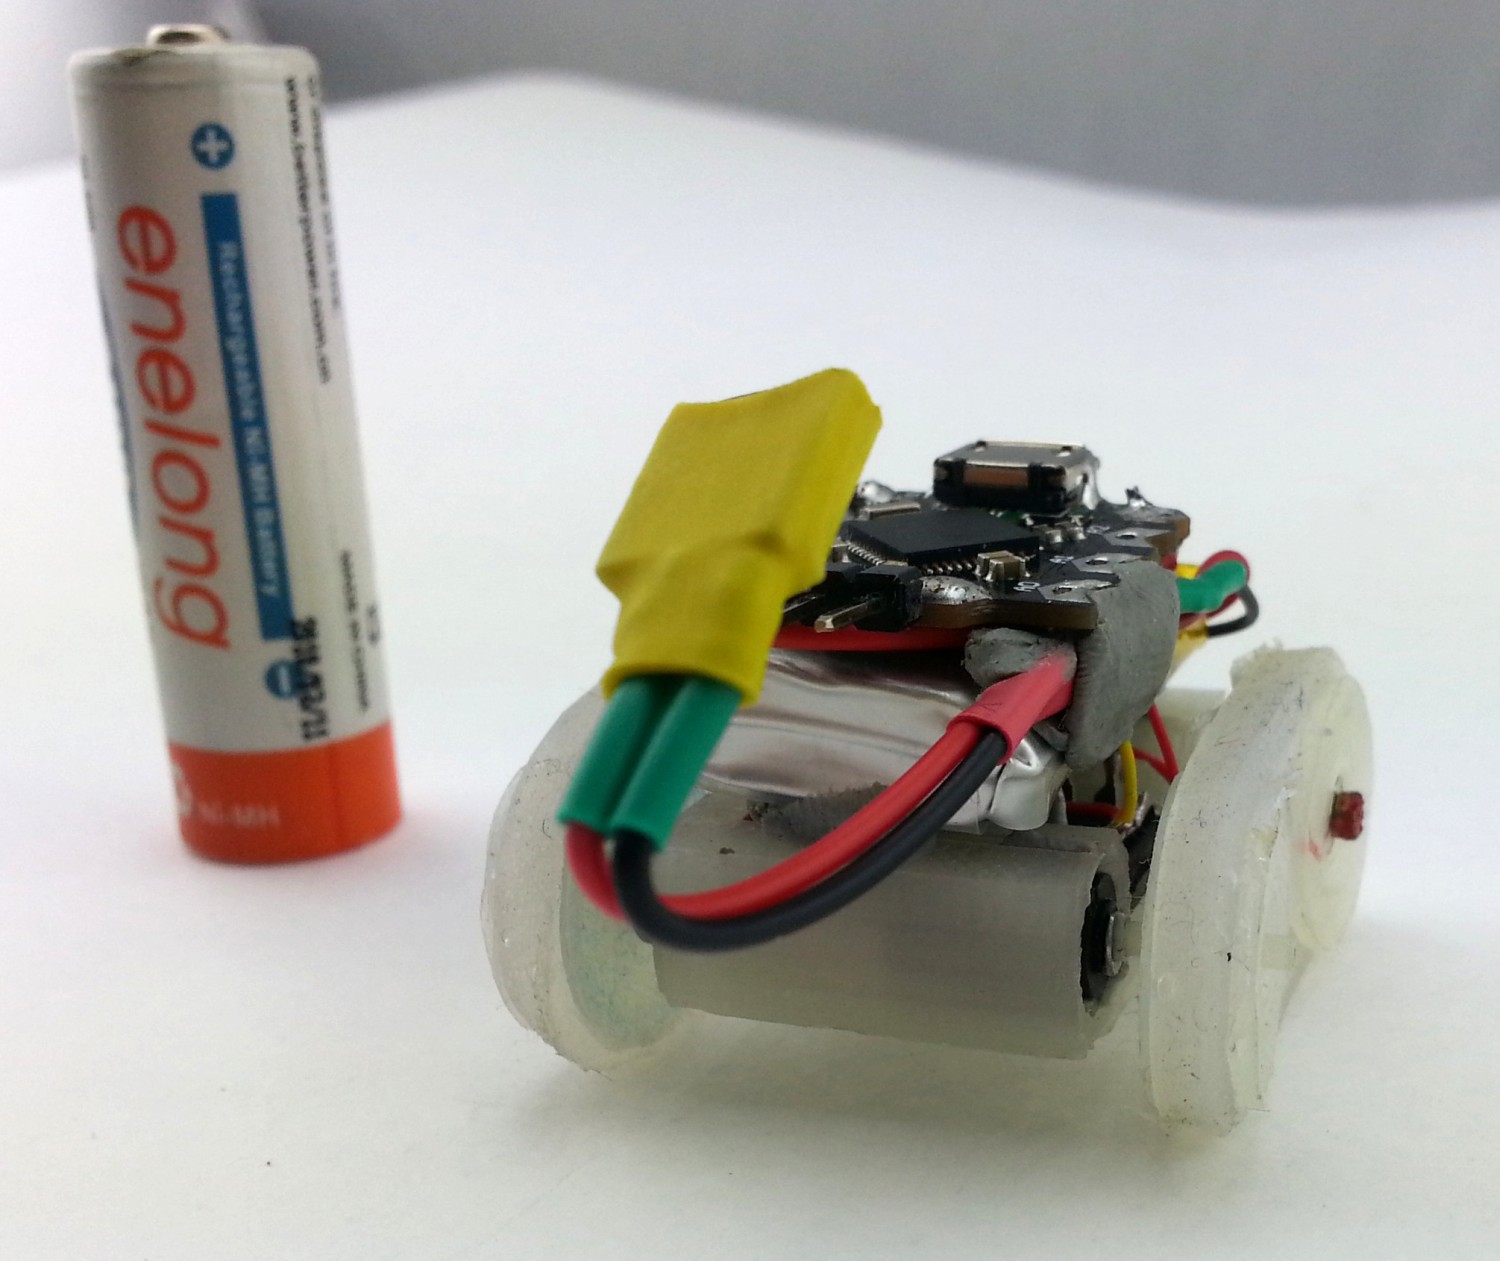
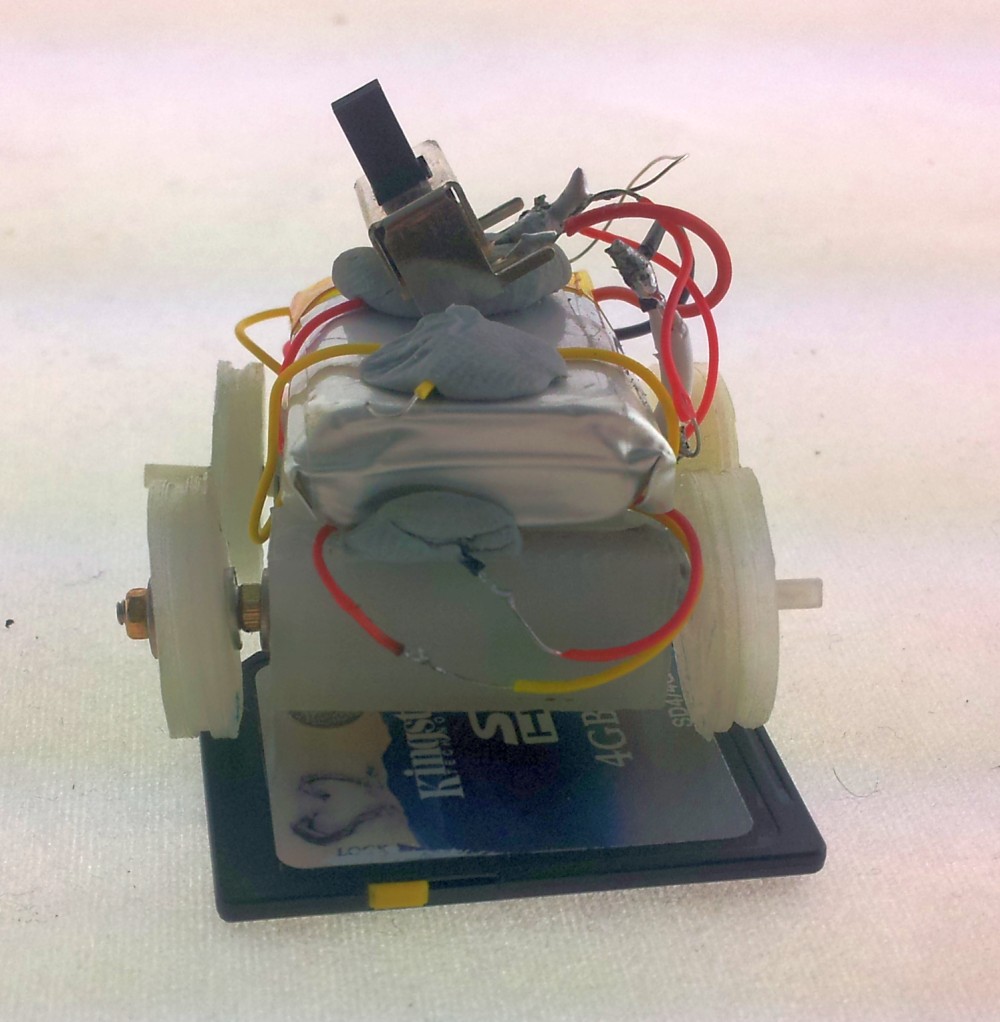
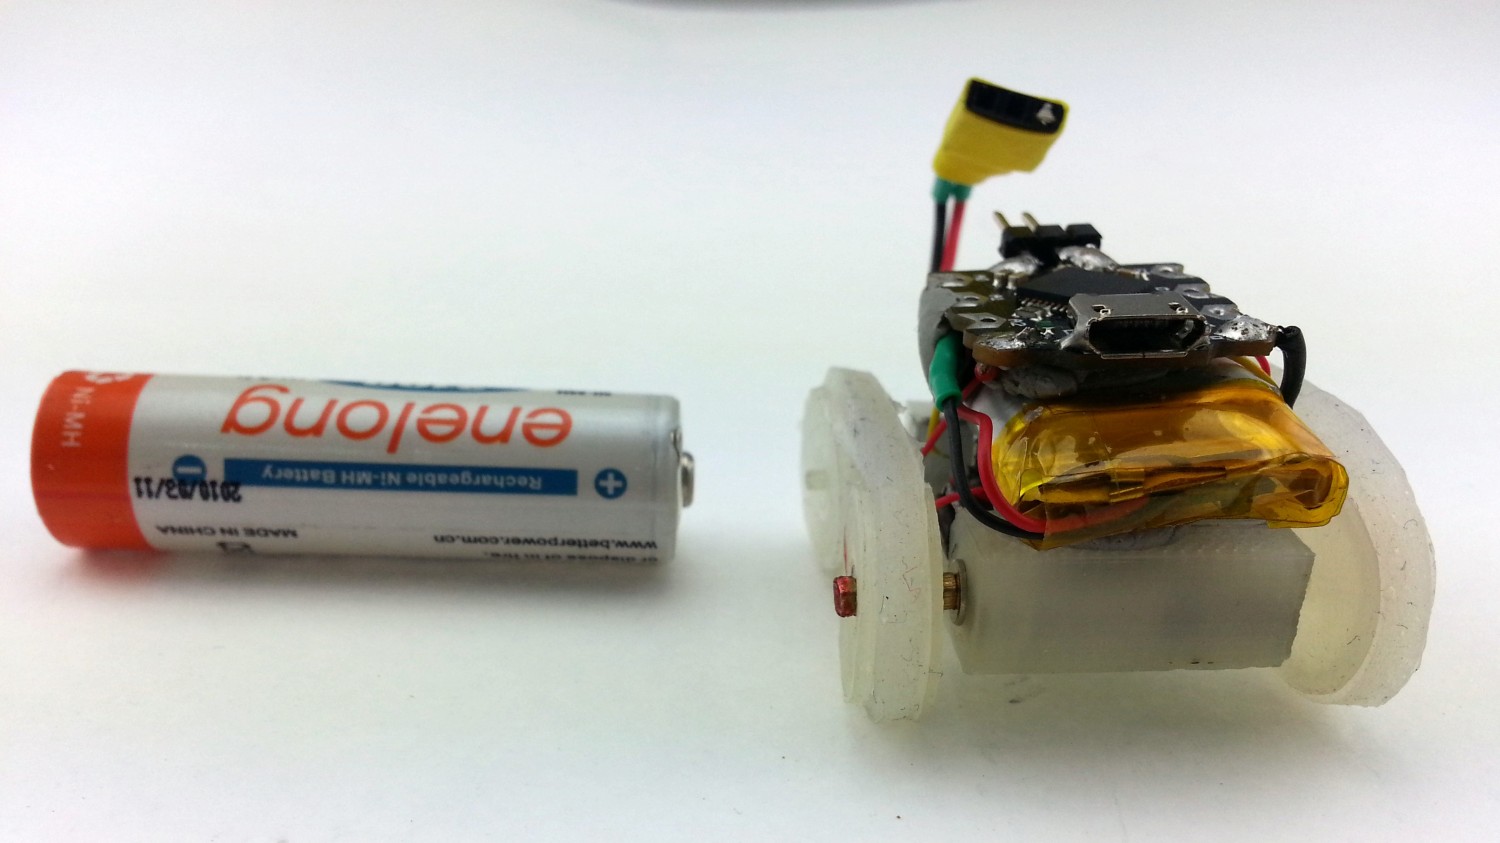
That's MB3434 from behind. See the battery connector. Later it will be a switch in place but need to find a small one first.
The Beetle is on top and connected to the L293 with 4 wires using hte pads on the bottom of the Beetle (RX, TX, SCL and SDA).
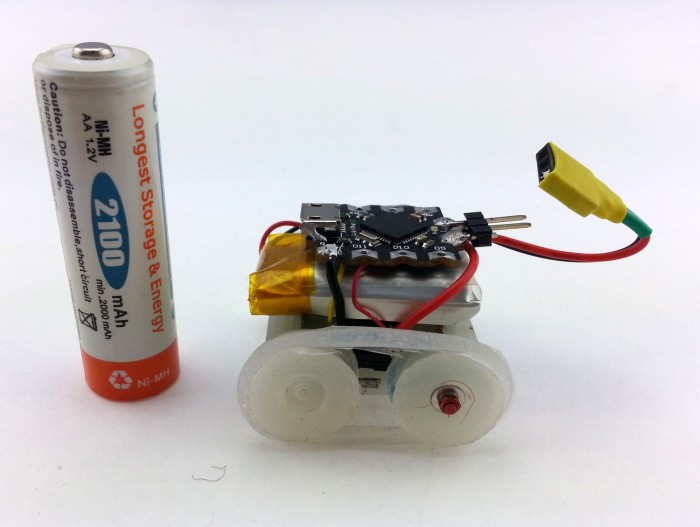
MB3434 looking into the camera. The battery beside is a standard AA battery to see the size of the micro robot.
I've casted new tracks with 1.3mm less diameter. They stay nice and fit on the wheels now. One track got a bubble, next time I have to take care more by pouring the silicon into the mold to avoid bubbles.
Pictures with Leah-Camille and MB3434:


Driving around, avoid obstacles and edges. Will have some more functionality but that's still to be determined.
- Actuators / output devices: 2x micro gear motor
- Control method: autonomous
- CPU: Atmega32u4
- Operating system: Arduino
- Power source: 1x 3.7V Lipo, 550mAh
- Programming language: Arduino
- Sensors / input devices: IR distance sensor, IR line sensor
- Target environment: flat and smooth surfaces
This is a companion discussion topic for the original entry at https://community.robotshop.com/robots/show/mb-3434
 However, I was thinking about super glue. That will hold the nut in place for sure but nail polish will just look cooler.
