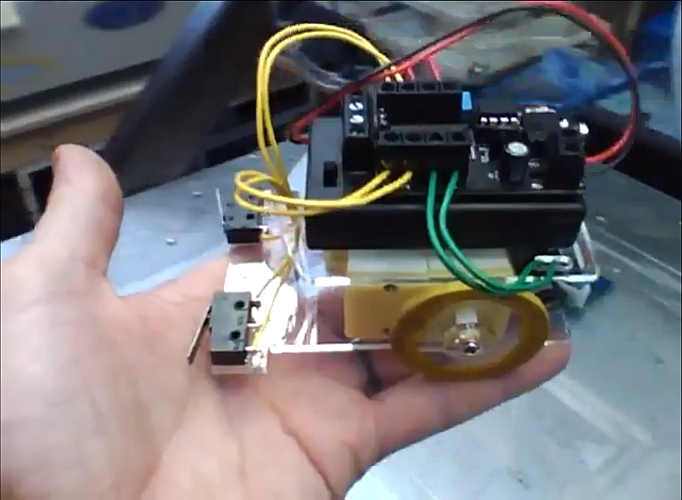
This is a prototype for the Robot Building Workshop Chris the Carpenter and I are going to run at MakerFaire 2012 NYC.
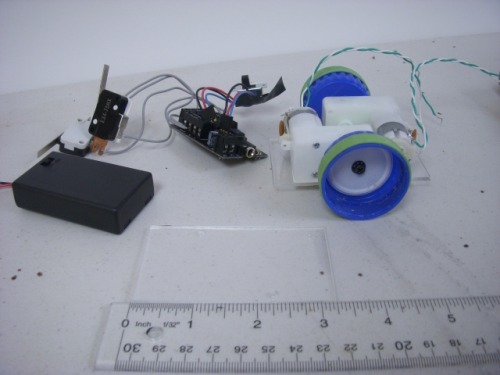
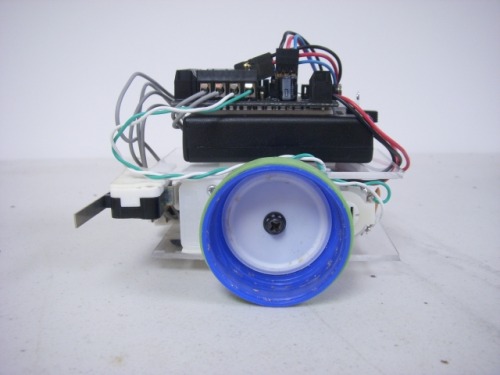
This early prototype is just a couple of 2 in. x 3 1/4 in. plexiglass pieces. Chris is working on the design for the chassis. In the meantime, this will let me experiment with some code.
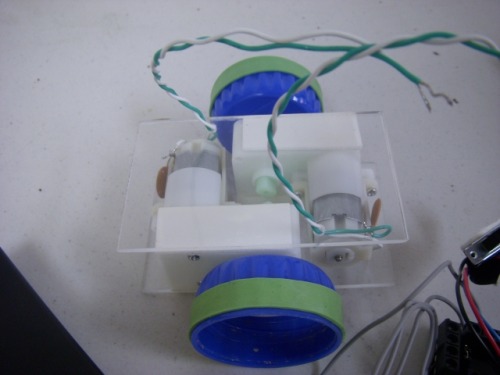
The dimensions were choosen to get the wheels on about 3 1/4 in. center, which is the same as the length front to back.
I drilled some holes in the top deck to run wires.
The wheels are bottle caps, which I drilled and attached with #2 sheet metal screws and lock washers.
Two front mounted bumper switches let the robot know if it has hit anything. Note that the bumpers extend to be even with the outer edges of the wheels. I used this tip so that I could use separate digital inputs for each switch.
We probably won't bother with this for MakerFaire, but I included a remote switch to select between 'run' and 'program' on the AXE023 board. It's a pain to move the little jumper.
Prototype for the LMR Robot Building Workshop at MakerFaire
Those are called ‘snap switches’, which make great bump sensors.
They have one common terminal, one normally connected, and one normally open. I have them wired to the AXE023 board between the common and normally open terminals.
Any reason why you are using those limit switches as opposed to something similar to the BOEbot ‘whiskers’? They are a stiff wire that shorts out a group of header pins. It’s quite cool really
How much will it cost a kid/group to make this bot at MF? How long does it take you to make this into a kit (not making the kit, but getting all the pieces together)?
Well, snap switches are pretty cheap, and very reliable. I’ve seen/used whiskers before, but it just didn’t occur to me to use them on this one. Maybe I’ll give it a try. Dirt cheap, if it works out.
This will be a free event at MakerFaire. We got parts and some funds donated to us by Picaxe! We’ll have enough for 100 kits.
I’m hoping we can get the kids through a build in an hour, but I’ll need to do some testing once the kit is complete.
You could always go for somewhere in between - it’s not hard to solder a short length of solid wire to the metal lever on the micro switch, provided you have a soldering iron that can deliver a little heat =)
Might be a nice way to customise these little bots, which I have to say look really nice and easy to put together. Good work IG.
You can definitely extend the actuators on these switches, but it is probably not necessary on these particular ones.What I get for the kit will be a little different, since these are just parts I had lying around.
These particular switches extend far enough out and to the front that no extra extension is needed.
I should be able to hang around the table a bit longer this year then last year. Maybe even help a little if you need it or bring a bot or 2… I’m working on one now that sould be done by the faire.
Hey, looking forward to seeing you again. I hope you can hang for a while. We will definitely need some help.
Also, I haven’t forgotten that I owe you an LMR MakerFaire t-shirt. I didn’t want to send you just the iron-on, because they were so challenging to put on without making a mistake. I’ll bring the iron-ons to the event and you can take on or two if you want them.
Also, we will definitely have finished shirts for the volunteers who can stick around and help with with running our table.
OK. I linked my Maker Faire promo video, which includes some footage of this little guy in action. Sorry to make you sit through the commercial as well.