

UPDATE NOVEMBER 29, 2013:
He made it. The Insect Bot Mini is now available in DFRobot.
Get your own Insect Bot Mini kit for free https://www.robotshop.com/letsmakerobots/node/39363
------------------------------------------------------------------------------------
As the original 4-legged Insect Bot was a great success I was thinking to build another one, a smaller version.
That's how the Insect Bot mini was born. Well, there is not much to say, just refer to the original to see the basic description.
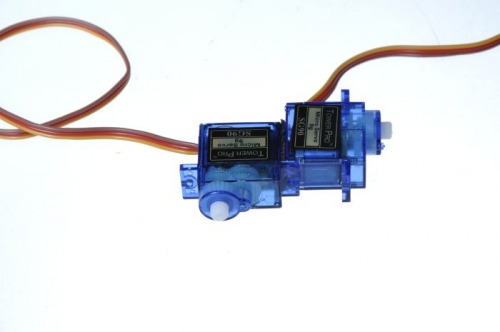
This one is build with 2x 9g micro servo, 1x Cheapduino V2 witht eh Atmega 32U4 and USB socket for easy programming. The Cheapduino is sitting (soldered) on my servo/sensor shield for easy connecting swervos and of course sensors. That little critter runs with a small 3.7/180mAh LiPo battery which comes with an USB charger (simplified version) and is looking for obstacles with a Sharp IR sensor.
Enough writings, here comes the pictures:
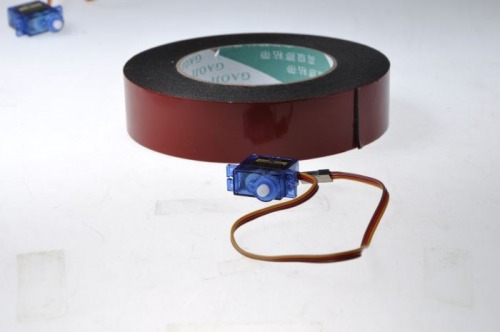
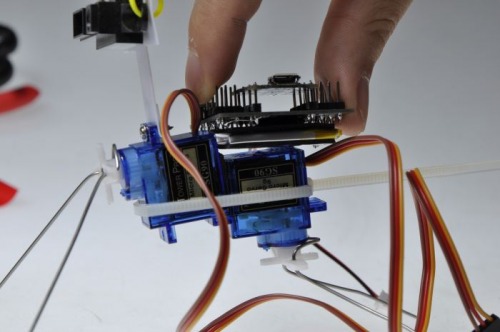
As always, I wanted it as simple as possible. Just use double sided foam tape and zip ties to hold the robot together.
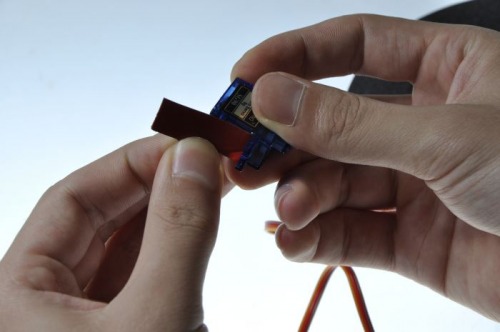
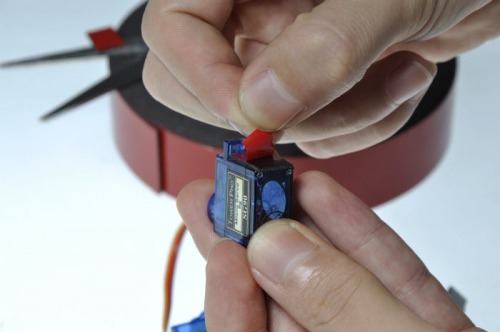
Stick the two servos with the tape together.
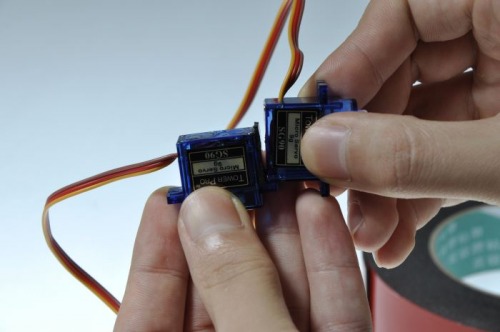
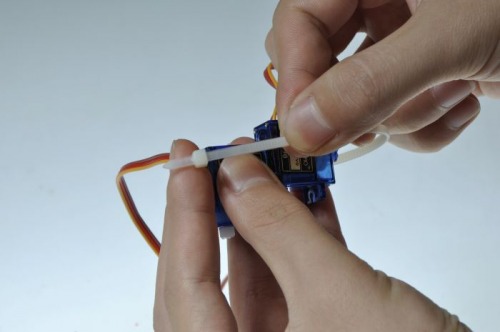
Then secure them with a fitting cable binder (zip tie).

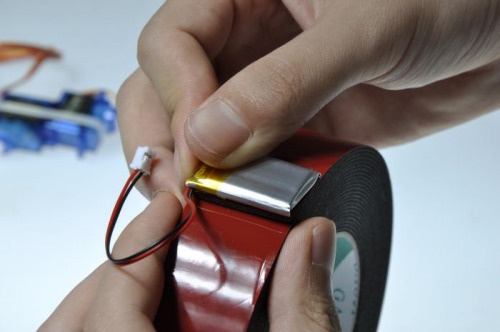
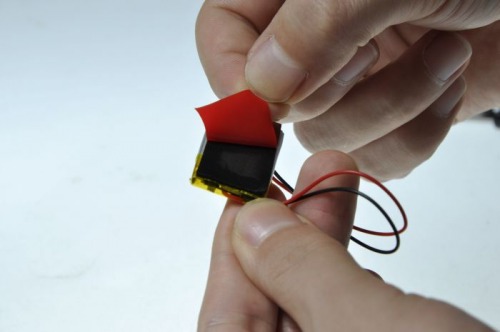
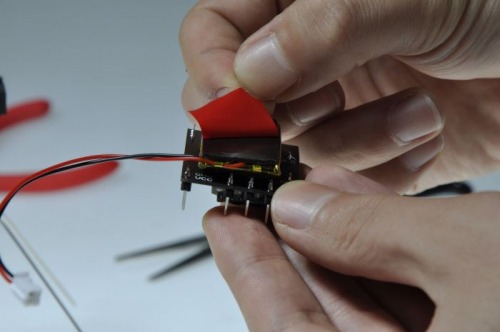
The battery is getting some tape too.
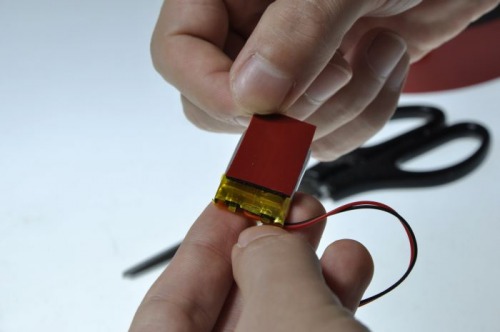
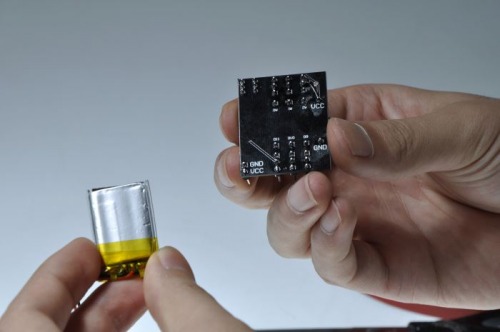
Stick the battery under the board.
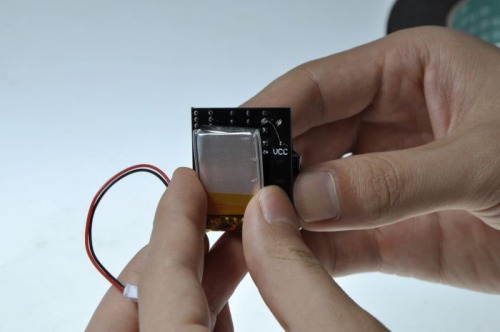
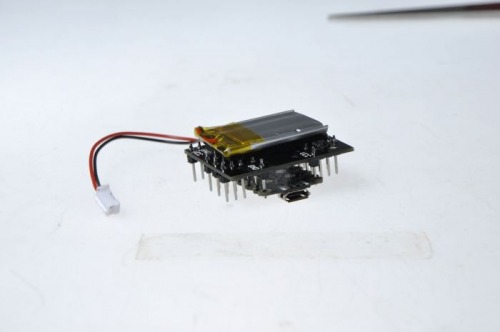
it should look like that.
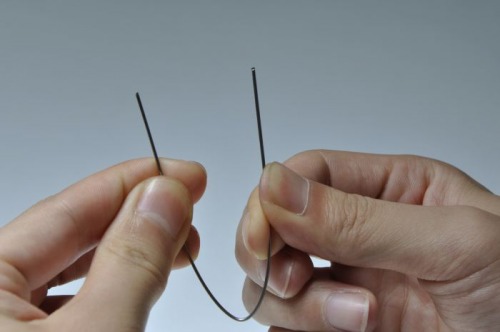
bend the wire to shape the legs. make sure the both ends are of the same lenght.
Push the 0.8mm steel wire (I used 304 stainless steel since it's still hard enough to keep the shape after bending but soft enough to cut it with a wire cutter.
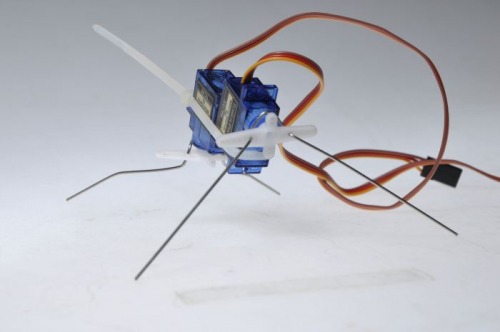
Don#t worry about the final shape. Just like on this picture will be good enough. The final tuning will be when it's completely assembled
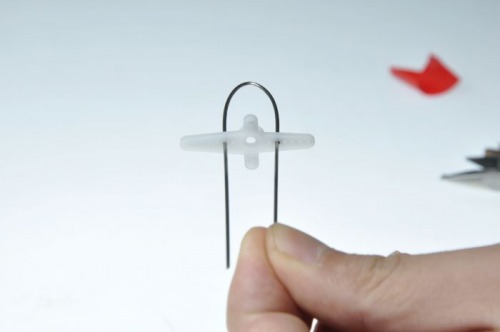
Make sure your servos are centered and put the servo horns with the wire legs on it...
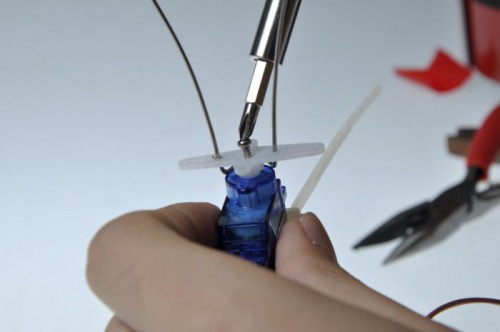
...secure it with the screw which comes with your servos.
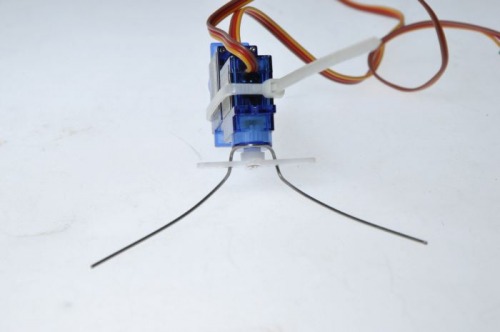
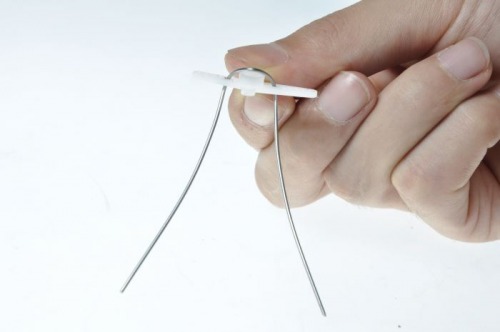
Rear leg done....
...front leg done as well.

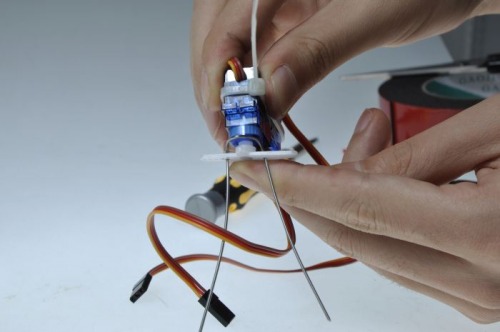
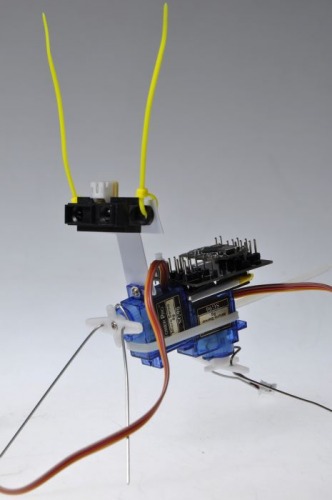
I used ABS sheet to cut out a sensor holder. You may use cardboard, bend wire or even hotglue it on the servo...it's up to you.
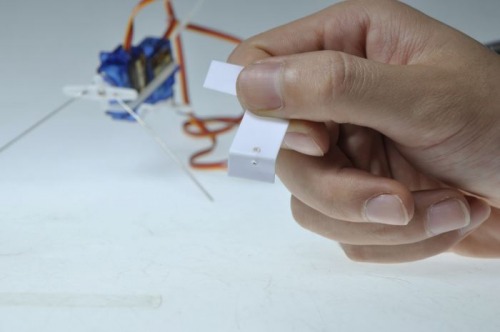
ABS is thin, so I folded it to give the screw a bit more grip.
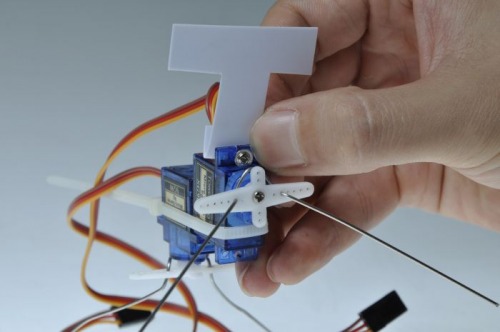
Use the screw which comes with your servo to attach the sensor holder.
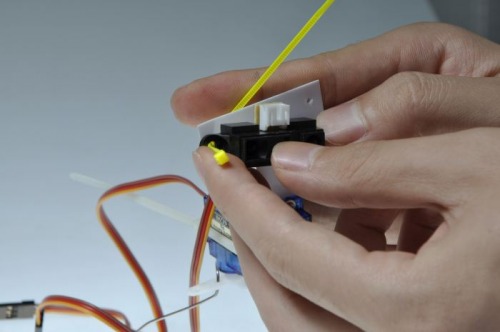
The sensor will be held by smaller zip ties which looks very much like antennas or feelers of an insect :-)
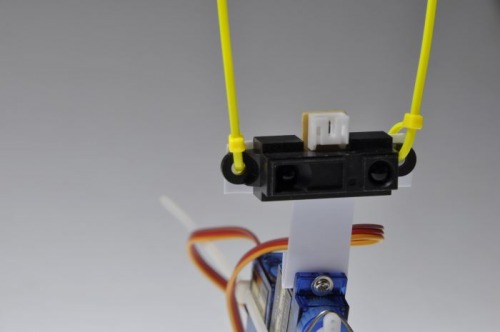
Front view.
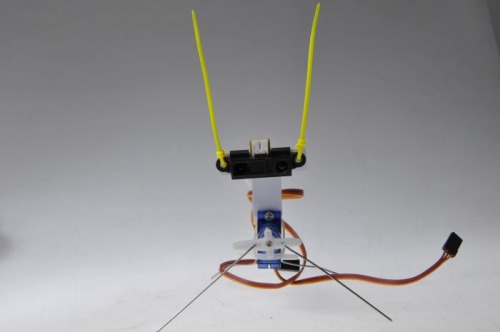
The head...
Another piece of tape on the other side of the battery...

...will hold the board inclusive the shield on the back of the robot.
If you are not sure about the quality of the tape then you can wrap a zip tie around the board to secure it on the servo.
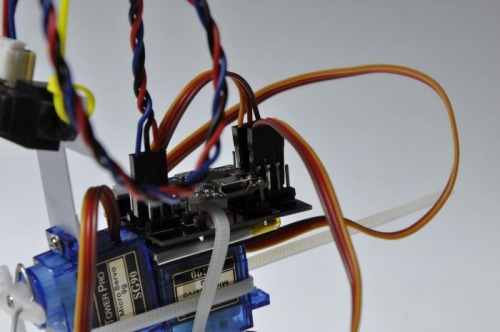
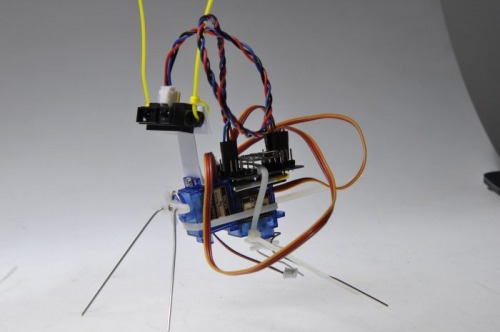
Connect the servos and the sensor with the right pins and you are almost done.

Plug in the battery and switch the little critter on. It should walk forward and by detectin gan obstacle retreat in a curve and after a while go to forward walking again.
Please find the attached code in this post. The code works for all the robots we built in that workshop during the Maker Carnival but it's a mess :-)
There are more offsprings of the Insect Bot mini on LMR:
Bajdi with his Bajdi's Insectbot
Enigmerald with his Insect Bot Mini
Franciscodr with his Mouting testing and tunning Insect Bot Mini
Chickenparmi on his website with the Insectbot Mini by DFRobot
Walk around and goes backwards in curves if it detects an obstacle.
- Actuators / output devices: 2x Micro Servo 9g Tower Pro
- Control method: autonomous
- CPU: Atmel ATMega32U4
- Operating system: Arduino IDE
- Power source: 1x 3.7V/180mAh LiPo
- Programming language: Arduino ide
- Sensors / input devices: IR Sharp sensor
- Target environment: flat surfaces indoor & outdoor
This is a companion discussion topic for the original entry at https://community.robotshop.com/robots/show/insect-bot-mini