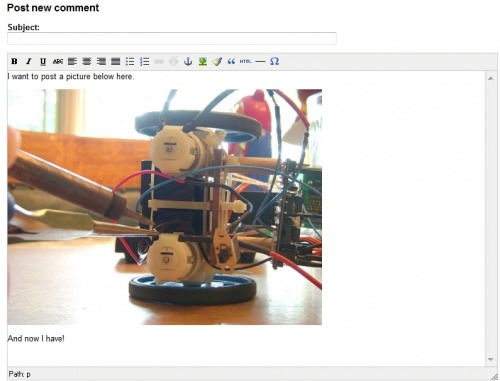
I see a lot of questions on the forums sometimes where a member asks the person to post a picture, and the person doesn't know how to do it.
![]()
Well, here's how to do it.
Step 0:
Disable the pop-up blocker on your web browser, or include letsmakerobots.com in the exceptions. Really.
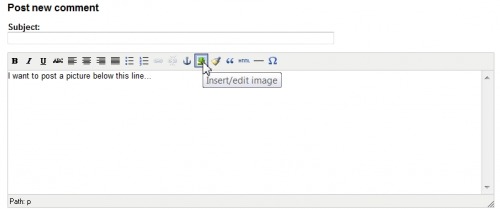
Step 1:
Click the little picture icon in the post window.
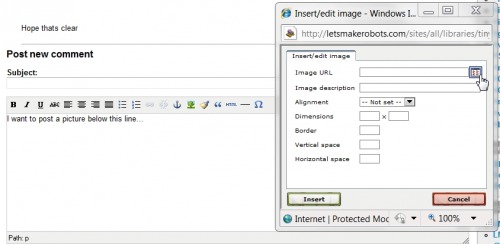
Step 2:
The Insert/edit image window pops up. Click on the little icon to the right of the Image URL line.
Tip (from Frits): You can also upload your pictures from Flicker, Picasa etc. Just insert the image URL from the site where your picture is posted into the Image URL field - then you can skip the rest.
This is smart if you have many pictures, uploaded from a smartphone etc - and you save our server ;)
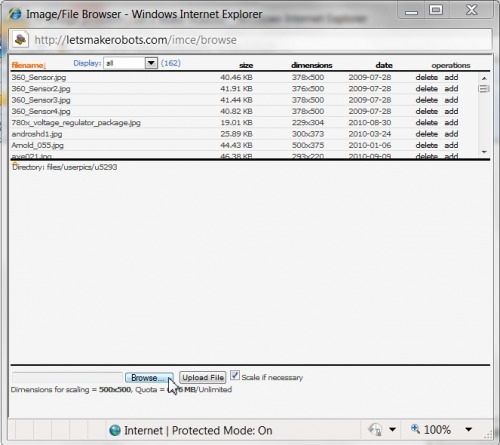
Step 3:
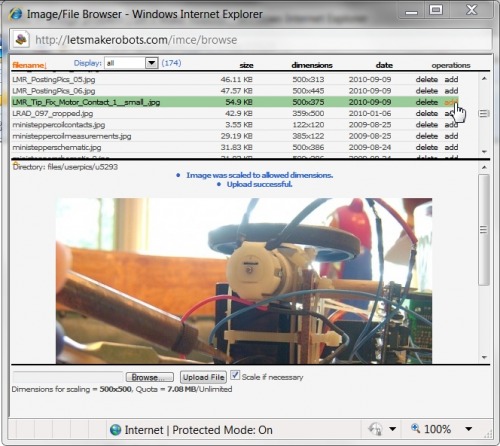
The Image/File Browser window pops up.

Click on the Browse button, so you can select the file you want to browse. Files that you have uploaded previously are also available to you in the scrollable area at the top of the window. For this example, let's assume you are uploading a new image.
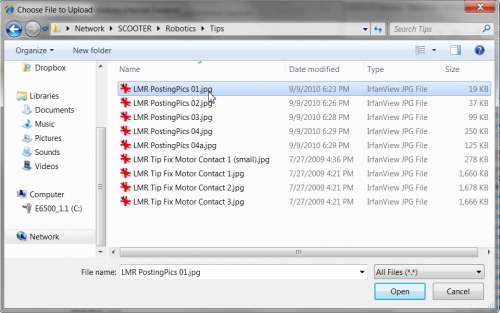
Step 4:
Navigate to the location on your computer that has the image you want to upload. Select the image and click the Open button.
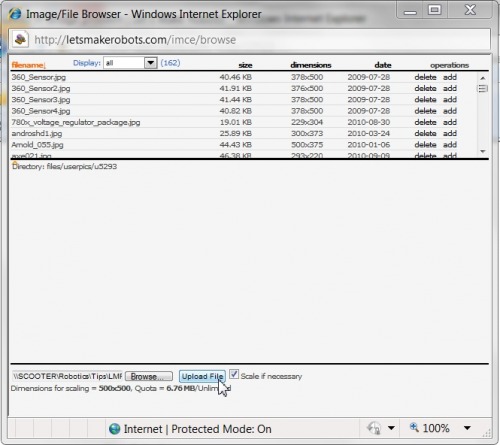
Step 5:
You are returned to the Image/File Browser window. Click the Upload File button.
Step 6:
Your file is uploaded and you will see a preview in the window. Note that large files are automatically scaled to the permitted size.
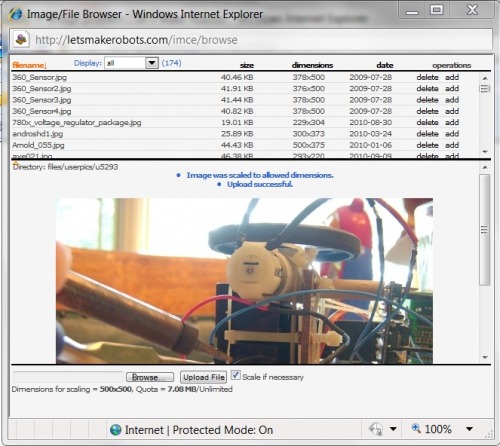
Step 7:
Your file is now available in the scrollable area at the top of the window. The file you just uploaded will be highlighted in green. Select add to add your picture.
Tip (from rik): Instead of clicking the add button, you can click on the image itself to insert it into your post.
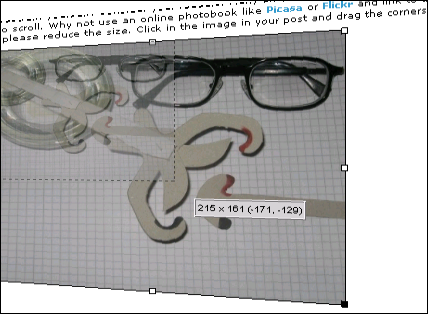
Extra tip (from the faq): Resizing an image can improve the readability of your text.
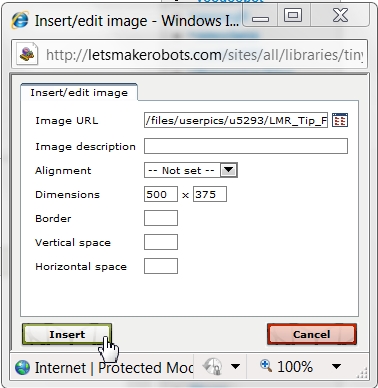
Step 8:
You are returned to the Insert/edit image window. Click the Insert button to insert the picture into your post.
Step 9:
You're done! The picture should be inserted. You can continue writing your post above or below your picture. Or insert additional pictures.