This project is an attempt to make a low scale humanoid biped utilizing as controller an Arduino UNO and nothing more. The actuators will be 12x servo motor SG90. The legs will be a PLM (Parallel Leg Mechanism) kind, with 4 DOF each. The arms will have 2 DOF with a non-articulated hand. The head will be non-articulated too. I'll post each stage of this project with information and pics.
-- UPDATE - September 28, 2012 --
-- Legs --
Another working day...
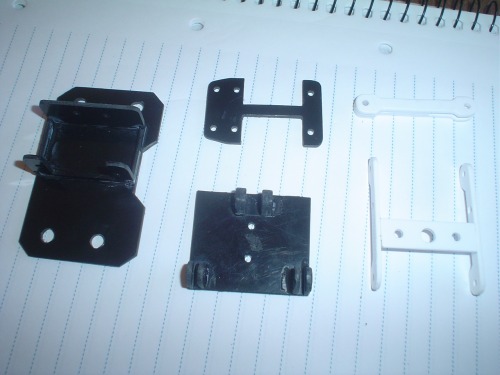
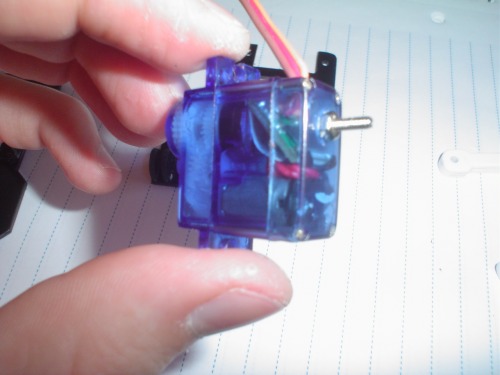
Today I started to build a leg and also a foot.
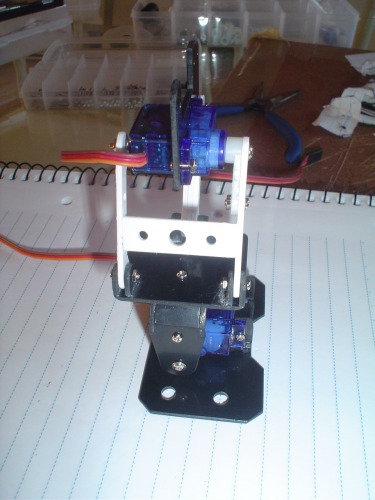
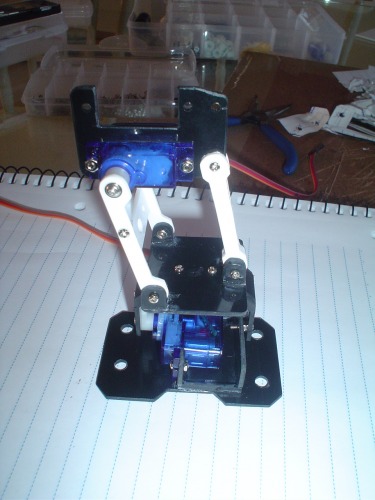
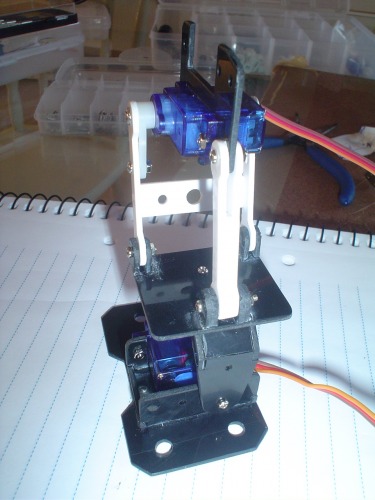
See below the pics of the progress.
P.S. 1: I was thinking about the name of this project, I mean the "nano" word which completes the name. I think it's not appropriated, since the robot don't have a nano scale. So, I changed the name to Godo_mini.
P.S. 2: I also added a video of a test of the mini PLM leg. (Low quality video... really bad! Has been removed.)
-- UPDATE - September 24, 2012 --
-- Arms changed --
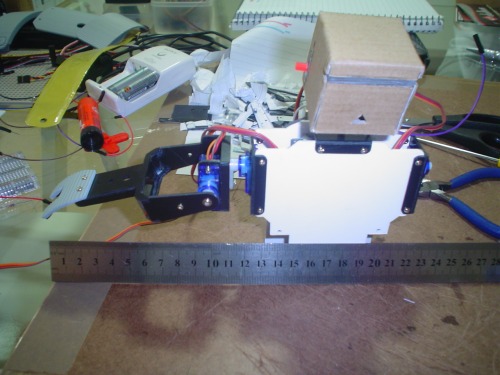
Birdmun has planted a bug in my ear yesterday, and it stayed on my head all the night. So, today I made some changes in the arms design and it's actually better. Thanks birdmun!
Below you see in the two first pics the comparison of the two arm designs.
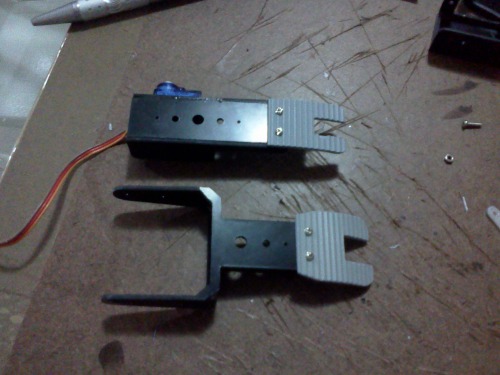
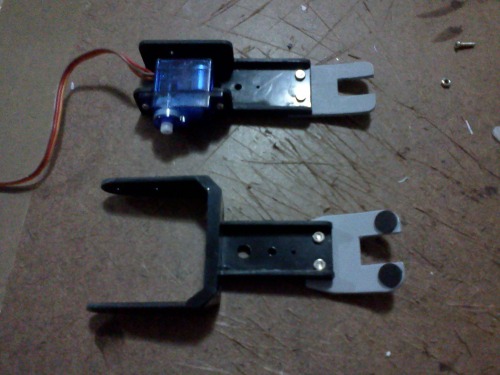
With the new design the arms are around 1,5 cm closer to the body. In numbers may sound a bit, but it is really better.
-- UPDATE - September 23, 2012 --
-- Arms --
Hi again. Today (nice sunny sunday) I dedicated some time to the arms of Godo_nano.
Before I continue, I wish to say something that I forgot to say in the begining. The goal of this project is to make a humanoid biped with 12 DOF using an Arduino UNO and nothing more, only the 12 pins that I can utilize to control the 12 servos (SG90). Of the 12 DOF will be 4 in each leg (PLM legs) and 2 in each arm. The hands are not articulated.
Well, now I'll continue to show the today's work.
As I have only 4 servos at this time, I resolved to start the work on the arms, instead of the legs that utilizes more servos (I need to order more). I started the work with a tiny bracket.
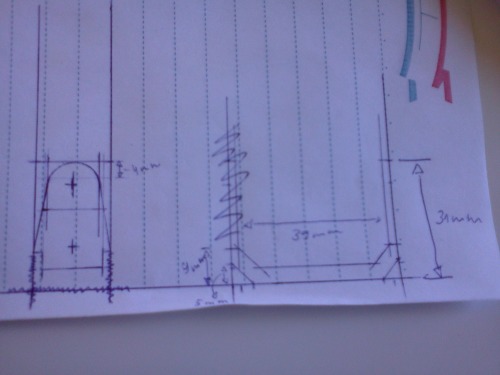
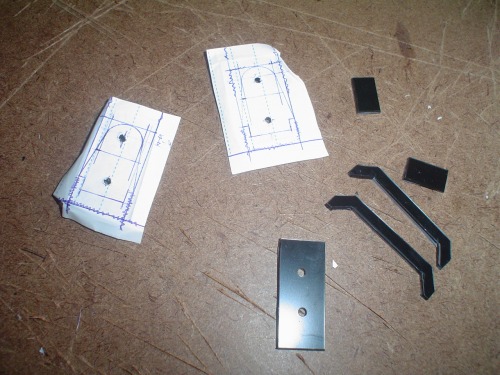
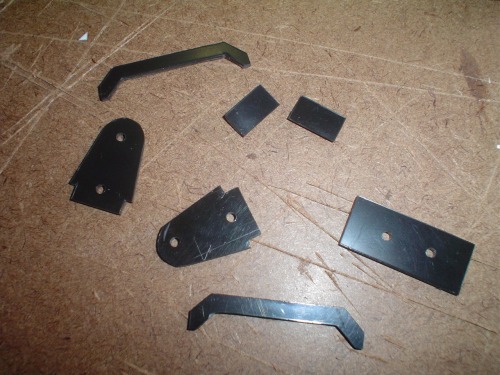
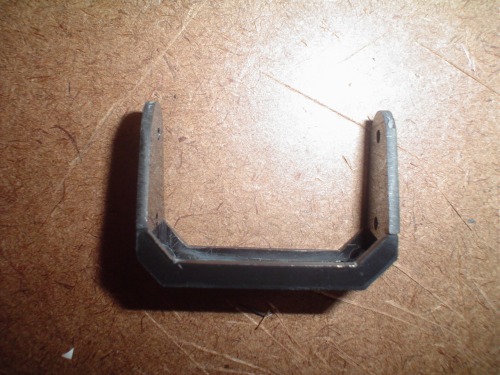
Initially, I made this bracket to the legs, but can be used for the arms too.
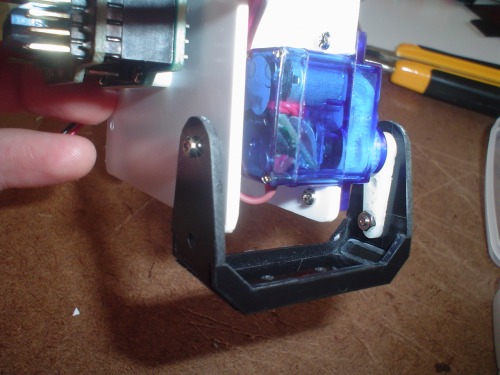
Then I started the construction of the arm.
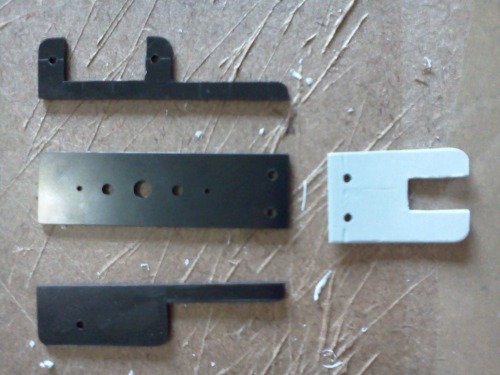
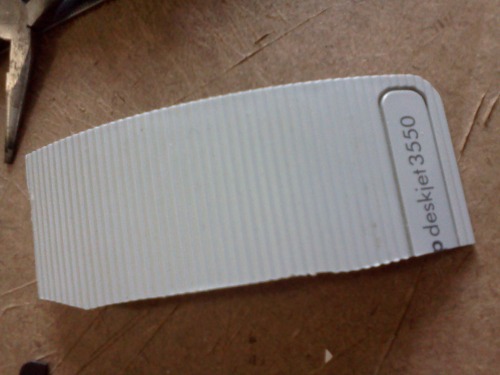
The "hand" I made with a plastic cover of an old HP printer.
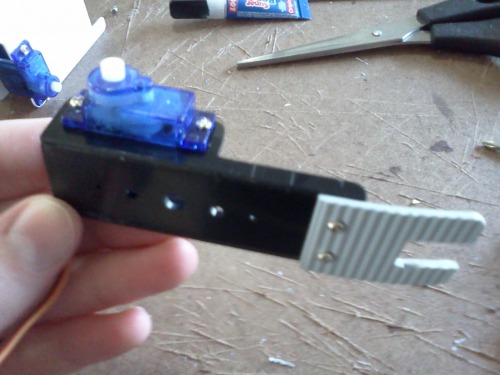
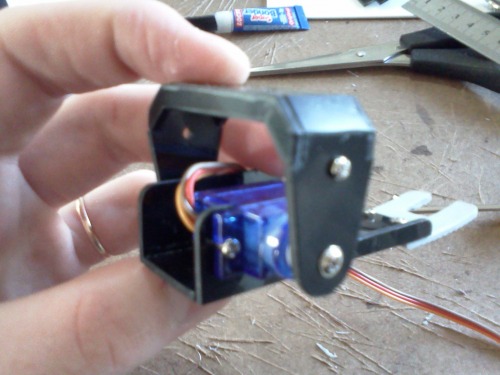
That's all for today, guys!
-- UPDATE - September 22, 2012 --
-- Torso --
As I said yesterday, this weekend I would start to work in the torso. And as I already had a sketch, the work was fast.
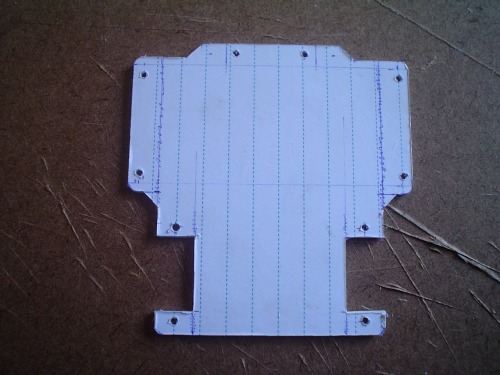
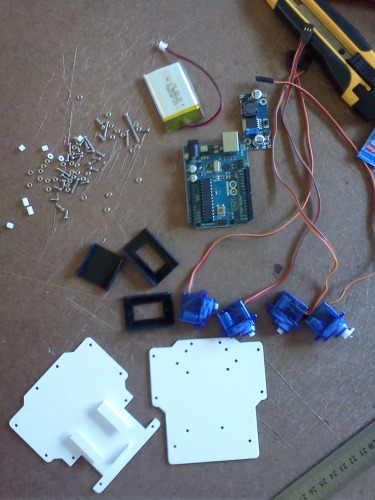
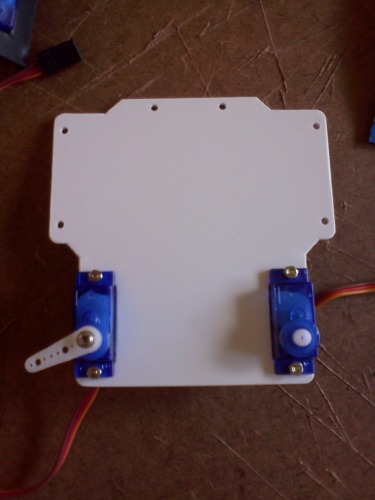
First, I draw the torso on a paper sheet, then glued on a 2mm polystyrene piece. NOTE: Polystyrene still my prefered material to work. As I still have a small piece of black polystyrene, I made some brackets with it.
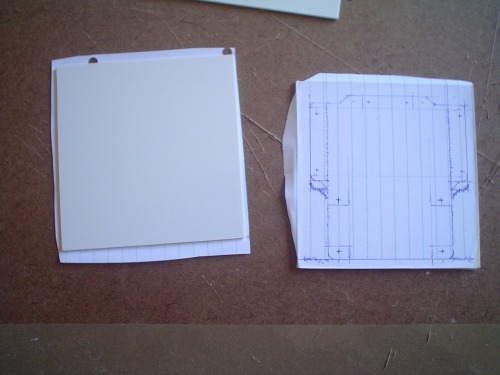
Then I made the holes with drill and after cut on the lines with a sharp blade (like I did in the Godo V 1.0).
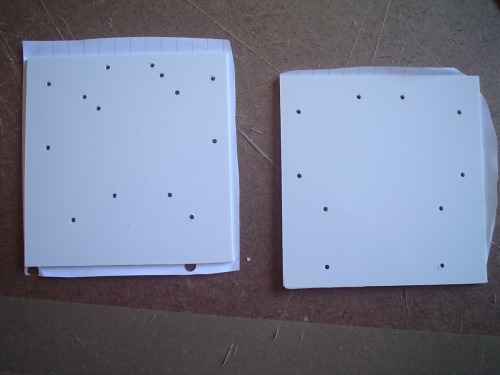
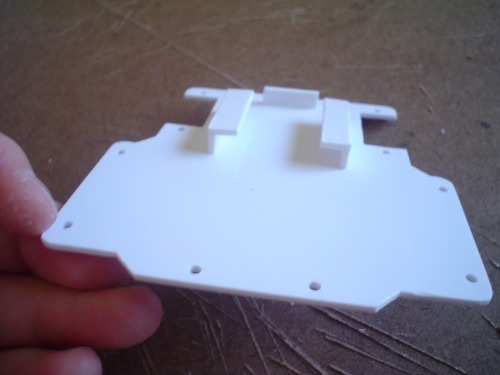
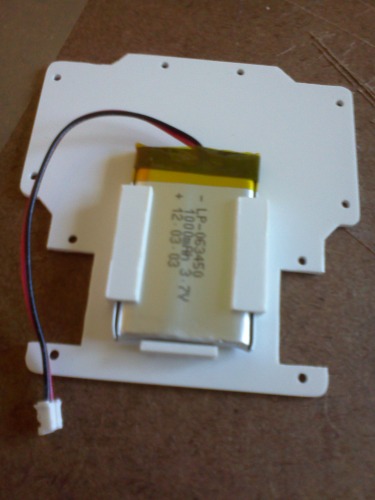
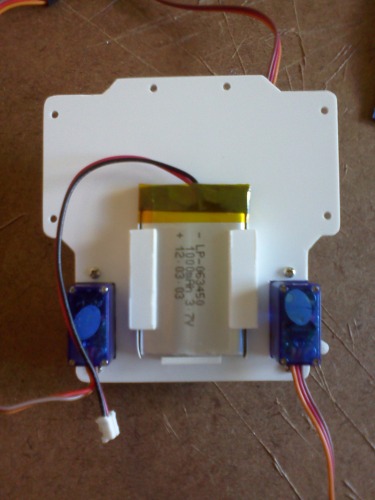
With small pieces of polystyrene I made a battery holder.
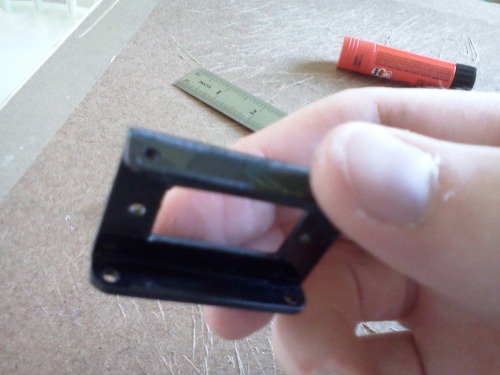
A tiny servo bracket with black polystyrene.
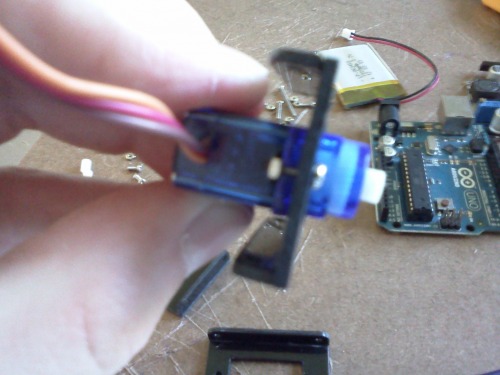
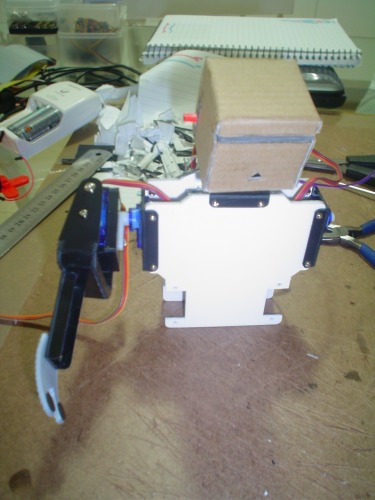
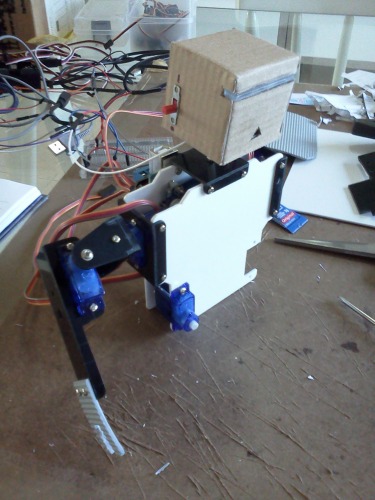
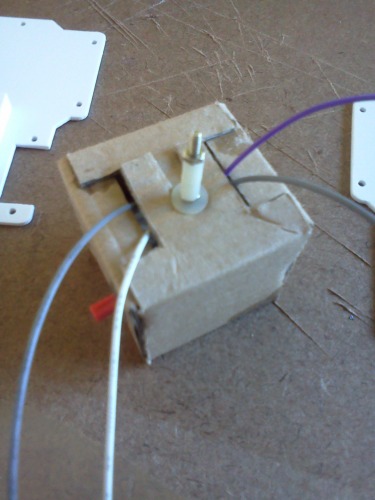
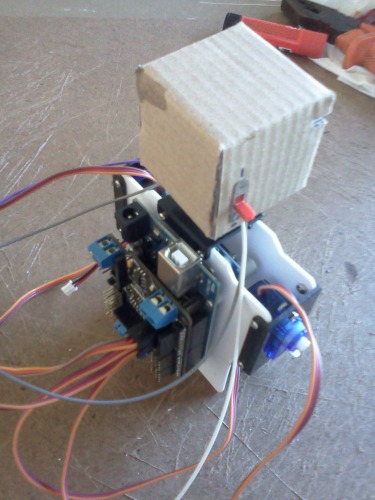
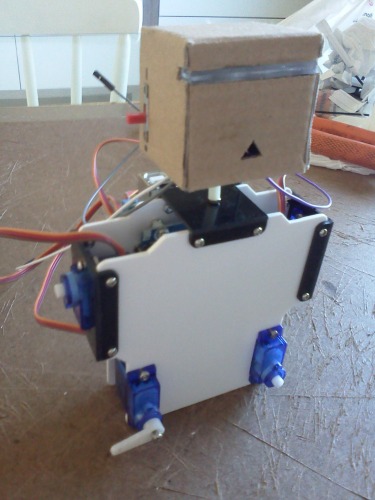
After making the pieces, it's time to put everything together. Starting at the neck, made with nylon spacers.
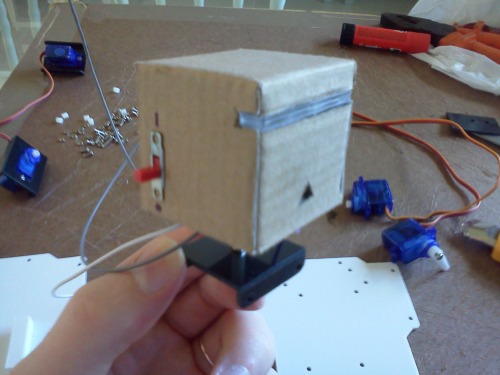
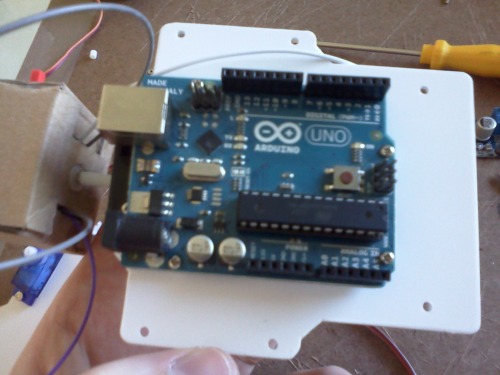
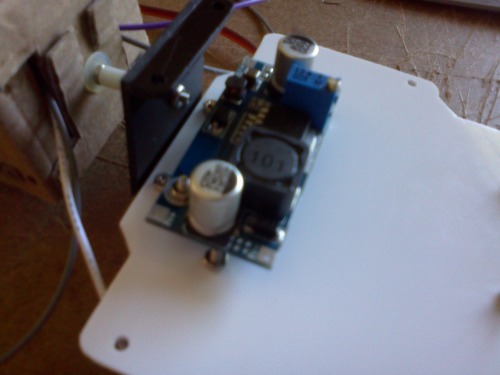
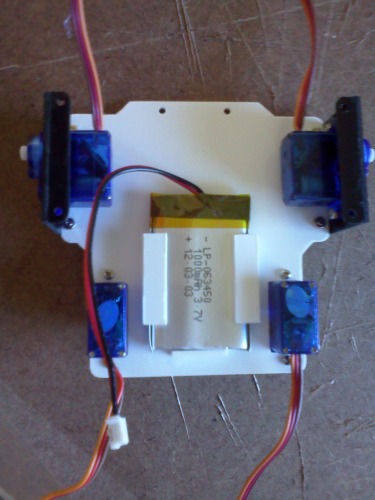
And here is all together!
Next step is work in the legs or the arms.
-- FIRST POST - September 21, 2012 --
-- Square head --
Hi guys! I started a nano mini version of my humanoid biped Godo. But this time I decided to start from the top, i. e., the head!
Little has been done yet, but will post here each part is doing.
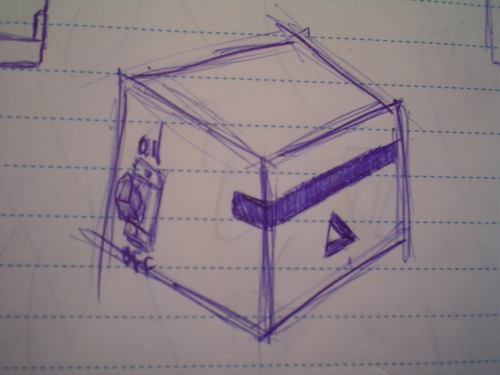
First, I made a manual conceptual design of the head. ;)
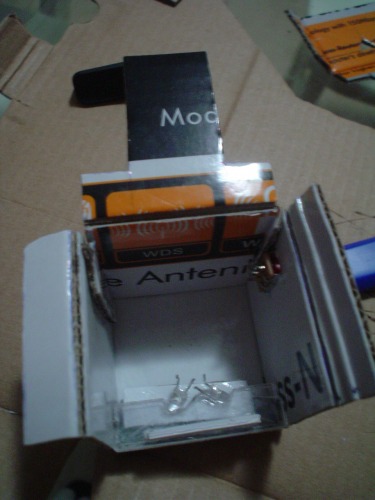
Then, a few lines on a piece of cardboard.
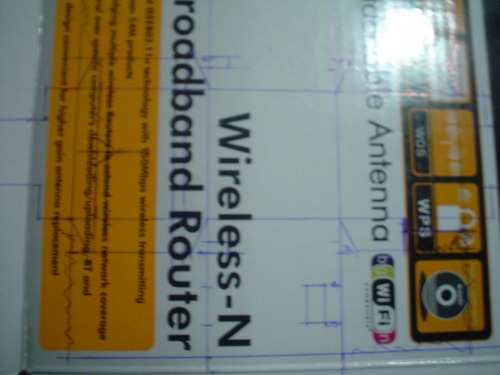
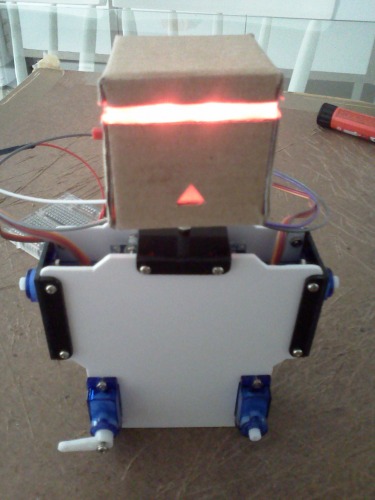
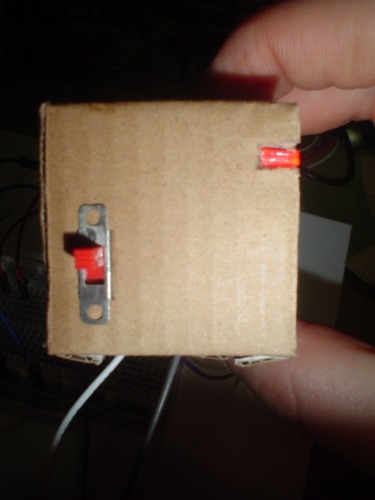
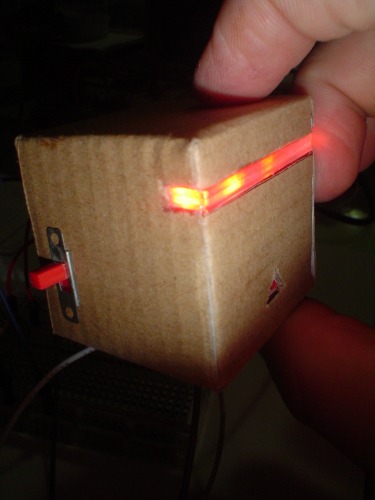
After cutting the cardboard, the next step was to make the red "laser" eyes, with pieces of acrylic.
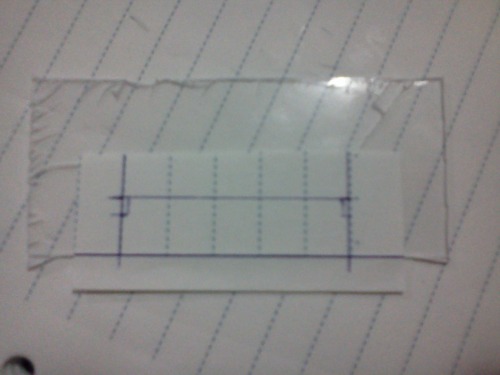
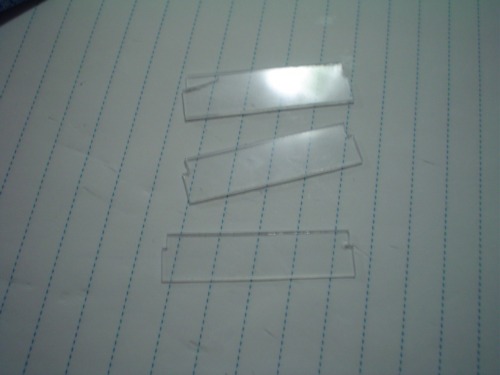
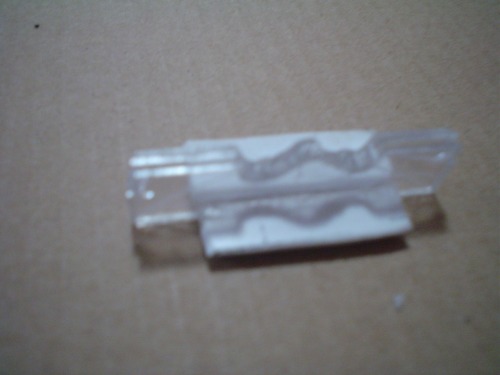
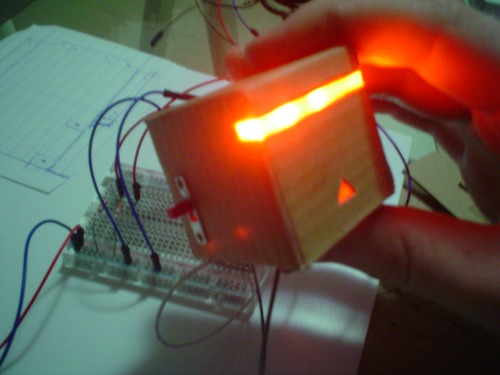
After uniting the three small pieces of transparent acrylic, two diagonal holes were made to fit two red leds. Then the laser eyes were fitted inside of the head.
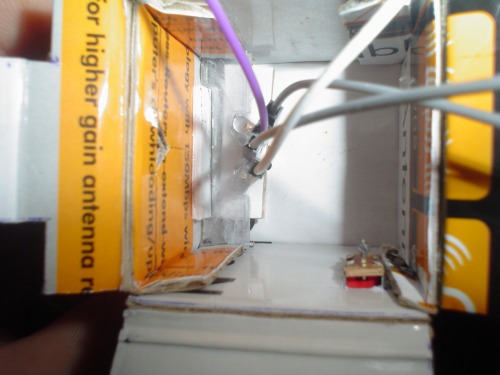
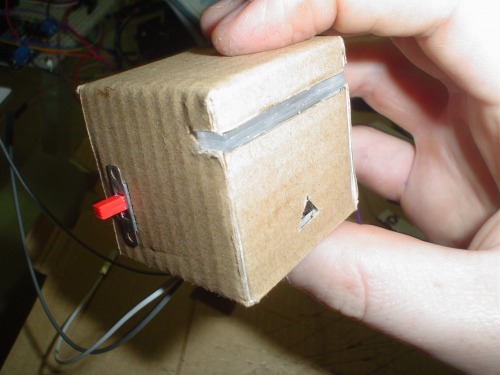
And this is the head completely assembled.
In this weekend I'll work in the torso. Below are some drawings to imagine the construction of the torso.
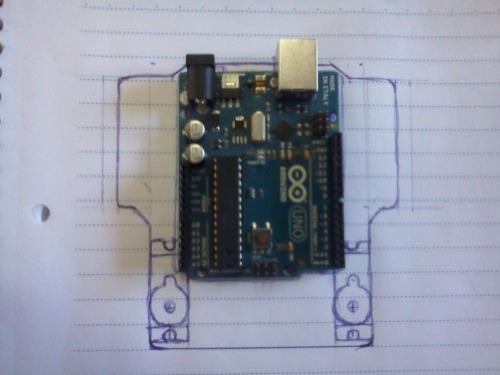
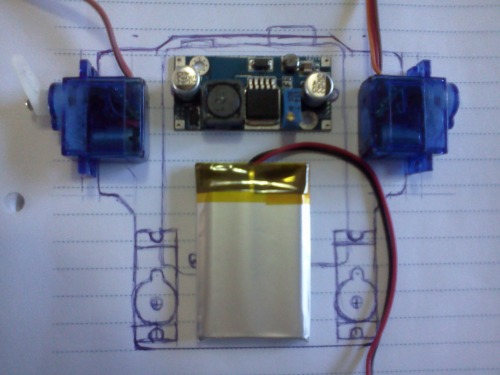
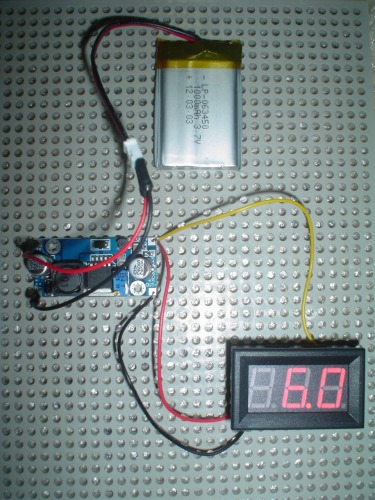
Above the battery, you see a voltage regulator. As I am using a battery of 3.7V, the voltage regulator is used to adjust the voltage to 6V for servo motors.
Will walk around
- Actuators / output devices: 12x SG90
- CPU: arduino uno
- Power source: LiPo 3.7 V 1000 mAh
This is a companion discussion topic for the original entry at https://community.robotshop.com/robots/show/godo-mini



 I’m eager to see that baby walking
