

As seen in my blog post about Sticky, first attempt to build a quadrupod ended with a jump from the desk.
Hopefully, I learned a lot and I was ready to launch the next experiment.
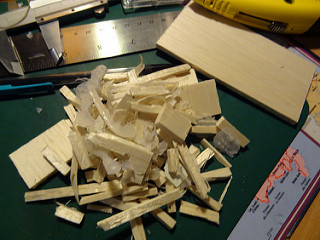
My wife just received this very nice material from a friend and there’s enough for me too :)
I think the best english translation is paper foam board, but you will see it later.
This time, I choosed to get a step further and build a 3DOF quadrupod.
As usual, as I don’t have 3D software knowledge, I draw my ideas.
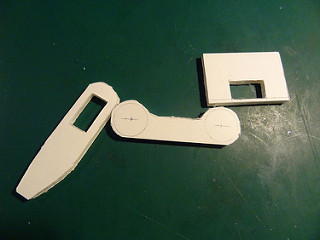
Very quickly, thanks to the foam board, I was ready to try real parts:

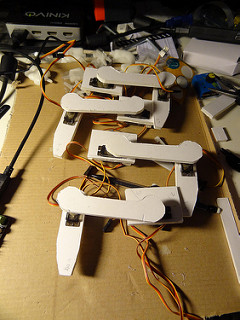
Easy to cut, strong enough, first leg parts were quickly ready:
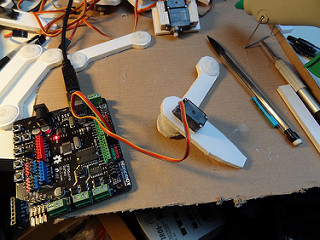
I had to get back servos and servo horns from the poor Sticky.
Bye Sticky, you were very useful:
Using the hot glue gun once more, I started to assemble the legs:
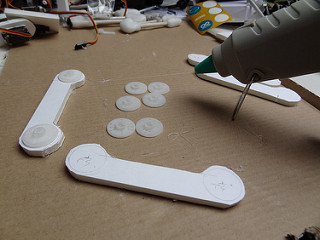
When a leg is ready, I thought it my be good to check the 90° position of the servos:
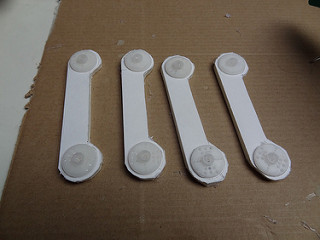
Quite a lot of work, but that was fun:
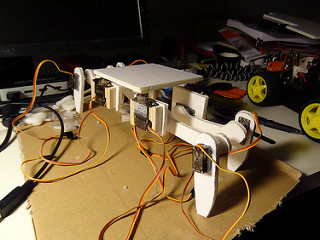
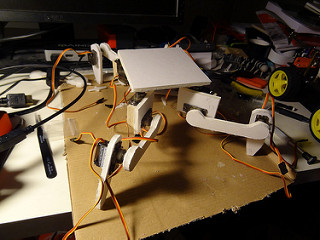
I quickly cut a platform and here is the first shoot of Gipsy:
And there, I learned another lesson: glue is good, but you have to screw horns on the servo.
Until now, I just pushed the horn, but here comes the first true physical constraints.
So, I carefully use my cutter to get back all horns, screw them and glue back.
No true difference to see, but hey, I’ve done it! :)
Then, I started to plug all 12 servos to my DFRobot Romeo board.
Which bring me to my next lesson: always put a proper code on a board before switch on :)
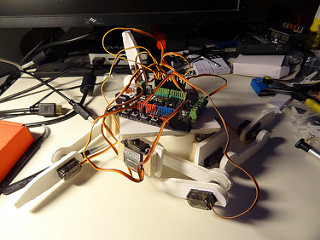
No harm, but I thought I was stupid because I didn’t initialized all the different 12 ports used.
To be honest, I believe there’s also an electrical issue, as I was only USB plugged.
As I didn’t meant to move all servo at the same time for the moment, I thought USB was enough.
Obviously, this is not the case.
Next step will be to determine if this is an electrical issue.
I’ll add an external power source as in Gary
Also, I started to study the way I’ll code the movements. It looks harder to move a 4 legs bot than one with 6.
It’s a matter of balance and you need 3 legs on the floor to keep a stable state.
But I start learning anyway, even if at the end I code an hexapod ;)
I'll try to keep updates on LMR but if you want more about me and my experiments, I have a small blog on heroku.
nothing but plan to walk at least ;)
- Actuators / output devices: 12 Turnigy TG9z
- Control method: autonomous
- CPU: Arduino (not decided among Romeo, Uno R3 and Yun)
- Operating system: Arduino
- Power source: 2v, 5AA but plan for 7
- Programming language: C
- Target environment: indoor
This is a companion discussion topic for the original entry at https://community.robotshop.com/robots/show/gipsy-steps-to-quadrupod
 He made some custom boards and made use of some UBECs(?) (Battery Elimination Circuits) to supply enough current to drive the servos.