

FrankenRobot (or Frankenbot) was an entry for Pi Wars 2017 (a Raspberry Pi robotics competition in Cambridge, UK). As such, it was built to complete the following challenges (to varying degrees of success...):
- Line Following
- Straight Line Speed Test
- Minimal Maze
- Obstacle Course
- Skittles
- Golf
- Pi Noon (essentially a non-destructive fighting challenge where a needle and a balloon are mounted on each robot, and the objective is to pop the opponent's balloon with the needle.)
The Obstacle Course, Skittles, Golf and Pi Noon challenges were all manually controlled, so for this, I used a PS3 joystick and a Python script to send instructions to the Raspberry Pi.
The Speed Test, Maze and Line Following, however, were all autonomous challenges, so I used Python scripts and sensors to complete these challenges.
The robot is pretty simple, with just a Raspberry Pi handling the robot's operations (with a Python script set to run at boot).
Components
Raspberry Pi
I used a Raspberry Pi Zero W for all the processing (as the competition requires the use of the Raspberry Pi). However, in hindsight, I would have used something like an Arduino alongside the Pi, to handle the sensors and other things that require precise timing (while still using the Pi to handle the bulk of the processing), as the Raspberry Pi runs an operating system, which means that timing may not be completely accurate.
Chassis
The chassis is three layers of custom designed laser-cut acrylic
Power
The motors are powered by a 9V battery and everything else is powered by a 5V power pack
Sensors
The line-following is done with a QTR-8RC (an 8 sensor digital reflectance sensor array) and there are three HC-SR04s mounted on the robot for distance sensing.
Other
I used 150:1 micro metal gearmotors on the robot with Pololu wheels and a ball bearing (however, in hindsight, these wheels weren't grippy enough or the motors didn't have enough torque, so it struggled on the hills). A L298N was used for a motor controller. The only other components of the robot are three LEDs used for an output.
Images
(Apologies for the terrible images, my phone has a rubbish camera and the robot has been on a shelf in my room for a good few months)
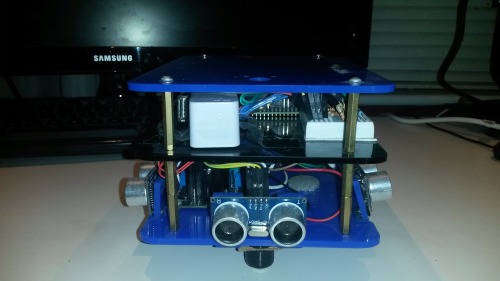
Front View
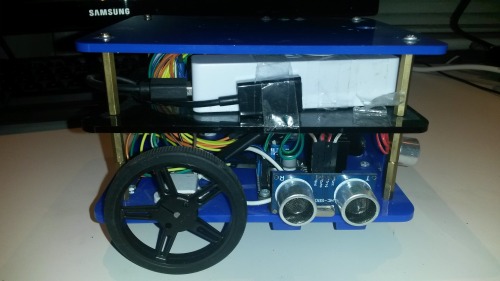
Side View
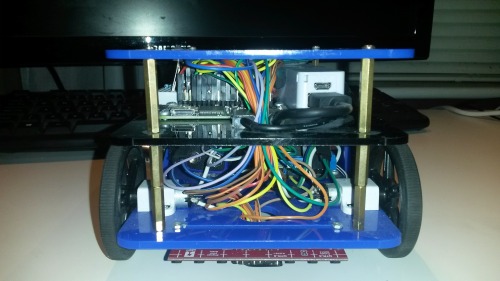
Back View
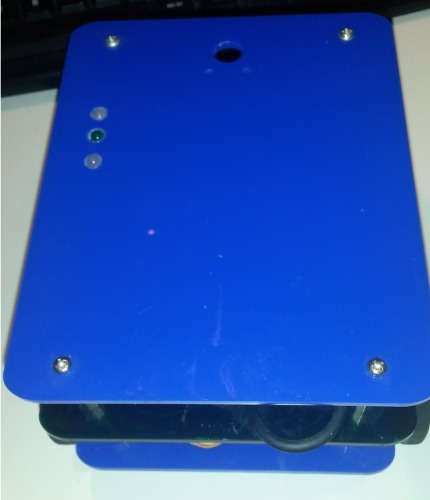
Top View
The code is in an attachment called motorcode.py (however, it's a little dodgy and the algorithms are far from good for the autonomous challenges)
(This is my first robot. Feel free to comment, if you want any more information!)
This is a companion discussion topic for the original entry at https://community.robotshop.com/robots/show/frankenrobot