

1st video - First test with the polymorph structure
2nd video - A quick test drive
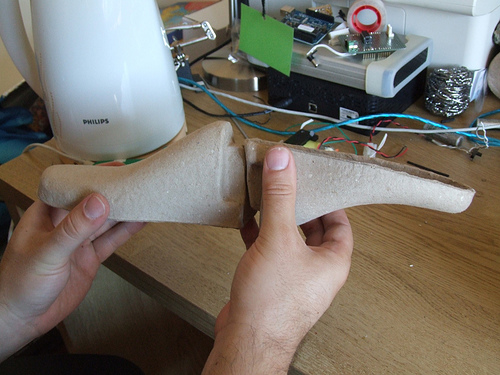
“el sapatero” came with this great challenge in mind, and I wanted to build something really nonsense.. and started to play with stuff I have, and my wife appear with this silly boots made out of recycled card. This card boots(?) are used inside shoes to keep their original shape and I knew in that precise moment that I have to use them! :)
and the video for the challenge: https://www.robotshop.com/letsmakerobots/node/8630
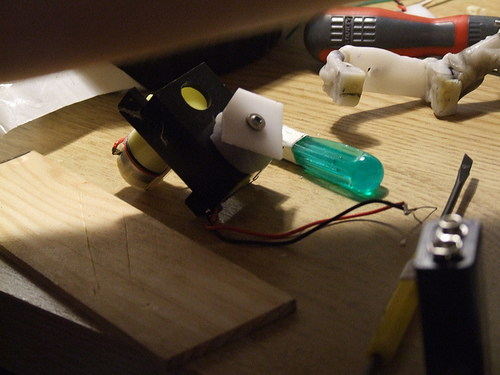
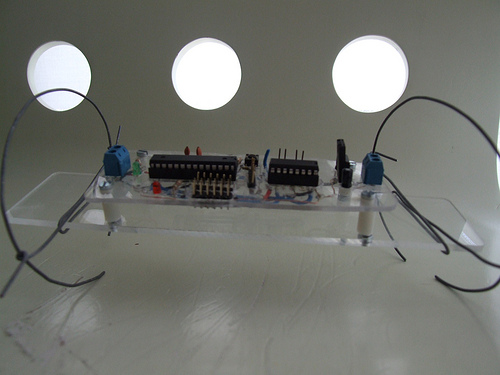
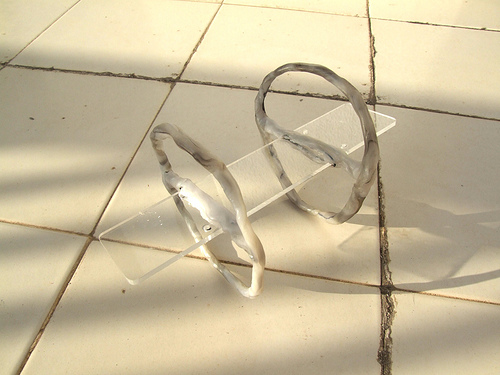
This was the first layout. I thought that I could build some kind of a walker… but I was wrong :D
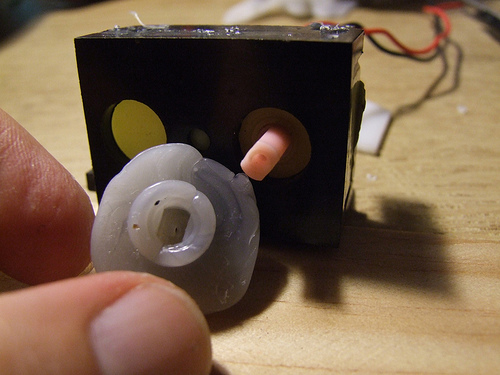
This is a motor plug made with polymorph..
Polymorph plugged into the motor and with a plastic bit.. (can’t explain this in english) lol
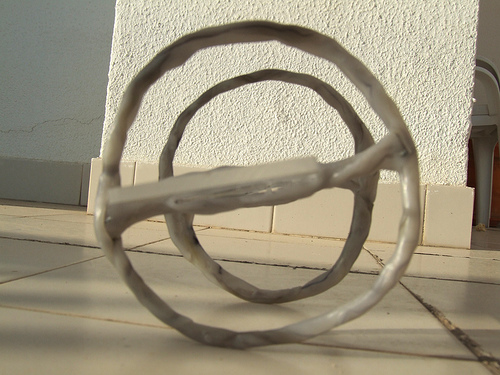
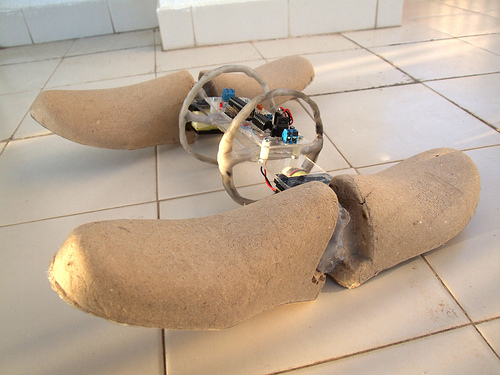
The polymorph structure was shaped in a way that gives fully support to the card boots.

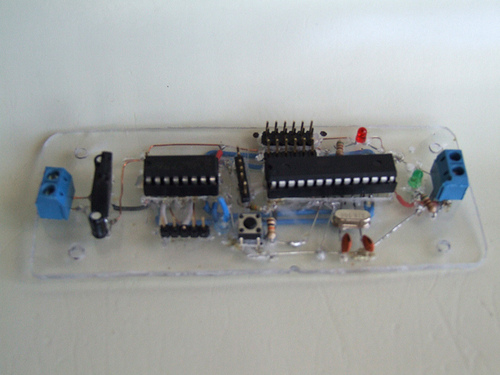
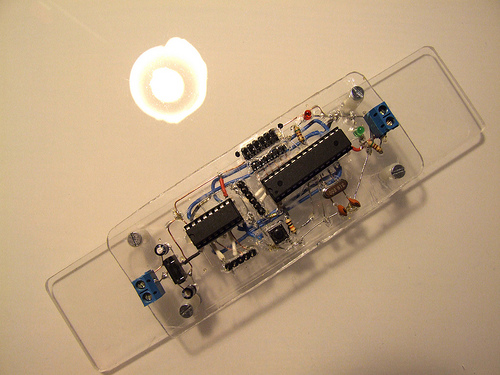
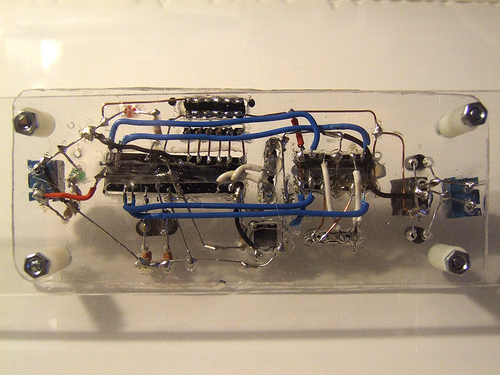
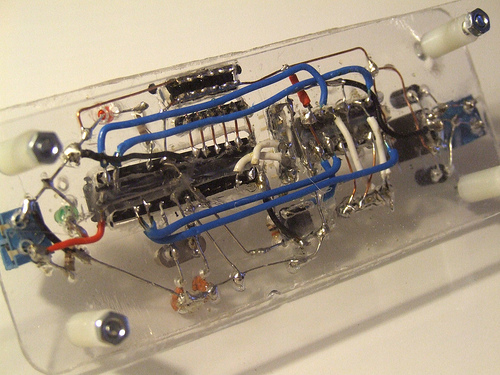
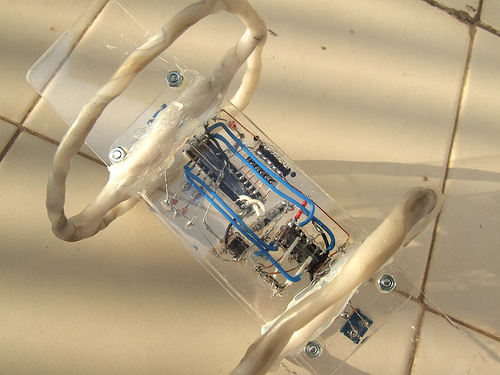
This is the circuit, I wanted to try other non conventional PCB materials, and this time I tried with acrylic. I kinda like it.. its different… but not an easy task.. I don’t know how many hours I spent with this..

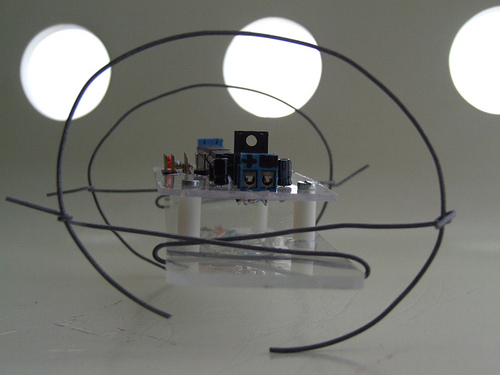
It was a great disapointment when I saw that only the body spins.. and the boots remained still.
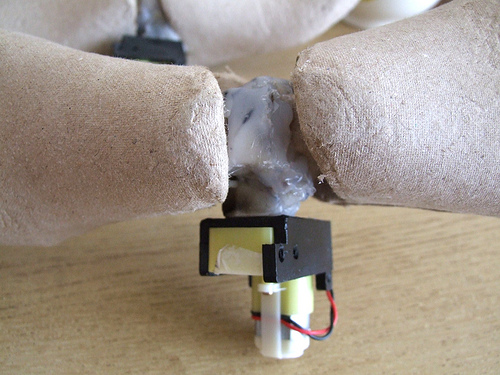
So I have to create another polymorph structure to give some traction to the entire system.
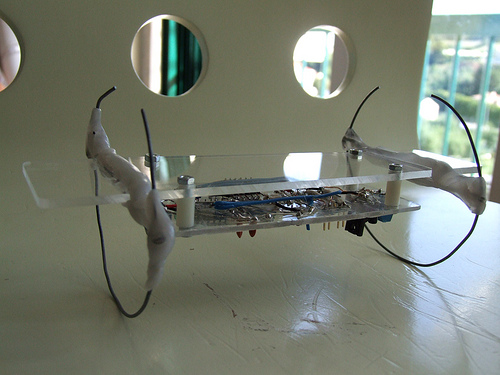
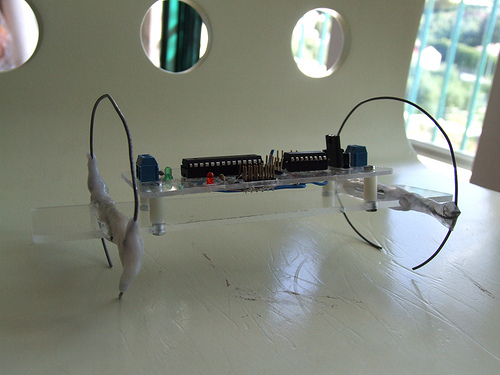
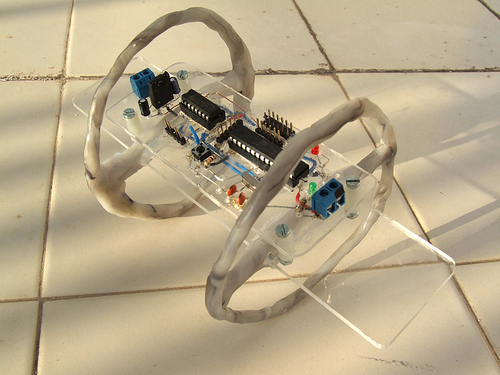
And the final result :)
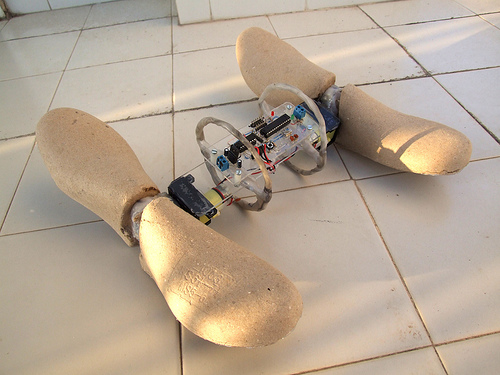
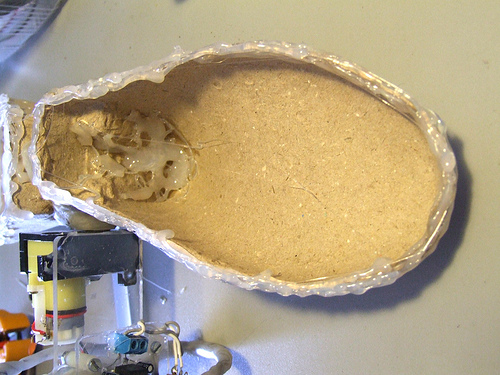
I used hotglue to reinforce the card. And this makes a cool accoustic sound coming from the boots :)
plays motion sequences
- CPU: Arduino
- Power source: 7.5V
- Target environment: stages
This is a companion discussion topic for the original entry at https://community.robotshop.com/robots/show/el-sapatero

