Is it possible for anyone to build a cheap yet scalable robot from recycled parts?
We saw here already many DiY robots from recycled parts, the cheap simple robots topic and the $10 robot contest from the African Robotics Network, all these work good both to learn and to check robotics.
But they are not very scalable (they can't grow): they are too simple to increase capabilities if we get new parts like more sensors, better controller board and so on to learn new things.
So the challenge is this: building a functional (and scalable) robot from recycled parts that anyone can find/have easy like:
- bottle taps
- motors from old printers
- parts from old toys: chasis, batteries...
- wood sticks from cheap shops
- hot glue
- rubber bands...
Please note: 3D printing or robot kits are not allowed in this "low cost" project, as many people don't have access to them.
Maybe the only thing we have to buy is the controller board, that with an Arduino is still quite cheap nowadays.
Progress:
20/May/2015
After a night dreaming about the tracking issue (see bellow), I found that direct motion between dc motor and wheel was compulsory.
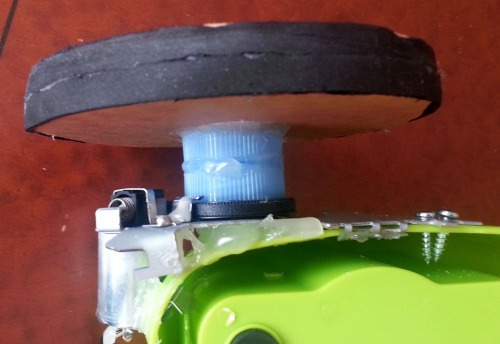
So I attached each wheel to the motor with two plastic bottle caps and some hot glue (aligning all the parts was the crytical point here):
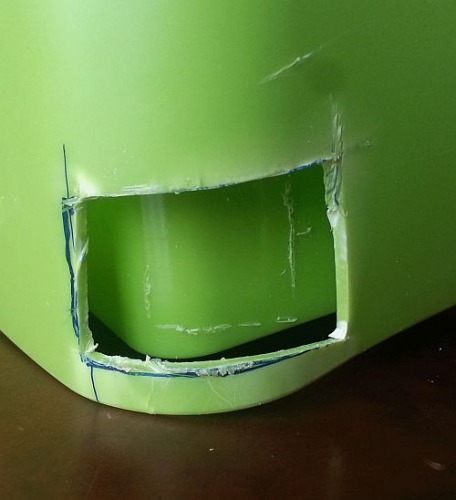
I had also to make a hole to fit the partially each motor, so the whole extructure was solid:
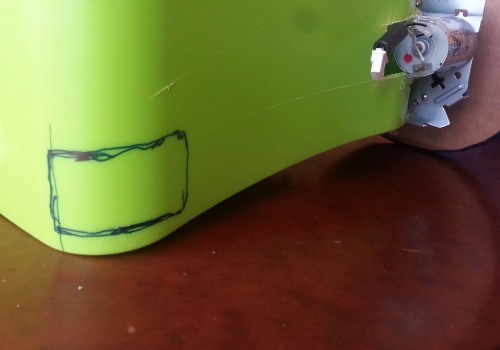
Here the hole for the second motor:
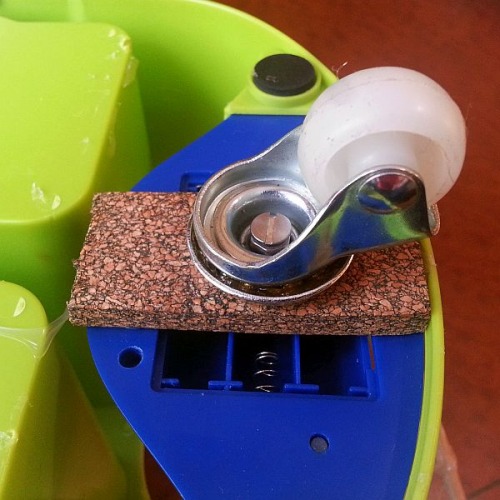
I also added a third wheel for turning easy that came from an old furiture:
And this is the chasis with motors right now. Both look and more important, running, are improved:
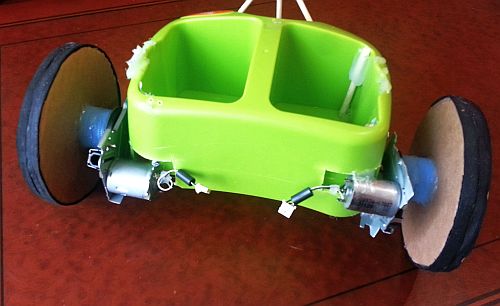
Above you can find the video (it is the second one) with the improved behaviour of the chasis with motors. Next step: adding electronic control to the motors.
19/May/2015
Details on the robot right now:
- Wheels made out of cardboard + bottle taps + wood sticks +`foam, all together with hot glue.
- Chasis and battery from old toy.
- DC Motors from old printers.
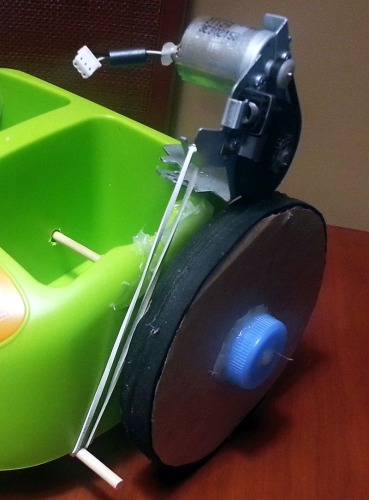
This is how far I got: robot moves but wheels run better in one way than the other one, due to poor coupling between motors and wheels. Note: I tried already coupling with rubber band from motor to wheel, but it didn't work at all: the robot was still, see picture with detail of the rubber band:
I found some useful DiY ways to link motors to wheels, but I didn't tested all of them yet... Here is the list right now:
Direct coupling from motor shaft to wheel (thanks Basile): (not good when you need good torque)
DiY gear "box": (good if you have already the gear wheels)
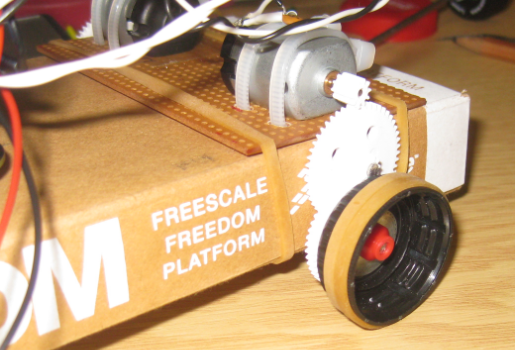
Standard coupling with screw (there are many variants around to buy):
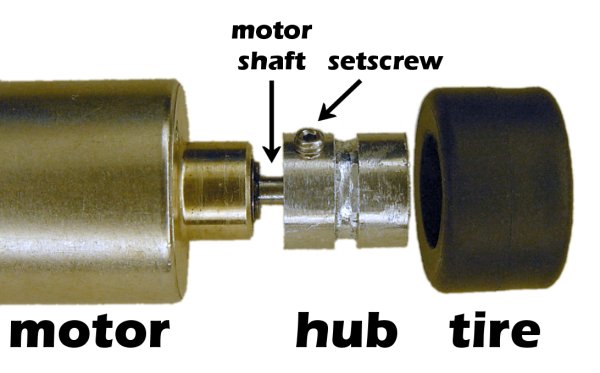
And this is the traction part right now:
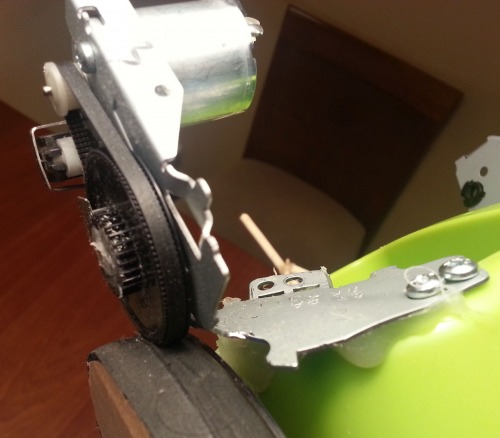
As you can see in the first video above, traction is not good enough for several reasons, mainly the wheel is not perfectly aligned also the connection between motor and wheel is not good enough. I'm planning a new coupling that means to change the whole arrangement of the motors. Let's see...
This is a work in progress so any suggestion is welcome. Thanks!
Moves around with its three wheels
This is a companion discussion topic for the original entry at https://community.robotshop.com/robots/show/diy-cheap-robot-from-recycled-parts




 However, my challenge is not only to do a cheap robot, but also a scalable one, so it has to be strong enough to keep growing to support a robotic arm, a camera and batteries to manage everything from arduino to raspberry pi boards…
