Desktop Companion Bot (DCB) V0.1

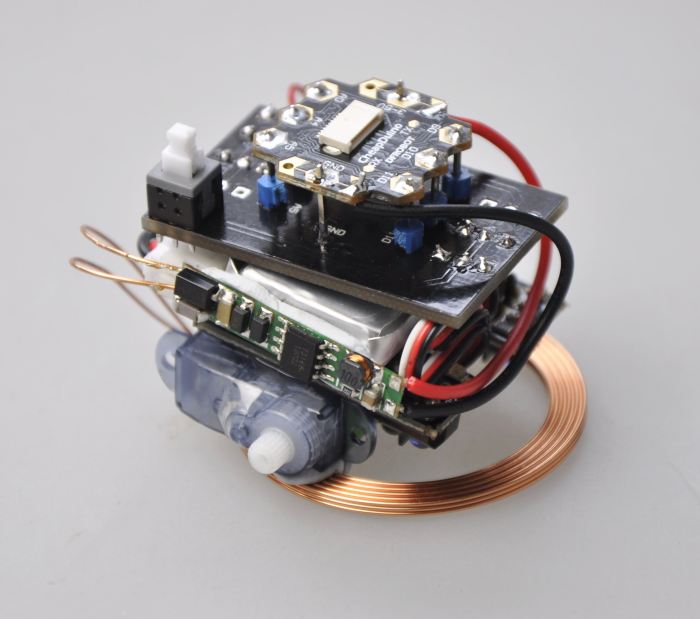
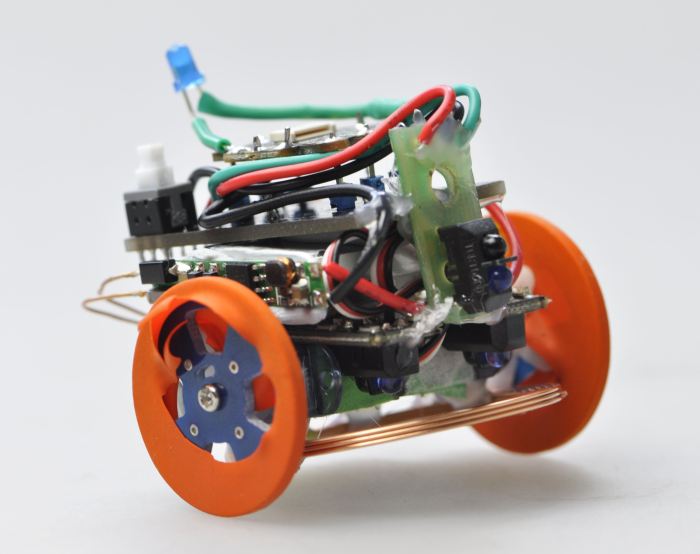
It's been a while since I submitted a robot. Now here he goes, the Desktop Companion Bot or short DCB. 

Prolog:

The idea came by thinking about a new swarm robot. For the first testing I wanted to build a dektop robot to test the wireless charging function. It has to be a simple robot, small, cheap and easy to build.

Parts:

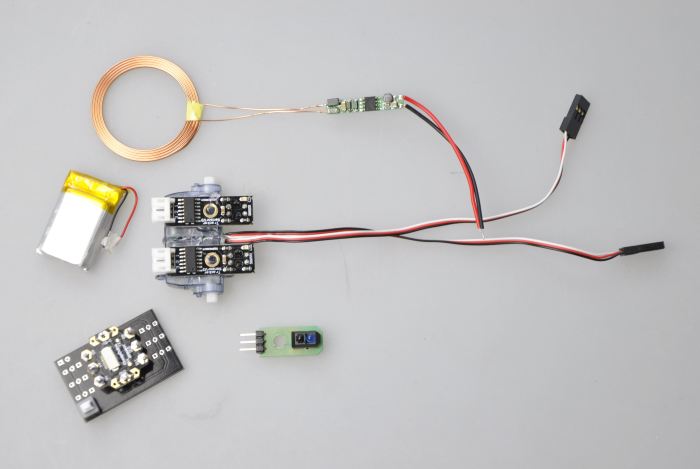
The parts are nothing fancy as you can see in the following pictures.

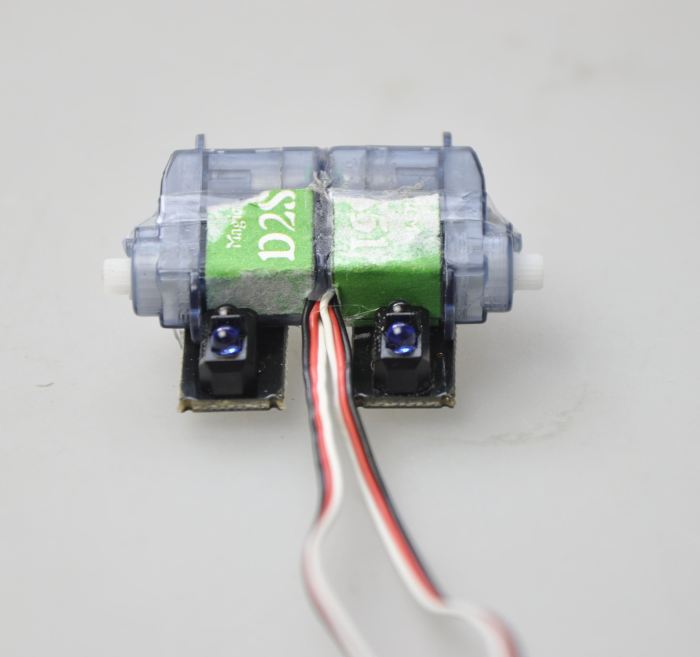
Two continuous rotating servos 2.5g hotglued together.
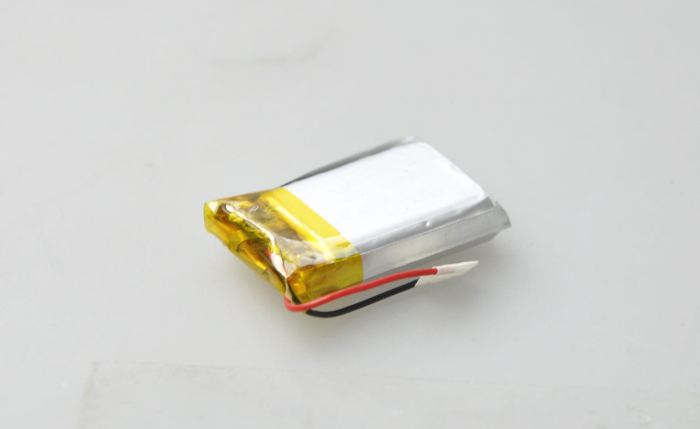
One LiPo 3.7V 500mAh

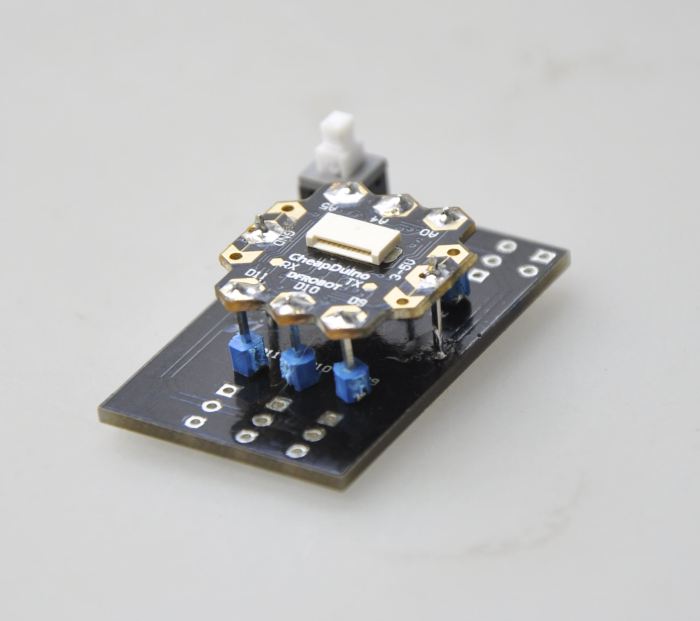
One Cheapduino, already soldered on the shield.
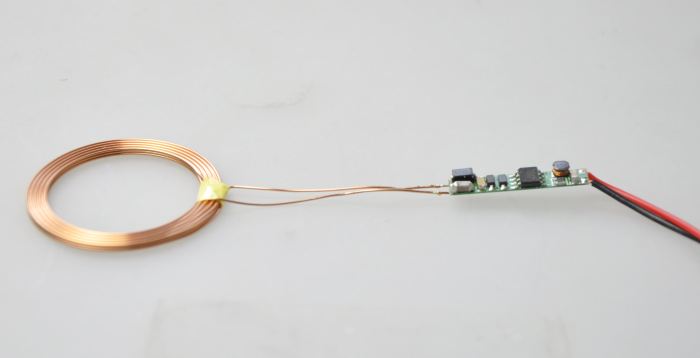
One wireless charging circuit. (receiver part is regulated to 5V)

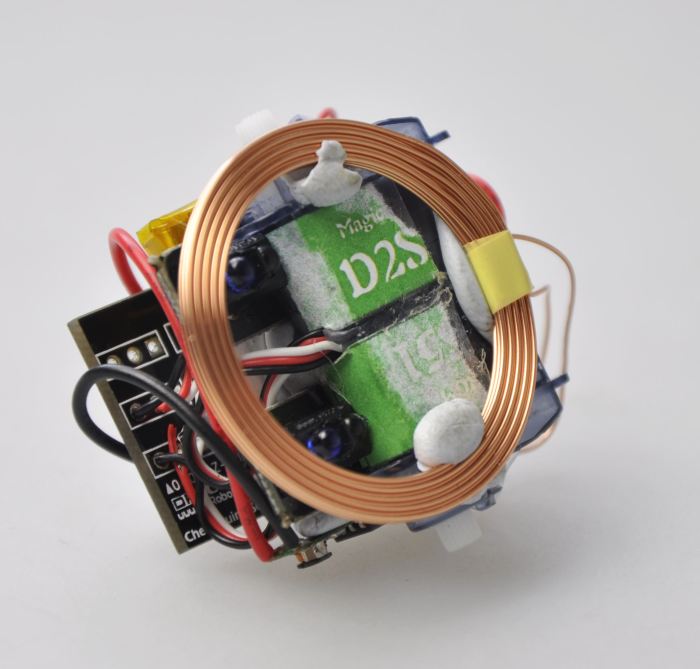
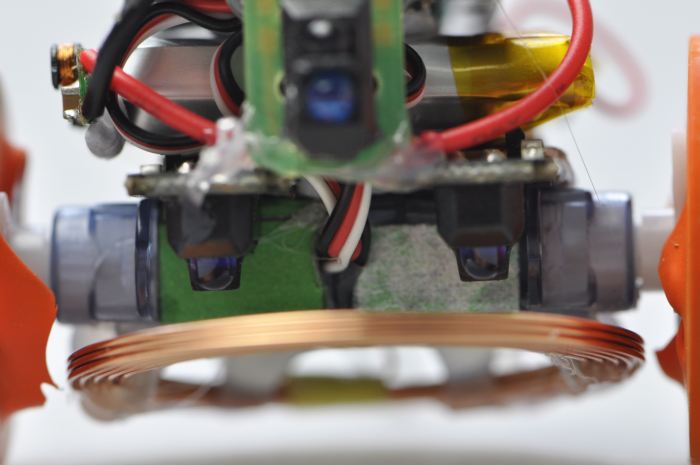
Here is the most of the parts in one picture. In the center you can see the two IR sensors already hotglued on the servos. These are based on TCRT5000 and will act as line and cliff sensor. The third IR sensor is another TCRT5000 and will serve as front sensor (common obstacle avoidance).

As it's for testing the wireless charging function and some programming only it's just hotglued together. The following pictures will show the first steps in putting all together. First fixed with Blu Tack and later with the more permanent hotglue :-)

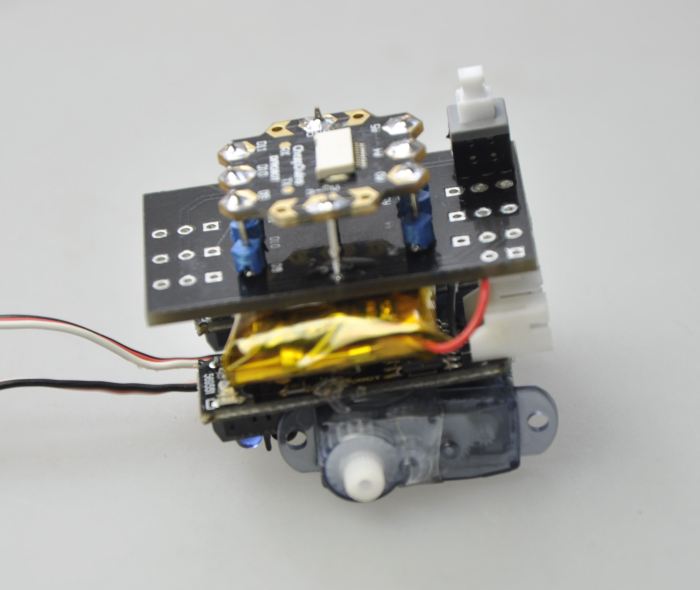
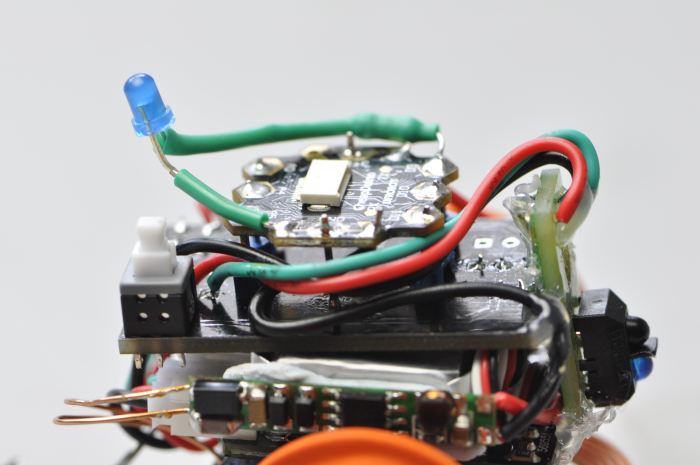
The IR line/cliff sensors are hotglued on the servos. On top of it is the LiPo battery and on top of that is the Cheapduino shield including the Cheapduino..

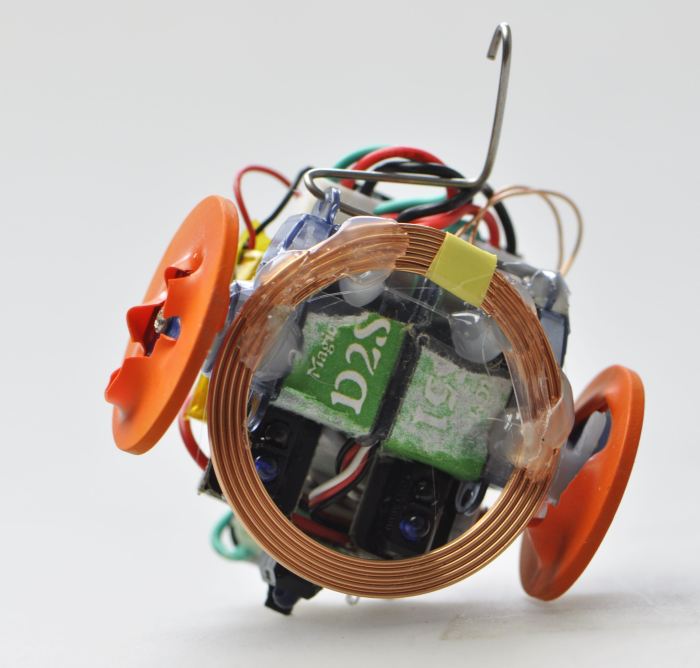
Then the wireless charging circuit is attached with Blu Tack at the side of the LiPo battrery and the coil at the bottom.

The coil is still fixed with Blu Tack here...

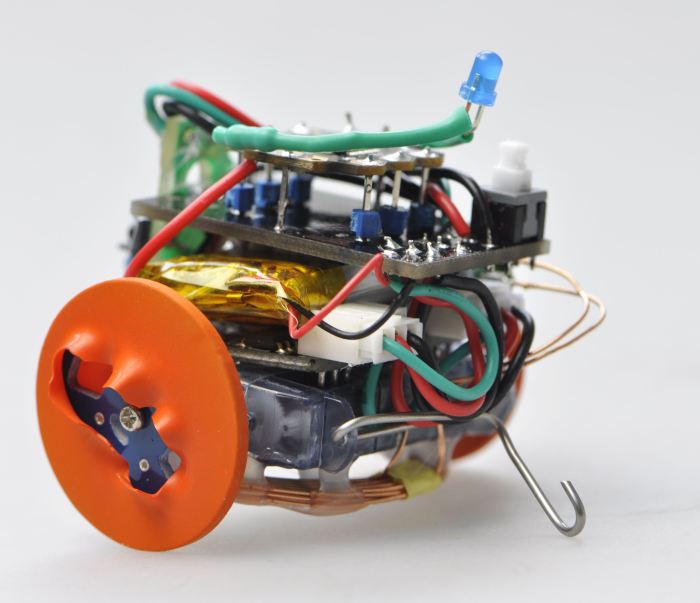
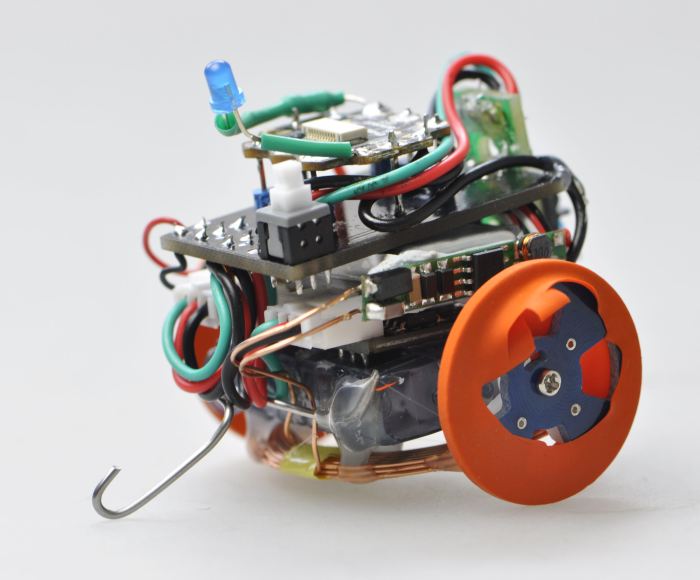
All wired up and attached two wheels from the new ALF. The balloon rubber thing is for grip...not looking very nice but that's what I had at my hands right now. In the back the steel wire is keeping DCB in balance.

More pictures without comment:

There is no video yet. The plan is to write some code today and then I will upload some motion pictures :-) Also the plan is to let it run on a contained area with an webcam watching it 24/7. If that happens I will post the link here as well.

Here some data of the wireless charging circuit taken with the sender and receiver coil 10mm apart:

Input/V Primary current/mA Output/V Secondary current/mA
3.00 200 0.30 55
3.50 170 0.30 55
4.50 144 0.40 55
5.00 160 1.80 66
6.00 170 2.70 73
8.00 200 4.40 89
10.00 200 4.50 92
12.00 197 4.60 94

The coils are made of 15 windings (5 in 3 layers) solid 0.25mm² copper wire and haveinf a diameter of 40mm.

The primary coil is running with 50kHz provides by the T5336 chip (might be a Chinese one)

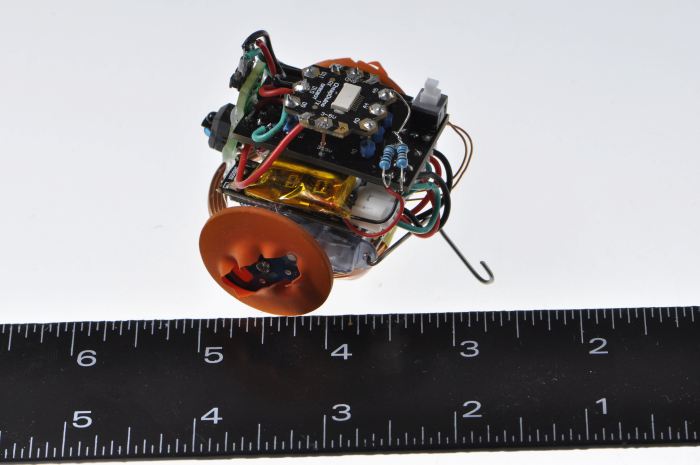
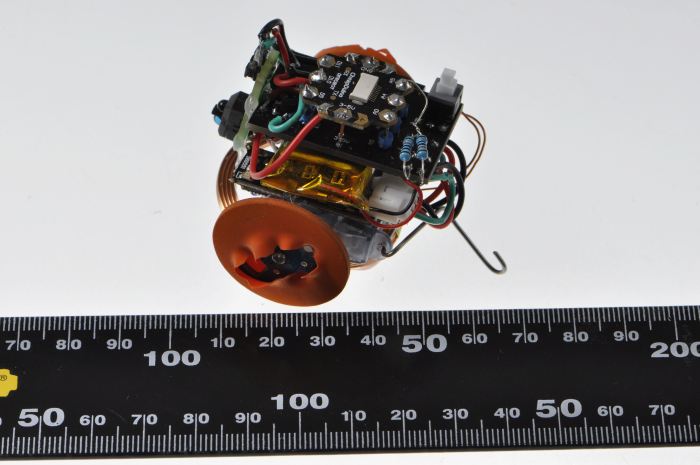
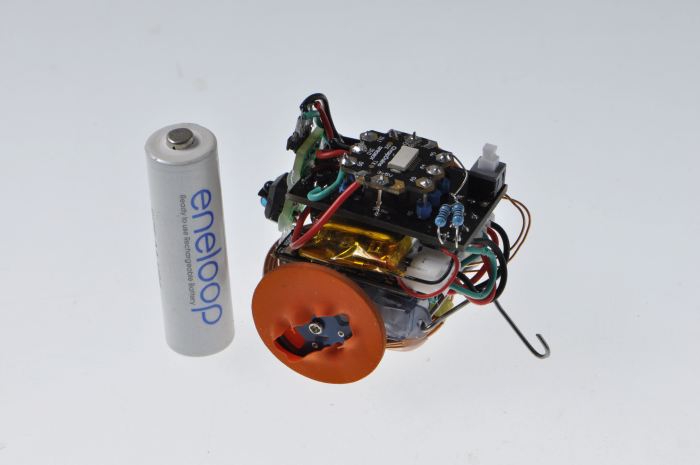
As on a request of Maxhires here some pictures to show you the size of the robot:

Above is the DCB in relation to a ruler in INCH (for all of you who still lifes in the antique imperial system)

below you can see the robot in relation to the modern metric system \o/

For all of you who needs a physical thing to compare, please see the next picture with the robot besides a standard AA battery.

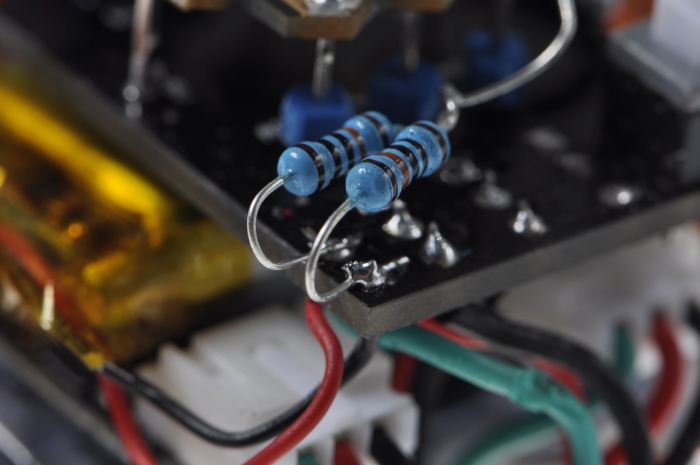
The next picture is showing the two resistors (each 100kΩ) of the battery monitor.

Today is coding and testing day. I will write the code to navigate the robot in the right position above the primary coil to charge the battery most efficient. For that I also need to test run the robot in his contained area. Not sure about the result yet since it's a whole bunch of parameters to take care of.


UPDATE: Completed. The little huy got disassambled since one servo was broken. I will build a new one soon but this will be another project. However, I've learned a lot, so it was a success.

UPDATE: As requested here are the link to the schematics of the Cheapduino


Moving in a contained area, avoiding obstacles, checking battery power, find a line, find a cliff

  • Actuators / output devices: 2x 2.5g continuous rotating servo, 1x blue 3mm LED
  • Control method: Autonomous with Cheapduino
  • CPU: atMega8
  • Operating system: Arduino IDE
  • Power source: 1x 3.7V LiPo 500mAh
  • Programming language: Arduino ide
  • Sensors / input devices: 3x IR sensor TCRT5000, Wireless charging coil
  • Target environment: indoor, Flat, Even surface

This is a companion discussion topic for the original entry at https://community.robotshop.com/robots/show/desktop-companion-bot-dcb-v0-1

:slight_smile:

Looking pretty dang good there Lumi, looks a lot bigger in the first picture.

Can’t wait to see how you get along with that wireless charging!

The whole bot is about

The whole bot is about 4cmx4cm. Yep, me too, the wireless charging is still not tested yet, only the code for navigation is done.

cool

Tiny and cool :slight_smile: Loved it .

Thanks :slight_smile:

Thanks :slight_smile:

Like! :slight_smile:

Great job Lumi! :) 
I really like it!

I was just wodering wich shield did you use under the Cheapduino to control the two servos? Did you make it by yourself? 

Thanks,

dan 

Thanks dnl82. Yes, I made

Thanks dnl82. Yes, I made the shield by myself. You know, connecting servos is a pain with the power supply, so a shield is a must :slight_smile:

Nice workNow you can program

Nice work

Now you can program it to perpetual operation, it just have to find the charging place by it self.

Thanks. But this one is not

Thanks. But this one is not operational anymore due the broken servo and the resulting desintegration :slight_smile: I will build another one and proceed with the navigation to get the automatic charging in place so it can run 24/7 :slight_smile:

I really want to make this

Hey, Im new to this, I’ve never made a robot in my life.

But I really want to start with this one for its small and cheap make. I did my own research on finding the parts.

The Engine — 2X Hobby King 2.5g micro servo / 2X $5.72 / www.hobbyking.com

The Battery — Polymer Lithium Ion Battery - 110mAh / $ 7 / www.sparkfun.com

The Charger? — DIY Wirless Charging Transmitter + Reciever Solution Module - Yellow + Gold / $10 /  www.dx.com 

The Sensor? — 2X TCRT5000 / 2X $4.00 / ebay.com

The System? — Cheapdunio / $21.00 / http://www.dfrobot.com/


What other parts do I need and where do I find them? like the wheel. 

How do you code it? 

Please keep working on this Robot! 

Thank you 


Hi Redroom, thanks for your

Hi Redroom, thanks for your :slight_smile: four comments. First, please click at the other three comments on more -> edit to delete the content. You cannot delete the comment itself but you can edtit the content of it.

You will need a shield for the Cheapduino or you need to solder all wires directly on it. Also you need a couple of resistors for the voltage monitor, some third wheel (i used steel wire), hotglue or Blu Tack and steady hands :slight_smile:

The wheels are juist PCB material and you could use plywood, ABS or even bottle caps like I did on my line follower and swarm robot.

awesome :slight_smile:

Hi Lumi,

this idea is very awesome! compliments :slight_smile:

I’d use this little bot for some tests, and the use of cheapduino can be very useful.

I’ve only two doubt about cheapduino shield and battery monitor:

1) it’s possibile to see a schema of cheapduino shield? I see that is provided of reset button, and is interesting.

2) how you use the resistor as battery monitor? can you describe detail of this choice?

Thank you,

mauro

maurespo, thanks for your

maurespo, thanks for your interest.

1. I will check if I still have it in the office and will post it when I am back to work next week. That button is not a reset button but the on/off switch :slight_smile:

2. The battery monitor is just a simple voltage monitor based on that general schematic. There is no precision since I am not using any fixed reference voltage but it’s good enough for testing since it’s a cheap and a quick solution. That is my reason :slight_smile:

ty!

Thank you Lumi for details :slight_smile:

I think that a simple battery monitor is the best way, nice!

I’ve builded this little bot (this is my first) and now I’m starting to programming it. Not easy :slight_smile: but very instructive for multiple problems to be solved.

Thats great. Please post

Thats great. Please post your progress that we all can have a look in how you built this little robot. I am going to build V2.0 very soon.

Ok Lumi for updates.Don’t

Ok Lumi for updates.

Don’t forget cheapduino shield schematic! for little applications it can be very useful :slight_smile:

Thank you,

mauro