

In this tutorial we will show you how to create a 3D printed glider. This is a great first project for those interested in 3D printing. You can use the glider for any number of purposes. You can get the files you need to print here.
Here are the main tech specs:
- Plastic: ABS
- Layers: .20mm
- Fill: 25%
- Perimeters: 2
- Solid Layers: 2
- Filament use / weight (3mm) : Approx 1250mm
- Orientation: Lengthwise (0 degrees for first layer) and alternating by 90 degrees for following layers.
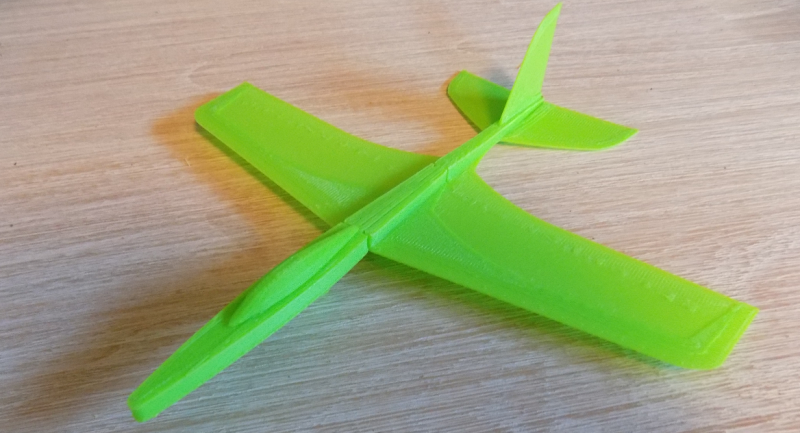
It takes 45 - 60 minutes to print the glider. If you don't have a 3D printer see our recommendations here. If you try to print too fast then the quality can suffer. There are four parts to the drone. The main body, the hook, the wings, and the canopy. They are glued together to create the glider.
The 3D printer can be slung with a rubber band. You can optionally print a launcher as well to have more fun. This makes for great fun. Take the glider to the park and have some fun.