

Hello everyone
First of all I would like to congratulate everyone for such an amazing community.
I don't have a robotics or electonic engineering backgroung (I'm a Chemical Engineering major) :) but I've always loved electronics and robotics.
I've started to rekindle a long forgoten interest a couple of months ago when I bought a Raspberry Pi and eventualy bought an Arduino, and it's been fun ever since...
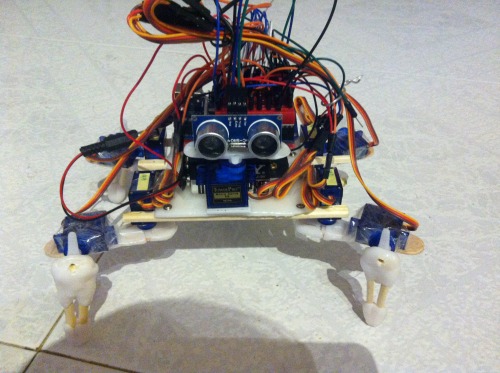
This is my first quadrapod and I decided to replicate Chopstick Junior because I loved it when I first saw it... (love all bots that mimic Nature)
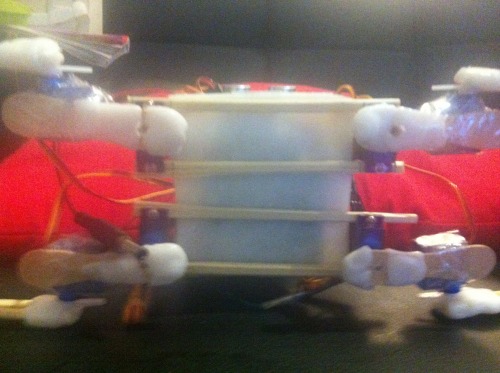
This is mostly a replication of Lumi's original Chopstick with an UltraSound sensor. (Chopsticks, Ice Cream sticks, scotch tape and Polymorph)
The code is a mix of Lumi's original and some other peaces of code that I found in the internet.I think some of it is from ChickenParmi James robot. I take no credit for any of it... I just stiched it up together, poorly I must add :):)This is one of my difficulties I can't write a program from scratch, but I can understand other programs and adapt them to my needs... I know its strange but I don't know if it makes sense...
Well this is steel a work in progress as you can see the sensor some times aparentley sees some imaginary obstacle :) and the walk steel needs a lot of work... see him trying to wall backwards... :) I'll keep you updated...
Hope to come up with an original project real soon, but first I'm going to try to replicate Oddbots Caterpillar and JerZ Penny, to master my skills :):)
Best regards
UPDATE:
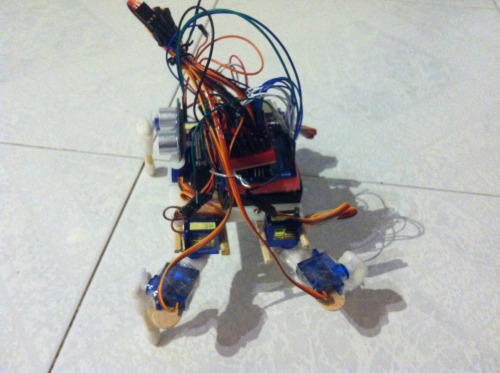
Some close ups of the build:
UPDATE 2:
Link for the Arduino code: https://dl.dropboxusercontent.com/u/9603759/Chopstick_Junior_Ressurected.txt
UPDATE 3:
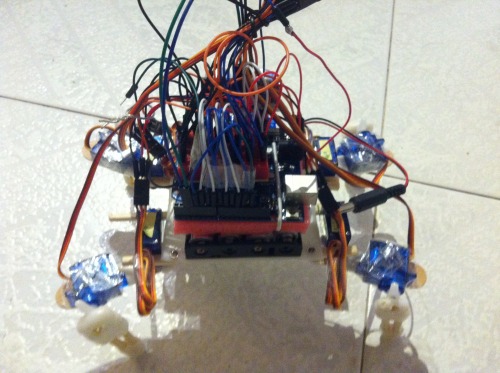
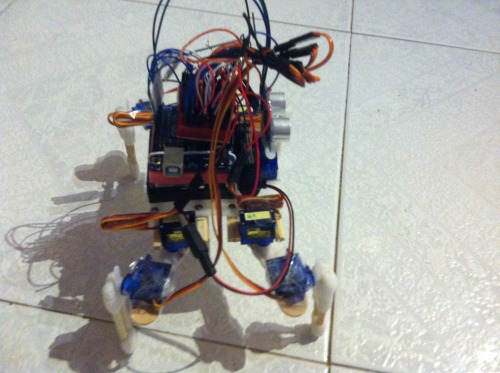
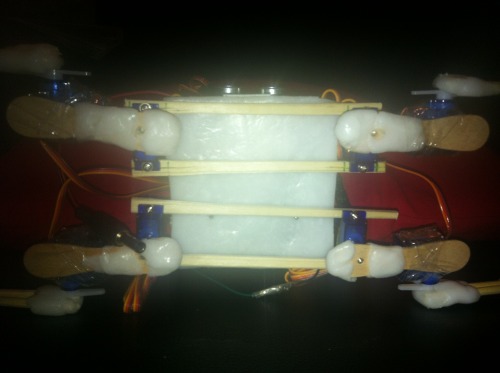
Here are some more pictures of the build.
Polymorph base with chopsticks screwed to it.
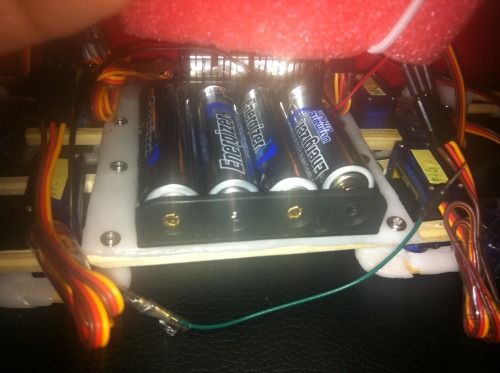
4xAA batterie casing screwed to polymorph base
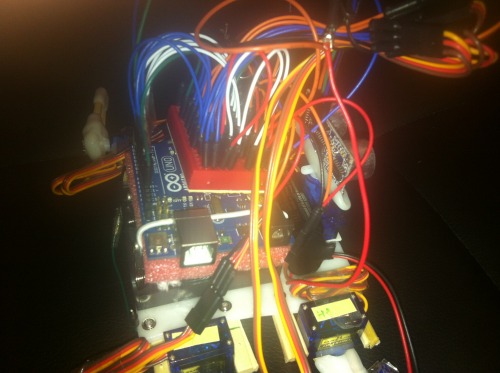
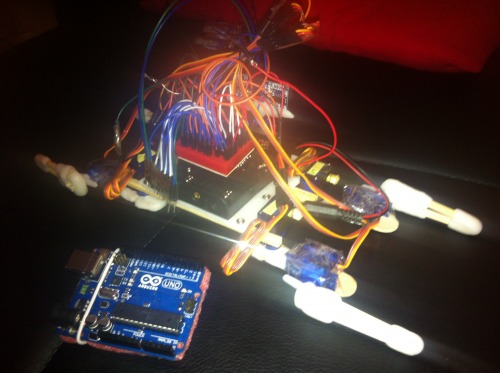
Arduino on top of batteries with some foam to insulate it :):):) or so I hope... and mini breadboard on top with a maze of wires... :):):)
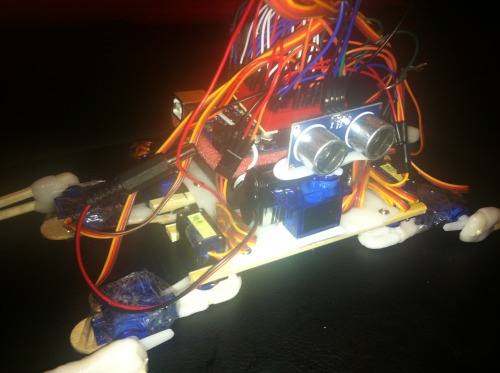
Didn't use hot glue, used only polymorph to secure servo horns to ice-cream sticks and scotch tape to secure knee servos, wich came in handy because I had to readjust the knee servos a lot to balance the robot correctly. Hip servos are screwed to the chopsticks. Also made a litlle polymorph platform for the ultrasound sensor that I screwed to the servo horn and the sensor. 9V batterie behind sensor servo.
View without Arduino and baterries.
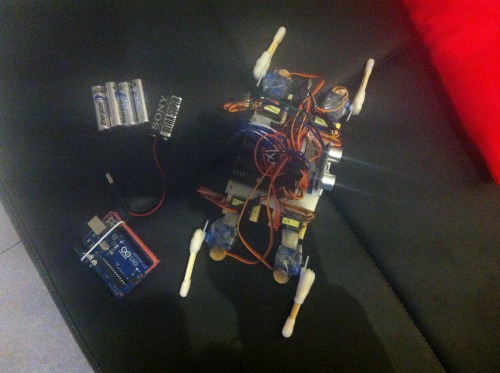
Arduino and power supllies used.
Hope you can get a nicer understanding of the building process.
Navigate around via ultrasound
- Actuators / output devices: 9g MicroServos
- CPU: arduino uno
- Power source: 9v battery, 6V (4AA)
- Programming language: Arduino
- Sensors / input devices: HC-SR04
- Target environment: indoor
This is a companion discussion topic for the original entry at https://community.robotshop.com/robots/show/chopstick-junior-resurrected

