


Chapters Menu
Chapter 1: What Is Roomba Discovery Series Saying To Me? Chapter 2: How to Open/Replace Frame Roomba Discovery Chapter 3: How to Replace Roomba Discover Series Main Brush Casing Chapter 4: How to Replace Roomba Discovery Main Brush Motor Chapter 5: How to Replace Roomba Discovery Motherboard Chapter 6: How to Replace Roomba Discovery Speaker Chapter 7: How to Replace Roomba Discovery Side Brush Motor Chapter 8: How to Replace Roomba Discovery Side Brush Gear Assembly Chapter 9: How to Replace Roomba Discovery Front Caster Wheel Chapter 10: How to Replace Roomba Discovery Caster Wheel Drop Switch Chapter 11: How to Replace Roomba Discovery Drive Wheel Chapter 12: How to Replace Roomba Discovery Cliff Sensors Chapter 13: Roomba Discovery Motherboard Connections To service and maintain your Roomba Discovery 4XXX/4XX series, you will need to be able to open and close the robot’s frame. The Discovery Series Roomba has two main parts that need to be loosened and removed to gain access to its insides. These two parts are the robot’s front bumper, and top frame cover. This also doubles as a guide on how to replace your front bumper and/or top cover. The Discovery Series Roombas are those pictured below: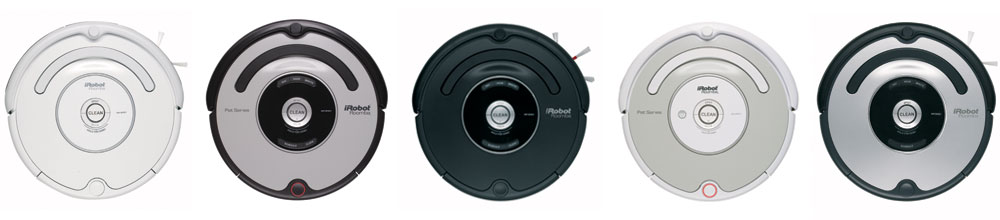
2.1 Front Unit
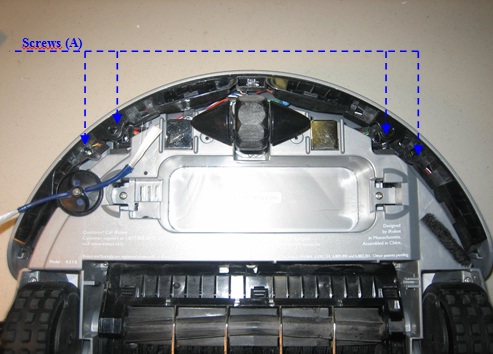
Removal and Assembly of the Front BumperRemoval Phase
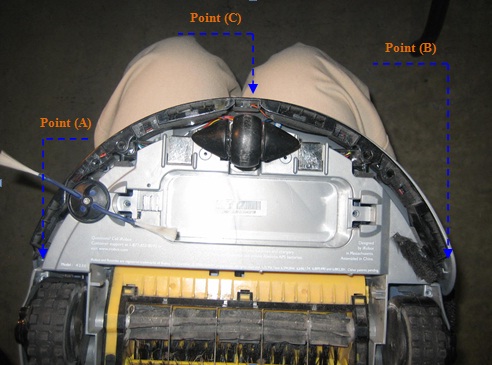
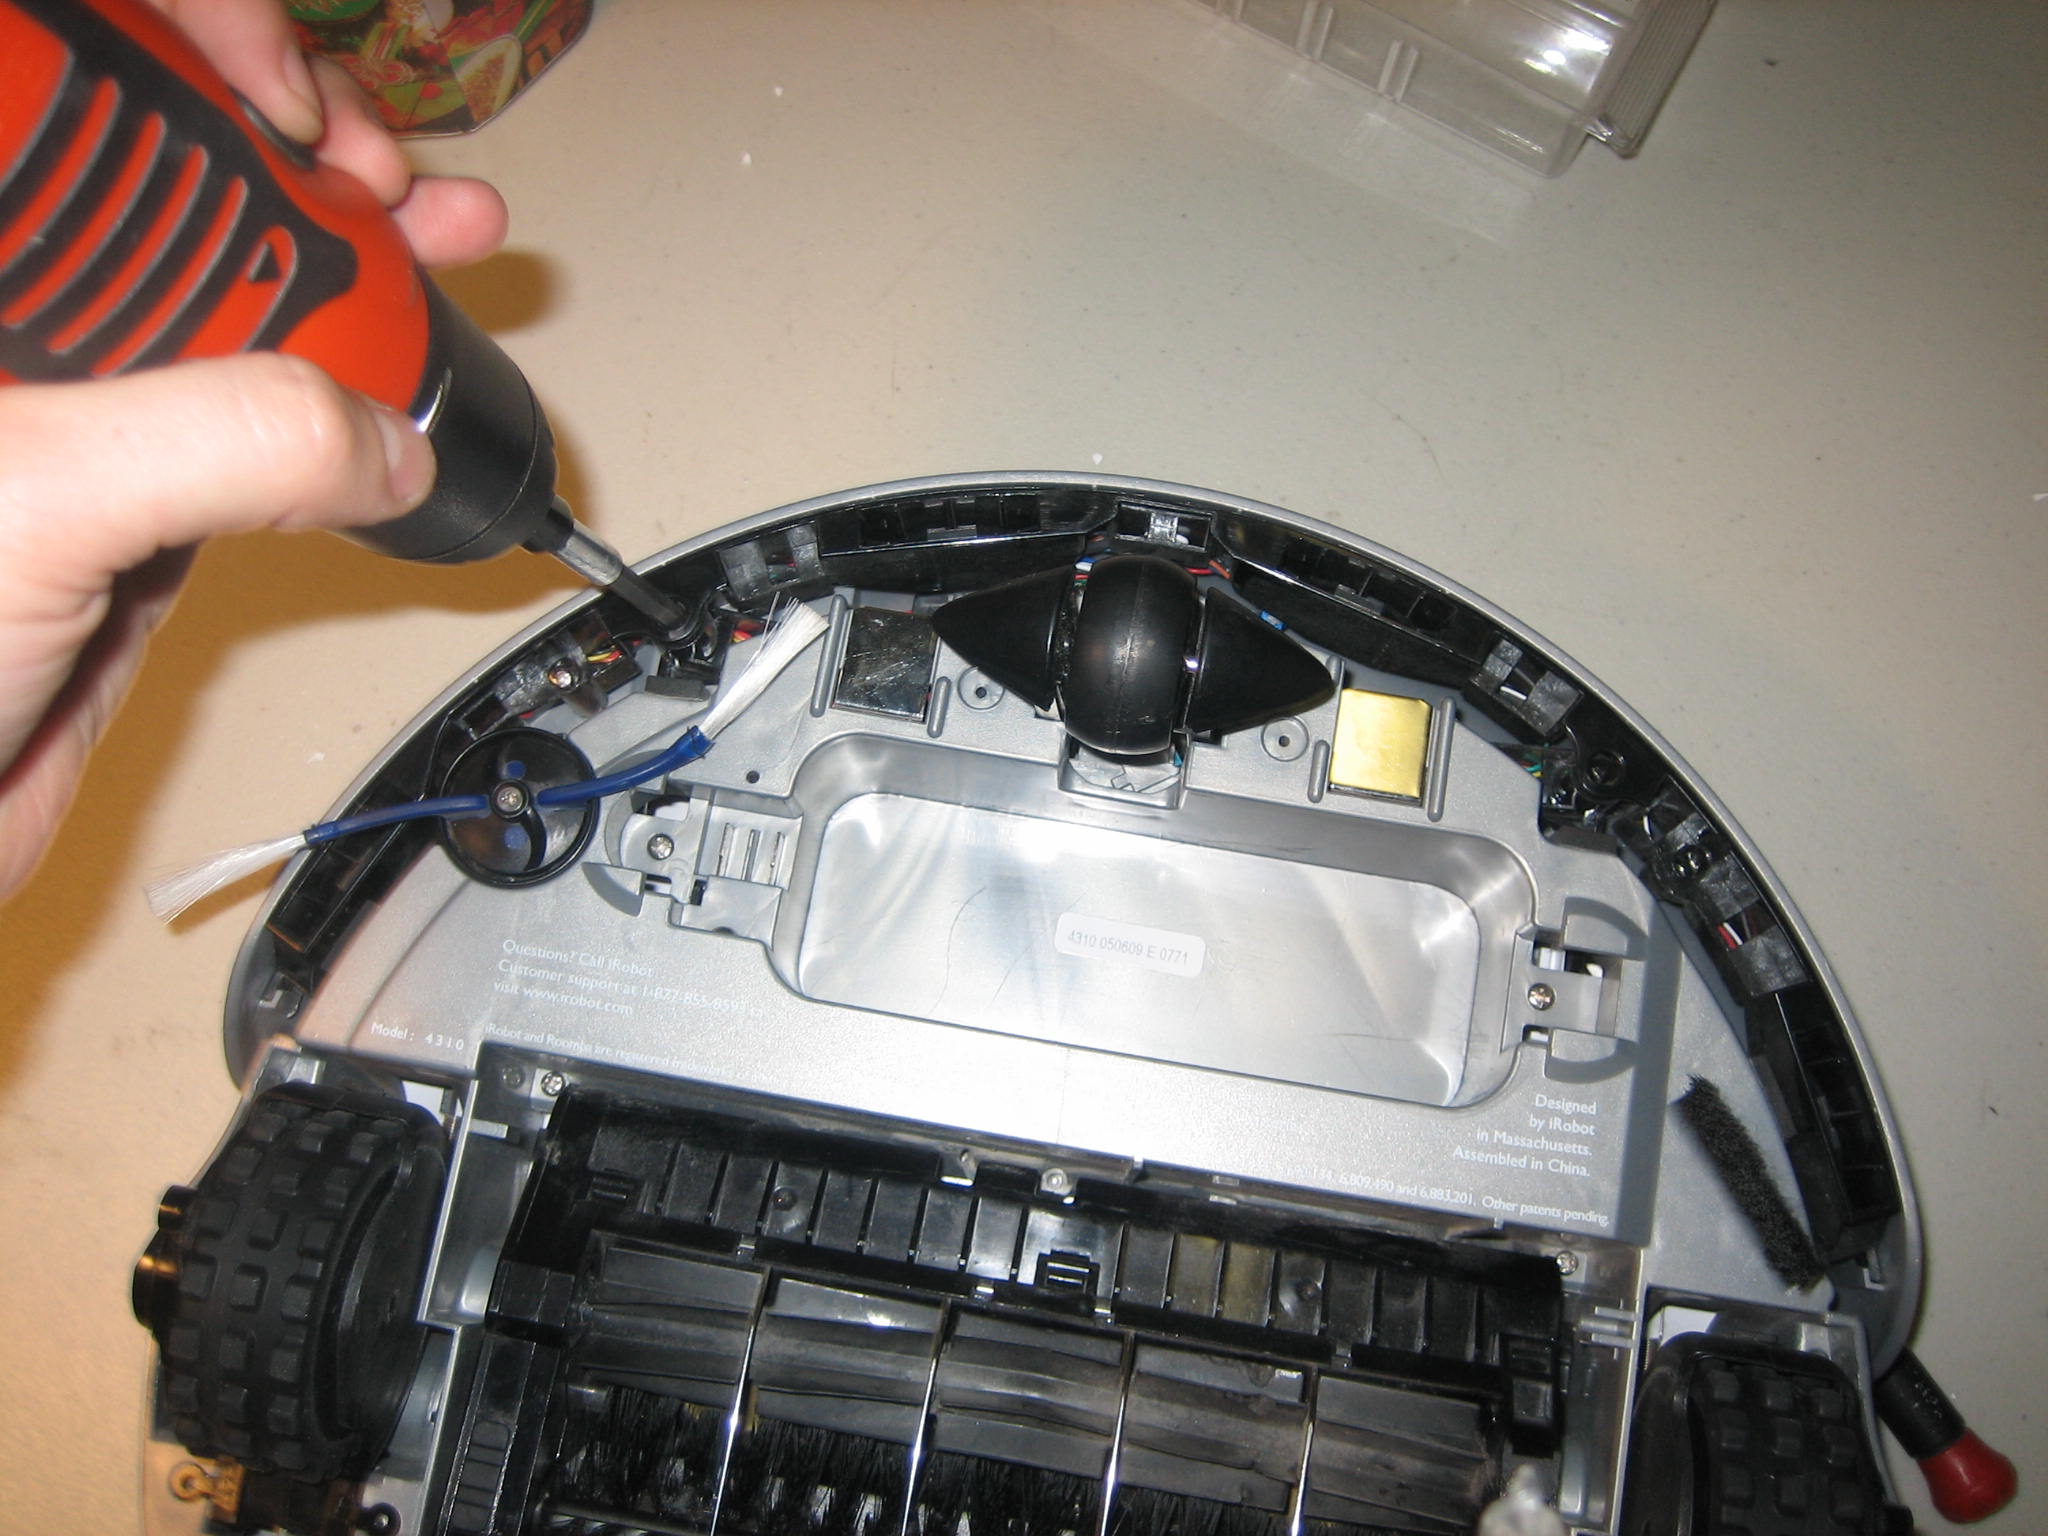
1 - Unscrew the screws (A)

Assembly Phase
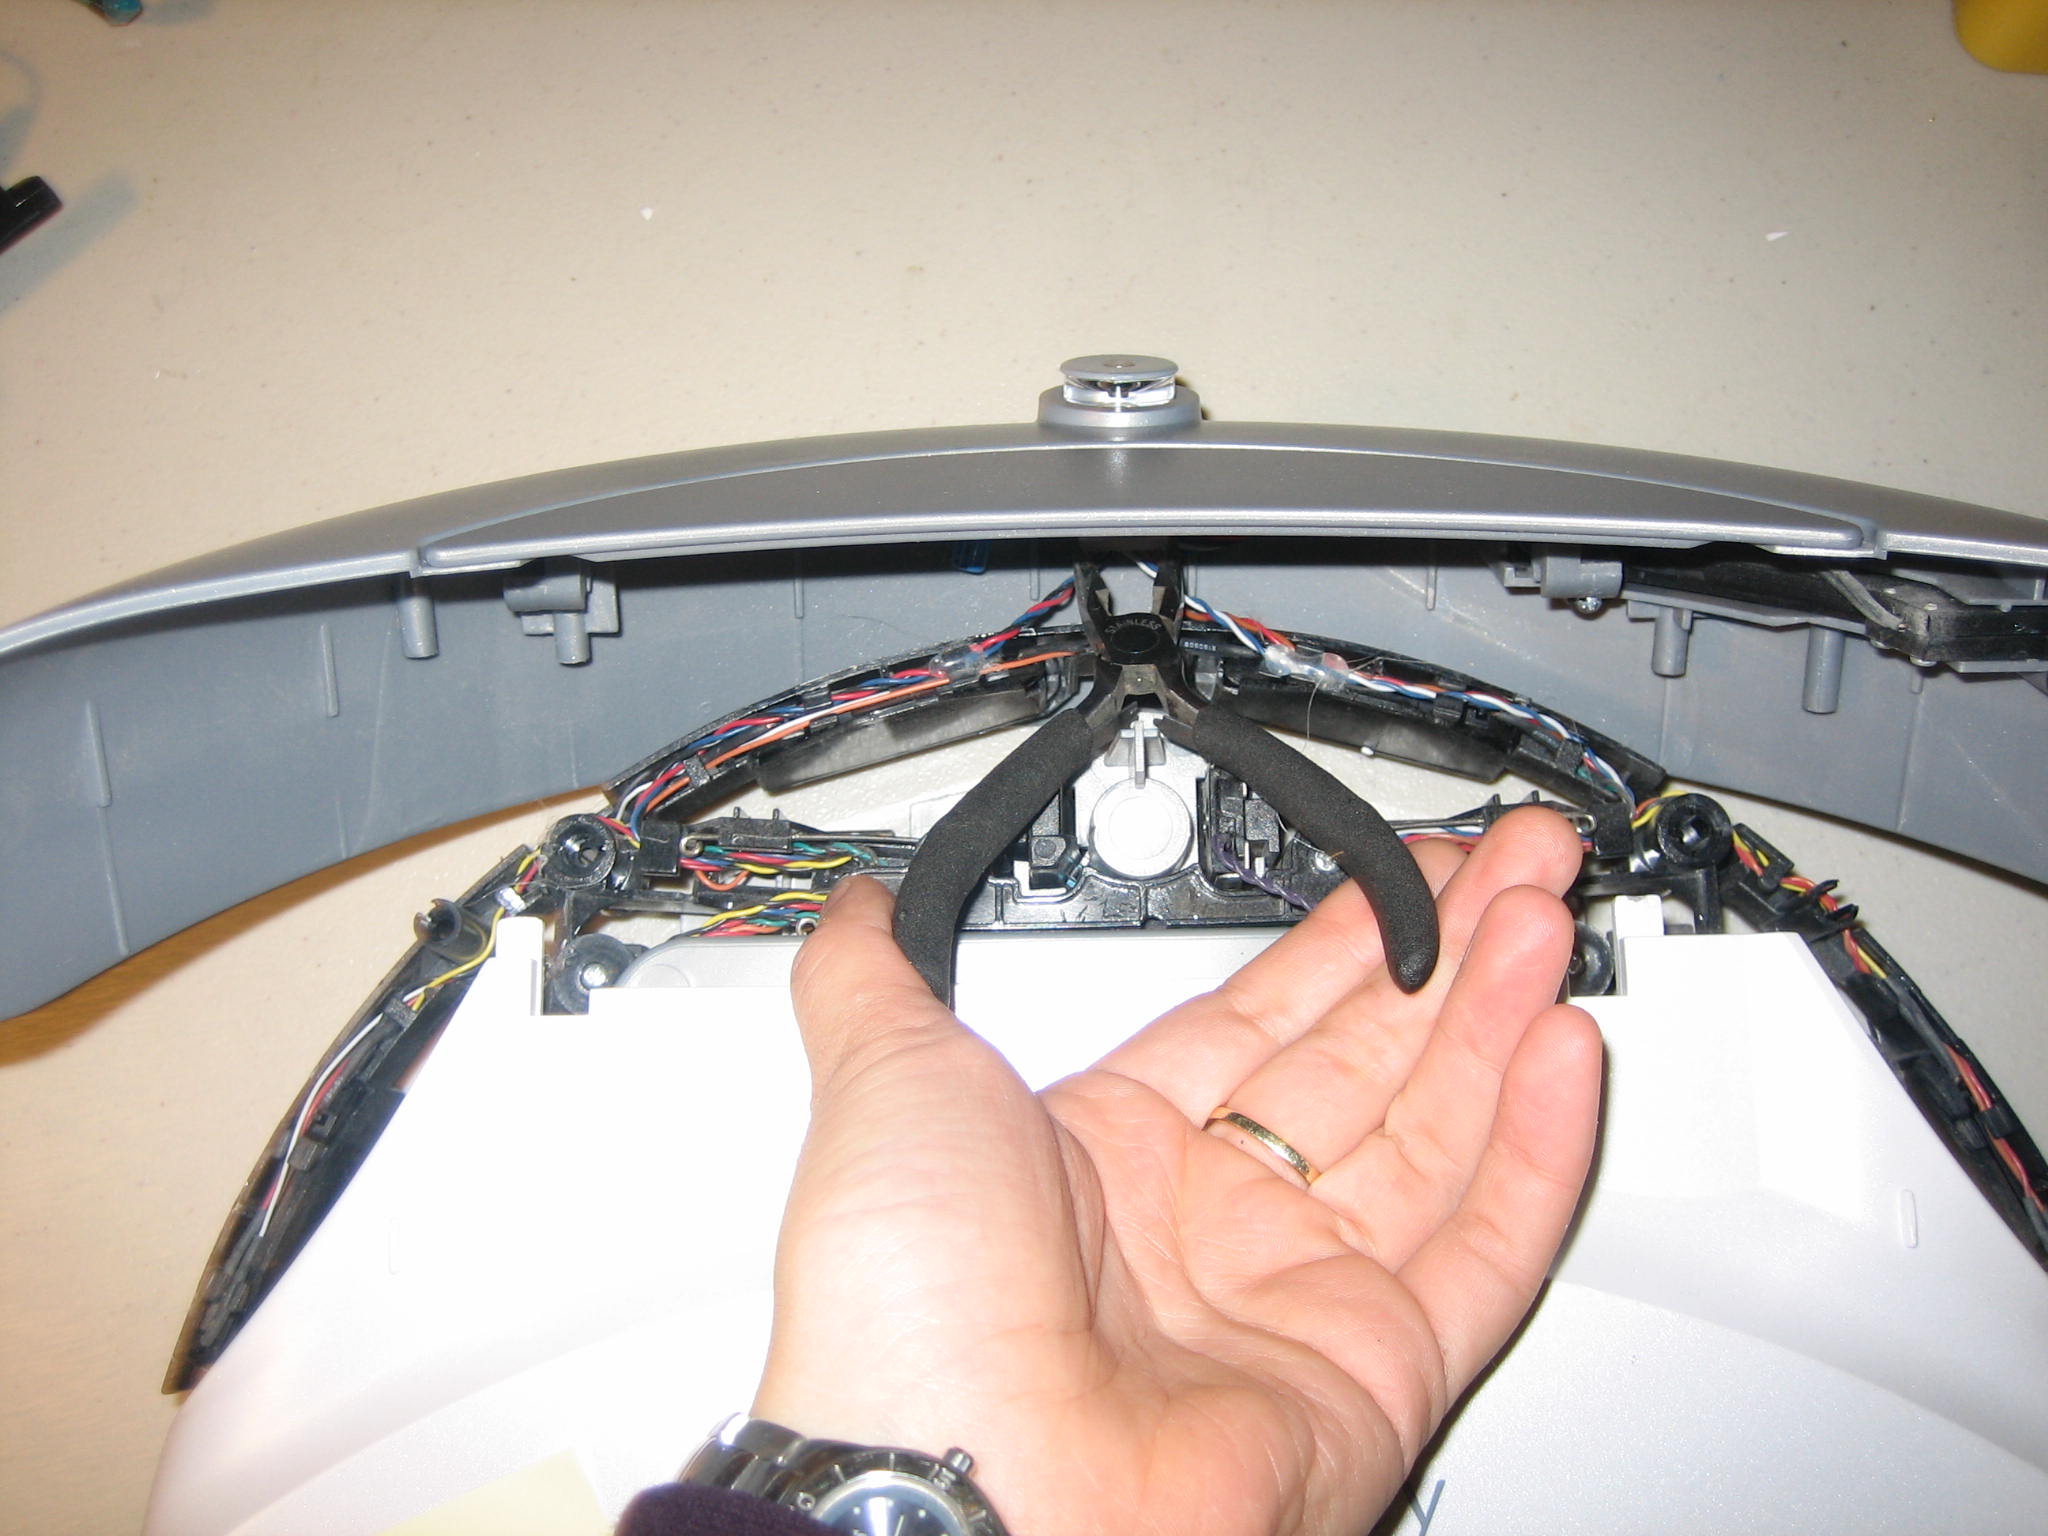
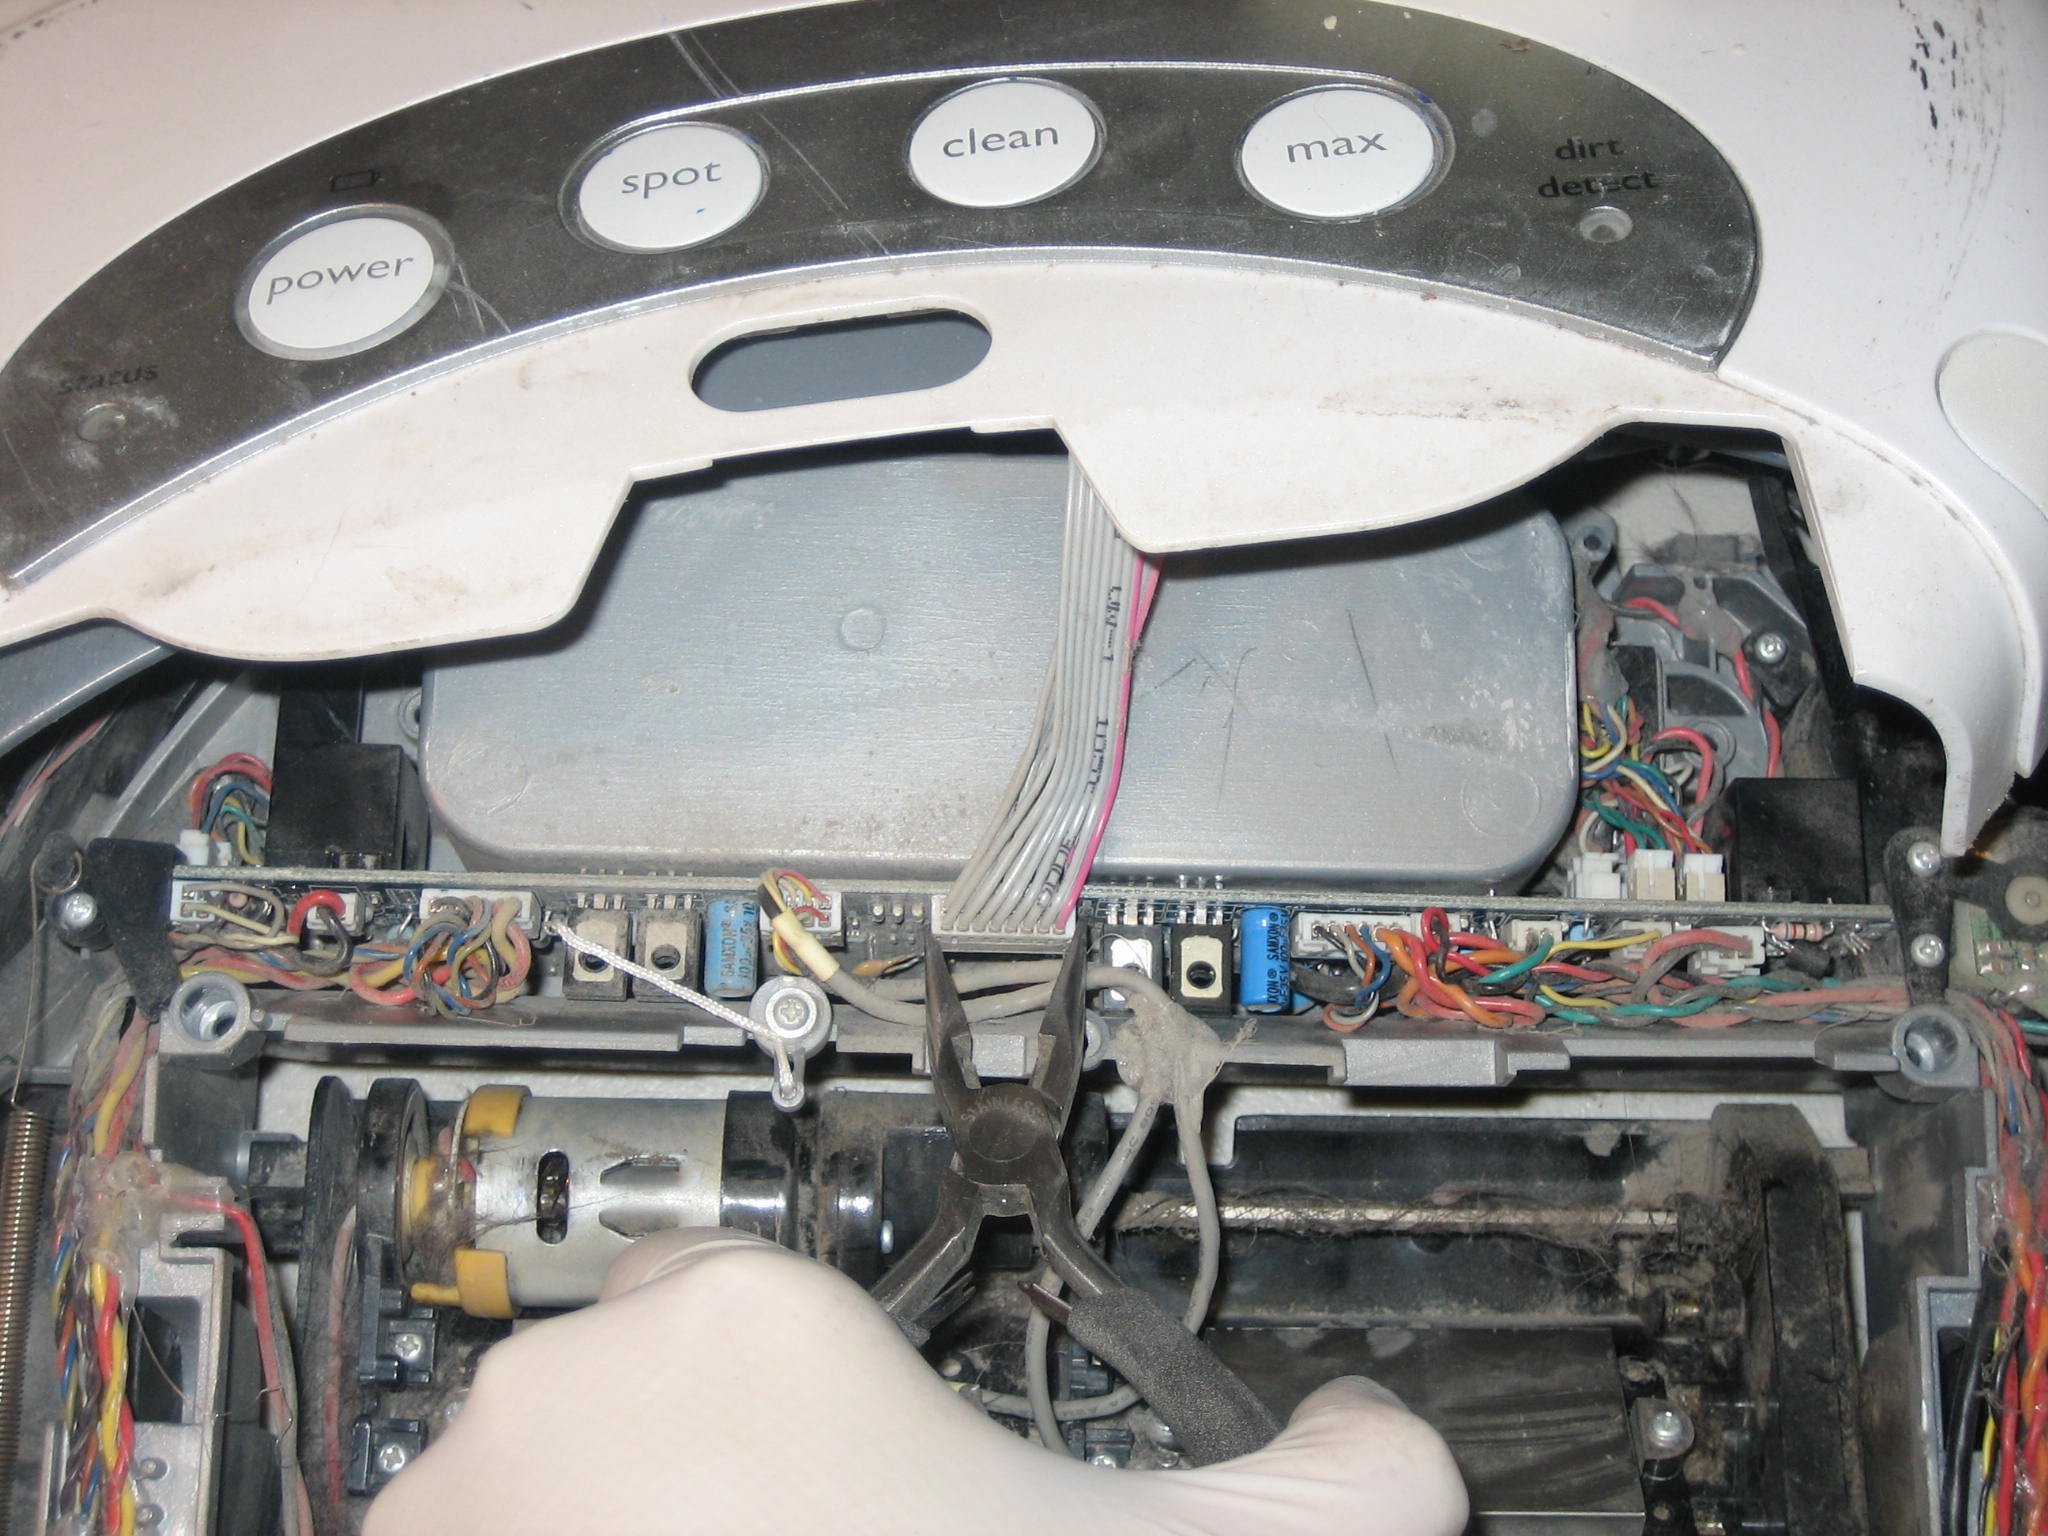
1 - Reconnect the connector for the front bumper with pliers or fingers.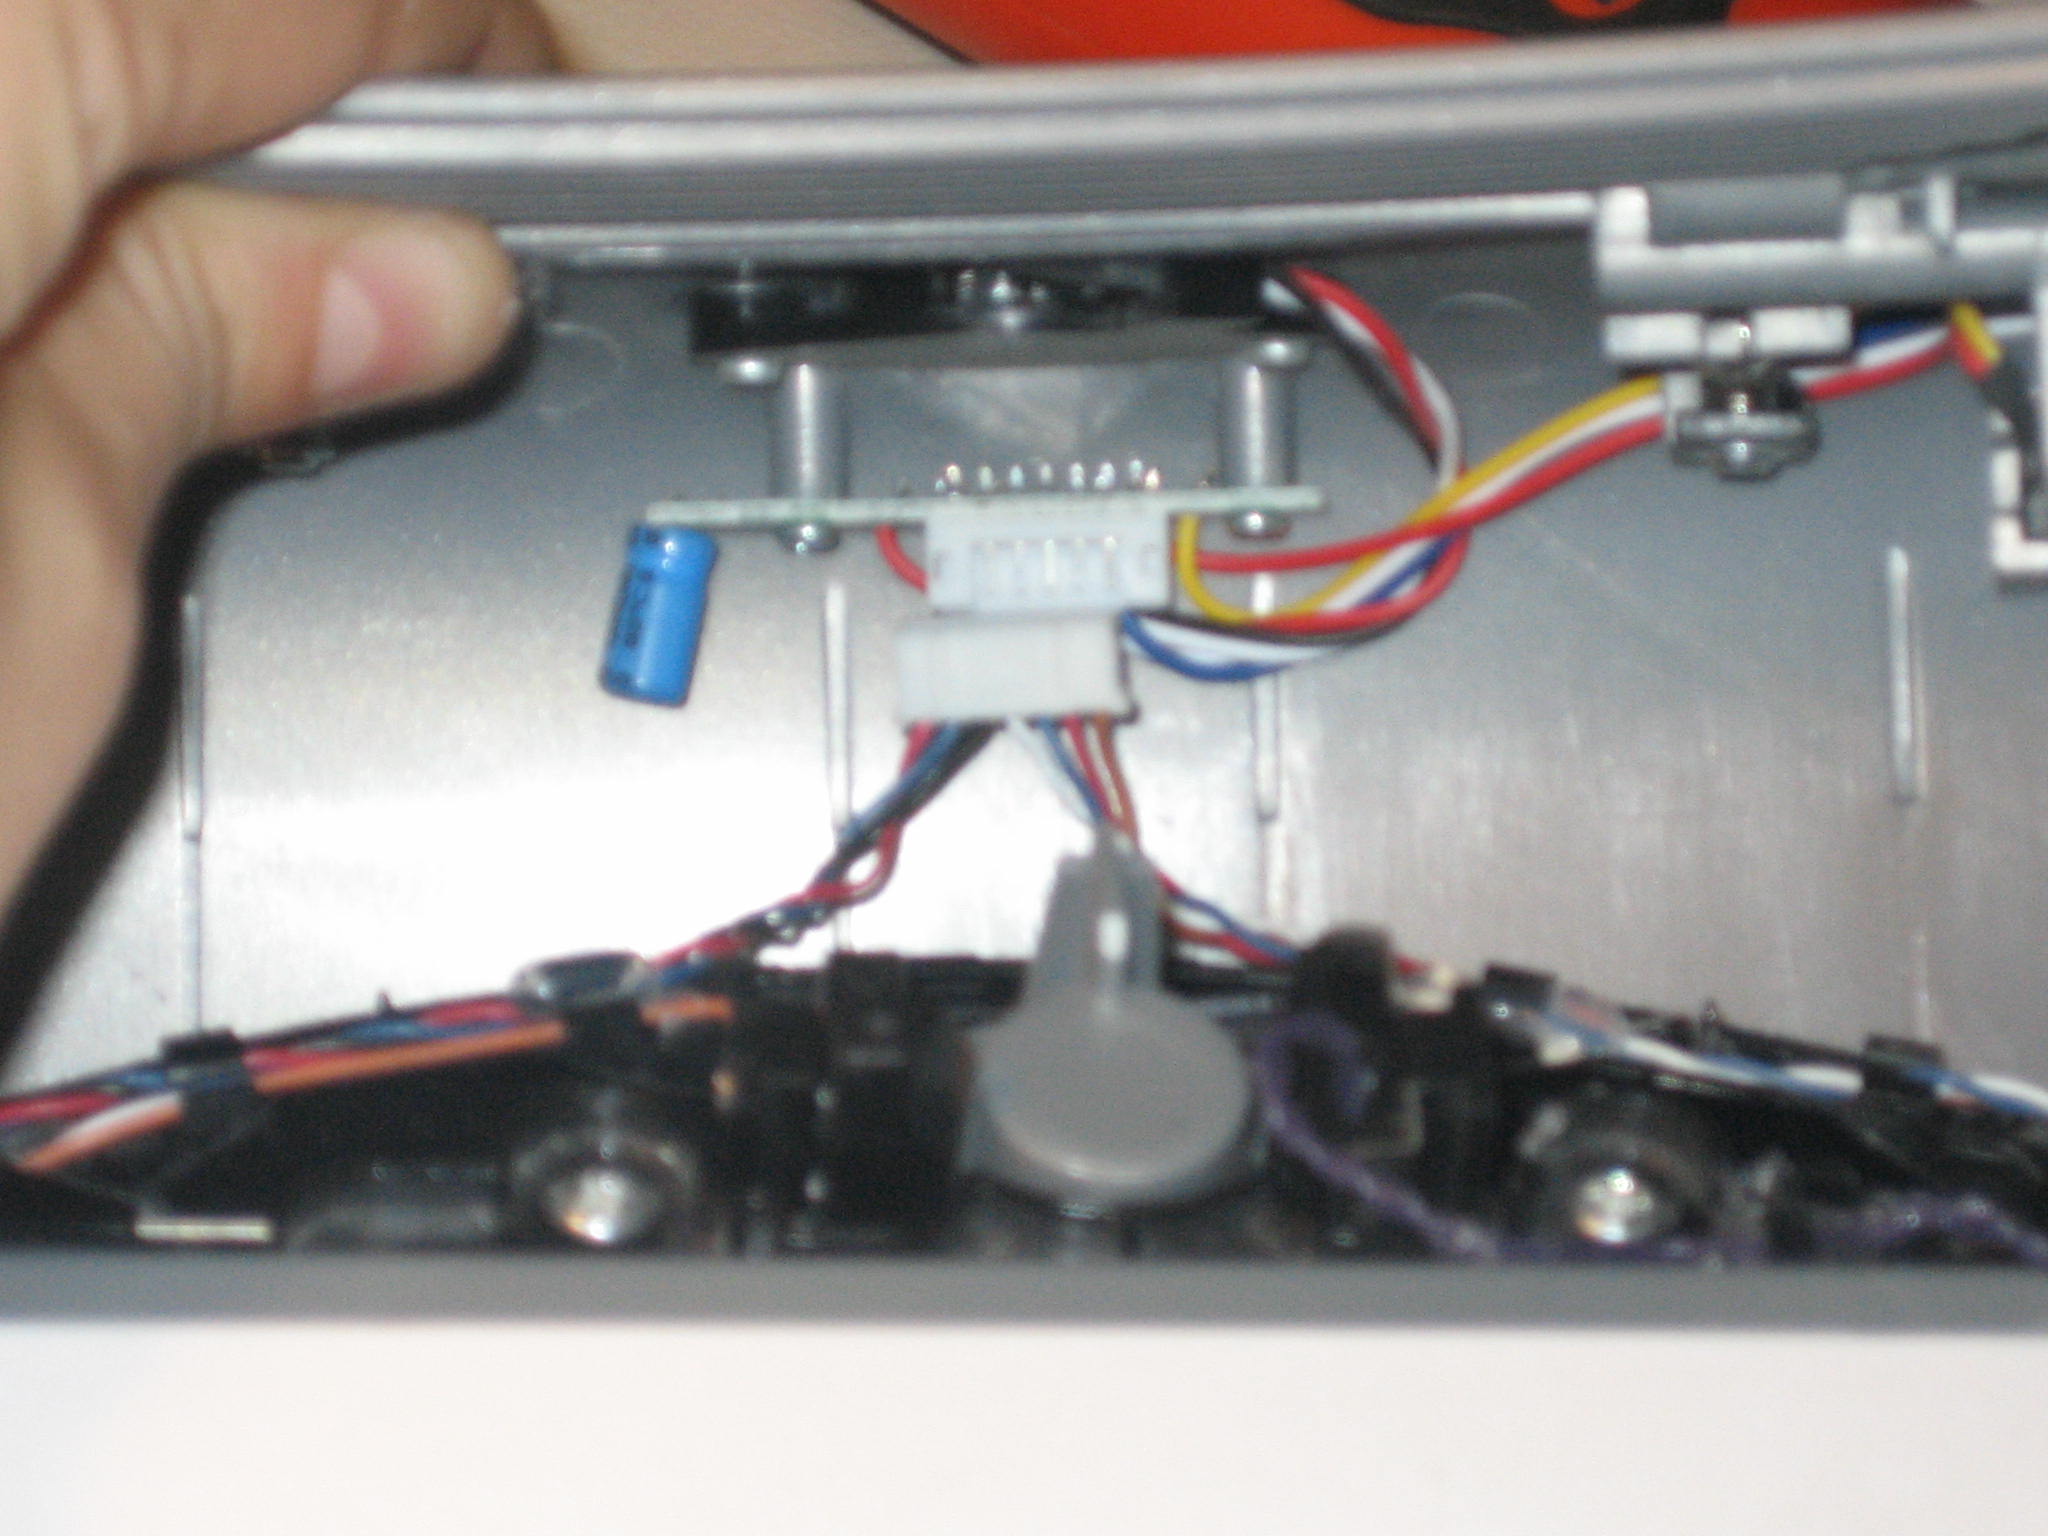
3 - Rescrew Screws A
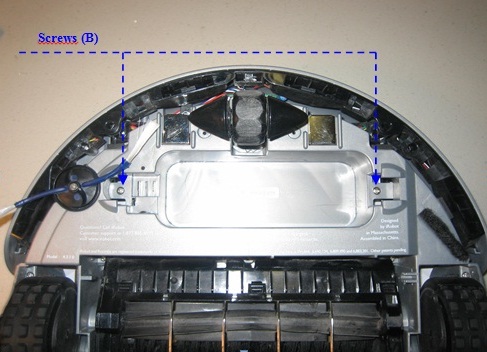
2.2 Cover Unit
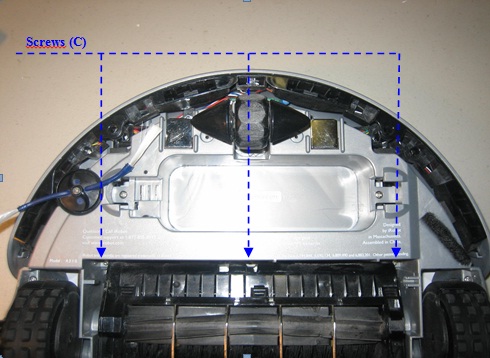
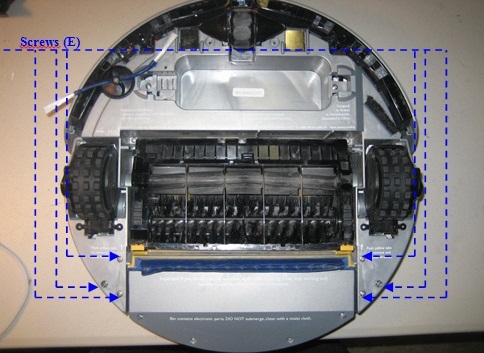
Removal and Assembly of the Cover Removal Phase 1 - Unscrew the screws (A)
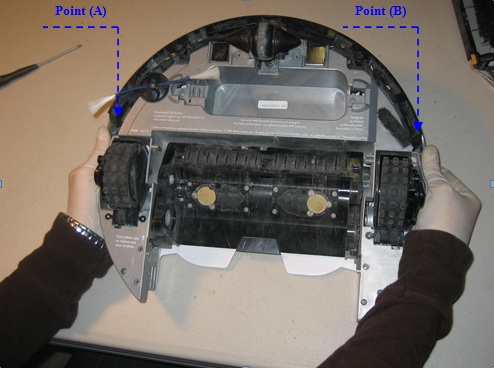
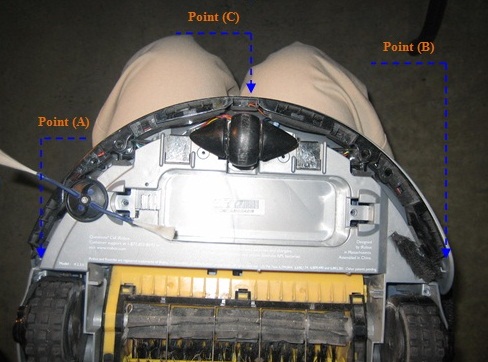
2 - Push with both thumbs at points (A) and (B) in order to take the front bumper out of its sockets.


Assembly Phase
1 - Reconnect to the motherboard the connector for the cover. Align Roomba’s cover and press on the cover to fit it properly. Make sure the sides of the cover are fully inserted, and that the top cover matches up flush with the robot’s frame.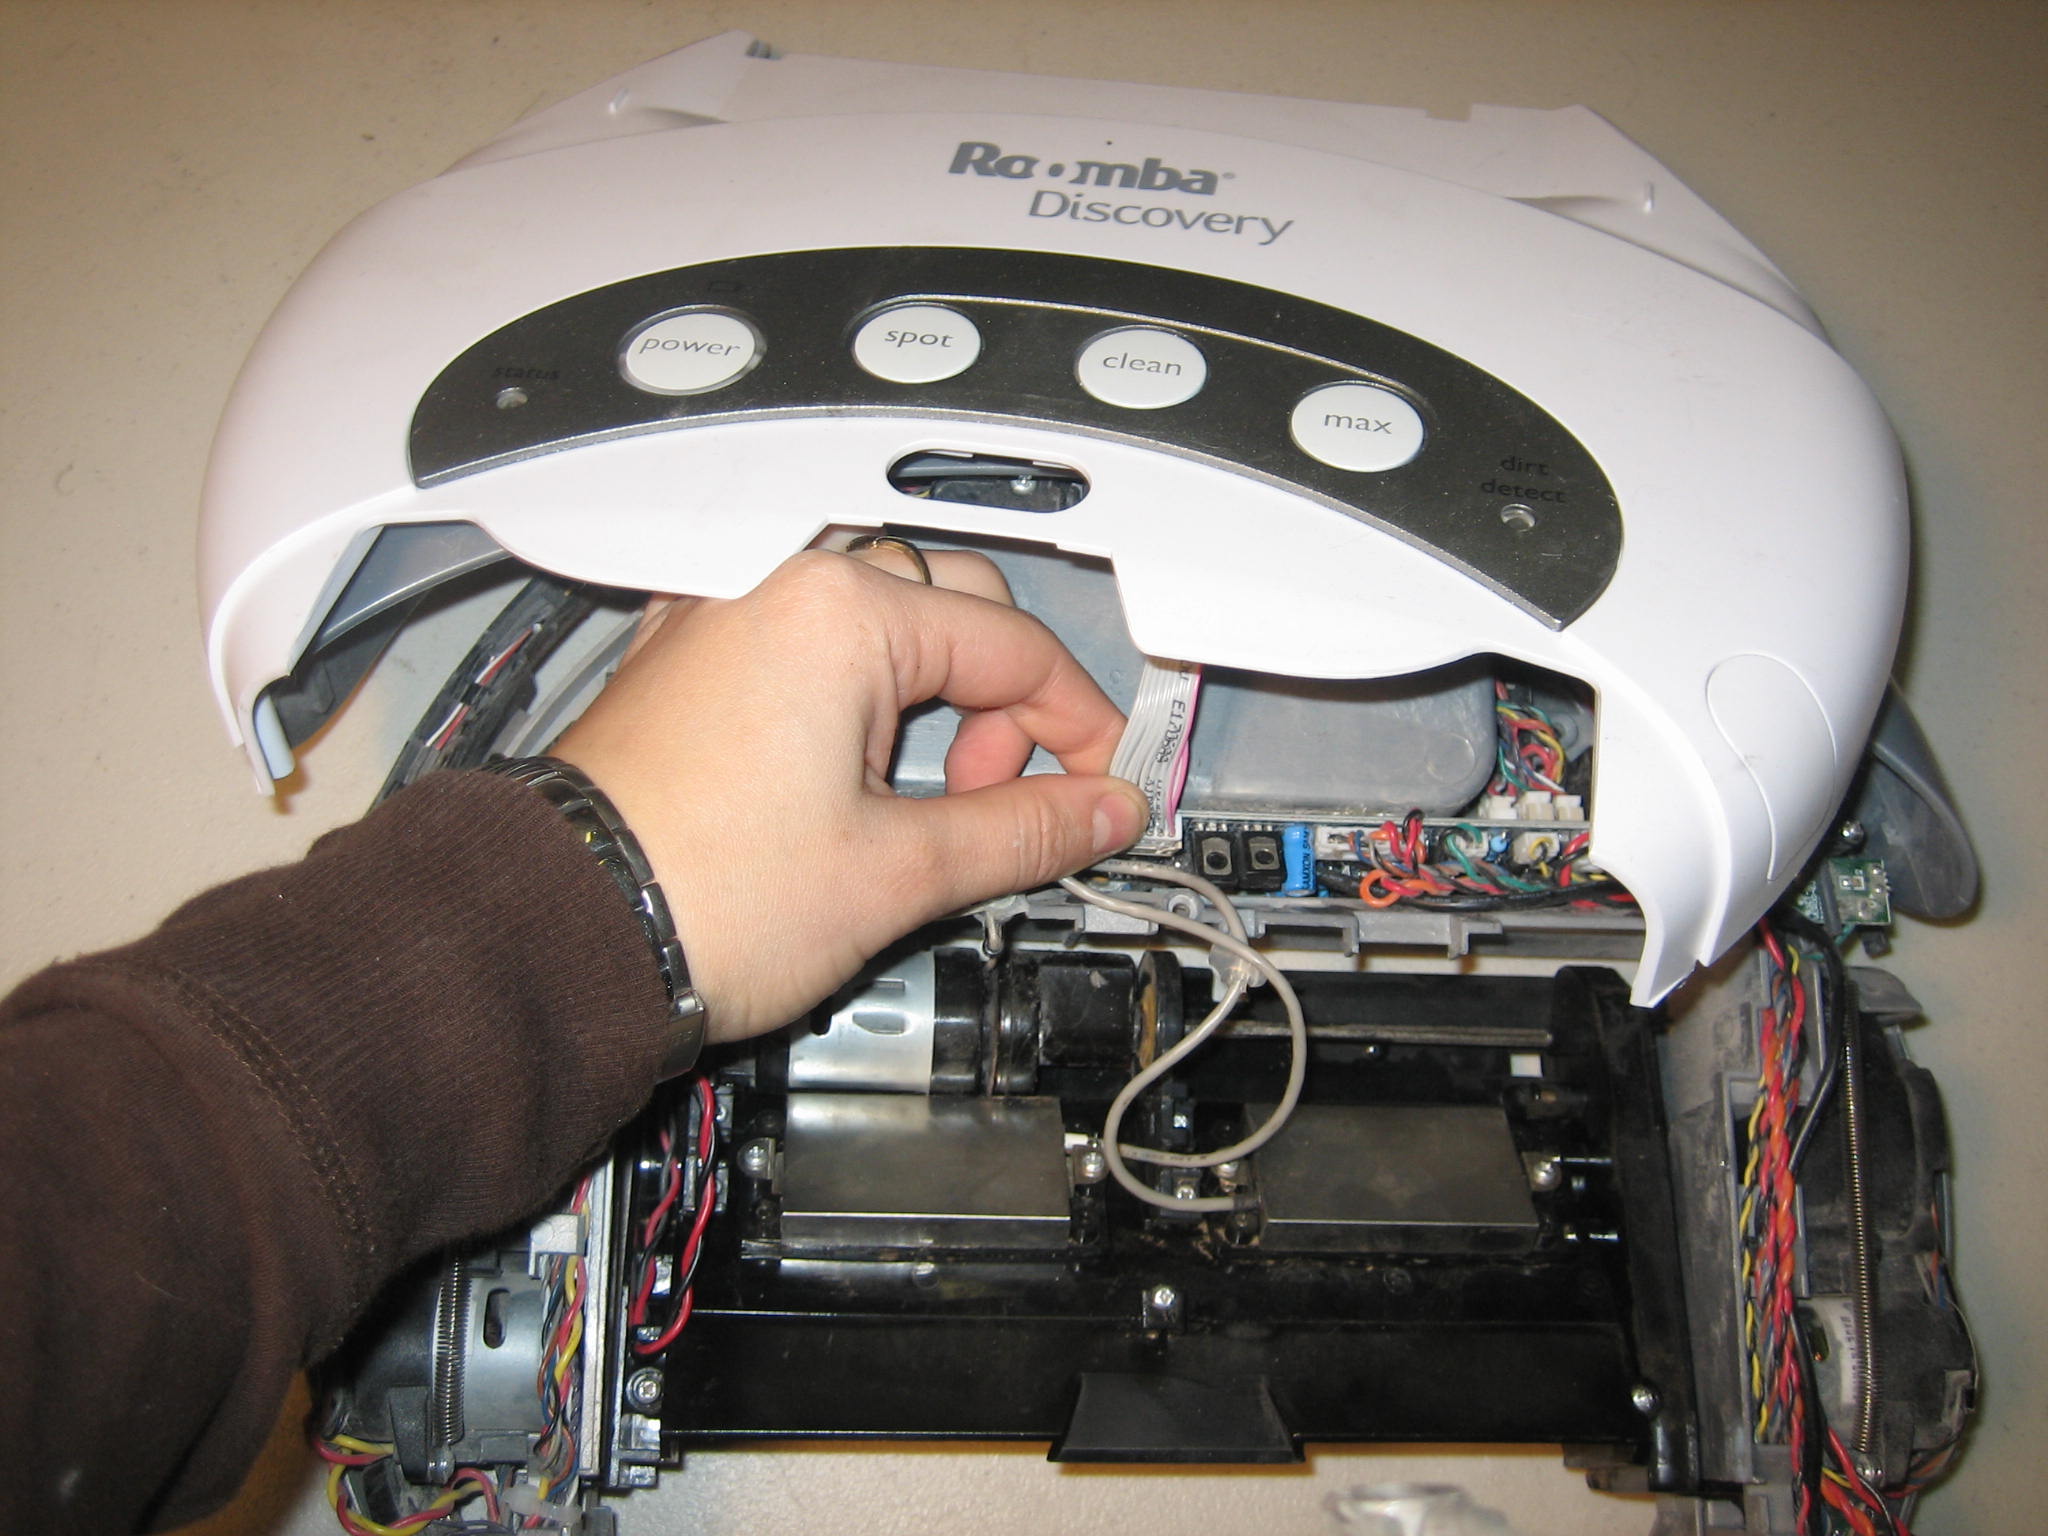

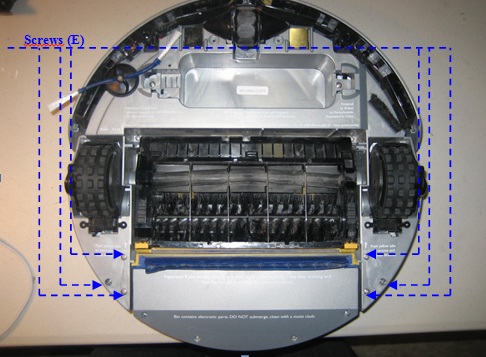
Note: The middle screw is not present on all Roomba’s.
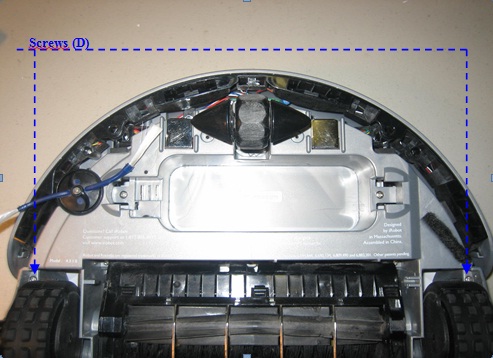
6 - Reinsert the screws (D)
This is a companion discussion topic for the original entry at https://community.robotshop.com/index.php/blog/show/chapter-2-how-to-open-replace-frame-roomba-discovery