BuoyBot is my submition for the Single Motor Robot Challenge.
General Structure:
BuoyBot is powered using one 9v battery, has a screw top lemonade mix container as a chassis/hull, a single micro servo for movement, 4 LDR's to track light, a breadboard power rail to distribute power while minimizing wire clutter and an Arduino Uno to control everything.

Locomotion:
BuoyBot uses a single fin moved by a single micro servo to achieve locomotion. It uses 3 different strokes to successfully move around a pool of still water. (note: Because of the curvature of the hull, the center position is actually 95 degrees.)
Forward Stroke:

Right Stroke:
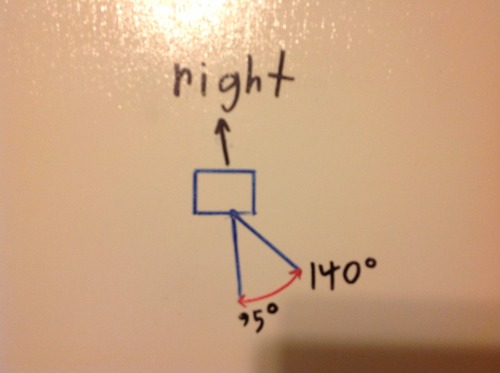
Left Stroke:
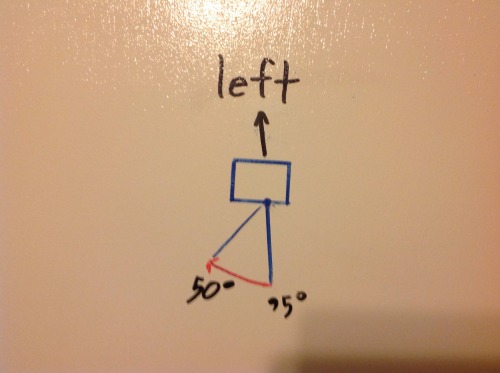
Sensors:
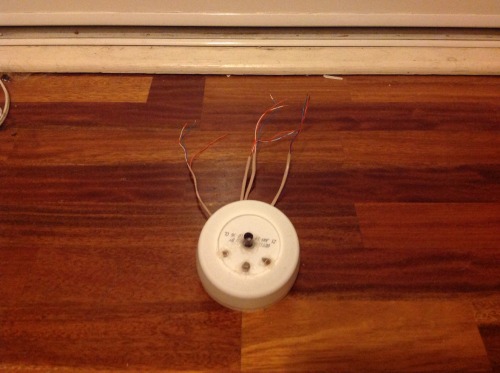
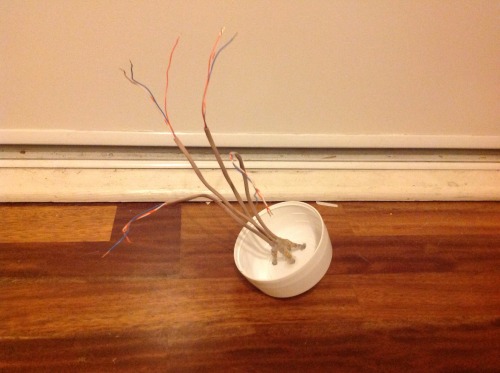
BuoyBot's head has for cadmium sulfide photo resistors to enable it to follow a light source. Each one is connected to a self-contained voltage divider that uses a 10k ohm resistor. The first three light sensor bundles are facing forward, left and right. By comparing these values (modified by calibration integers to insure accuracy), the robot can decide whether to perform a forward, left or right swim stroke. The fourth light sensor bundle is placed facing upwards with a small segment of blackened straw to allow BuoyBot to know when it has successfully reached the target area. Together, the 4 light sensor bundles allow for an intuitive light tracking program to be made.

Code:
#include <Servo.h>
Servo fin;
//int topLDR = A3; SENSOR ERROR, DATA OMMITED
int forwardLDR = A2;
int leftLDR = A5;
int rightLDR = A4;
int pos = 95;
void setup()
{
Serial.begin(9600);
fin.attach(9);
fin.write(pos);
delay(1000);
}
void loop()
{
//int topLDR = A3; SENSOR ERROR, DATA OMMITED
int forwardLDR = analogRead(A2);
int leftLDR = analogRead(A5);
int rightLDR = analogRead(A4);
if (leftLDR > 50 + rightLDR)
{
left();
}
else if (rightLDR > 50 + leftLDR)
{
right();
}
else
{
forward();
}
Serial.print("left - ");
Serial.print(leftLDR);
Serial.print(" right - ");
Serial.print(rightLDR);
}
void forward(){
// 50 to 140
for(pos = 95; pos < 140; pos += 1)
{
fin.write(pos);
delay(5);
}
for(pos = 140; pos>=50; pos-=1)
{
fin.write(pos);
delay(5);
}
for(pos = 50; pos<=95; pos+=1)
{
fin.write(pos);
delay(5);
}
}
void left(){
// 95 to 170
for(pos = 150; pos < 180; pos += 1)
{
fin.write(pos);
delay(10);
}
for(pos = 180; pos>=150; pos-=1)
{
fin.write(pos);
delay(3);
}
}
void right(){
//95 to 20
for(pos = 40; pos >= 10; pos -= 1)
{
fin.write(pos);
delay(10);
}
for(pos = 10; pos<40; pos+=1)
{
fin.write(pos);
delay(3);
}
}
This is a companion discussion topic for the original entry at https://community.robotshop.com/robots/show/buoybot


