Up and running.
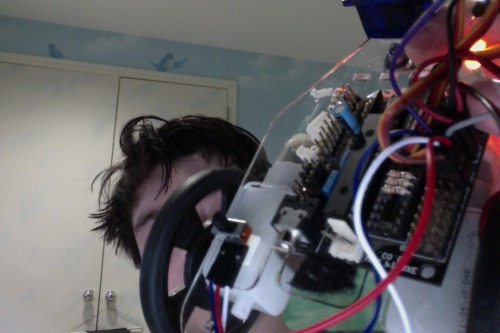
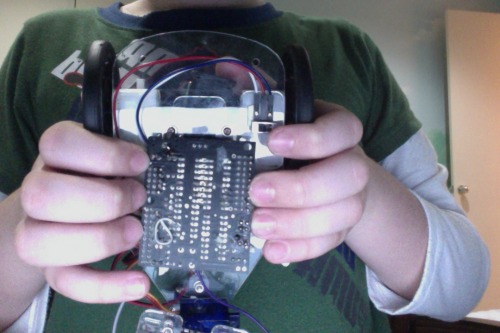
Well my man, it looks like you are up and running. It is probably a good time to take a quick second to tidy things up a bit and then keep pushing on. First off, that chassis was designed to go the other way (it is upside down right now). If you flip if over, and put the tail wheel on the other side, it will not only sit level, but you would then have a nice, flat deck to mount all your stuff. This is sorta important because your sensor (once it is attached) is not going to be level. Instead, it will be looking up or down at an angle. --The battery can fit between the motors and thus, be out of the way.
Now, last night we seemed to have an intermittent connection with the batteries that lead to problems syncing any code into the robot. I would take a moment to double check the connections you made between the 2-pin female connector and the leads coming out of the battery holder. Strip the wires, twist them tight and solder if you can. Tape them well or use some shrink tube.
Blinky is really just a fancy Start Here bot. You will be using a Ping instead of a Sharp but really, they are almost the same. It would be wise to read the Start Here post and then read it again. There is a lot of stuff in there that can help get you going.
Beyond that, you are now at the point where you simply need to start learning how to write code. If you go to the help menu in your picaxe software, you will find (3) PDF’s --the manuals. Open them! The first one has a lot of good stuff on getting started, pinouts and a bunch of other good stuff. Manual 2 contains all the commands you would need to use within your code. Each command is explained and an example is given. Manual 2 will be your best friend, read it early and often. You should also look up the PDF manual that goes with the 28x board --Lotta good stuff in there too.
Also, if and when you get a chance, I would switch to rechargable AA batteries. They are going to be MUCH cheaper in the long run and better for your robot. A alkaline pack of 4 AA’s puts out about 6v or so which is technically over what your picaxe really should be using. The picaxe can probably tolerate this voltage, but it would be best not to run at this voltage for a long time. Instead, a 4 AA pack of rechargables puts out around 4.5 -5.2v which is exactly what your picaxe wants to run on.
You have got a lot of stuff to start learning here, but if you got through all the install stuff, you can learn it all, no problem.
Good luck my friend,
I will be around.
 here is my robot named blinky. i ordered these parts from @chris the carpenter. he has 4 AAA alkanine batteris, a servo for the head, 2 geared motors, and a few LEDs. please comment on how to operate on a picaxe to make the motors move(by that i mean write down a code that has worked for you) also, @AAronsuper1 helped me.


