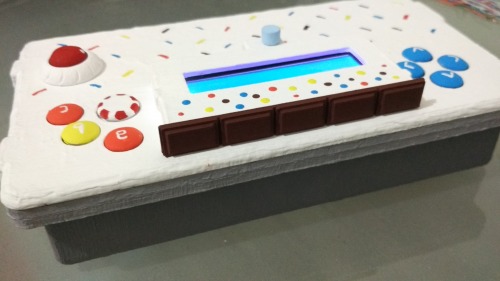
B·Day Bot is a robot themed after a birthday cake, made with the purpose of spreading joy and happiness in a special day.
Although the robot isn't finished yet, I have just finished making its remote control system, and I thought that it would be a good idea to share it with the community.
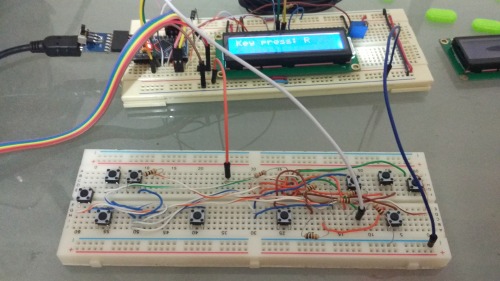
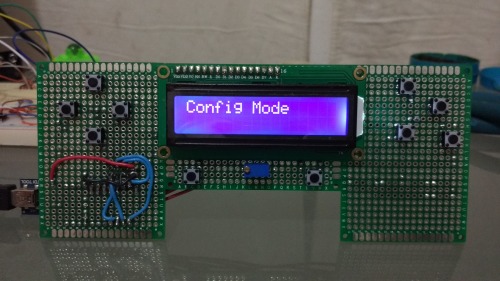
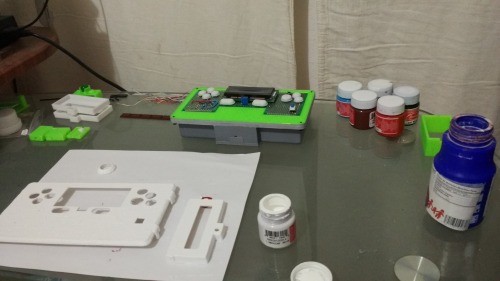
This control was built around an Arduino Mini Pro, using the NRF24L01 module to implement the wireless communication.
I don't have a PCB milling machine, and I have had bad experiences trying to make my own PCBs using acid and other chemical compounds, so I decided to glue 3 perfboards in order to get the shape that I wanted.
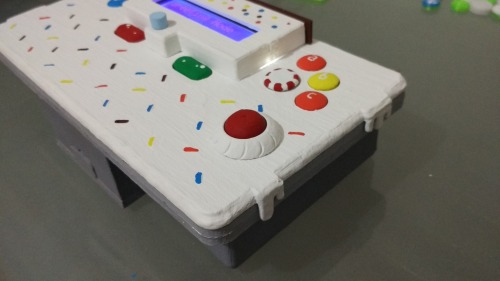
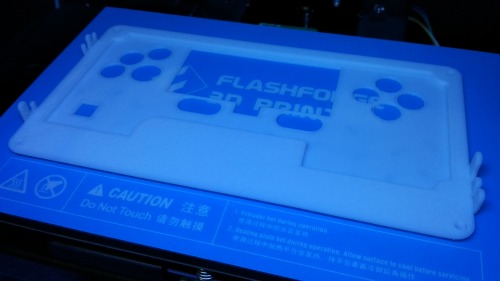
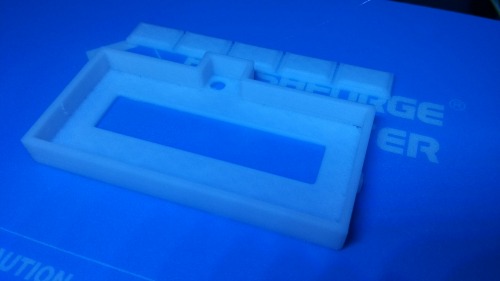
The parts that make up the case were designed in SolidWorks and 3d printed using a Flashforge Creator Pro.
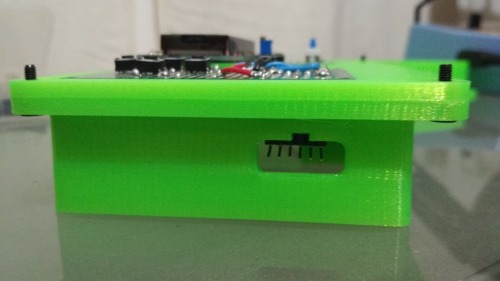
In the left side of the case, there's a hole that allows easy access to the Arduino's pins, in case it needs to be reprogrammed or debugged.
After all the pieces were printed and tested, I sanded and hand painted them, one by one.
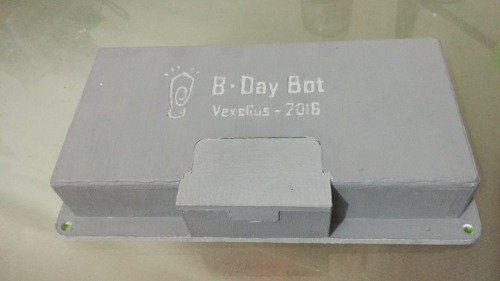
Bottom view. You can see the battery's door, my signature and the robot's name.
Some colors are hard to distinguish though (at least if you see colors differently than most people, about 4% of males have color vision “deficiency”).
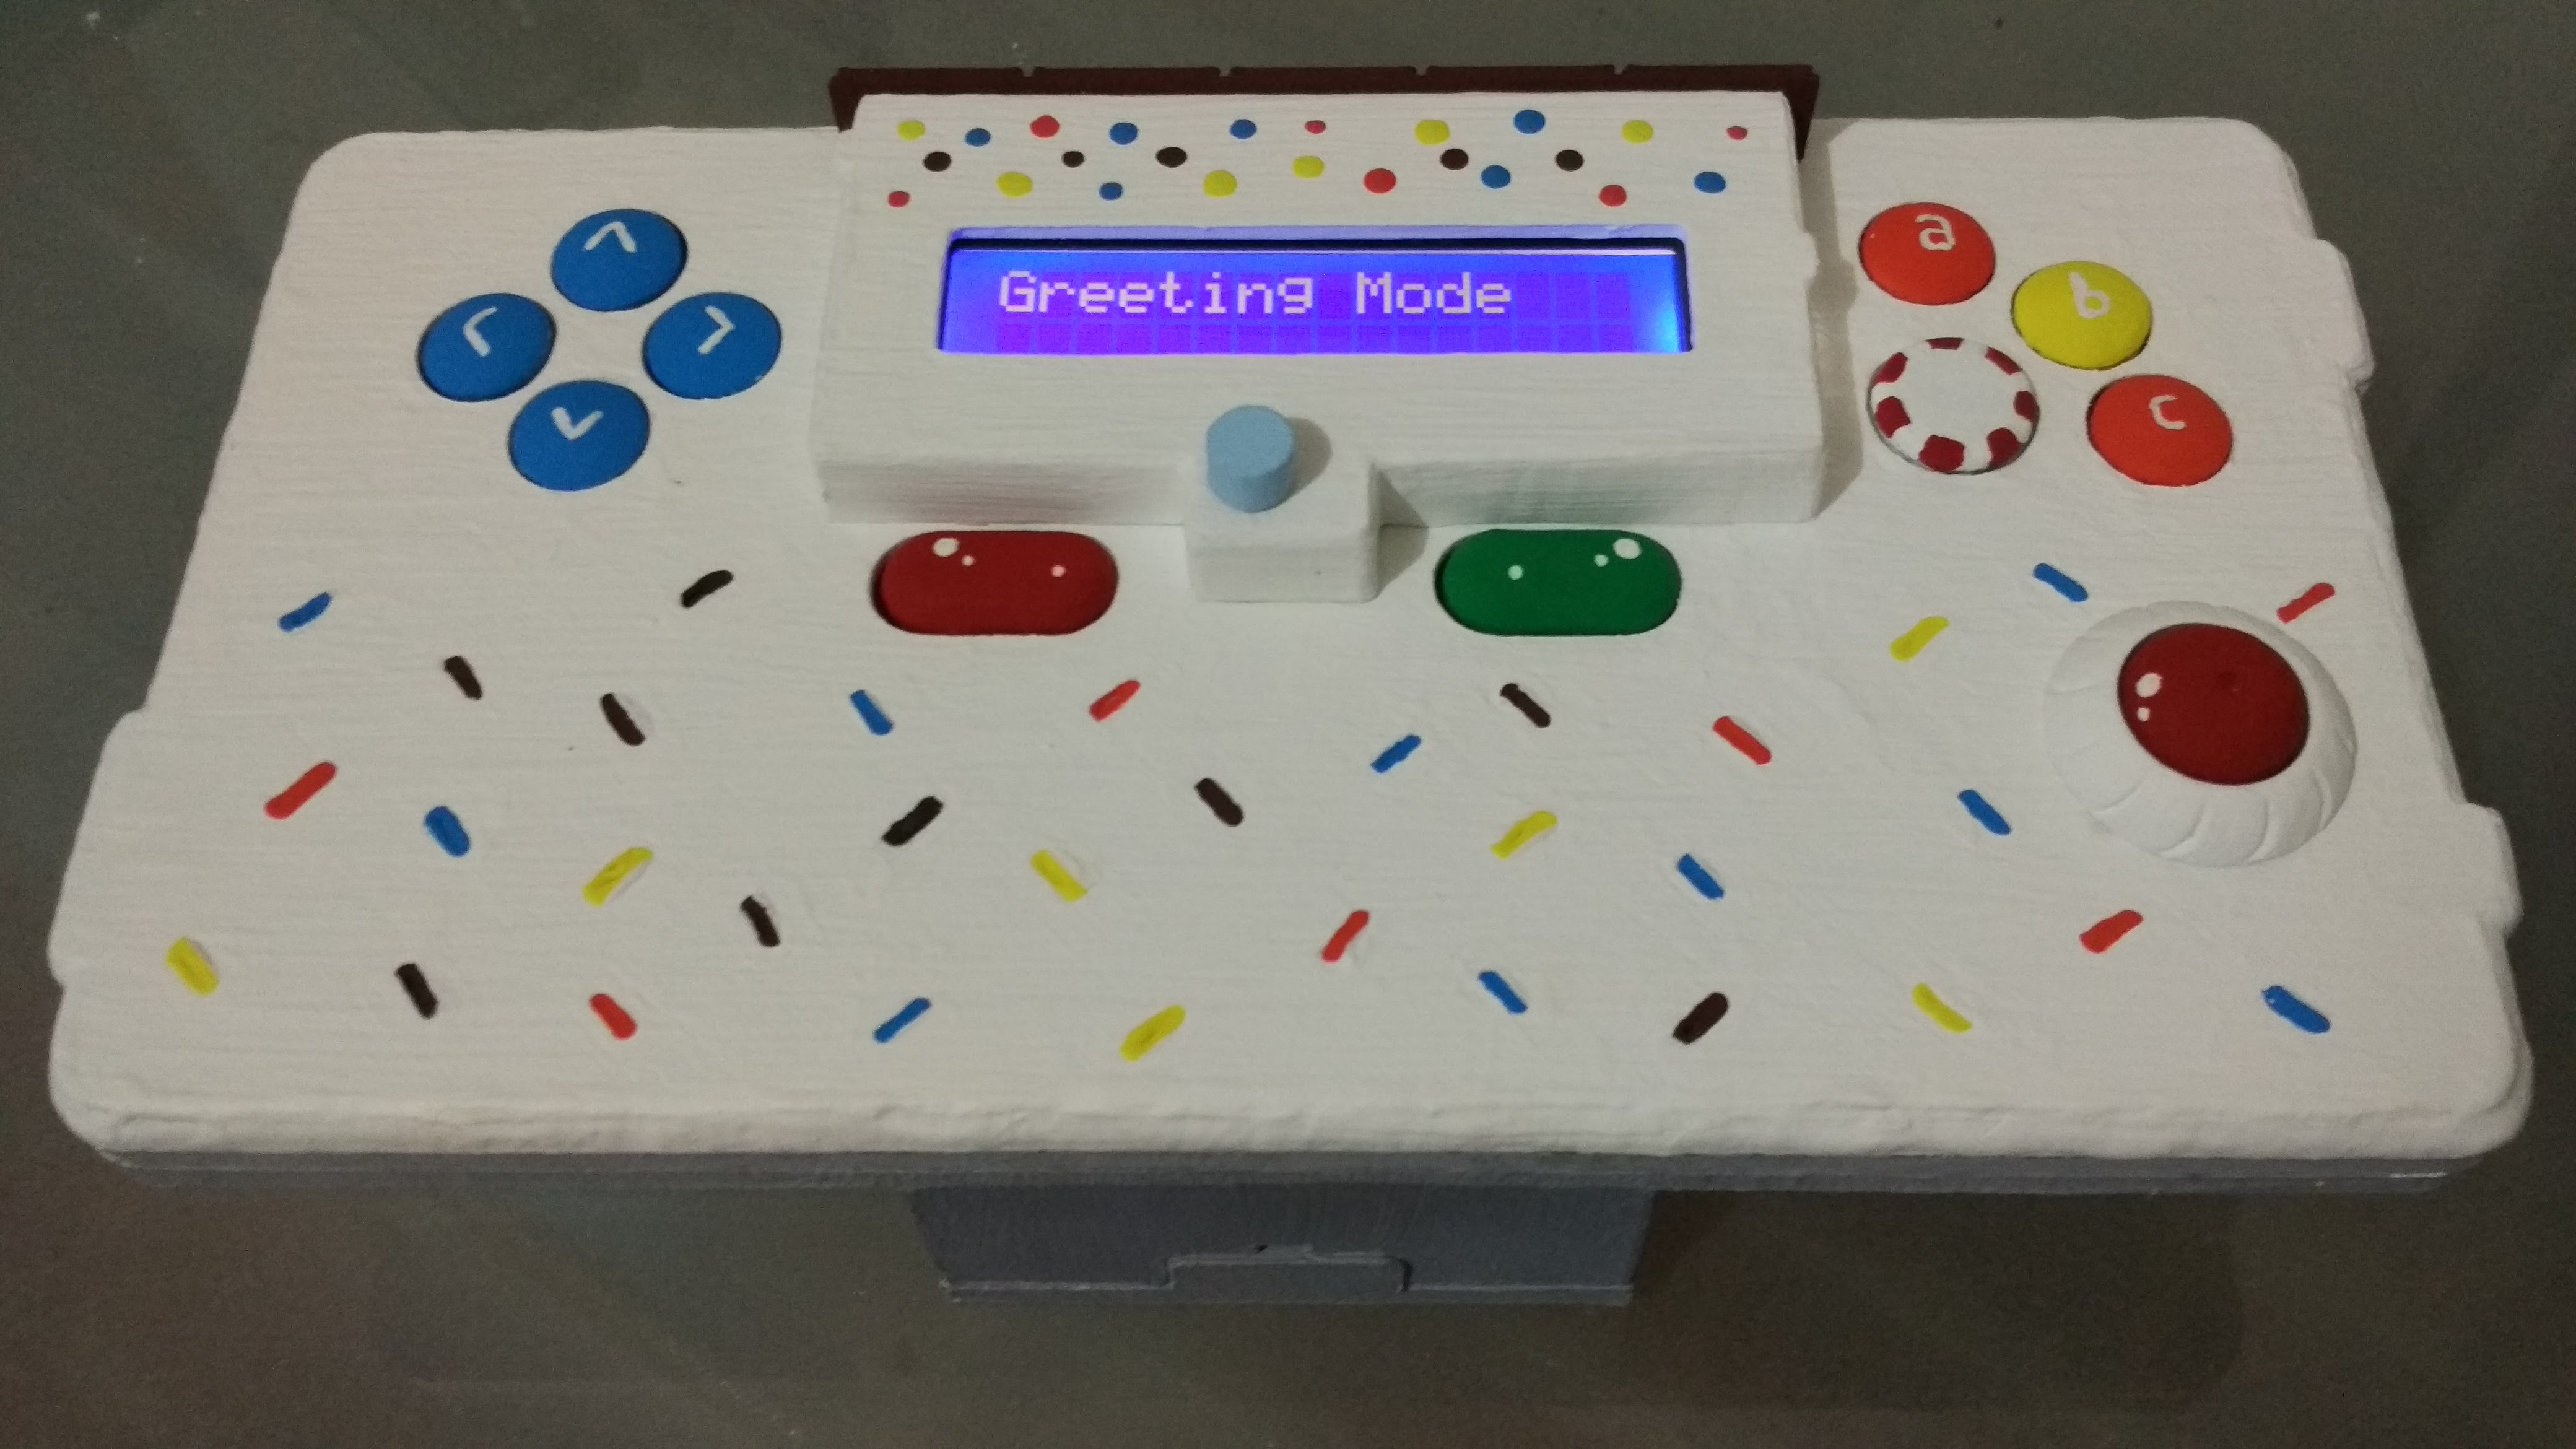
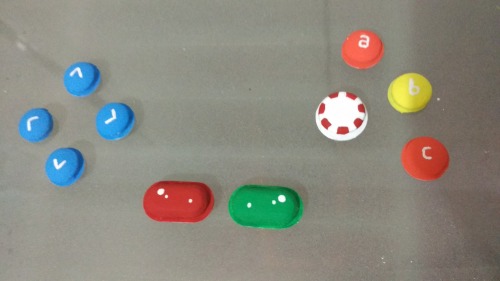
The red and green select and start buttons (named after SNES) cannot be distinguished well, at least in most photos. So having something brighter or with more contrast would help. a and c seem to be the same color, is that intentional? Speaking of the SNES controller, it has colors that are very good to distinguish, alas fashions change.
A good trick to judge the quality of color choice in general (also for standard vision) is to turn a picture into black and white/grayscale. If the contrast isn’t enough to tell the colors apart, then other colors are better. In the last picture of the buttons, the select and start buttons can be seen well – lightning makes a big difference. Therefore brighter/more intense colors are better, too.
Sorry for the long explanation, I just wanted to tell because in the past colors were picked so almost all kids had no problem distinguishing them.
That little detail aside, this controller really looks beautiful. I wonder what you will use it for and how kids will respond
Thanks for your comments! I never thought on considering that some colors might be difficult to perceive for some people, but it’s something that I’ll try to implement on future designs, and your detailed explanation was really helpful.
This one tried to be a balance between being practical and faithful to the “Birthday” theme. Because of that, most buttons are meant to replicate M&M chocolates, one is a peppermint candy and “Start and Select” are jellybeans. And yes, I used the SNES controller as a starting point - it’s my favorite console and I still think that it had one of the best designs.
And you’re right: I colored “A” and “C” with the same color, because they will be related: Most of the time, they will allow the user to change the robot’s “expression”. “A” will control the left eye and “C” will control the right one. I’m still working on that, though…